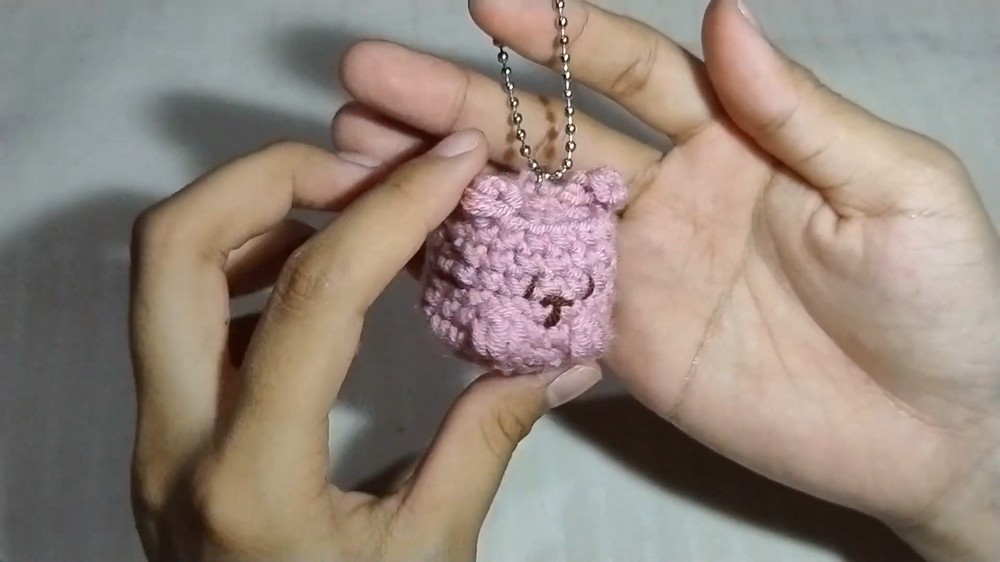
Need a tiny handmade companion for your keys or bag? This mini crochet cat turns simple stitches into a cute, customizable amigurumi charm.
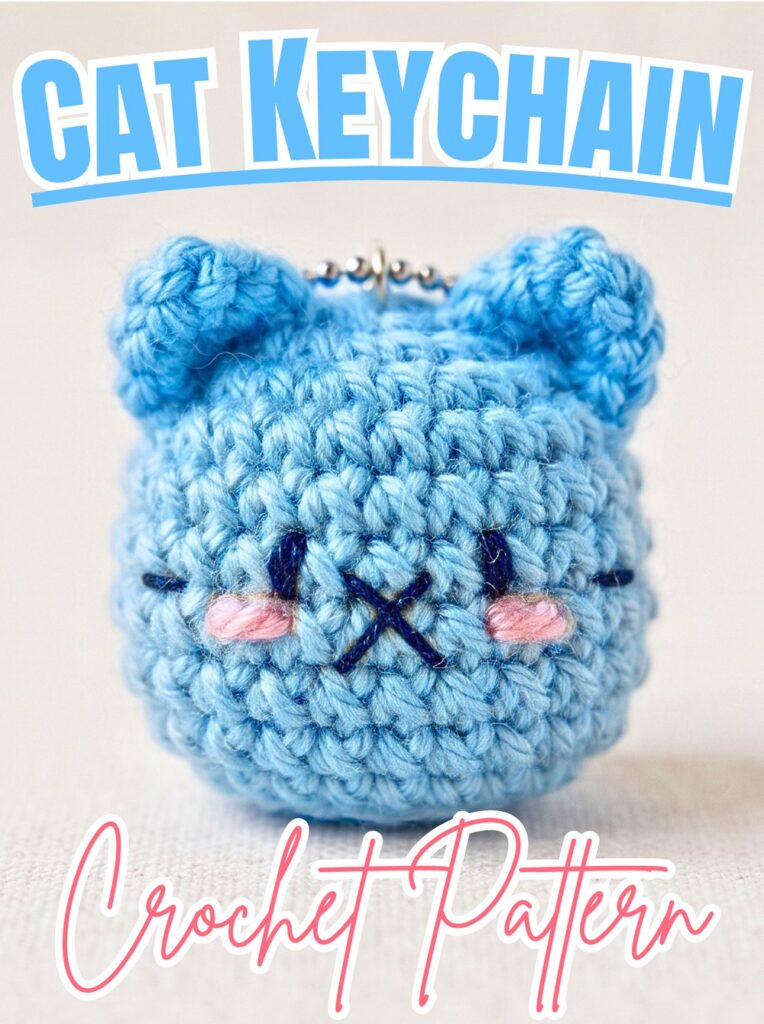
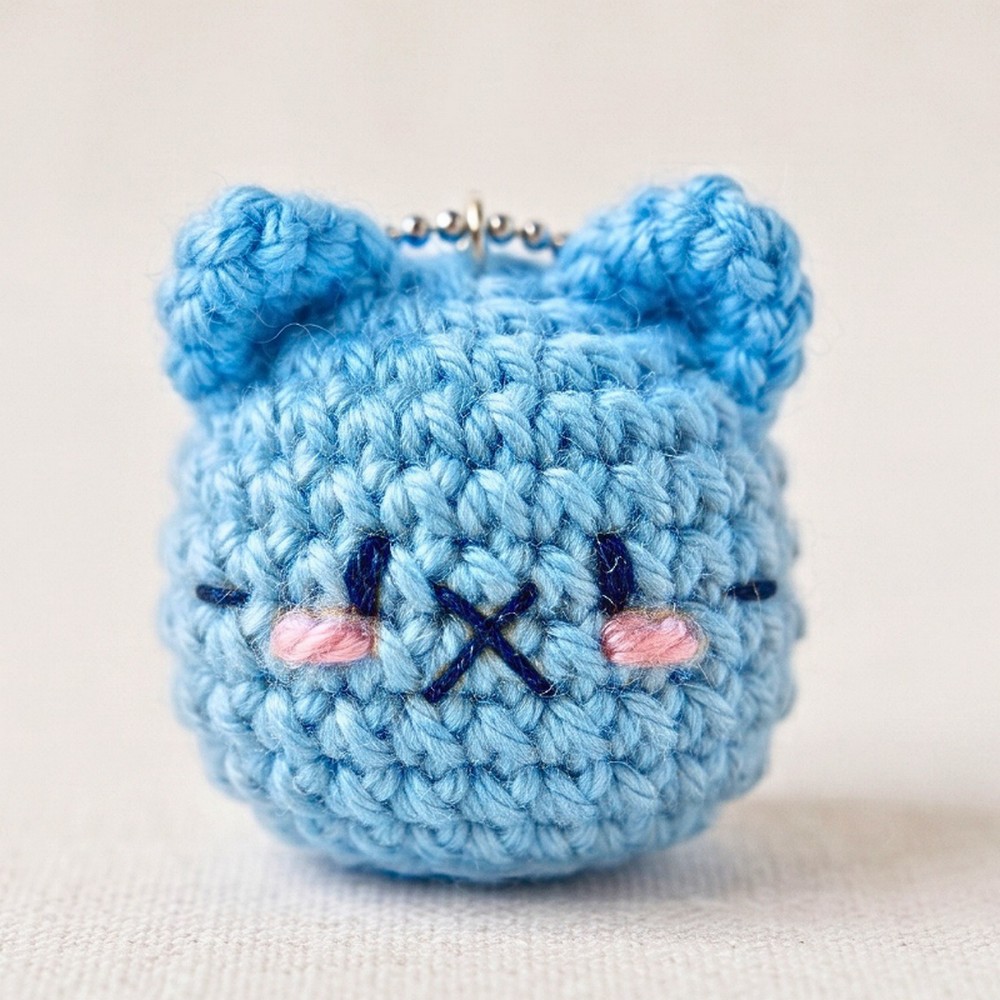
Small crochet toys can be surprisingly satisfying when you want to use leftover yarn for something practical and cute. This mini crochet cat uses a compact crocheted body, bobble-stitch paws, and embroidered features to create a pocket-sized companion.
This crochet tutorial walks you through shaping the body, forming the paws and pointed ears, closing the stuffing opening, and adding facial details and keychain hardware. Choose your favorite cat colors and follow each stage to finish your little charm.
Credit Riyal Crochet
Materials & Tools
- Main yarn (MC): Pink, yellow, or your preferred cat color.
- Contrasting yarn (CC): Dark brown for facial embroidery.
- Crochet hook: 3.0 mm.
- Stuffing: Polyester fiberfill.
- Keychain hardware: Ball chain or keychain loop.
- Tools: Pliers, yarn needle, and scissors.
Finished Size & Customization
The finished cat measures approximately 2 inches tall, making it suitable for keys, handbags, backpacks, or small handmade gifts.
Try pastel blue, grey, or ginger-inspired yarn for different cat styles. Felt inserts inside the ears or tiny embroidered bows can add personality without changing the basic pattern.
Pattern Abbreviations & Terminology
- ch: Chain
- sl st: Slip stitch
- sc: Single crochet
- dc: Double crochet
- BO: Bobble stitch
- dec: Single crochet decrease
- BLO: Back loop only
- R: Row or round
Step-by-Step Crochet Instructions
Step 1: Crochet the Starting Square
Yarn: Main color
Hook: 3.0 mm
Chain 6.
Starting in the second chain from the hook, work 1 sc into each chain across. You should have 5 stitches.
This narrow strip forms the foundation of the cat’s body. Keep the stitches even because the following rows build the small square that will become part of the body shape.

Step 2: Build the Body Fabric
Chain 1 and turn your work.
- R2: Work 5 sc across.
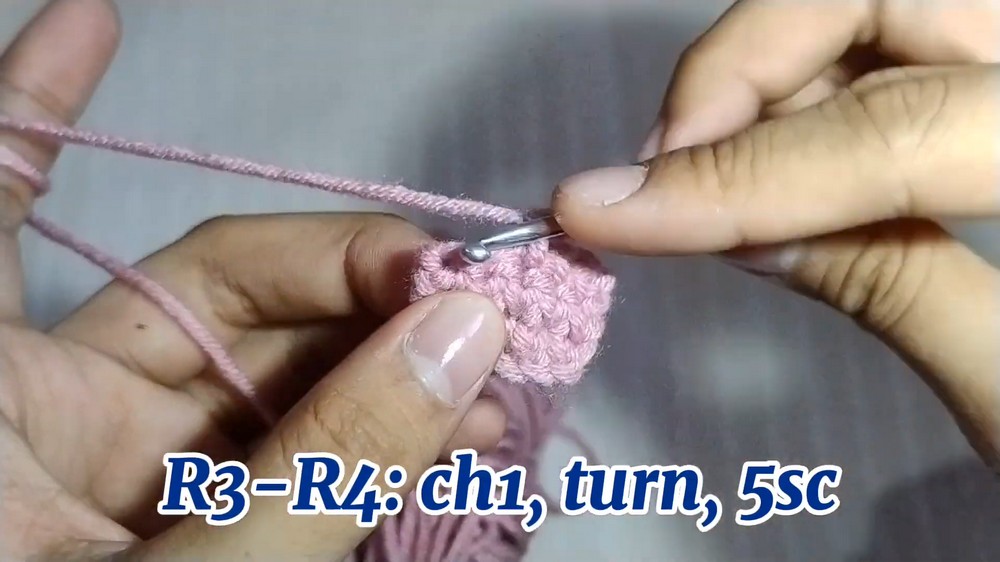
- R3-R4: Repeat chain 1, turn, and work 5 sc across each row.
You should now have a small square-shaped piece made from four rows of single crochet.
Helpful check: Count 5 stitches across each row. Keeping the edges consistent makes it easier to work around the square in the next steps.
Step 3: Work Around the Square
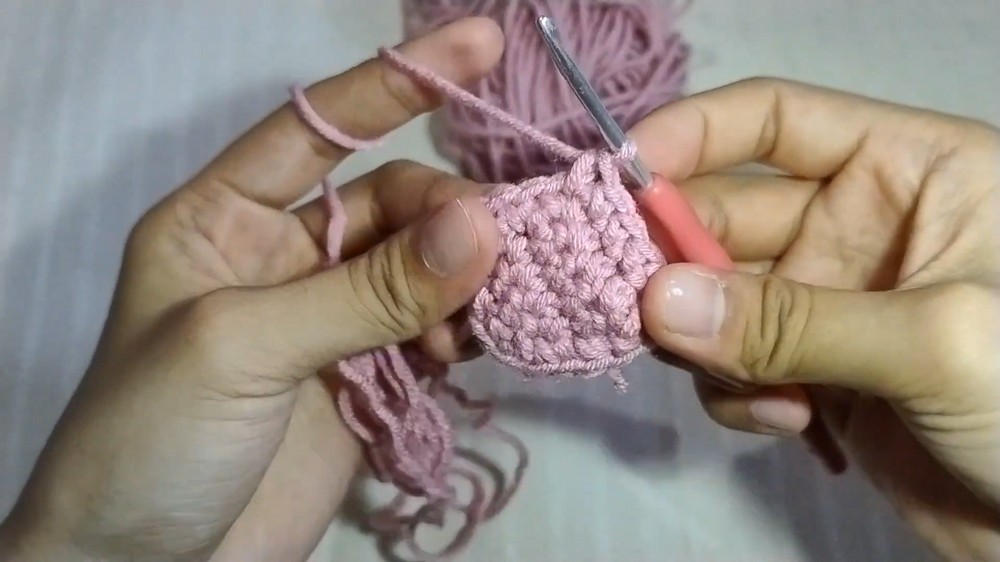
Instead of leaving the fabric as a flat square, begin adding stitches along its edges to establish the body’s perimeter.
- R5: Work 4 sc evenly down the side of the square.
- R6: Work 5 sc along the bottom edge, then 4 sc up the opposite side.
Distribute the side stitches evenly rather than forcing them into the same small space. This helps avoid gaps or puckering along the edges.
Step 4: Join and Establish the Body Round
Slip stitch to join, then chain 1.
Work 18 sc evenly around the entire perimeter for R7.
The goal is to establish a continuous working round around the starting piece so the cat’s body can be built upward.
Teaching tip: Check that the stitches are distributed evenly around the edges. If one side is noticeably tighter or more gathered than another, adjust the placement before moving on.
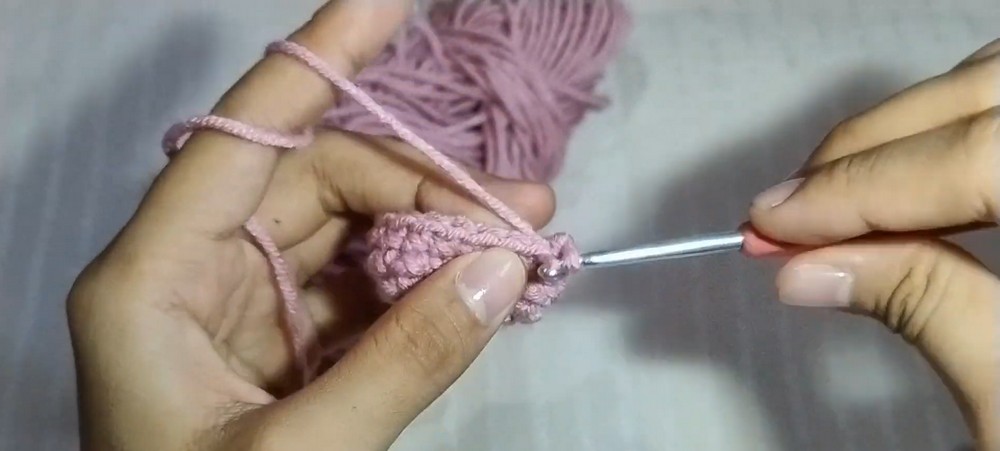
Step 5: Add the Two Bobble-Stitch Paws
R8 introduces the raised paws along the lower body.
Work the following sequence:
- 10 sc
- 1 bobble stitch (BO) for the first paw
- 2 sc
- 1 bobble stitch (BO) for the second paw
- 4 sc
The two bobbles should sit near the front of the cat, separated by two single crochet stitches.
Result check: Both paws should be visible as small raised bumps. If one bobble is hidden on the wrong side, reposition your work before continuing.
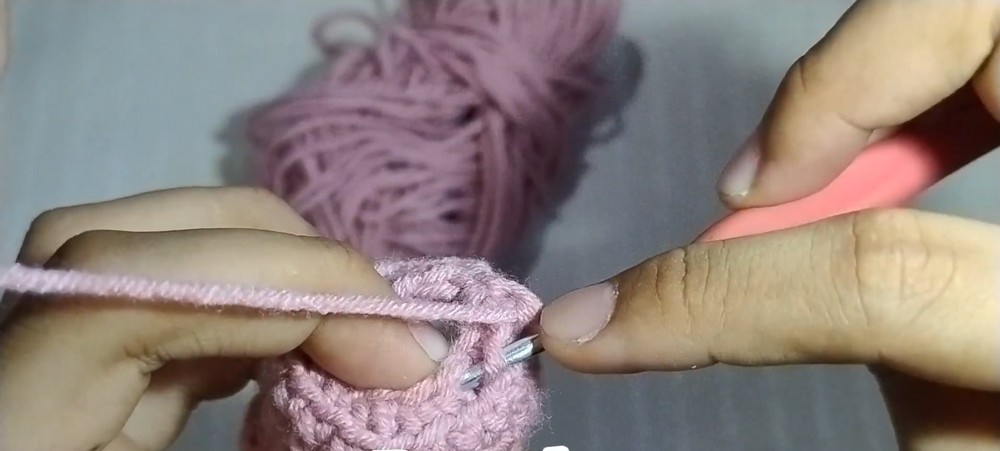
Step 6: Build the Upper Body
For R9-R11, work 18 sc around each round.
These three rounds extend the body above the paws and provide the height needed for the cat’s head.
Keep the stitch count consistent throughout this section. The small scale of the charm makes changes in stitch tension more noticeable, so avoid pulling the yarn too tightly.
Step 7: Begin Shaping the Top
For R12, work exclusively in the back loops only (BLO).
Repeat the following sequence around: [1 sc, 1 dec]
Continue around to reach 12 stitches.
Working in the back loops creates a distinct line inside the body while the decreases begin narrowing the opening.
Helpful tip: Make sure each decrease uses the intended stitches and that you are catching only the back loops. This round prepares the body for stuffing and closure.
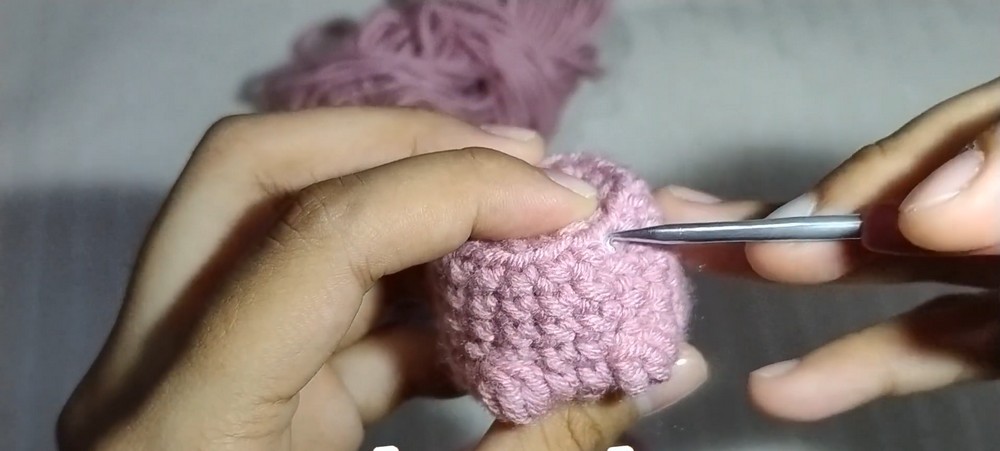
Step 8: Stuff and Close the Body
Before closing the top, fill the cat with polyester fiberfill.
Add small amounts at a time, gently distributing the stuffing into the corners so the body retains its shape without becoming overly firm.
For R13, work continuous decrease stitches around until the opening becomes small enough to close. Fasten off, leaving a yarn tail.
Thread the tail onto a yarn needle and weave it through the remaining front loops. Pull gently to cinch the opening shut, then secure and hide the tail inside the body.
Result check: The body should feel evenly filled, with no large opening or visible stuffing.
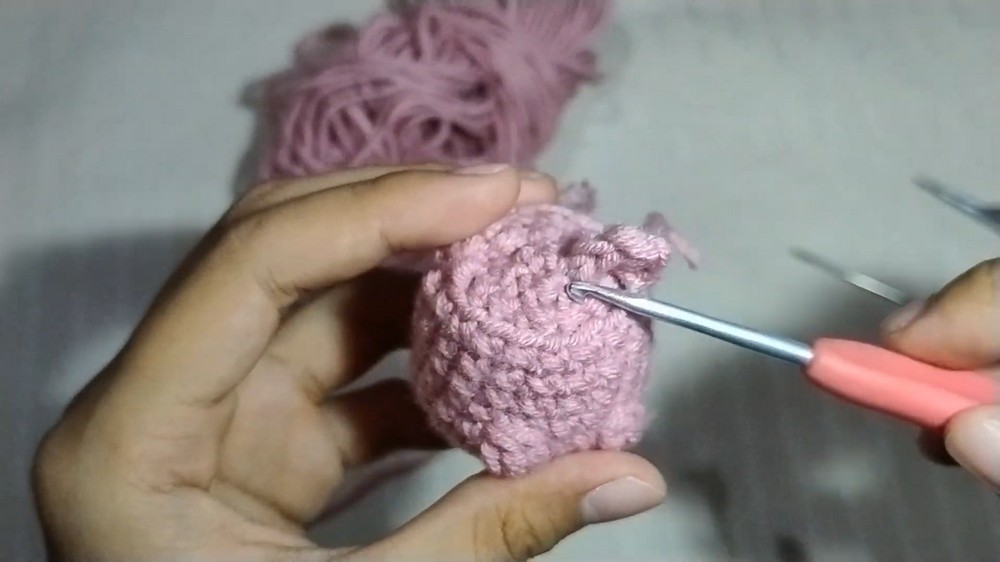
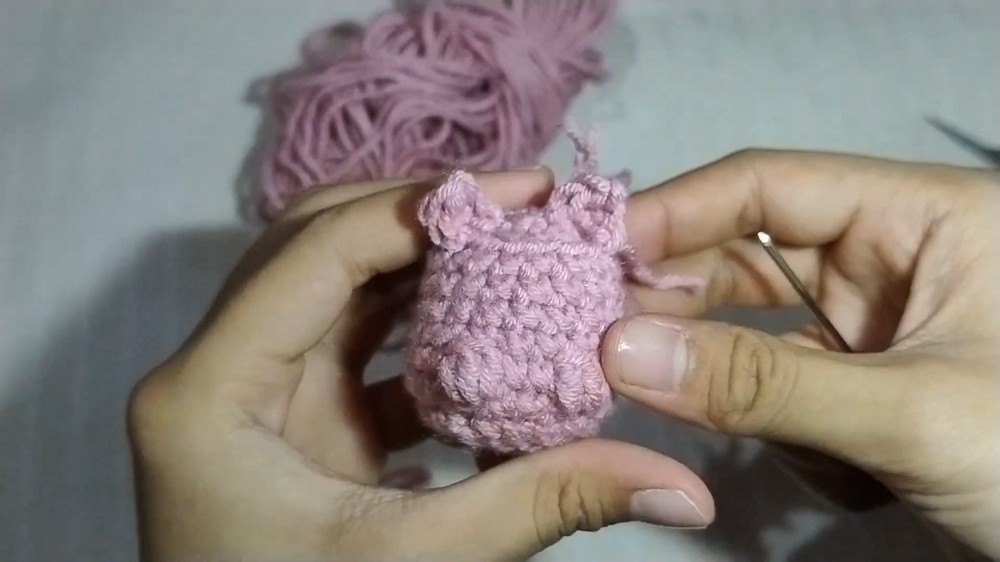
Step 9: Form the Pointed Cat Ears
Use the main yarn color to create the ears at the top corners of the head.
At one top corner stitch or space, work: Chain 3, 1 sc, 1 dc in the same stitch or space.
Fasten off and weave in the yarn ends securely. Repeat at the opposite top corner to form the second ear.
The combination of chain stitches and taller stitches creates a pointed ear shape.
Positioning tip: Keep both ears near the top corners and at a similar height so the cat’s silhouette looks balanced.
Step 10: Embroider the Face
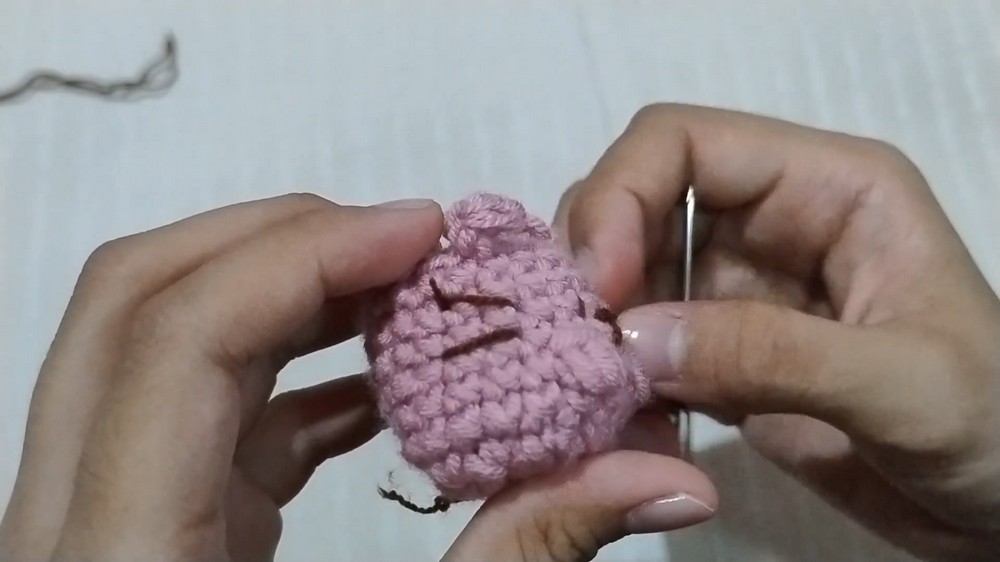
Thread the dark brown contrasting yarn onto your yarn needle.
Add the facial details:
- Whiskers: Embroider short horizontal lines on each side of the face.
- Eyes: Stitch small vertical lines or crosses.
- Nose: Embroider a small triangle centered between the paws.
Because the body is small, use short stitches and check the face from the front as you work. Keep the eyes and nose aligned so the expression remains clear.
Personalization idea: A different eye shape or a tiny bow can give your cat a distinct personality without changing its body construction.
Step 11: Attach the Keychain Hardware
Locate the top-center stitch between the two ears.
Using pliers, open the ball chain or keychain hardware as needed, pass its attachment through the chosen top stitch, and secure the hardware closed.
Check that the chain is firmly attached and that the stitch is not being pulled apart by the metal fitting.
Safety note: Small metal hardware can detach and pose a choking hazard. Keep the finished charm away from young children who may put small objects in their mouths.