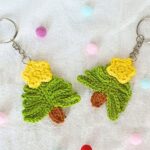
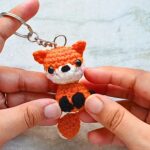
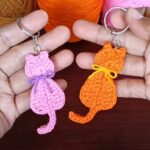
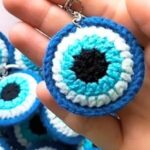
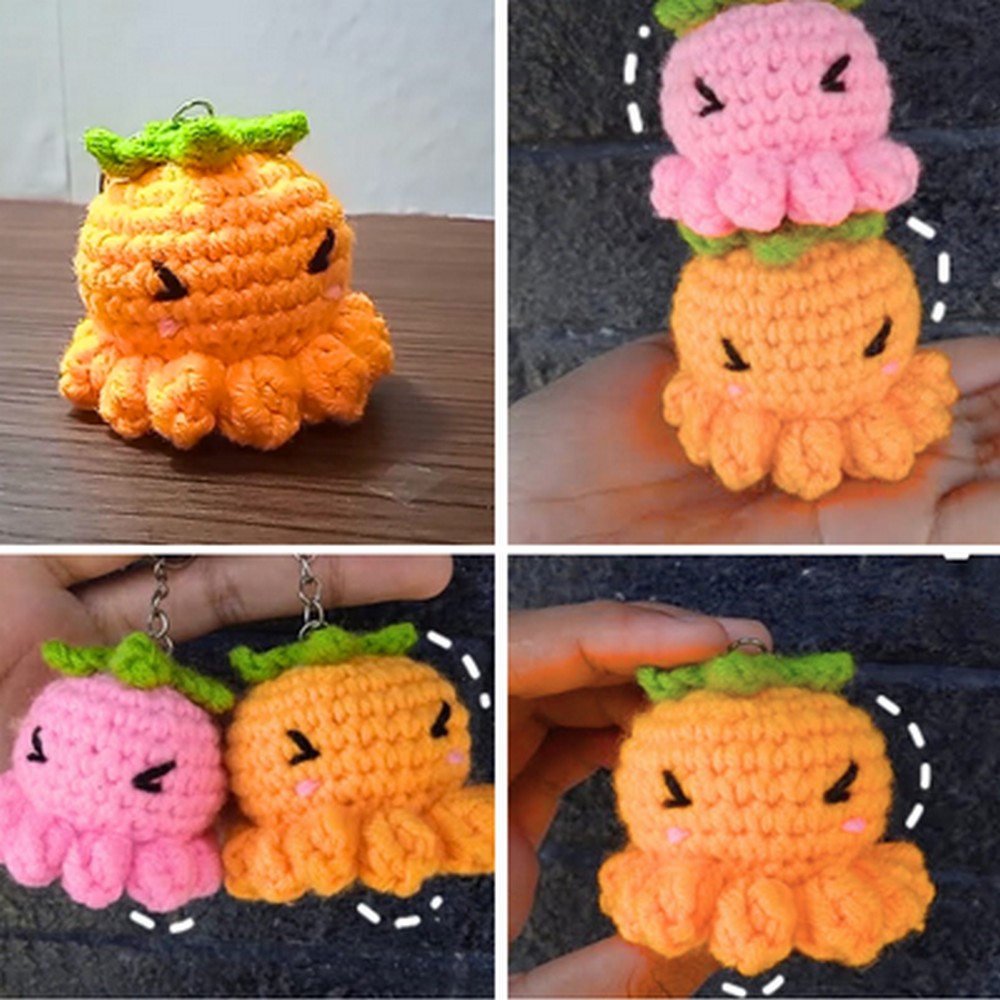
Brighten your day with this fun Crochet Carrot Octopus Keychain! Combining adorable design and functionality, this compact crochet project is perfect for all skill levels.
It’s versatile, charming, and makes a great personal accessory or thoughtful handmade gift.
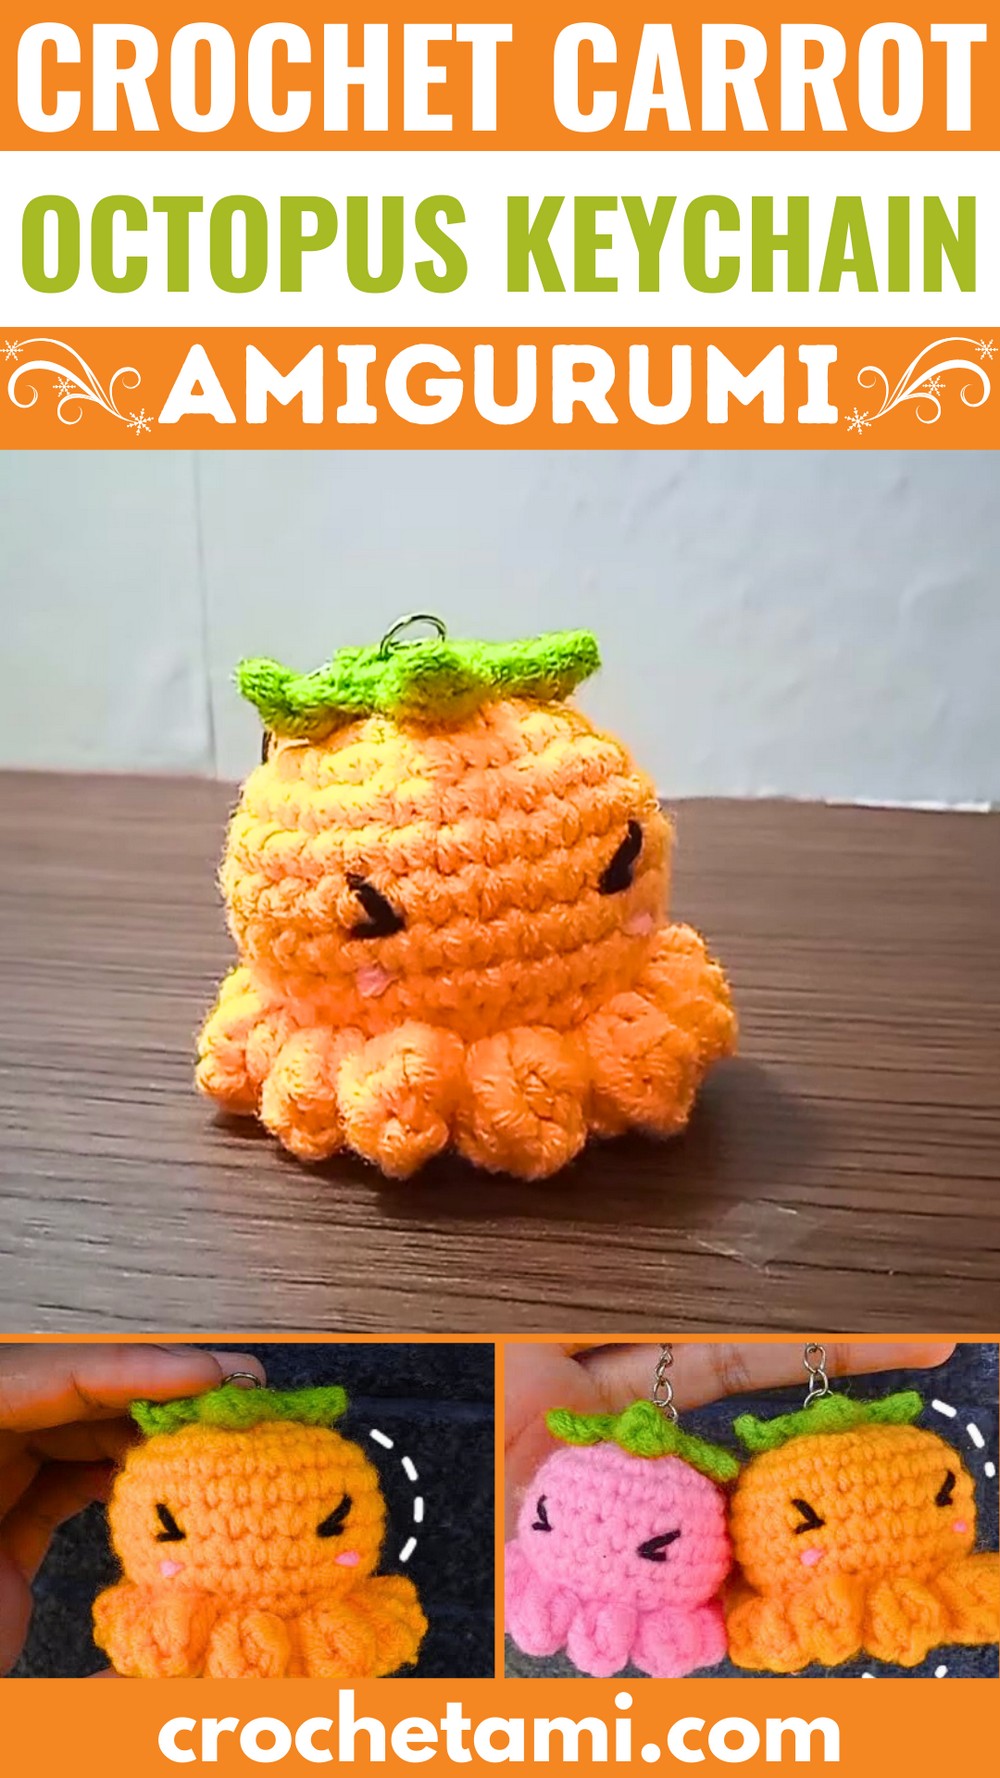
This Crochet Carrot Octopus Keychain is as practical as it is cute. It’s durable enough to accompany your keys or bag and lightweight for everyday use.
Its playful design appeals to all ages, while the sturdy craftsmanship ensures it lasts for years as a unique keepsake.
Credit Shine Hook
The step-by-step video tutorial for the Crochet Carrot Octopus Keychain is provided at the end of the post.
Materials and Preparation
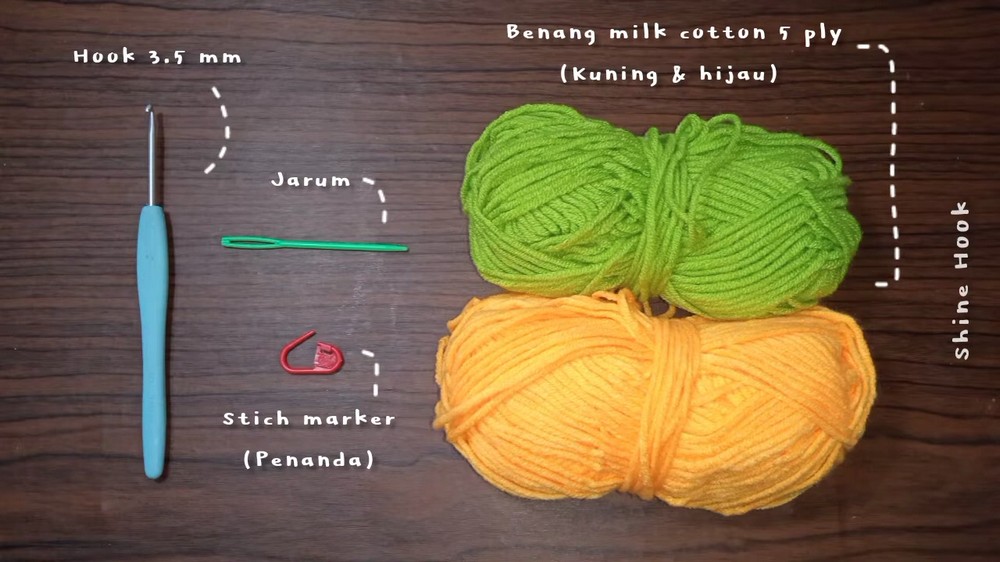
To make your charming carrot octopus keychain, you will need the following materials:
- Yarn:
- Orange yarn (for the carrot body)
- Green yarn (for the carrot leaves)
- Black embroidery thread (for the eyes and mouth, optional)
- Yarn Weight: Lightweight yarn (e.g., DK, #3). Adjust based on your preference for the keychain size.
- Hook Size: 2.5 mm or 3.0 mm (or size recommended for your yarn)
- Stuffing: Polyester fiberfill or scrap yarn for filling.
- Extras:
- Keychain ring or lobster clasp
- Stitch marker
- Yarn needle for sewing and weaving ends
- Scissors
Abbreviations and Notes
Here are the abbreviations used in this tutorial:
- MR: Magic ring
- SC: Single crochet
- INC: Increase (2 single crochets in the same stitch)
- DEC: Decrease (single crochet 2 stitches together)
- SL ST: Slip stitch
- CH: Chain
- FO: Fasten off

Notes:
- Mark the start of each round with a stitch marker to keep track of your progress.
- The tutorial is worked in continuous rounds unless otherwise noted.
- Adjust the hook size if your stitches are too tight or too loose.
- The project uses basic crochet stitches and simple amigurumi techniques, making it beginner-friendly.
Key to Success
- Use quality yarn for better durability and appearance.
- Follow the video tutorial closely for consistent stitchwork.
- Keep your tension steady to maintain even shapes.
- Add precise finishing touches to create a polished look.