Need a quick fall crochet idea that looks handmade and cozy? This easy ribbed crochet pumpkin starts with a simple flat panel and turns into a softly shaped pumpkin with beginner-friendly stitches and clear shaping tips.
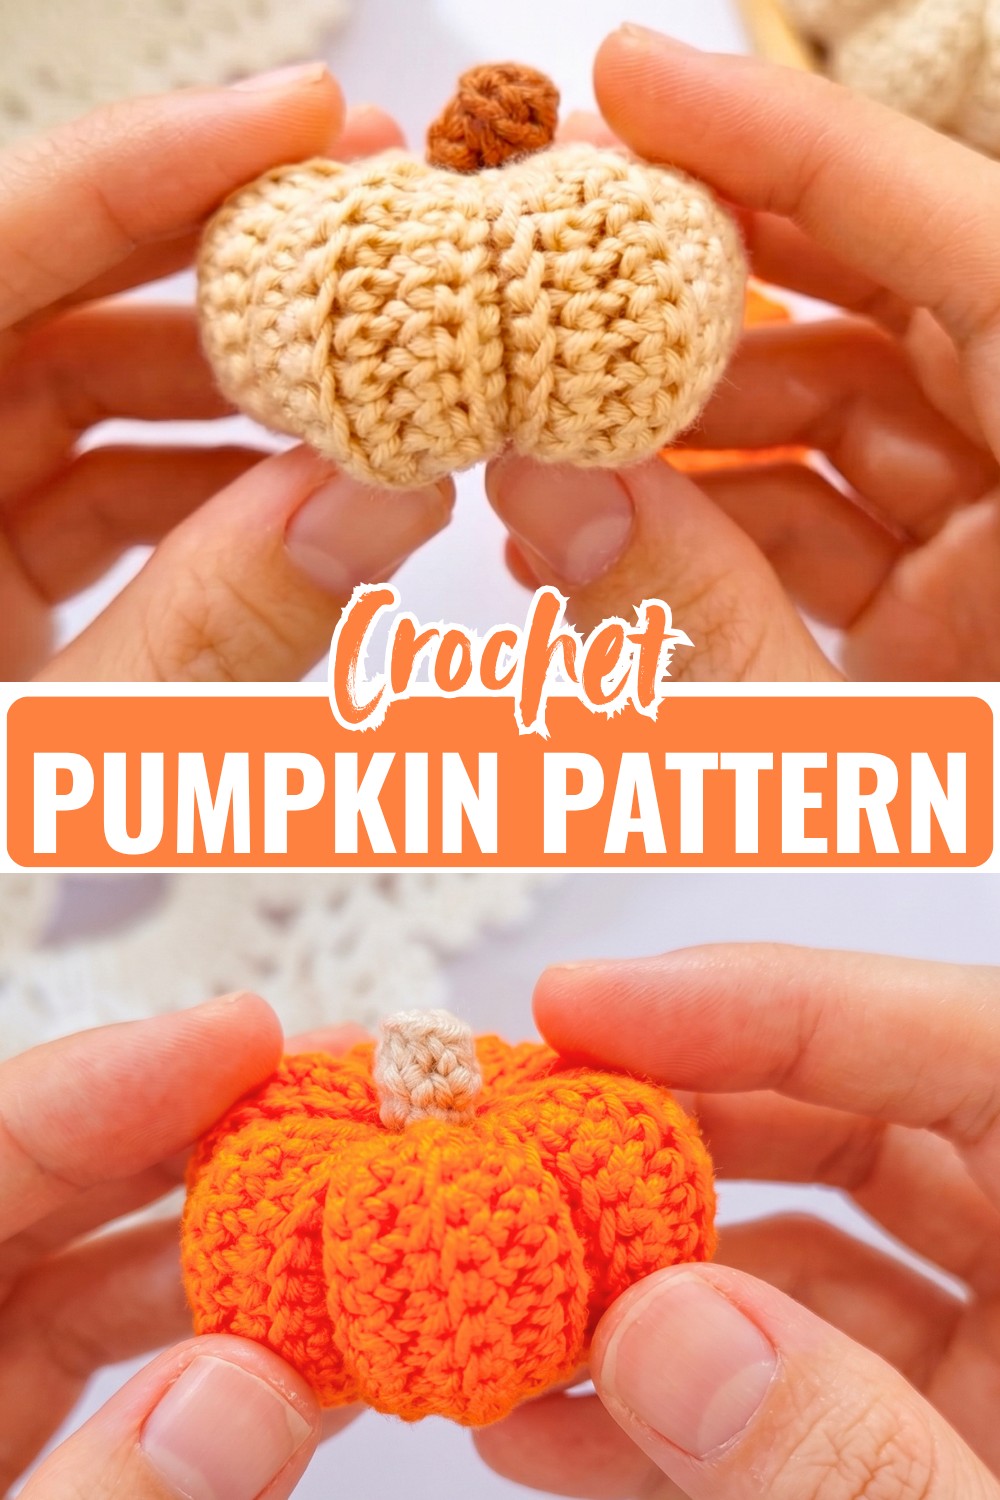
I love how this pumpkin takes such a simple piece of crochet fabric and turns it into something with a completely different shape. Instead of working the whole pumpkin in rounds, you’ll crochet a flat ribbed panel first, seam it into a cylinder, and then use a few simple shaping techniques to create those characteristic pumpkin sections.
The construction is straightforward, but the finishing steps are what really bring the pumpkin to life. You’ll learn how to close and stuff the body, create even ribs with your yarn needle, and add a small crocheted stem at the top. You can also adjust the yarn, hook, and number of rows if you want a smaller or fuller pumpkin for your fall display.
Credit Avocado Handmade
Materials & Tools Needed
- Yarn: 4-ply cotton yarn, approximately one small skein.
- Crochet Hook: 2.3 mm crochet hook.
- Stuffing: Fiberfill or polyester stuffing.
- Tapestry Needle: For seaming, shaping, and creating the pumpkin ribs.
- Scissors
- Stitch Markers: Optional, if you prefer extra help keeping track of your rows.
Finished Size & Customization Ideas
Approximate Size: Using the suggested yarn and hook, this pattern creates a small, palm-sized pumpkin suitable for seasonal decoration.
To customize the size: Use a longer foundation chain and add more rows to create a wider and taller pumpkin. For a smaller version, reduce the starting chain and number of rows.
For different looks: Try burnt orange, cream, sage green, or muted mustard yellow for a soft autumn palette. A thicker yarn with a larger hook will give you a larger, fuller pumpkin.
Pattern Abbreviations & Terminology
- ch: Chain
- sc: Single crochet
- blo: Back loop only
- st(s): Stitch(es)
- sl st: Slip stitch

Step-by-Step Crochet Instructions
1. Crochet the Pumpkin Body
The pumpkin begins as a flat rectangular panel. Working the stitches in the back loop only creates the raised ribbing that will become the pumpkin’s texture after the panel is seamed and shaped.
Foundation: Make a slip knot and ch 16.
Row 1: Starting in the 2nd ch from the hook, work 1 sc in each of the 15 chains. (15 sts)
Row 2: Ch 1, turn, then work 15 sc in blo across. (15 sts)
Rows 3–35: Repeat Row 2 by chaining 1, turning, and working 15 sc in blo across each row until you have a total of 35 rows. (15 sts per row)
Do not cut the yarn after the final row. The remaining yarn will be used to join the panel and shape the pumpkin.

2. Turn the Panel into a Pumpkin Shape
Once the ribbed panel is finished, the next step is to join the short edges and turn the flat piece into a hollow cylinder.
Seaming: Fold the rectangle so that the two short edges meet. Ch 1, align the edges carefully, and work 15 sl st through both layers to join them and form a cylinder. Ch 1, then cut the yarn, leaving a long tail of approximately 10–12 inches for shaping.

A Quick Tip for Keeping the Ribs Even
Before you start cinching the pumpkin, make sure the seam is positioned neatly at the back. When you pull the shaping yarn through the center, follow the natural lines created by the back-loop stitches. This makes the ribs look more evenly spaced instead of pulling the pumpkin into uneven sections.
Close and Stuff the Pumpkin
Bottom Closure: Thread the long yarn tail onto your tapestry needle and weave it through the stitches around one open end of the cylinder. Pull the yarn gradually to gather the opening completely closed, then secure it with a knot and fasten off.
Stuffing: Turn the piece right side out if needed and fill it firmly with fiberfill. Add the stuffing gradually so you can check the shape as you go. Avoid packing it so tightly that the stitches become stretched.
Top Closure: Using a fresh length of yarn, weave around the stitches at the top opening. Pull the yarn to gather the opening, but leave a small hole in the center for attaching the stem.
Create the Pumpkin Ribs
This is the step that gives the simple cylinder its recognizable pumpkin shape.
Pass your yarn needle through the center of the pumpkin from the bottom toward the top. Bring the yarn around the outside along one of the natural rib lines, then pass the needle back through the center.
Repeat this process around the pumpkin, pulling the yarn firmly enough to create an indentation without flattening the entire pumpkin. Continue until you have 6 distinct pumpkin sections.
Once the shape looks balanced, secure the yarn and weave in the remaining ends.

Shaping Tip for a Fuller Pumpkin
If one rib looks deeper than the others, loosen that strand slightly before securing the yarn. It is much easier to balance the sections while the shaping yarn is still adjustable than after everything has been fastened off.
Crochet the Pumpkin Stem
The small stem is worked separately and attached to the gathered top.
Round 1: Create a magic ring and work 6 sc into the ring. (6 sts)
Round 2: Work 6 sc in blo around. (6 sts)
Rounds 3–4: Work 6 sc through both loops around for 2 rounds. (6 sts per round)
Finishing: Cut the yarn, leaving a long tail for sewing.
Attach the Stem
Place the stem over the small opening at the top center of the pumpkin. Using the long yarn tail, sew around the base of the stem, catching both the stem and pumpkin fabric with each stitch.
Once the stem feels secure, weave the remaining yarn inside the pumpkin and trim the excess.

Final Finishing
Check the pumpkin from all sides and gently adjust the ribs if necessary. Make sure the stem is centered and that no stuffing is visible through the stitches.
Trim and weave in all remaining yarn ends, and your ribbed crochet pumpkin is ready for your fall display.

Conclusion
Your handmade crochet pumpkin is now complete! Its simple ribbed texture and soft rounded shape make it a lovely addition to a seasonal display, shelf, mantel, or autumn table arrangement.
The best part is that the same basic construction can be adapted into different sizes and color combinations, so once you’re comfortable with the shaping, you can easily make a whole collection of pumpkins to suit your fall décor.