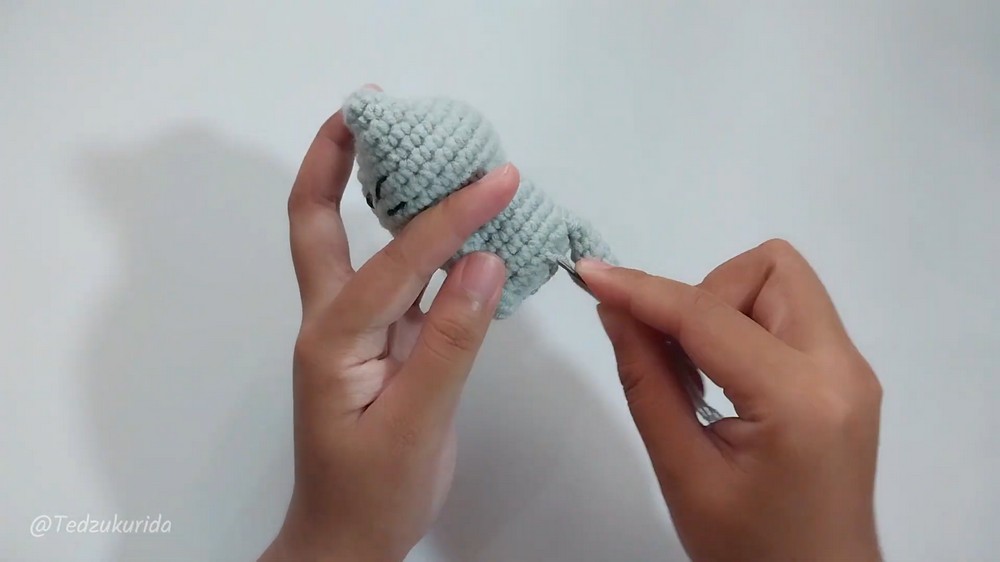
This palm-sized crochet cat gets its cute 3D paws directly from cluster stitches, so you can shape the little body without sewing on separate limbs.
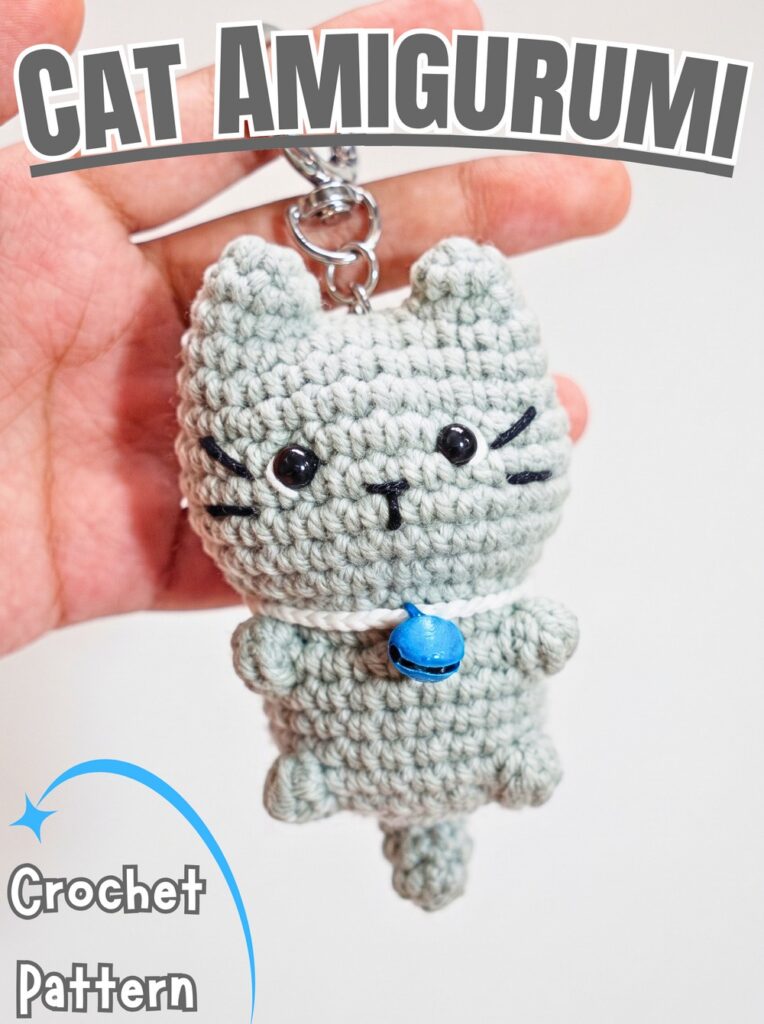
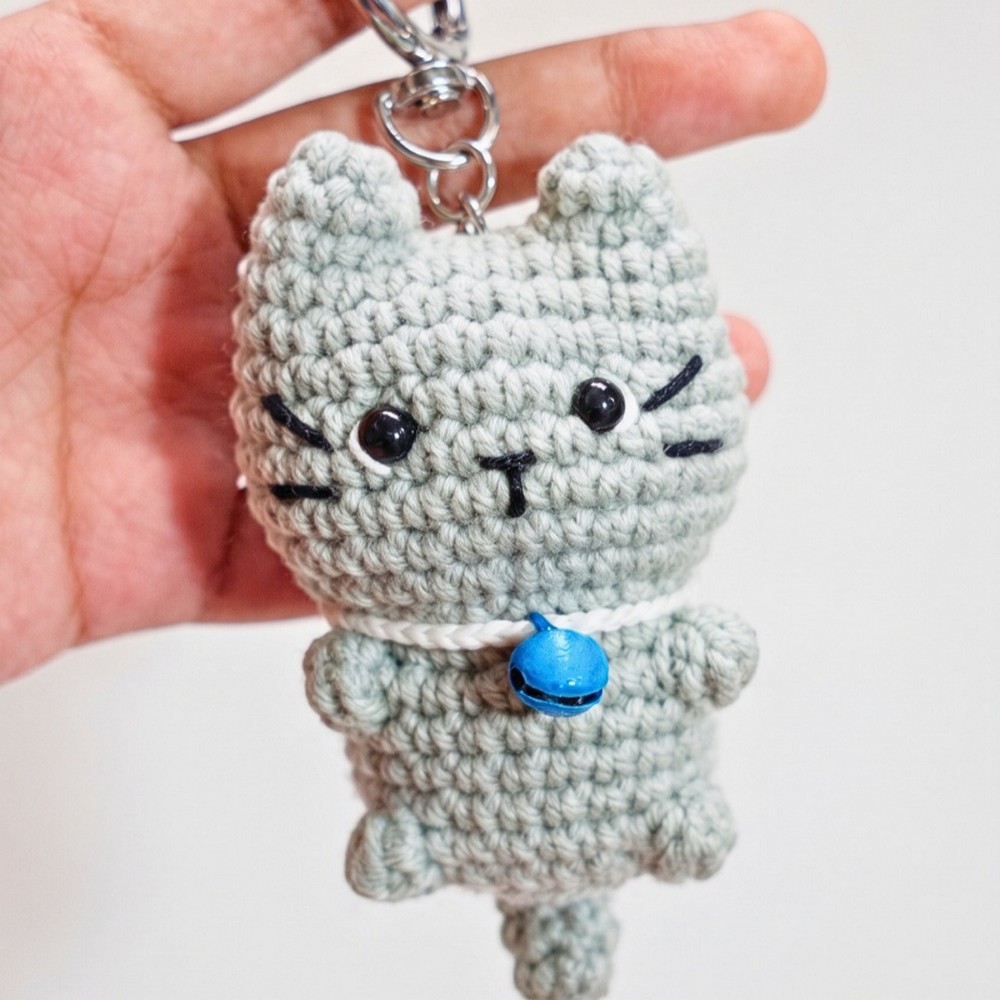
Tiny details give this crochet cat its personality, from the embroidered upside-down Y mouth to the little blue bell resting beneath its chin. The rounded head and body are worked as one connected crochet piece, while raised cluster stitches form the paws directly on the cat.
Using 5-ply cotton yarn, a small hook, and basic amigurumi stitches, the pattern builds from two simple ears into a complete head and body. You will also see exactly where to place the safety eyes, when to add stuffing, how to finish the six-stitch opening, and how to add the tail, facial details, and necklace.
Credit Tedzukurida
Materials & Tools Needed
- Milk Cotton yarn, 5-ply: Gray for the head, body, and tail
- Bali Cotton yarn or fine sewing thread: Black for facial features and white for eye details and necklace
- Crochet hook: 3.00–3.50 mm
- Safety eyes: 6 mm
- Small blue bell
- Polyester fiber: For stuffing
- Yarn needle
- Scissors
- Stitch marker
Finished Size & Customization
Using the recommended 5-ply yarn and 3.00 mm hook, the finished cat is approximately 3-4 inches tall, giving it a cute palm-sized shape.
You can personalize the finished cat without changing the basic pattern:
- Make it larger: Substitute plush, chenille, or velvet yarn and pair it with a larger 5.0 mm hook for a softer, oversized version.
- Change the coat color: Orange can create a tabby-inspired cat, while combinations of different colors can suggest calico or tuxedo markings.
- Change the accessory: Instead of the necklace, add a tiny crochet bow tie or a small ribbon.
- Adjust the necklace: The pattern uses 44 chains, but the chain can be lengthened or shortened so it sits comfortably around your particular cat.
Pattern Abbreviations
- MR – Magic Ring
- ch – Chain
- sc – Single Crochet
- inc – Increase (2 sc in one loop)
- dec – Decrease
- FLO – Front Loop Only
- dc – Double Crochet
- 5dc cluster stitch – 5 double crochet cluster stitches
- Rnd – Round
Before You Start
Place a stitch marker in the last sc of every round. This is especially useful when working the small head and body because the rounds continue directly into one another.
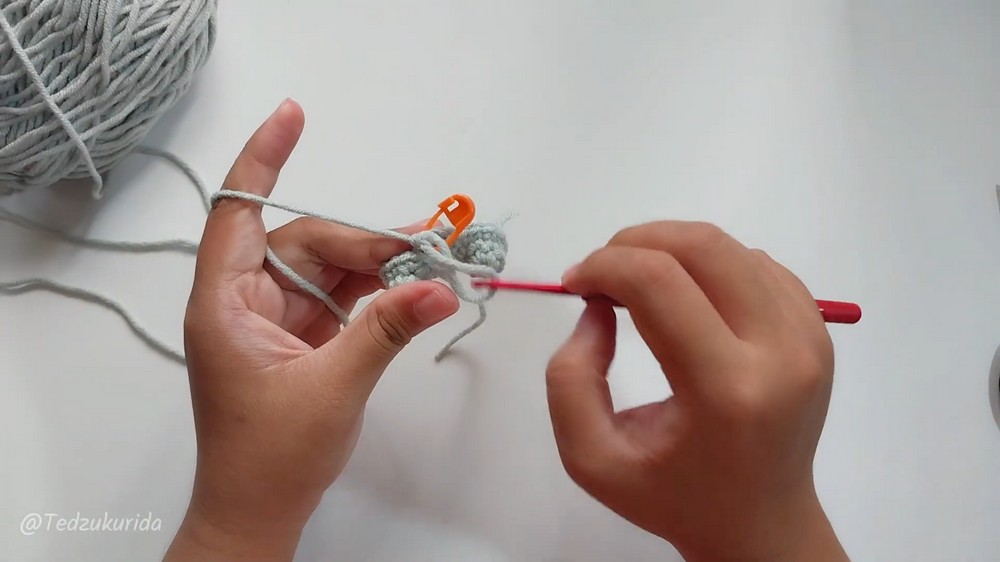
The two ears begin separately, but only the first ear is fastened off. The second ear stays attached to the yarn so you can join both ears together during Round 3. Keep the second ear connected until that joining round is complete.
Another important feature is the 5dc cluster stitch. These raised stitches are not separate pieces that need to be sewn on later. They create the front paws in Round 14 and the back paws in Round 18, so keeping their positions accurate will help the four paws appear balanced.
Step-by-Step Crochet Pattern
Ears & Head
Rnd 1: Make 6 sc in a Magic Ring; 6 sts.
Rnd 2: Sc around; 6 sts.
For the first ear, leave a yarn tail long enough for sewing, cut the yarn, and fasten off.
Make the second ear using the same Rounds 1–2, but do not cut the yarn. The working yarn from this ear will continue directly into the joining round.
Rnd 3: Ch 2, then work (sc, inc) x 8 around both ears and the connecting chains; 24 sts.
Check the ears after this round. They should now be joined into the top of the cat rather than remaining as two separate pieces.
Rnd 4: Sc around; 24 sts.
Rnd 5: Sc around; 24 sts.
Rnd 6: (3 sc, inc) x 6; 30 sts.
Rnd 7: Sc around; 30 sts.
Rnd 8: Sc around; 30 sts.
Rnd 9: Sc around; 30 sts.
Rnd 10: Sc around; 30 sts.
Rnd 11: (3 sc, dec) x 6; 24 sts.
Rnd 12: (sc, dec, sc) x 6; 18 sts.
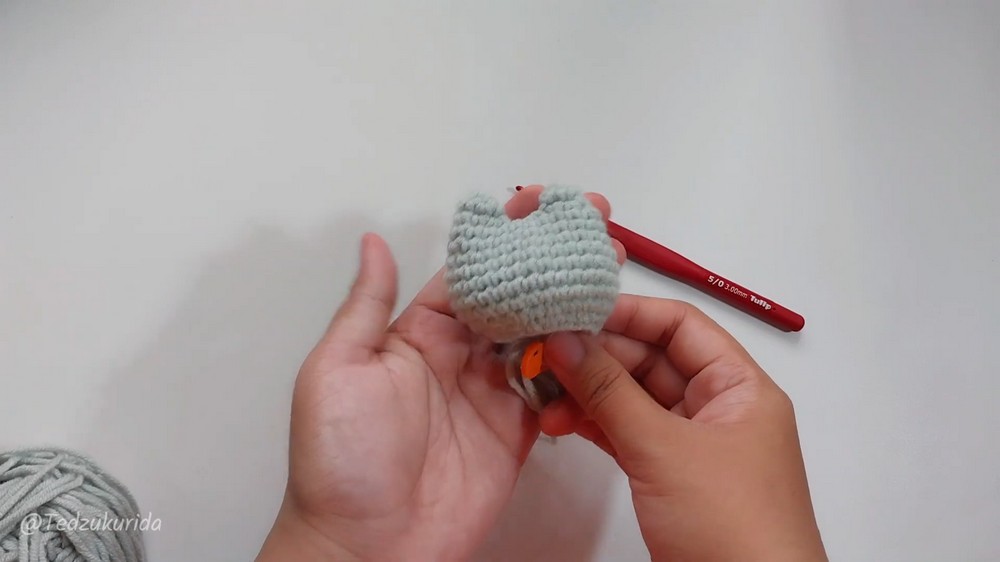
At this point, the head has narrowed toward the area where it transitions into the body. Keep the stitch marker in place so the decreases do not shift the round count.
Body & Built-In Paws
Rnd 13: Working in the FLO, (sc, inc, sc) x 6; 24 sts.
The FLO placement creates the transition needed for the next section, so make sure your hook catches only the front loop rather than both loops.
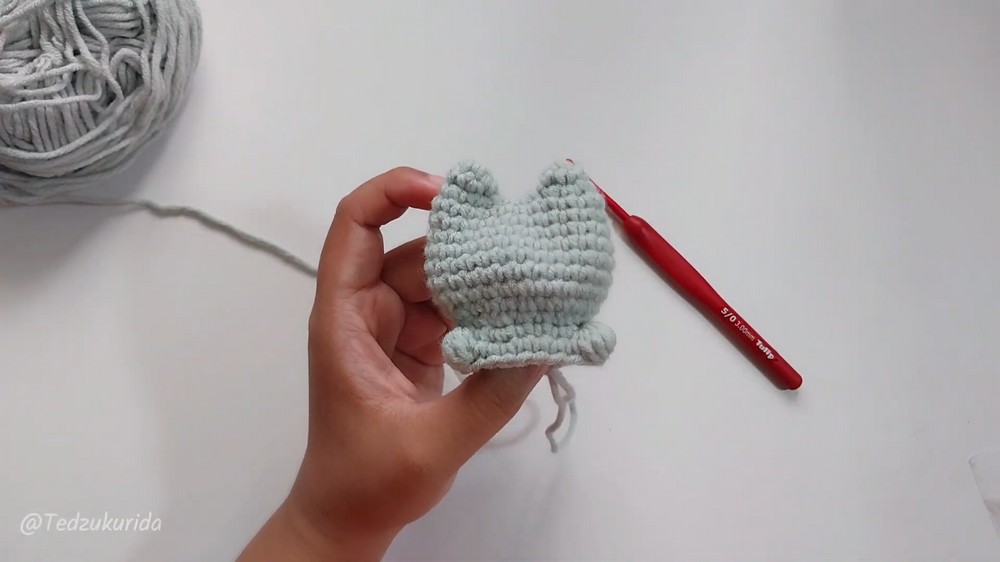
Rnd 14: 7 sc, 5dc cluster stitch, 7 sc, 5dc cluster stitch, 8 sc; 24 sts.
The two 5dc cluster stitches form the cat’s front paws. They sit directly in the body rather than being attached as separate limbs.
Place the Safety Eyes
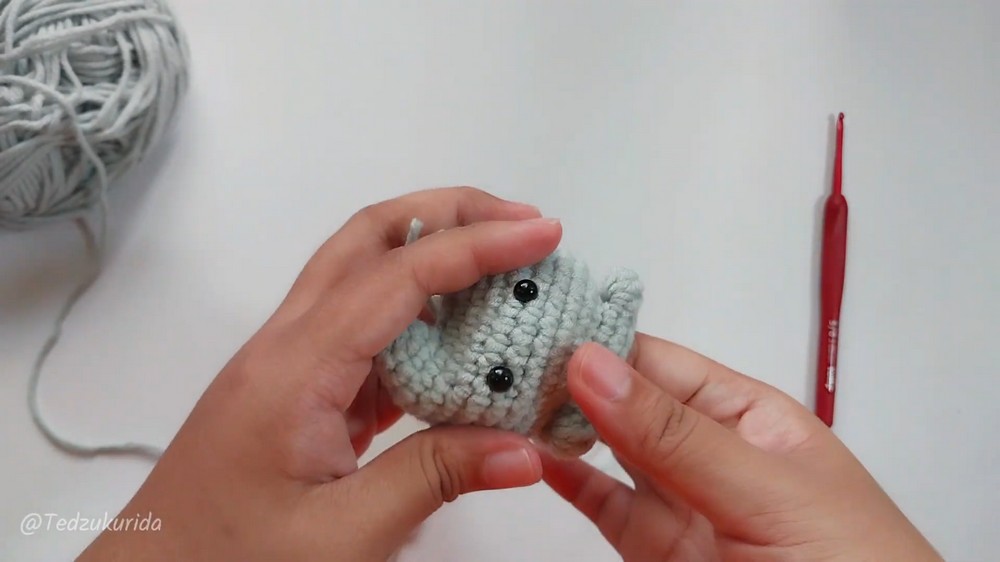
Insert the 6 mm safety eyes between Rounds 7 and 8, leaving a distance of 4 holes between them.
It is worth checking the face from the front before continuing. Make sure both eyes are sitting at the same height and are centered evenly between the ears.
Add the Head Stuffing
Fill the head firmly with polyester fiber. Add the stuffing gradually rather than forcing a large amount into the opening at once. The goal is a rounded, supported head while leaving enough room for the remaining rounds.
Rnd 15: Sc around; 24 sts.
Rnd 16: Sc around; 24 sts.
Rnd 17: Sc around; 24 sts.
Rnd 18: 8 sc, 5dc cluster stitch, 6 sc, 5dc cluster stitch, 8 sc; 24 sts.
These two new 5dc cluster stitches create the back paws or feet. Check the body from the front as you work so the paw positions remain visually balanced with the front pair.
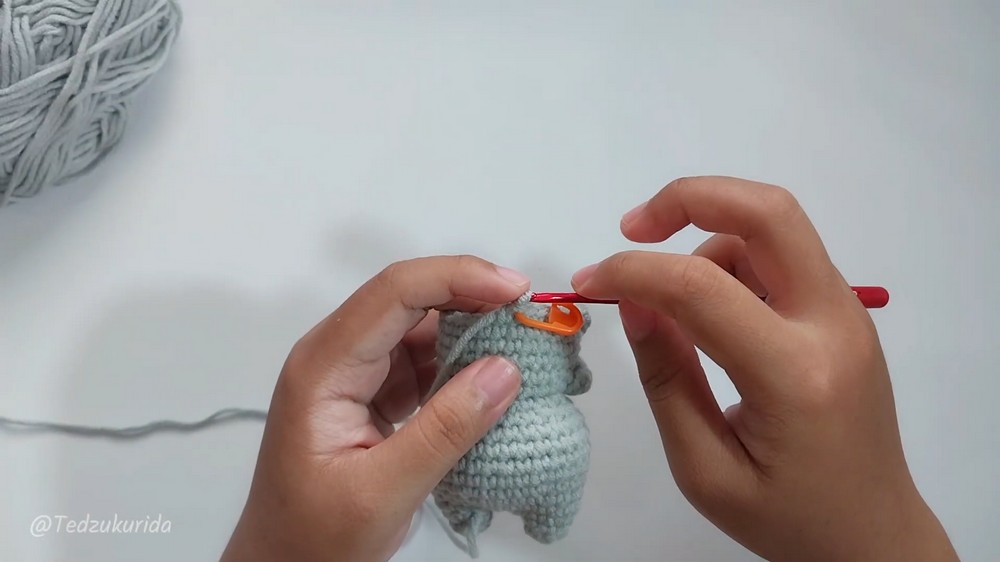
Stuff the Body
Fill the body with polyester fiber before closing the lower section. Continue adding stuffing until the body feels full and holds its rounded shape.
Rnd 19: (sc, dec, sc) x 6; 18 sts.
Rnd 20: (sc, dec) x 6; 12 sts.
Add more stuffing if necessary. This is the last convenient point to adjust the firmness before the opening becomes very small.
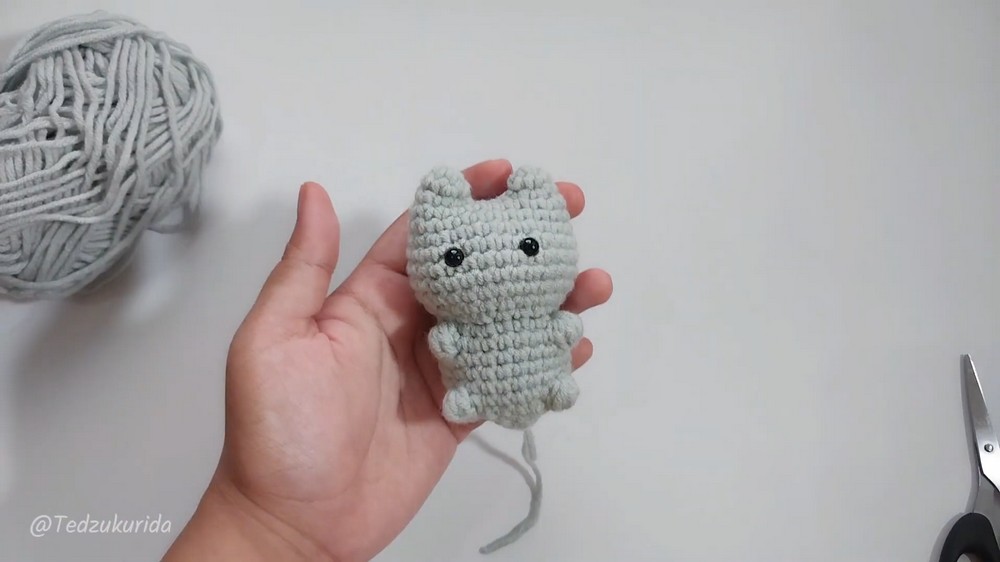
Rnd 21: (dec) x 6; 6 sts.
Leave a tail for sewing, cut the yarn, and pull it up through the final loop to fasten off. To close the remaining opening, sew through the FLO of the final 6 stitches, pull the opening tightly closed, and hide the remaining yarn inside the body.
Crochet the Tail
Rnd 1: Make 6 sc in a Magic Ring; 6 sts.
Rnd 2: Sc around; 6 sts.
Rnd 3: Sc around; 6 sts.
Rnd 4: Sc around; 6 sts.
Rnd 5: Sc around; 6 sts.
Rnd 6: Sc around; 6 sts.
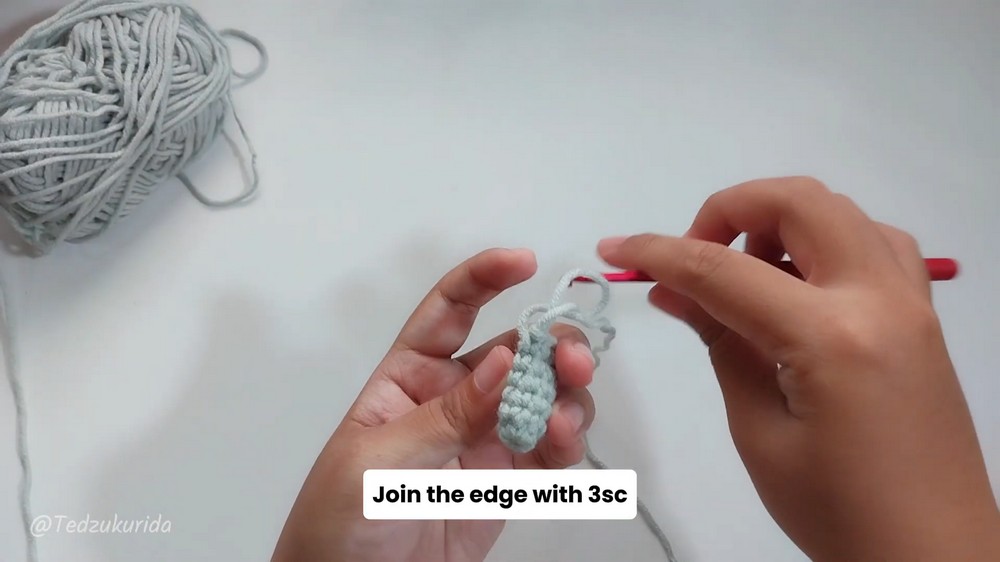
Add only a small amount of polyester fiber to the tail. It does not need to be packed firmly like the head and body.
Flatten the open end and join the two sides with 3 sc. Leave a long yarn tail for attaching the tail to the cat.
Crochet the Necklace
Using the white Bali Cotton yarn or fine thread, make 44 chains, or adjust the chain count until it fits comfortably around the cat’s neck.
The necklace should sit around the neck without pulling tightly against the body. The small blue bell will be added before the necklace is secured.
Assembly & Details
Attach the Tail
Use the long yarn tail from the tail piece to sew it firmly onto the lower back of the cat’s body. Once the tail is secure, fasten off and hide the remaining yarn inside the body.
Check the tail’s position before tightening the final stitches so it sits where you want it rather than leaning noticeably to one side.
Embroider the Face
Thread the needle with the black Bali Cotton yarn or sewing thread.
- Sew a small horizontal nose centered directly between the safety eyes.
- Add a small upside-down Y-shaped mouth immediately below the nose.
- Embroider two small diagonal whiskers on each side of the face.
Keep the embroidery stitches small so they suit the cat’s compact face.
Add the Eye Details
Switch to the white yarn or thread and sew one tiny vertical accent line along the outer edge of each safety eye.
These small white details add contrast to the eyes without requiring any additional crocheted pieces.
Add the Bell Necklace
Slip the small blue bell onto the 44-chain necklace. Wrap the necklace around the cat’s neck and tie it securely at the back.
Before trimming the ends, check that the necklace sits comfortably and that the bell remains centered beneath the face.