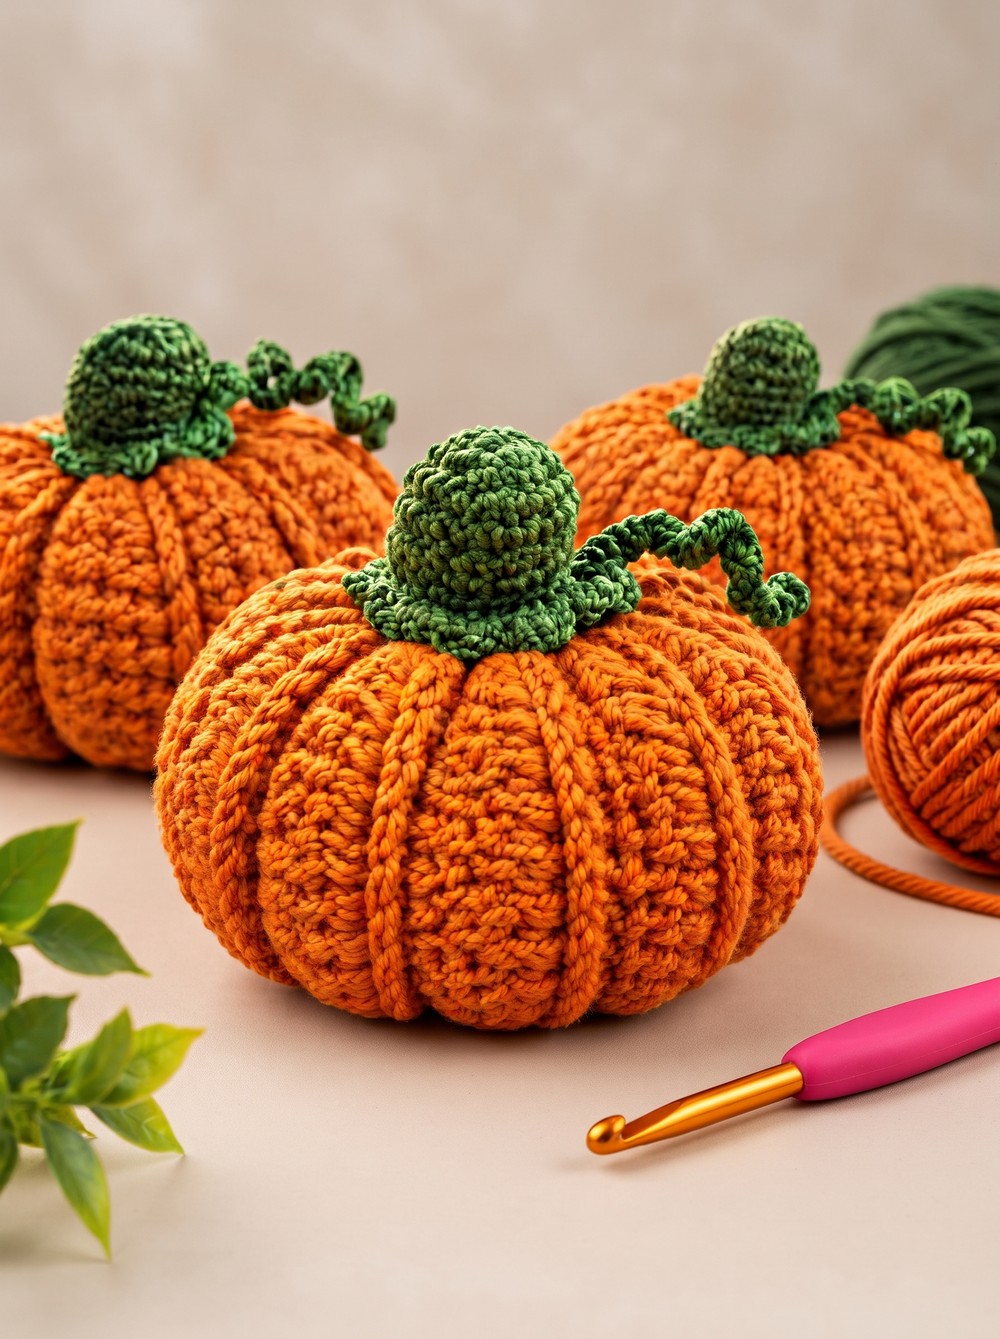
Make a charming mini crochet pumpkin with textured ribs, a tiny sage-green stem, and a curly vine that adds the finishing touch to this autumn decoration.
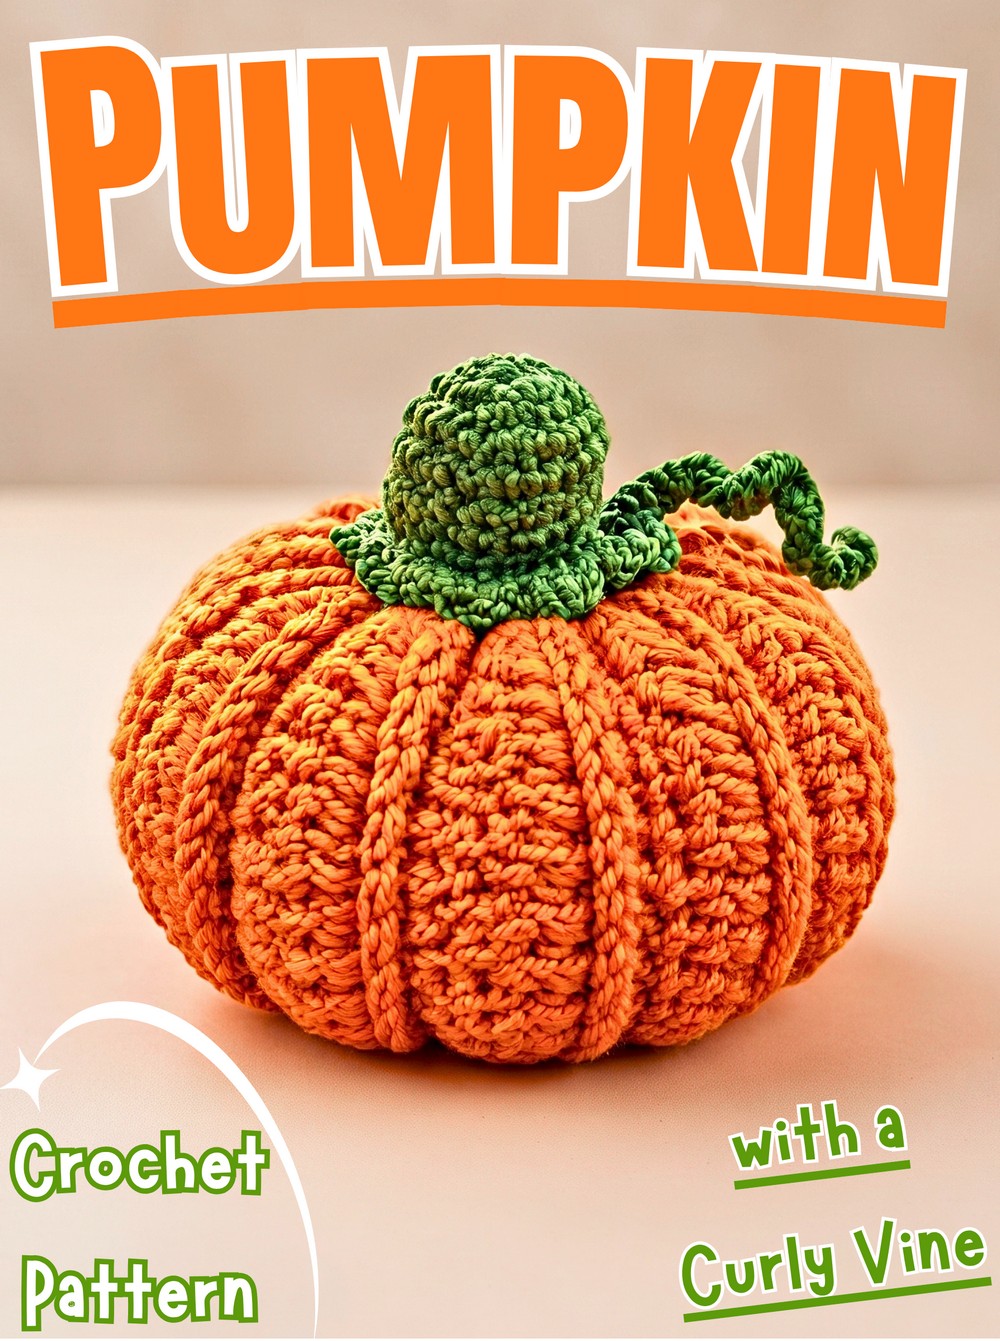
The soft, ribbed texture and naturally rounded shape make miniature crochet pumpkins lovely additions to fall decorating. This crochet version combines a peach, pink, or orange body with a small green stem and curling tendril, creating a decorative accent that looks especially sweet on wreaths, tiered trays, and seasonal displays.
You will begin with a flat ribbed panel, join its edges into a cylinder, and shape the crochet pumpkin with stuffing and drawstring-style gathering. Separate instructions show how to crochet the stem, flared calyx, and spiral vine before attaching them to the finished body.
Credit nora crochet
Finished Size
The completed pumpkin measures approximately:
- Diameter: 2.5 inches (6.5 cm)
- Height: 2 inches (5 cm), including the stem
These measurements are based on the specified yarn weights and hook sizes.
Materials & Tools Needed
Yarn
- Pumpkin Body: Sport/DK-weight acrylic or cotton yarn in peach, pink, or orange – approximately 20-25 g.
- Stem & Tendril: Sport/DK-weight yarn in light sage green – approximately 5-8 g.
Crochet Hooks
- 3.5 mm hook: For the ribbed pumpkin body panel.
- 2.0 mm hook: For the tight stem, calyx, and curling vine.
Notions & Supplies
- Polyester fiberfill stuffing – a small handful.
- Tapestry or yarn needle – blunt tip with a large eye for seaming and sculpting.
- Stitch marker.
- Sharp scissors.
Pattern Abbreviations
This pattern uses standard US crochet terminology.
- MR: Magic Ring
- Ch: Chain stitch
- Sl st: Slip stitch
- Sc: Single crochet
- Hdc: Half double crochet
- BLO: Back loop only (working solely into the strand furthest away from you)
- Inc: Single crochet increase (2 single crochets worked into the same stitch)
- St(s): Stitch(es)
- [ … ]: Repeat instructions within brackets the specified number of times
- ( … ): Total stitch count at the end of the round or row
Before You Begin
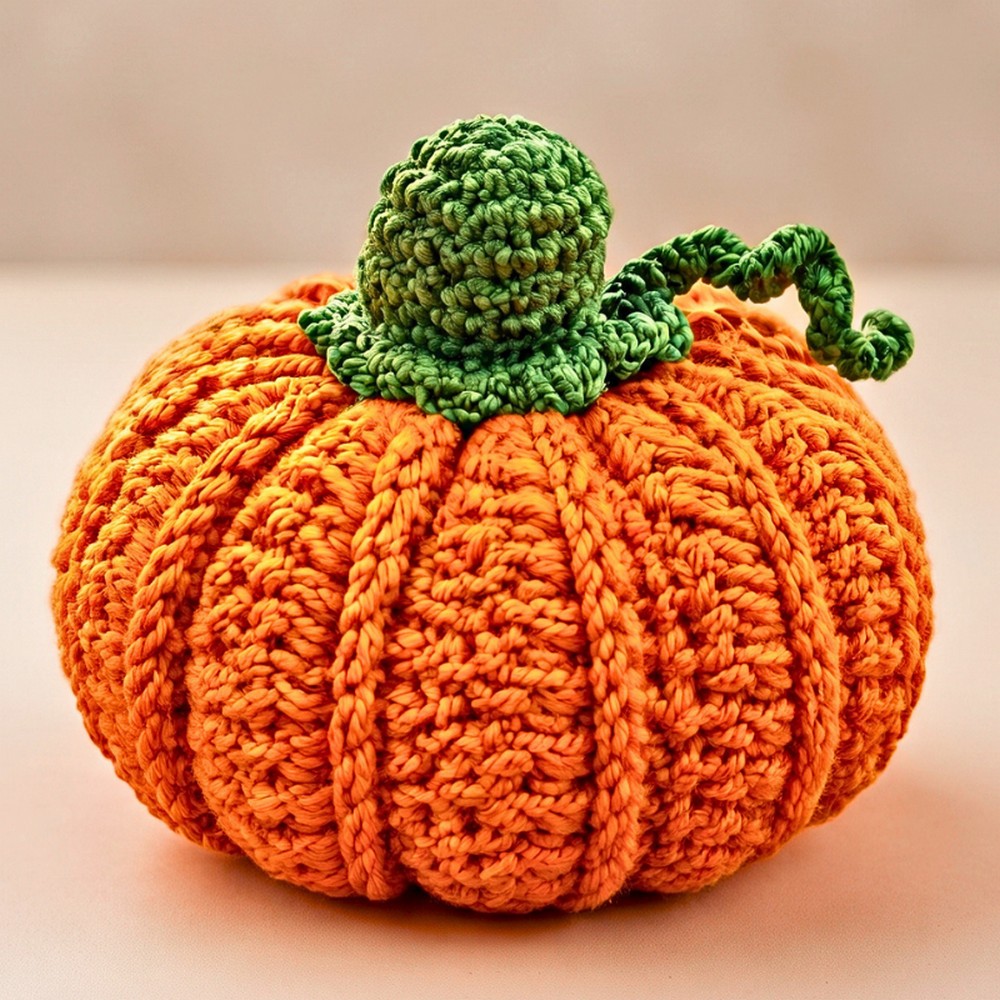
The pumpkin body is worked flat in rows with the 3.5 mm hook. Its back-loop-only stitches create the raised vertical ribs that become visible once the panel is joined and shaped.
The stem, calyx, and tendril are made separately with the smaller 2.0 mm hook, although the tendril is crocheted directly from the calyx before fastening off.
Keep the body yarn tail long when joining the panel. You will use it to close the openings, stuff the pumpkin, and sculpt its rounded sections.
Step-by-Step Crochet Instructions
Component 1: Ribbed Pumpkin Body
Worked flat back and forth in rows using the 3.5 mm hook and body yarn.
Foundation Chain: Tie a slip knot and place it onto the 3.5 mm crochet hook. Ch 20.
Row 1: Yarn over, skip the first 2 chains (these count as the turning chain), and work 1 Hdc into the 3rd chain from the hook. Work 1 Hdc into each remaining chain across to the end. Turn. (18 Hdc)
Row 2: Ch 2 (turning chain, does not count as a stitch), then turn. Working strictly in the BLO, work 1 Hdc into each of the 18 stitches across. Turn. (18 Hdc)
Rows 3-24: Repeat Row 2 until you have completed 24 rows total of ribbed texture, or until the panel measures roughly 7 inches (18 cm) when lightly stretched.

Joining the Body Panel
- Bring the first foundation row and the final row together with the right sides facing inward.
- Ch 1.
- Insert the hook through the outer loop of Row 24 and the corresponding bottom loop of the foundation chain.
- Work 1 Sl st through both layers across all 18 stitches to form a ribbed tube.
- Fasten off, leaving a long working yarn tail approximately 20-24 inches (50-60 cm) long for cinching and sculpting.
- Turn the tube right-side out so the slip-stitch seam sits inside.
Helpful shaping note: Keep the two edges aligned as you slip stitch them together. Matching the stitches across both layers helps the bottom and top openings sit evenly when you begin gathering the tube.

Component 2: Stem & Calyx Base
Worked in continuous/joined rounds using the 2.0 mm hook and green yarn.
Round 1: Make a MR. Ch 1, then work 6 Sc into the center of the ring. Pull the yarn tail firmly to close the center hole. Sl st to the first Sc to join. (6 sts)
Round 2 – Increase: Ch 1 and place a stitch marker. Work [1 Inc in the next st, 1 Sc in the following st] 3 times around. Sl st to the first Sc to join. (9 sts)
Rounds 3-5 – Stem Height: Ch 1. Work 1 Sc into each stitch around. Sl st to the first Sc to join. Repeat for 3 rounds total to form the stem shaft. (9 sts)
Round 6 – Flared Calyx Base: Ch 1. Work 1 Inc (2 Sc) into each of the 9 stitches around. Sl st to the first Sc to join. (18 sts)
Do not fasten off. Continue directly with the curly vine tendril using the active green yarn.

Component 3: Curly Vine Tendril
Worked directly off the flared edge of the calyx base using the 2.0 mm hook and active green yarn.
Chain Extension: Ch 10 directly from the final slip stitch of the calyx base.
Spiral Row:
- Skip the first chain from the hook.
- Work 2 Sc into the second chain from the hook.
- Work 2 Sc into each remaining chain back toward the base.
You will work into 9 chains, making 18 Sc in total. The concentrated stitch count causes the narrow strip to twist tightly into a spiral tendril.
Finishing: Sl st into the adjacent stitch along the rim of the calyx base to anchor the tendril. Fasten off, leaving an 8–10 inch (20–25 cm) tail for attaching it to the pumpkin.

Assembly
1. Cinch the Bottom
- Thread the long body yarn tail through the tapestry needle.
- Turn the ribbed cylinder upright.
- Weave the needle in and out through the outer edge of every second rib around the bottom opening.
- Pull the tail firmly like a drawstring until the opening closes completely.
- Take 2–3 small lock-stitches across the gathered hole to seal it tightly, but do not cut the remaining yarn.
2. Stuff the Pumpkin
Push polyester fiberfill through the open top of the cylinder.
Pack the stuffing moderately firm so the pumpkin holds a plump, rounded barrel shape without over-stretching the ribbed stitches.
3. Cinch the Top
- Weave the needle along the top rim stitches using the same in-and-out drawstring method.
- Pull the yarn to cinch the top opening tightly closed.
- Pass the needle through the center knot to secure the closure.

4. Sculpt the Pumpkin Ribs
Sculpting gives the pumpkin its distinct rounded lobes and deeper vertical grooves.
- Guide the needle straight down through the center of the pumpkin from the top hole, pulling it out through the bottom center.
- Pull snugly to create a slight vertical depression.
- Bring the yarn around the outside of the pumpkin, aligning it along one of the natural vertical ribbed grooves.
- Re-insert the needle through the bottom hole and pull it straight up through the top center.
- Tug firmly to compress that section into a distinct pumpkin segment.
- Repeat this wrapping action 5 to 6 times, spacing the sections equally around the pumpkin and pulling taut each time to sculpt the lobes.
- Tie a secure knot at the base of the top indentation.
- Bury the remaining tail inside the body and clip the thread.
Shaping tip: Keep the sculpting strands aligned with the natural grooves created by the BLO ribbing. Pull each strand firmly enough to define a lobe, but avoid pulling so tightly that the pumpkin loses its rounded shape.
5. Attach the Stem & Vine
- Thread the green yarn tail onto your tapestry needle.
- Center the flared calyx base directly over the cinched top hole and sculpted indentations.
- Using whip stitches, sew the outer perimeter of the 18-stitch calyx into the surface stitches of the pumpkin top.
- Insert the needle through to the underside and tie off securely.
- Hide the yarn end inside the center filling and trim it flush.
- Allow the curled tendril to drape naturally down the side.
Customization Ideas
Change the Pumpkin Shape
You can adjust the initial chain count to make pumpkins with different proportions:
- Flatter Pumpkin: Ch 15 for a squatter mini pumpkin.
- Taller Gourd: Ch 25 or more for a taller shape.
- Wider Circumference: Work additional repeat rows of Row 2 before seaming. For classic pumpkin proportions, keep the finished panel length approximately double its width.
Try Different Yarn Weights
Changing the yarn weight and hook size gives you another way to vary the finished size:
- Worsted-weight yarn: Use a 4.5 mm hook to make a palm-sized decorative pumpkin.
- Plush blanket or chenille yarn: Use a 6.0 mm hook to create a large, squishy cushion.
Explore Seasonal Colors
Although peach, pink, and orange give the pumpkin a traditional autumn feel, other shades can create a softer, modern look. Try dusty rose, cream, mustard, or olive green for rustic seasonal décor.
For a different stem detail, use a brown cinnamon stick in place of the crocheted stem.
Ways to Use Your Crochet Pumpkin
Once finished, this little ribbed pumpkin can add a handmade touch to several autumn displays.
- Fall Wreaths: Add it to a seasonal wreath for a textured handmade accent.
- Tiered Trays: Arrange it with other small fall decorations.
- Table Settings: Use it as a decorative detail for an autumn table.
- Seasonal Displays: Combine pumpkins in different yarn colors and sizes to create a varied fall arrangement.
With its raised ribs, sculpted shape, and curled green tendril, this compact crochet pumpkin makes a charming addition to seasonal decorations. Experimenting with yarn weights, hook sizes, and colors also lets you create a collection of pumpkins with different shapes and sizes.