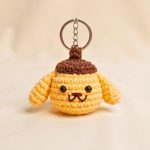
Create a tiny crochet graduation keepsake with a structured black mortarboard, a neat circular band, and a golden tassel that makes this miniature cap extra special.

Miniature crochet graduation caps make thoughtful handmade keepsakes for graduation celebrations, amigurumi accessories, and small personalized gifts. A firm square top paired with a rounded skullcap band gives this little crochet design its classic mortarboard shape, while the bright tassel adds a traditional finishing touch.
The pattern uses simple single crochet stitches to create the square top and the separate band. You will also make a small yellow hanging cord and tassel before joining the pieces together. Keep the optional keyring hardware for a portable charm, or use the finished cap as a decoration for crocheted animals, dolls, and graduation-themed accessories.
Credit crochet Sinarra
Materials & Tools Needed
- Yarn:
- Main Color (Cap): Black DK or 4-ply sport-weight cotton/acrylic yarn.
- Accent Color (Tassel): Yellow or gold DK yarn.
- Crochet Hook: 2.5 mm or 3.0 mm. Choose a size that creates tight, dense stitches so the cap holds its structure.
- Tapestry / Yarn Needle: For seaming and weaving in ends.
- Scissors
- Adhesive: Clear fabric glue or hot glue for attaching the band to the top plate.
- Hardware (Optional): Keyring with jump ring and small pliers.
Finished Size & Customization Ideas
Approximate Finished Size:
- Top Mortarboard: Approximately 5 cm × 5 cm (2″ × 2″).
- Base Band: Approximately 4 cm (1.5″) in diameter.
Customization Ideas:
- School Colors: Replace traditional black with royal blue, crimson, emerald green, or white to coordinate with different graduation gowns.
- Metallic Thread: Add a strand of gold or silver embroidery floss when wrapping the tassel fringe for extra shine.
- Attachments: Add a brooch pin back to make a graduation corsage, or sew the cap onto amigurumi bears, owls, or doll heads.
Pattern Abbreviations & Terminology
All terms are in standard US crochet terminology.
- ch: Chain
- sc: Single Crochet
- st(s): Stitch(es)
- sl st: Slip Stitch
- FO: Fasten Off

Step-by-Step Crochet Instructions
This miniature graduation cap is made in three crocheted pieces: a flat square mortarboard, a rectangular strip that forms the circular skullcap band, and a yellow tassel with its hanging cord. After preparing these pieces, you will attach the top to the band and secure the tassel in place.
Part 1: Crochet the Mortarboard Top
The square top is worked flat in turning rows. Once the rectangle is complete, a border round is added around all four edges to give it a neat, defined outline.
Foundation Chain
With black yarn, make ch 13.
Row 1
- Insert your hook into the second chain from the hook.
- Work 1 single crochet (sc) in that chain.
- Continue working 1 sc in each remaining chain across.
Stitch count: 12 sts

Row 2
- Chain 1 and turn your work.
- Work 1 sc in each stitch across the row.
Stitch count: 12 sts
Rows 3-11
Repeat Row 2 until you have completed a total of 11 rows.
Each row should contain 12 single crochet stitches.
Stitch count: 12 sts per row
Border Round
After completing Row 11, work a border around the square to give the edges a clean finish.
- Without turning your work, chain 1 to rotate toward the side edge.
- Work 1 sc evenly into each row-end down the first edge. You should have 11 sc along this side.
- Work
(sc, ch 1, sc)into the corner stitch to turn. - Work 1 sc into each stitch across the bottom foundation edge. You should have 12 sc.
- Work
(sc, ch 1, sc)into the next corner. - Work 1 sc evenly along the second side edge, making 11 sc.
- Work
(sc, ch 1, sc)into the next corner. - Work 1 sc across the top edge, making 12 sc.
- Finish the border with a slip stitch into the starting single crochet of the round.
Finishing the Square
- Cut the yarn and fasten off.
- Use your tapestry needle to weave in all loose ends on the wrong side of the square.
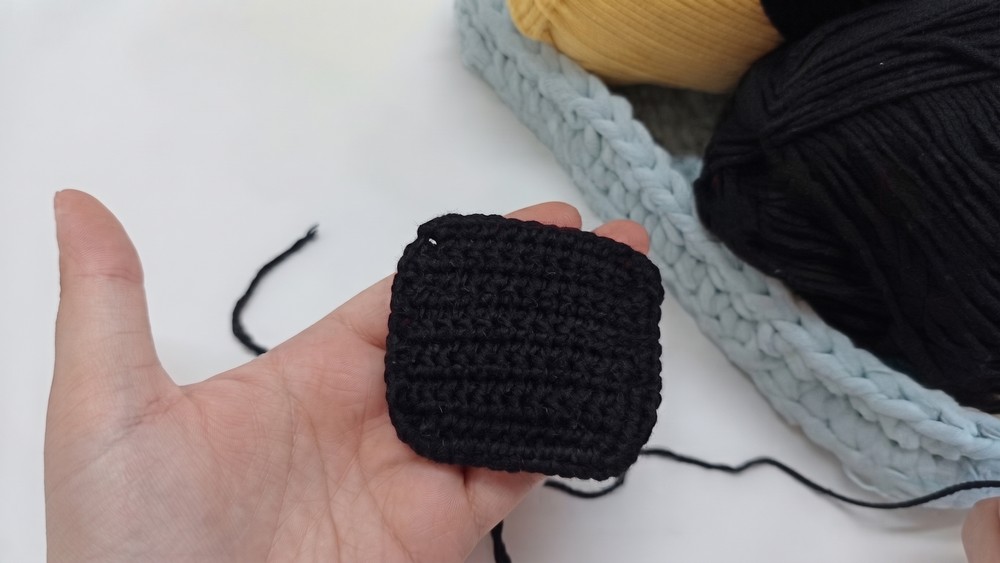
Part 2: Make the Skullcap Band
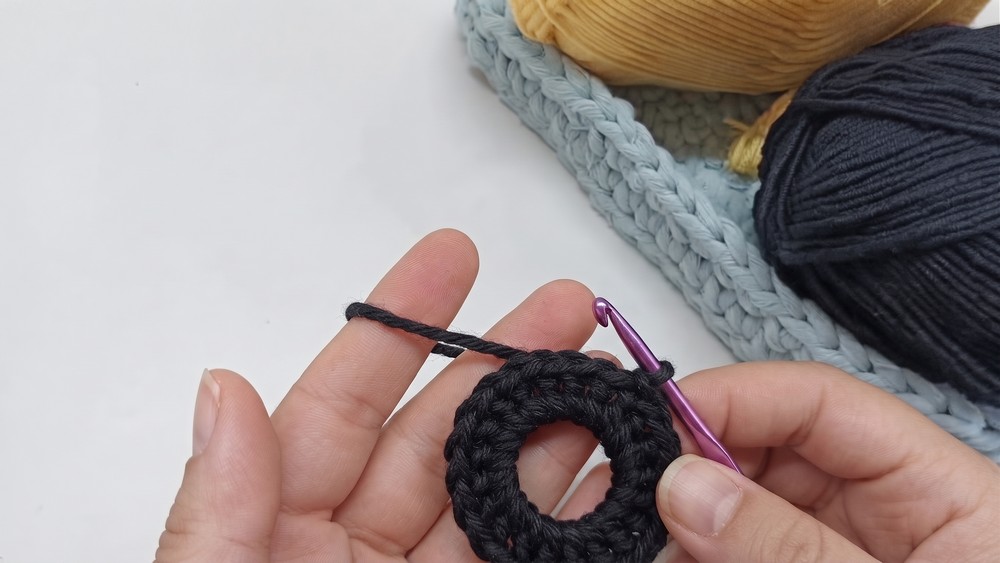
The base band is worked as a flat rectangular strip and then joined at its short ends to form a circular ring. This ring will support the square mortarboard top.
Foundation Chain
With black yarn, make ch 25.
Row 1
- Insert your hook into the second chain from the hook.
- Work 1 sc in that chain.
- Continue working 1 sc in each chain across.
Stitch count: 24 sts
Row 2
- Chain 1 and turn.
- Work 1 sc in each stitch across.
Stitch count: 24 sts
Row 3
- Chain 1 and turn.
- Work 1 sc in each stitch across.
Stitch count: 24 sts
Fasten Off
Cut the yarn, leaving an approximately 8-inch tail for seaming.
Join the Band into a Ring
- Thread the remaining yarn tail onto your tapestry needle.
- Bring the two short ends of the rectangular strip together to form a circular ring.
- Use a whipstitch or mattress stitch to sew the short edges together stitch-by-stitch.
- Knot the yarn securely on the inside of the band.
- Weave in the remaining tail.
You now have a circular base band ready to attach beneath the square mortarboard.
Part 3: Make the Yellow Tassel and Hanging Cord
Use your yellow or gold accent yarn for the tassel and its hanging cord. The fringe is formed by wrapping yarn around your fingers, while a short crochet chain creates the cord.
1. Make the Tassel Fringe
- Wrap the yellow yarn around two or three fingers 8 to 10 times to create a bundle of loops.
- Carefully slide the loops off your fingers.
- Cut a separate 6-inch strand of yarn.
- Tie this strand tightly around the top third of the loop bundle to form the tassel head or neck.
- Insert your scissors through the bottom loops and cut them open.
- Trim the loose ends straight across to create an even fringe.

2. Crochet the Hanging Cord
- Join the yellow yarn with a slip knot.
- Make a chain of 12 stitches (ch 12).
- Fasten off, leaving an approximately 2-inch tail at both ends.
3. Connect the Tassel to the Cord
- Take one tail of the chain cord.
- Thread it through your yarn needle.
- Use the needle to tie this end securely through the top neck of the tassel.
The tassel is now connected to its crocheted hanging cord and ready to attach to the mortarboard.
Part 4: Assemble the Graduation Cap
Once the square top, circular band, and tassel are ready, bring them together to complete the miniature graduation cap.
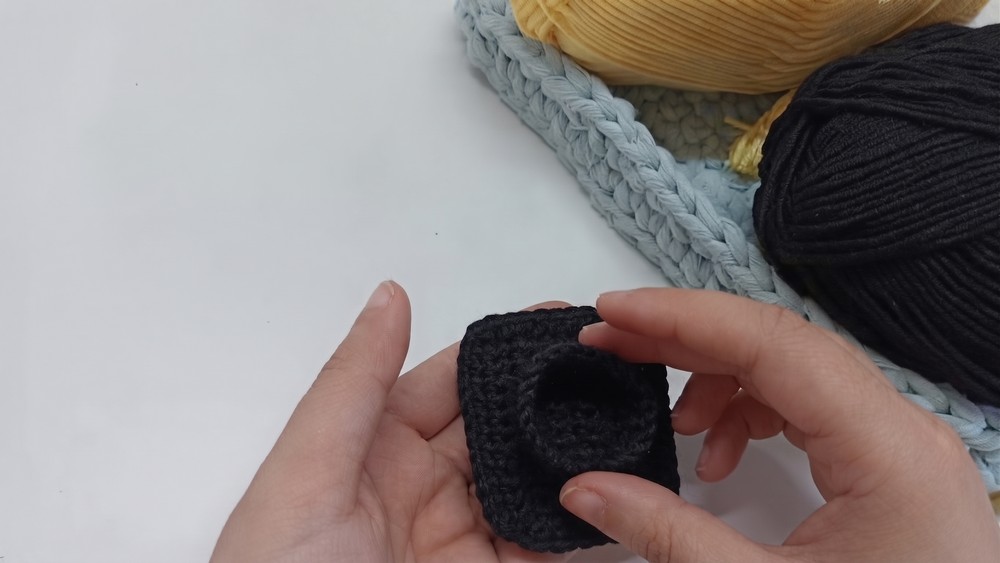
1. Attach the Top to the Base
- Lay the square mortarboard flat with its back or wrong side facing up.
- Place the circular band in the center of the square.
- Apply a fine line of fabric glue or hot glue along the top rim of the crocheted circular band.
- Press the band firmly onto the square so it stays centered.
- Allow the adhesive to dry completely before handling the cap further.
2. Secure the Tassel
- Thread the free end of the yellow cord through your tapestry needle.
- Insert the needle through the top-center of the square, passing from the outside to the inside of the cap.
- Pull the cord through until the tassel hangs naturally over the side edge of the mortarboard.
- Inside the cap, knot the yarn tail firmly against the inside surface.
- Add a tiny drop of glue to secure the knot.
- Trim any excess yarn.
3. Add the Optional Keychain Hardware
- Take the jump ring attached to your keyring.
- Use flat-nose pliers to open the jump ring carefully.
- Insert it through the border stitches at one corner of the square mortarboard.
- Use the pliers to squeeze the jump ring closed.

Your miniature graduation cap is ready to use as a keychain, a small graduation keepsake, or a decorative accessory for amigurumi characters. Choose school-inspired colors, add a metallic touch to the tassel, or attach a brooch pin to give your handmade cap a different purpose.