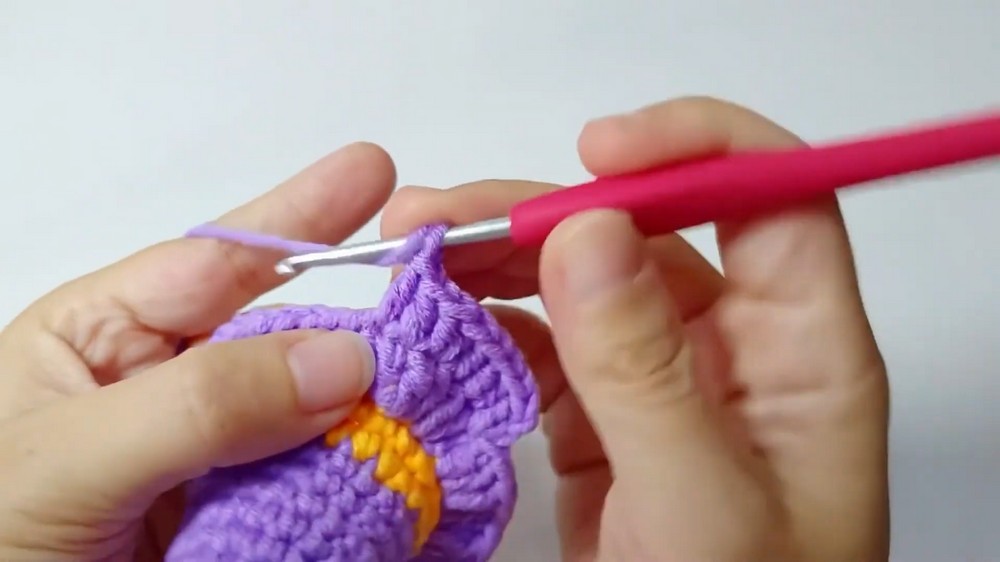
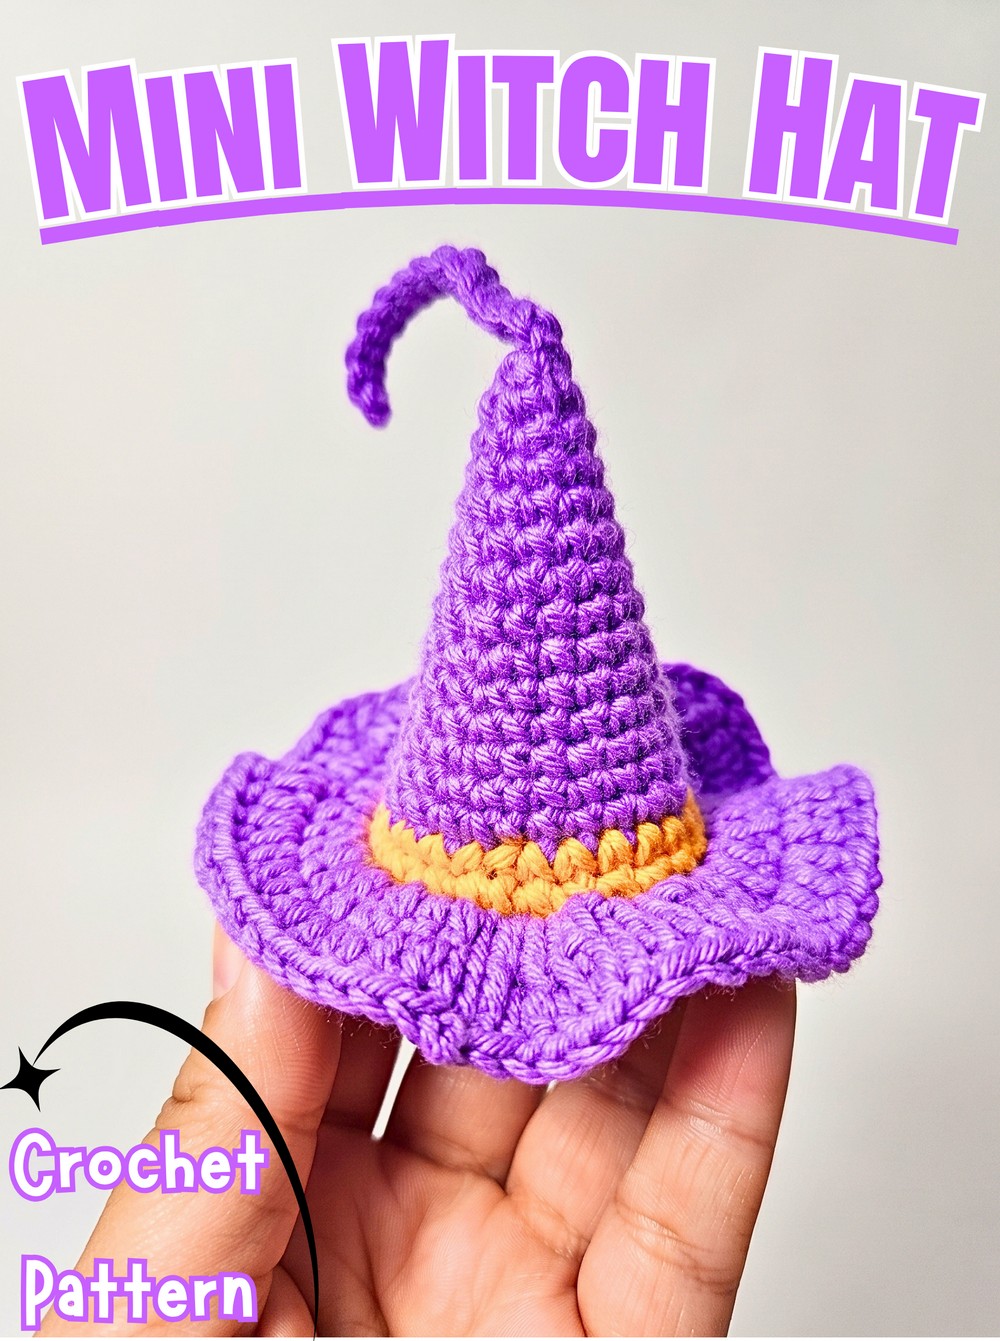
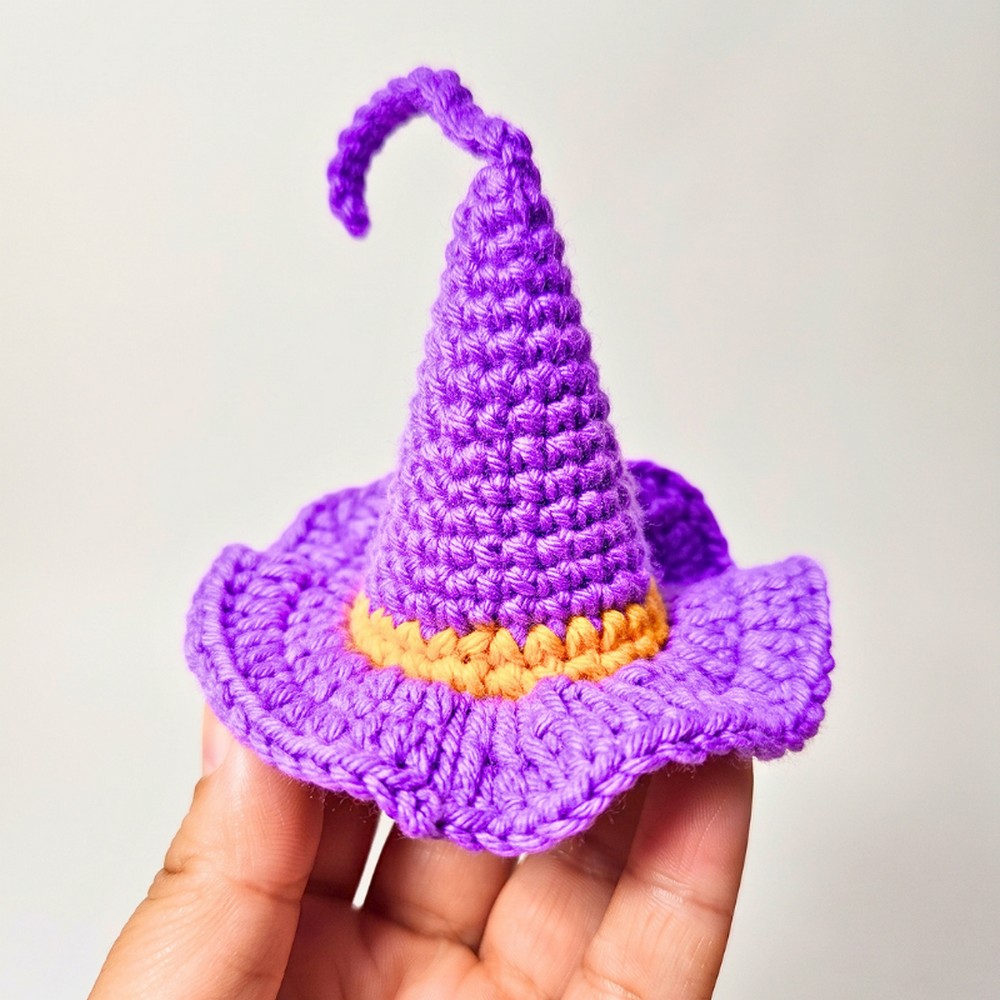
Looking for quick Halloween decor with a spooky twist? This mini crochet witch hat features a pointed crown, wavy brim, and bright yellow band.
Tiny Halloween accessories can add playful charm to seasonal displays without taking much time to make. These miniature crochet witch hats have tall, curved tips, rounded brims, and yellow bands, with black and light purple adding a spooky personality to each crochet hat.
This crochet witch hat pattern uses simple stitches to build its pointed top, widen its brim, and add a contrasting band. Follow each stage to shape the cone, create a wavy edge, and neatly switch colors for doll accessories, keychains, gifts, or Halloween decorations.
Credit Sophia’s Crochet Diaries
Materials and Tools
- Yarn: Main color (black or light purple), plus contrasting yellow yarn for the band.
- Crochet Hook: Choose a hook suitable for your yarn weight.
- Notions: Yarn needle for weaving in loose ends.
Finished Size and Customization
Finished size can range from miniature to medium, depending on yarn weight and hook size. Use smaller yarn for doll accessories or keychains, or thicker yarn for tabletop Halloween decorations.
- Color choices: Black, purple, green, and orange all suit Halloween themes.
- Cone height: Adjusting foundation-chain length can change cone proportions, but it also changes stitch placement, so you may need to adjust the remaining instructions.
- Band detail: Add a tiny buckle with metallic or white embroidery yarn for extra decoration.
Pattern Abbreviations and Terminology
US crochet terminology is used throughout this pattern.
- ch: Chain
- sl st: Slip stitch
- sc: Single crochet
- dc: Double crochet
- inc: Increase; work 2 stitches into one stitch.
- BLO: Back loop only
- st(s): Stitch(es)
Step-by-Step: Crochet Your Witch Hat
Work from top to bottom, beginning with a narrow cone. Increases gradually widen the shape, then add a yellow band and a flared brim.
Step 1: Make the Foundation Chain
Start with your main yarn color. This narrow beginning forms the tip, so keep your chains even and don’t pull them too tight.
- Make a slip knot and place it on your hook.
- Chain 17.
- Turn your work so you can crochet back along the chain.
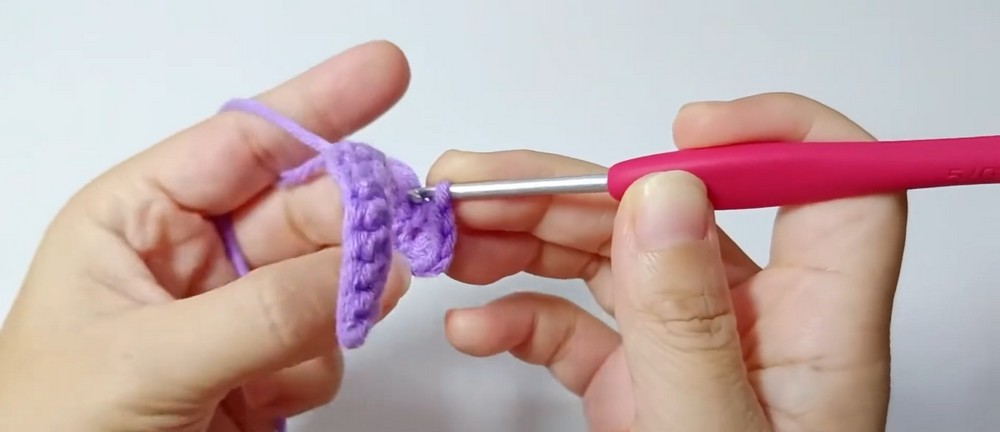
Step 2: Shape the Base Tip
This stage forms a small curved base that begins your hat cone.
- Starting in the second chain from your hook, work 15 single crochet stitches.
- Work 6 single crochet stitches into the final chain at the end of your foundation.
- Turn your work around.
- Flip your work toward its back side before making a slip stitch into the sixth stitch, as specified in this pattern.
Teaching tip: Keep your place while counting the 15 single crochets and six stitches worked into one chain. If your stitch placement does not line up, stop and recount before making the slip stitch. This turning and joining movement can feel unusual at first, so follow the sequence carefully rather than forcing your hook into a tight stitch.
Step 3: Work Rounds 2 and 3
These rounds continue shaping the small starting section without increasing its stitch count.
For each round:
- Work 6 single crochet stitches around.
- Keep each stitch close to its neighbor without pulling yarn too tightly.
- At the end of Round 3, join with a slip stitch into the first stitch.
Check your work: You should have six stitches around this section. If you count more or fewer, check whether any stitch was accidentally worked twice or skipped before continuing.
Step 4: Widen Round 4
Now begin expanding the cone. Increases add stitches, making each new section wider than the one above it.
Repeat this sequence 3 times:
- Work 1 single crochet into the next stitch.
- Work 2 single crochets into the following stitch. This is one increase.
Round total: 9 stitches.
Keep your increases evenly spaced around the round. If all increases are placed too close together, your cone may develop an uneven shape.
Step 5: Work Round 5
This round adds height without increasing stitch count.
- Work 9 single crochet stitches evenly around.
- Check that every stitch from Round 4 has been worked once.
Teaching tip: Keep your tension consistent. This plain round separates increase rounds and helps the cone develop gradually instead of flaring too quickly.

Step 6: Increase to 12 Stitches in Round 6
Continue widening the cone using a slightly longer repeat.
Repeat this sequence 3 times:
- Work 1 single crochet into the next stitch.
- Increase by working 2 single crochets into the following stitch.
- Work 1 single crochet into the next stitch.
Round total: 12 stitches.
Check your count before moving on. Each repeat adds one extra stitch, so three repeats increase your total from 9 to 12.
Step 7: Work Round 7
Work 12 single crochet stitches evenly around without adding or removing stitches.
This plain round maintains your new width and adds height to your pointed crown. Keep your stitches relaxed enough to insert your hook comfortably, but not so loose that large gaps appear.
Step 8: Increase to 15 Stitches in Round 8
Repeat the following sequence 3 times:
- Work 3 single crochet stitches across the next 3 stitches.
- Work 2 single crochets into the following stitch.
Round total: 15 stitches.
Count each group carefully. The increase must go into one stitch, not into two separate stitches.

Step 9: Work Round 9
Work 15 single crochet stitches evenly around.
This round adds length without changing the circumference. As you crochet, check its silhouette from the side to see whether it is beginning to resemble a narrow witch-hat crown.
Step 10: Increase to 18 Stitches in Round 10
Repeat this sequence 3 times:
- Work 2 single crochet stitches.
- Increase by working 2 single crochets into the next stitch.
- Work 2 single crochet stitches.
Round total: 18 stitches.
Spread the increases around the full round. Even spacing helps keep one side of the cone from becoming wider than the other.
Step 11: Work Round 11
Work 18 single crochet stitches evenly around, with no increases or decreases.
This plain round adds more height between shaping rounds. Keep your stitch placement clear, especially at the beginning of the round, so you don’t accidentally add an extra stitch.
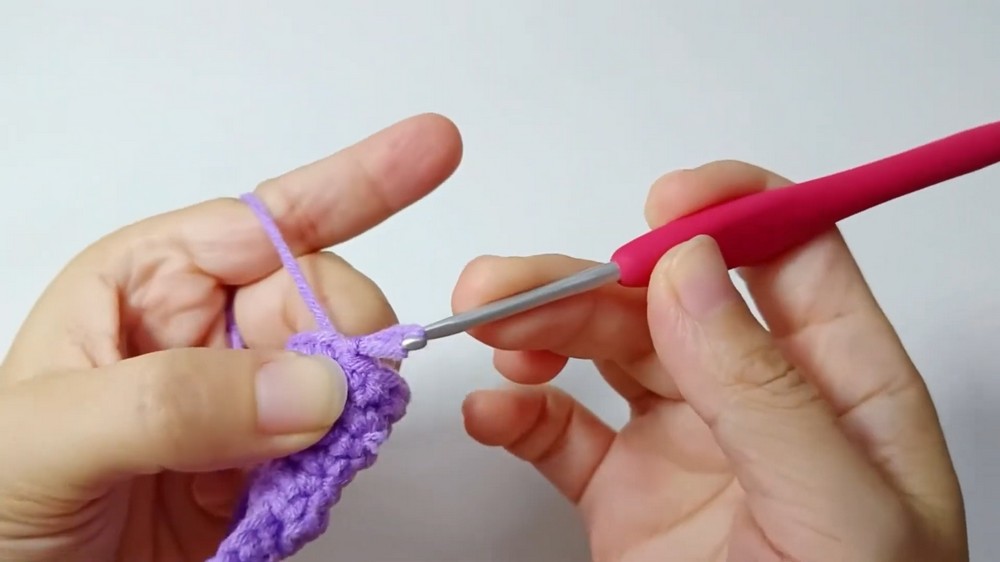
Step 12: Increase to 21 Stitches in Round 12
Repeat this sequence 3 times:
- Work 5 single crochet stitches.
- Work 2 single crochets into the next stitch.
Round total: 21 stitches.
Your cone should now be wider than it was at Round 10. If its edge looks uneven, check your count before starting Round 13.
Step 13: Work Round 13
Work 21 single crochet stitches evenly around.
This round creates a smooth transition before the hat’s final purple or black section. Keep your tension similar to previous rounds so the band will sit evenly when added.
Step 14: Complete Round 14
Repeat this sequence 3 times:
- Work 3 single crochet stitches.
- Increase by working 2 single crochets into the next stitch.
- Work 3 single crochet stitches.
Round total: 24 stitches.
Check your count before changing colors. You need 24 stitches to work the yellow band and later create the flared brim.
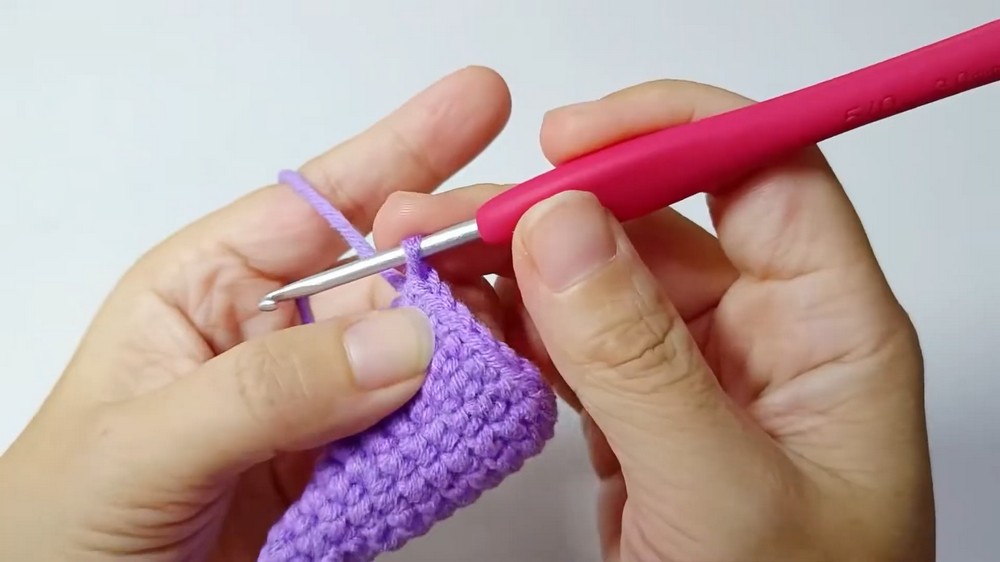
Step 15: Change to Yellow Yarn for the Band
The contrasting band adds a bright detail between the cone and brim. Changing colors during your final stitch helps create a cleaner transition.
- Begin the final stitch of Round 14 using your main color.
- Insert your hook into the stitch and pull up a loop.
- Drop your main yarn and pick up yellow yarn.
- Yarn over with yellow and pull through both loops on your hook to complete the stitch.
- Join with a slip stitch into the first stitch.
Teaching tip: Make sure your final stitch is completed with yellow yarn. If you finish it entirely in purple or black before changing colors, a small patch of your main color may appear at the start of the band.
Step 16: Crochet Rounds 15 and 16
Use yellow yarn for both rounds.
For each round:
- Work 24 single crochet stitches evenly around.
- Keep the same stitch count throughout.
- Join the round as you work.
At the end of Round 16, switch back to your main color for the final stitch, then join with a slip stitch to the first stitch to complete the round.
Check your work: Your band should form an even strip between the cone and brim. If the edge looks slanted, check that each round has 24 stitches.

Step 17: Create the Brim in Round 17
This round begins the wide, flared edge of your witch hat. Working through the back loop only leaves a visible ridge that helps separate the brim from the band.
- Insert your hook through the back loop only of each stitch. In this pattern, use the loop closest to you.
- Work 2 double crochets into every stitch around.
- Continue until you have worked through all 24 stitches.
- Join with a slip stitch into the first double crochet.
Round total: 48 double crochet stitches.
Teaching tip: Look at each stitch before inserting your hook. Working through both loops instead of the specified back loop changes the texture and can make the transition into the brim less distinct.
Step 18: Shape the Wavy Brim in Round 18
Add another round of increases to widen the brim and give it a more dramatic Halloween silhouette.
Repeat this sequence 24 times:
- Work 1 double crochet into the next stitch.
- Work 2 double crochets into the following stitch.
Continue around until all 48 stitches from Round 17 have been worked.
Round total: 72 double crochet stitches.
The repeated increases allow the brim to spread outward. If your brim curls upward into a bowl shape, check your stitch count and tension before assuming the pattern needs another round.

Finishing
Fasten off your yarn, leaving a short tail. Thread the tail through your yarn needle and weave it into stitches on the inside or underside of the hat. Secure any remaining color-change ends and trim excess yarn carefully.
Before using your witch hat, check that its cone holds its shape, the yellow band sits evenly, and the brim spreads outward without loose ends showing. For keychains or ornaments, secure all yarn tails firmly so repeated handling does not loosen your stitches.