Looking for fruity crochet accessories with extra texture? This strawberry keychain uses raised popcorn stitches, a green crown, and compact shaping for a playful handmade charm.
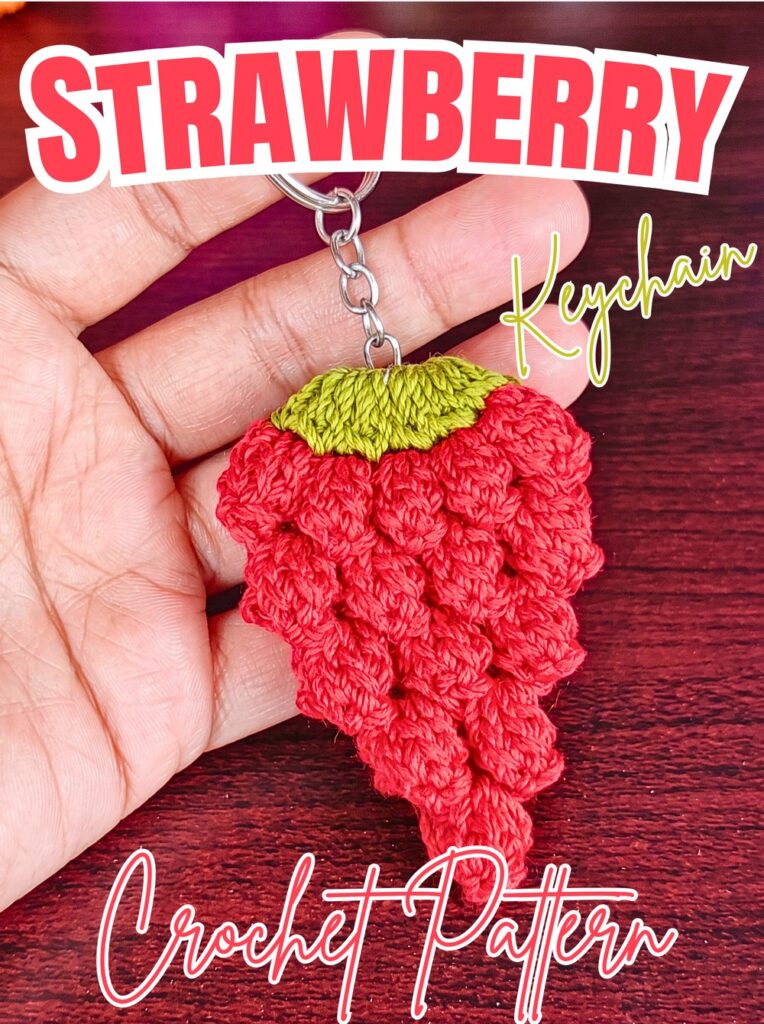
Red texture gives this crochet strawberry keychain its distinctive look, while its green crown adds a fresh contrast. Raised crochet popcorn stitches create little bumps across its surface, making this small pattern stand out from smoother fruit charms.
This crochet pattern guides you through forming the green foundation, building the strawberry body in decreasing rounds, and tapering its tip. You’ll also learn how to finish loose ends and attach keychain hardware for turning your finished crochet piece into a bag charm or everyday accessory.
Credit Erfin R. Tangdilintin
Materials and Tools Needed
Gather your yarn and tools before beginning. Milk cotton is suitable for creating defined stitches, while other yarn types can be used if you prefer a different texture.
- Red yarn: Milk cotton or your preferred yarn for the strawberry body.
- Green yarn: For the crown or top section.
- Crochet hook: 2.5 mm.
- Keychain ring with chain: For attaching the finished strawberry to keys or a bag.
- Tapestry or yarn needle: For weaving in loose ends and finishing the body.
- Scissors: For trimming yarn.
- Lighter: Optional, for carefully sealing suitable synthetic yarn ends when appropriate.
Important safety note: Only use a lighter to seal synthetic yarn if the yarn manufacturer confirms that this is suitable. Keep flames away from your hands, the finished crochet fabric, and flammable materials. Cotton and other natural fibers should not be melted.
Finished Size and Customization
The finished strawberry measures approximately 2.5–3 inches long, excluding the keychain hardware.
You can personalize the design in several ways:
- Classic strawberry: Use bright red for the body and green for the crown.
- Whimsical fruit charm: Try pastel pink, purple, or orange yarn.
- Seed details: Add small French knots using white embroidery floss or yarn to imitate strawberry seeds.
- Alternative uses: Leave off the keychain hardware to use the strawberry as a small decorative charm.
Crochet Abbreviations and Special Stitch
The pattern uses US crochet terminology.
- ch: Chain
- sl st: Slip stitch
- dc: Double crochet
- st(s): Stitch(es)
- Rnd: Round
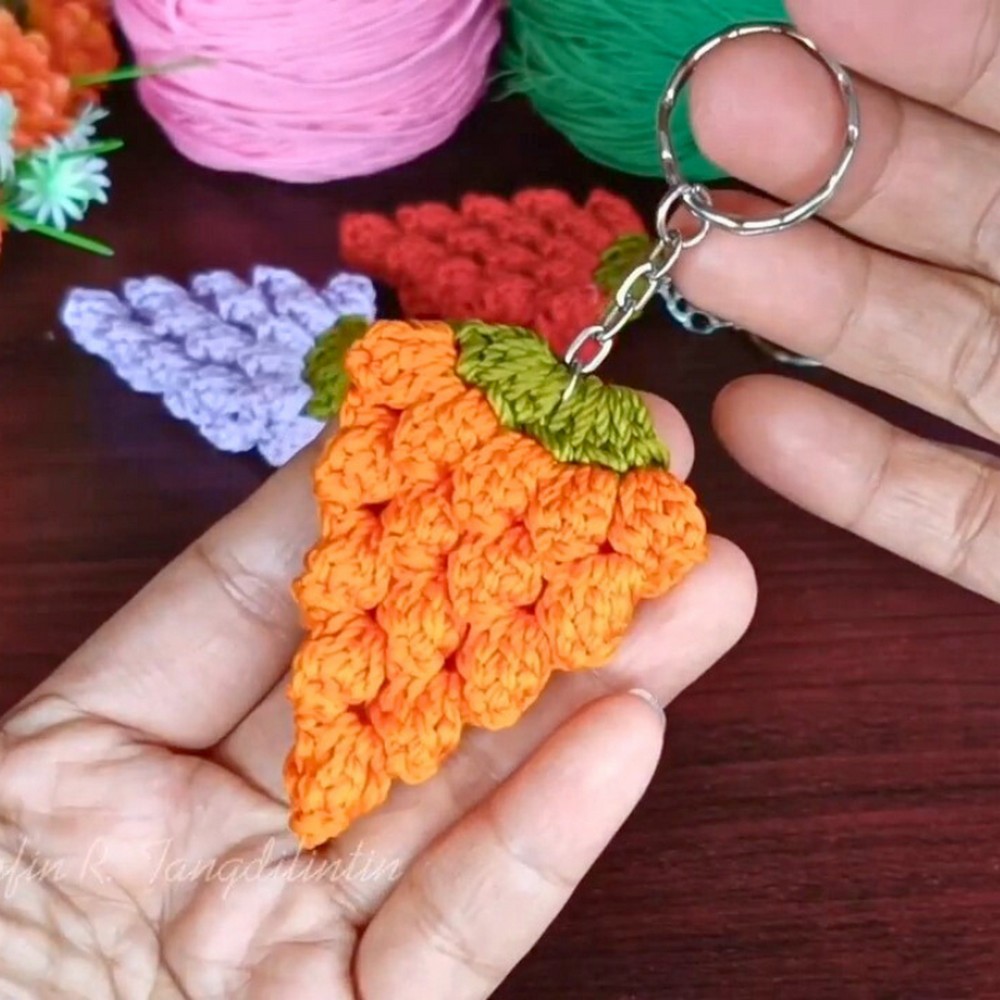
How to Make a 5-Double-Crochet Popcorn Stitch
The popcorn stitch creates the raised texture across the strawberry body.
- Work five double crochets into the same stitch or chain space. In the rounds below, the beginning chain-3 and four additional double crochets form the five-double-crochet popcorn.
- Remove your hook from the active loop, keeping that loop open so it does not unravel.
- Insert your hook from front to back through the top of the first double crochet in the group.
- Catch the dropped loop with your hook.
- Pull the loop through the first double crochet to close the popcorn.
- Gently push the completed popcorn toward the front of your work so its raised texture is visible.
Keep the popcorns consistent in size. This helps the strawberry develop an even, bumpy surface.
How to Crochet the Strawberry Keychain
The strawberry is worked in two color sections. First, crochet the green crown as a small ring with clustered stitches. Then attach the red yarn and build the textured body, reducing the number of popcorns as you work toward the pointed tip.
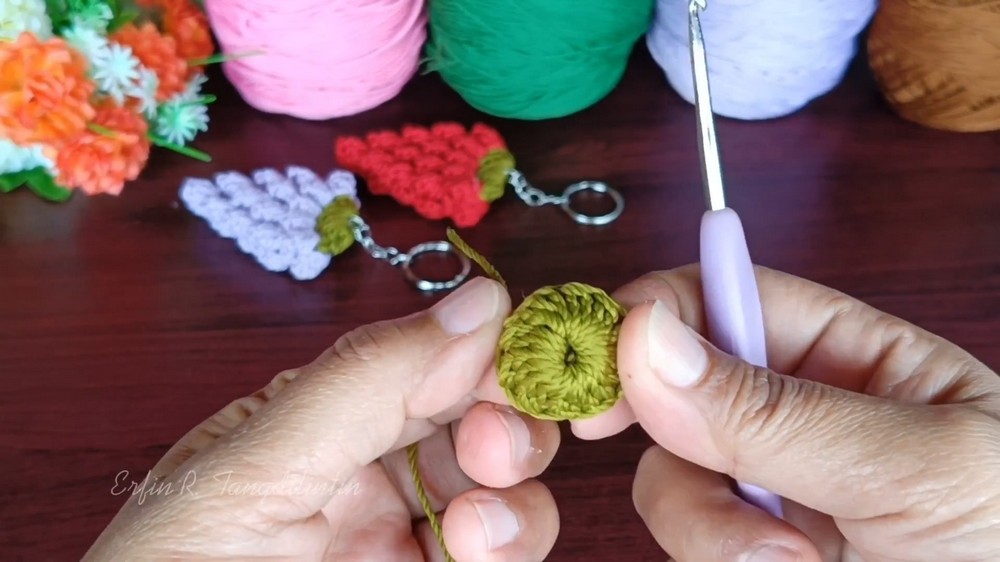
Step 1: Create the Green Foundation Ring
Begin with green yarn and your 2.5 mm hook.
- Make a slip knot and place it on your hook.
- Chain 6.
- Insert your hook into the first chain.
- Work a slip stitch to join the ends and form a small closed ring.
Keep this foundation ring compact. The red body will be attached to the green section, so a neat starting ring helps the two colors meet cleanly.
Step 2: Crochet Round 1 of the Green Crown
The first round builds clustered stitches around the center of the green ring.
- Chain 3.
- Work two incomplete double crochets close together into the center of the ring.
- Complete the cluster by drawing the yarn through the remaining loops together.
- Repeat the two-incomplete-double-crochet cluster nine more times around the ring, as described in the supplied tutorial.
- Join with a slip stitch.
- Chain 1 and fasten off.
- Secure the yarn end carefully.
The repeated clusters form the green base for the strawberry. Keep them grouped closely so the crown has enough coverage for the red body to sit against it.
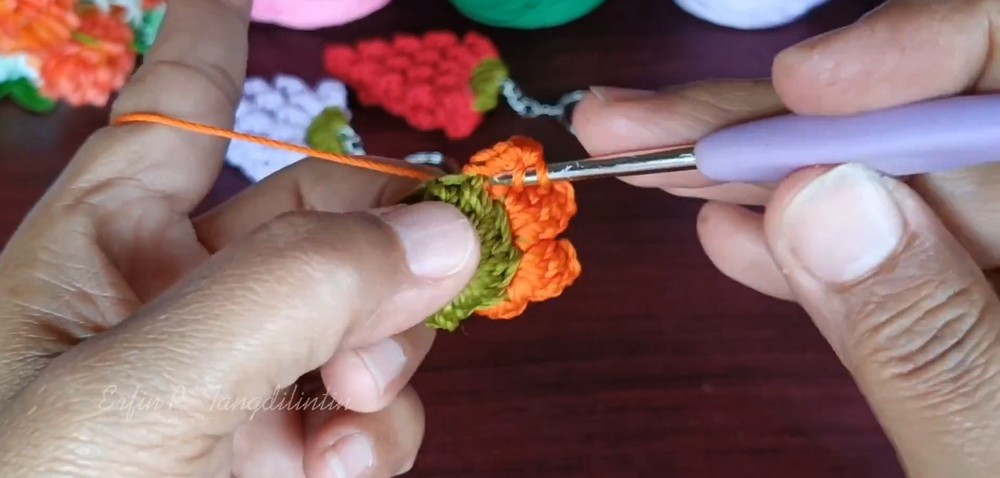
Step 3: Attach Red Yarn for the Strawberry Body
Switch to red yarn for the main body.
Attach the red yarn to the green base, positioning it where the first popcorn round will begin. Make sure the green section remains visible as the strawberry’s top.
The following rounds use popcorn stitches separated by chain spaces. As the round counts decrease, the strawberry narrows toward its lower tip.
Step 4: Work Round 2 – Build the First Popcorn Round
Round 2 creates the widest textured section.
- Chain 3.
- Work four double crochets into the same stitch or space to complete the first five-double-crochet popcorn, counting the beginning chain-3 as the first double crochet according to the supplied instructions.
- Chain 2.
- Repeat (5-dc popcorn, ch 2) nine more times around the round.
- Join with a slip stitch into the top of the first popcorn.
You should have 10 popcorn stitches in total.
Check that each popcorn is closed securely and faces outward. The chain-2 spaces separate the raised bumps and provide room for the next round.
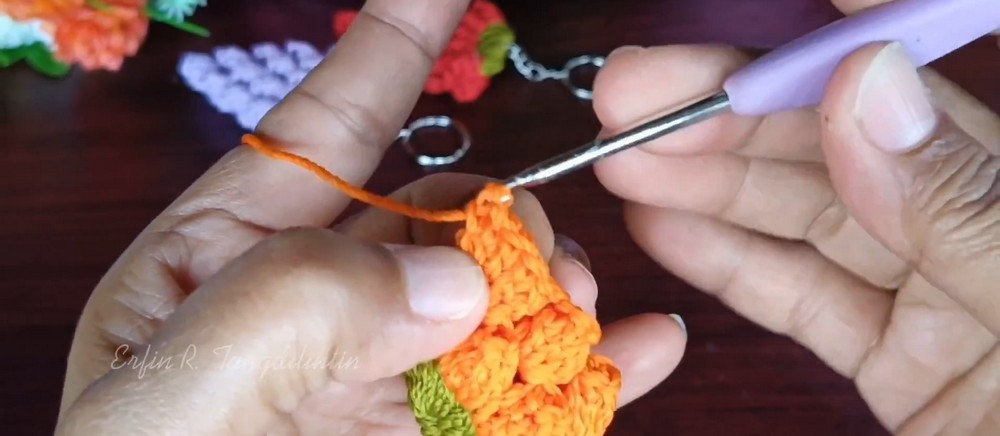
Step 5: Work Round 3 – Begin Narrowing the Body
Round 3 reduces the number of popcorns, beginning the taper toward the strawberry’s tip.
- Slip stitch into the next chain-2 space.
- Chain 3 and complete a five-double-crochet popcorn in that space.
- Chain 2.
- Work the next two popcorn groups with chain-2 spaces between them.
- Work the following popcorn with a chain-1 space, following the supplied sequence.
- Continue around using the tutorial’s pattern sequence.
- Skip one space and join with a slip stitch.
The supplied tutorial specifies 8 popcorns for this round.
As you work, keep the raised stitches aligned with the spaces from the previous round. This helps maintain the rounded fruit shape while the top begins narrowing.
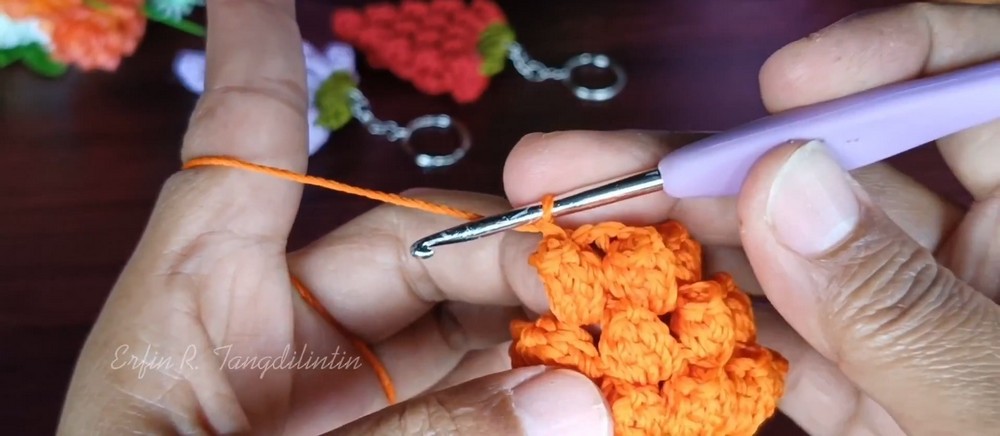
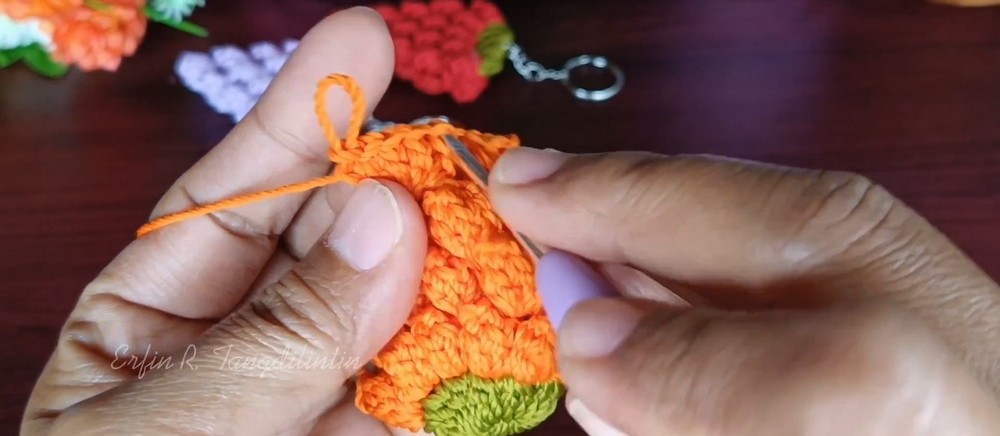
Step 6: Work Round 4 – Continue the Taper
Round 4 follows the same general approach, with fewer popcorn stitches.
- Slip stitch into the next chain space.
- Chain 3 and complete a five-double-crochet popcorn.
- Chain 2.
- Work two more popcorns, using chain-2 spaces as specified.
- Work the following popcorn with a chain-1 space.
- Continue around according to the supplied pattern sequence.
- Skip one space and join with a slip stitch.
The tutorial specifies 6 popcorns for this round.
Keep your tension even as the circumference becomes smaller. Avoid pulling the chain spaces too tightly, since doing so can make it difficult to insert your hook into the next round.
Step 7: Work Round 5 – Reduce the Popcorns Again
Round 5 continues shaping the strawberry into a narrower form.
- Slip stitch into the next chain space.
- Chain 3 and complete a five-double-crochet popcorn.
- Chain 2.
- Continue with five-double-crochet popcorns separated by chain-1 spaces, following the supplied pattern.
- Repeat the sequence around the round.
- Skip one space and join with a slip stitch.
The tutorial specifies 4 popcorns in this round.
Arrange the remaining popcorns evenly around the body. This smaller round helps transition the fuller section into the pointed end.
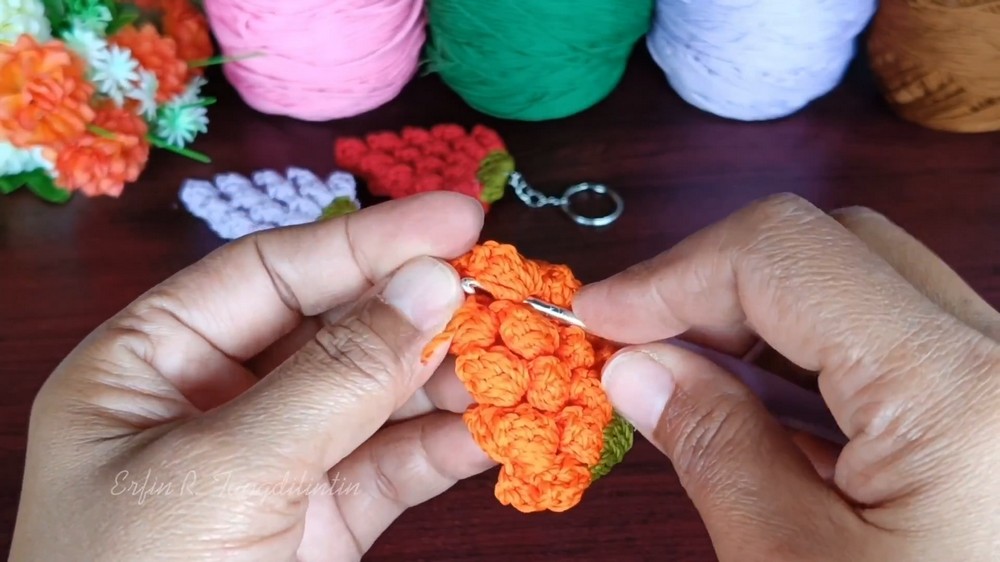
Step 8: Work Round 6 – Close the Strawberry Tip
The final round creates the tapered end.
- Slip stitch into the next chain space.
- Chain 3 and complete a five-double-crochet popcorn.
- Chain 1.
- Skip one space.
- Finish by slip stitching across the remaining two popcorns to pull the tip closed, following the supplied tutorial.
- Fasten off, leaving a short yarn tail.
Pull the closing stitches gently until the tip looks neat. Avoid pulling so hard that the popcorn texture becomes distorted.
Finishing and Attaching the Keychain
Step 9: Hide the Loose Yarn Ends
Thread the remaining yarn tail onto your tapestry needle.
- Guide the tail into the hollow center of the strawberry.
- Weave it securely through the inner stitches to conceal it.
- Check the outside for any loose strands.
- Trim the excess yarn once the tail is secure.
A tidy interior helps keep the small ornament neat during everyday use.
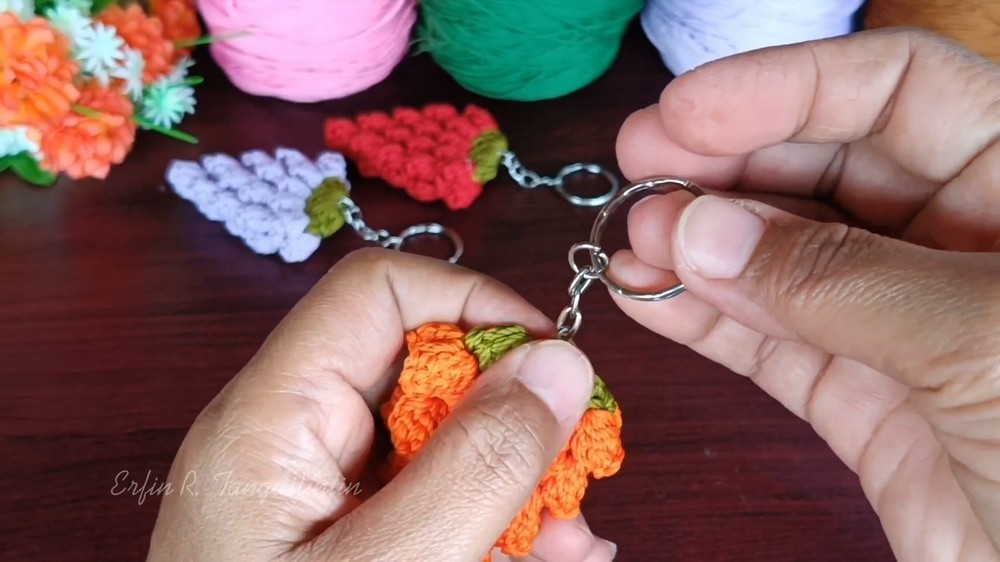
Step 10: Attach the Keychain Hardware
The keychain ring and chain turn the finished strawberry into a portable accessory.
- Open the keychain’s connecting ring or loop as needed.
- Attach it through the top-center green loop of the strawberry crown.
- Close the hardware securely.
- Gently tug the connection to check that it stays in place.
Position the hardware through a sturdy part of the green crown rather than a loose yarn tail. This helps reduce the chance of the strawberry pulling free when attached to keys or a bag.
Optional Detail: Embroider Strawberry Seeds
For extra fruit-like detail, add small seed marks after completing the body.
- Thread white embroidery floss or yarn onto a needle.
- Make small French knots across the red surface.
- Space the knots around the body rather than placing them in a single line.
- Secure the thread inside the strawberry and trim any excess.
Keep the knots small so they complement the raised popcorn stitches rather than hiding them. This decoration is optional; the textured red body already gives the keychain its distinctive look.