
Looking for handmade Christmas décor with festive color and texture? This crochet wreath ornament combines two covered rings, a ruffled inner detail, and a striped bow.
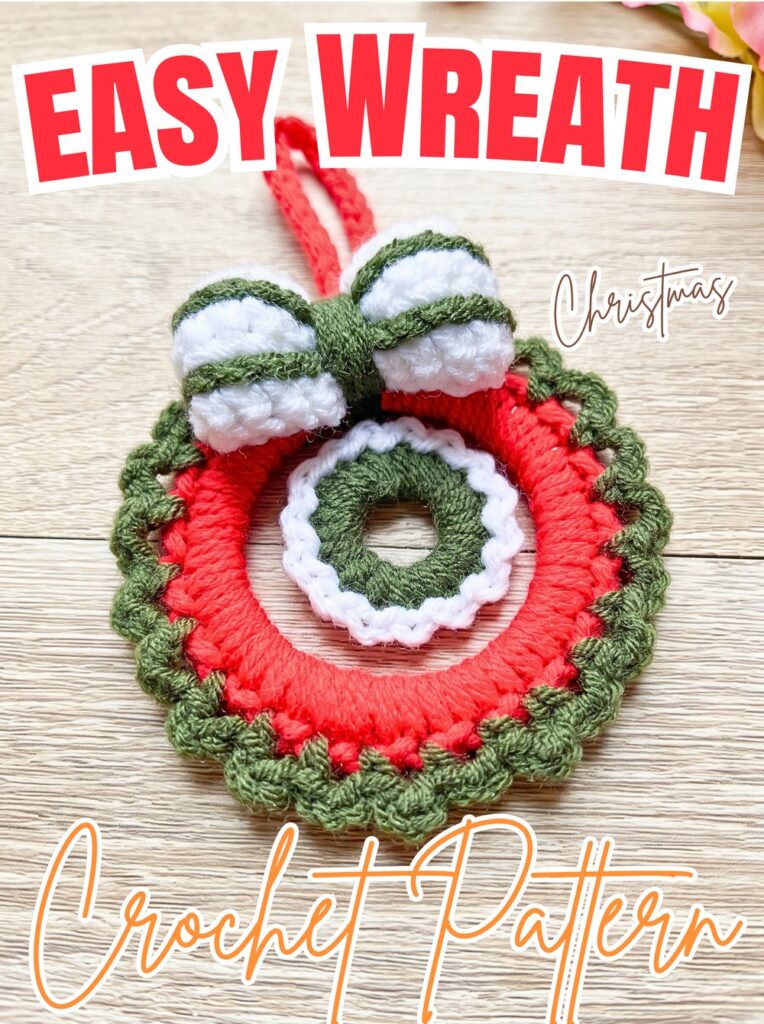
Crochet wreath ornaments bring handmade charm to Christmas trees, gift wrapping, and seasonal displays. Two yarn-covered rings, contrasting colors, and a decorative bow give this crochet pattern its festive look without requiring complicated stitch patterns.
This crochet wreath tutorial walks you through covering both rings, adding textured edging, creating a hanging loop, and crocheting a striped bow. You’ll crochet each component separately before sewing everything together for a finished ornament measuring roughly 3 inches across, plus its hanging loop and bow.
Credit Zhielle’s Creation
Materials and Tools Needed
Gather all supplies before beginning so you can move smoothly from covering the rings to assembling your finished ornament.
- Two rings: One small ring approximately 1.5 inches in diameter and one large ring approximately 3 inches in diameter.
- Medium-weight yarn: Three holiday colors. Dark green, red, and white are suggested examples.
- Crochet hook: 3.75 mm (F).
- Scissors: For trimming yarn.
- Yarn needle: For sewing the components together and weaving in loose ends.
Finished Size and Customization
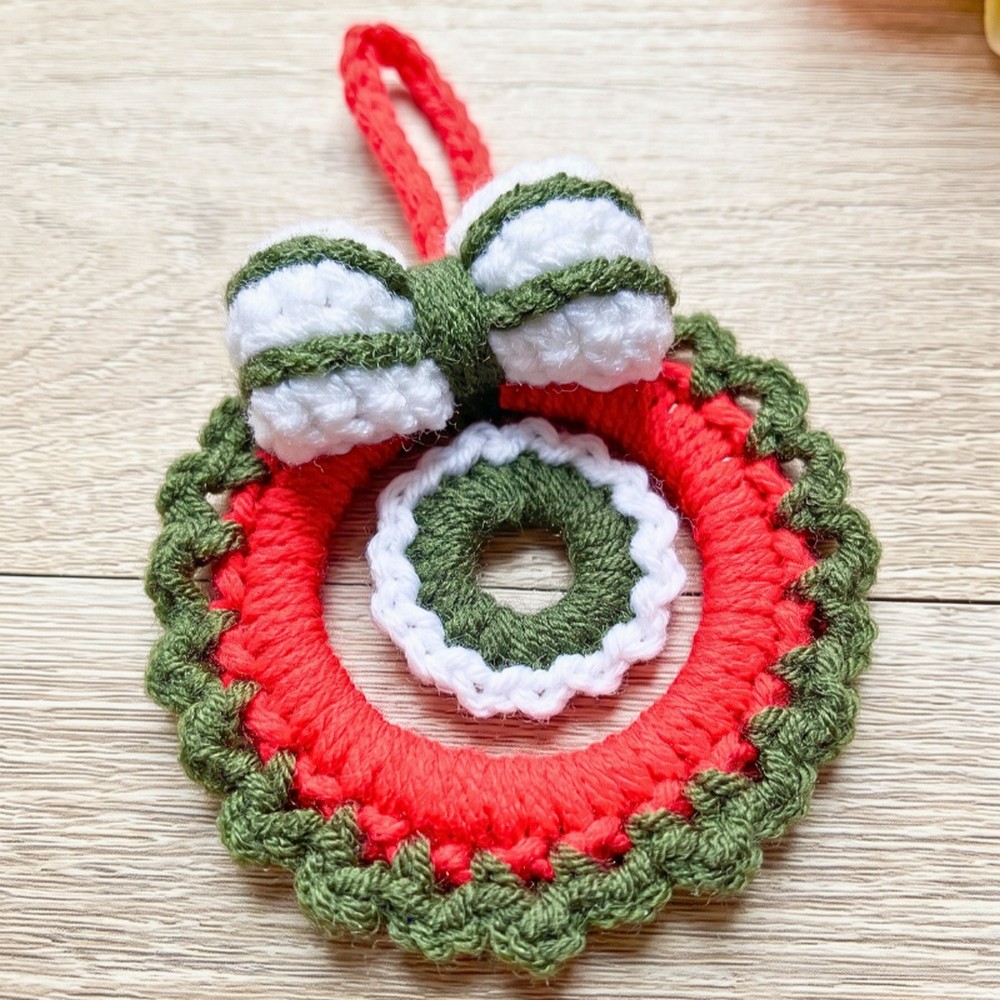
The finished wreath measures approximately 3 inches across, excluding the hanging loop and bow. Its compact size makes it suitable for Christmas trees, holiday wall displays, and handmade gift decorations.
You can change the appearance by using green for the main wreath with red edging, reversing those colors, or choosing a different three-color combination. Different ring sizes can also create miniature or larger versions, although yarn coverage and the amount of edging may need to be adjusted.
Crochet Abbreviations
This pattern uses US crochet terminology.
- ch: Chain
- sc: Single crochet
- sl st: Slip stitch
- st(s): Stitch(es)
- rep: Repeat
How to Crochet the Christmas Wreath Ornament
The ornament is made in three main components: the small inner ring, the large outer ring, and the bow. Complete each piece before sewing the wreath together.
Step 1: Cover the Small Inner Ring
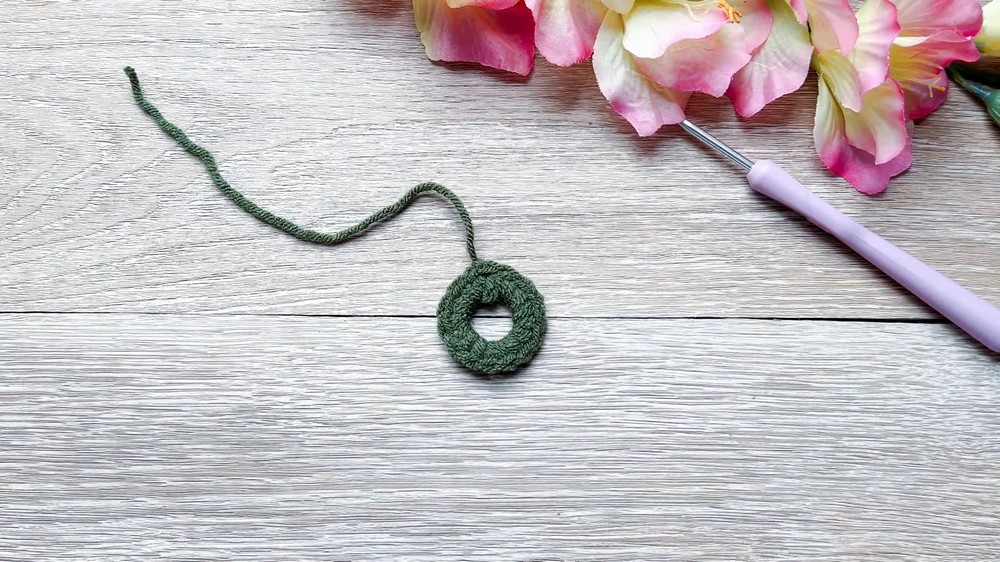
Begin with Color 1, such as dark green, and your 3.75 mm crochet hook.
- Make a slip knot and place it on your hook.
- Position the yarn around the 1.5-inch ring. Work single crochet stitches around the ring, passing your hook through the center opening and around the ring as you form each stitch.
- Continue crocheting until the ring is completely covered. Keep stitches close together so the ring does not show through the yarn.
- Join the final stitch to the first stitch with a slip stitch.
- Leave a long yarn tail for sewing, then cut the yarn.
Helpful tip: There is no fixed stitch count for this round. The number of stitches depends on your ring and tension, so focus on even, dense coverage rather than reaching a particular count.
Step 2: Add the Textured Ruffle to the Small Ring
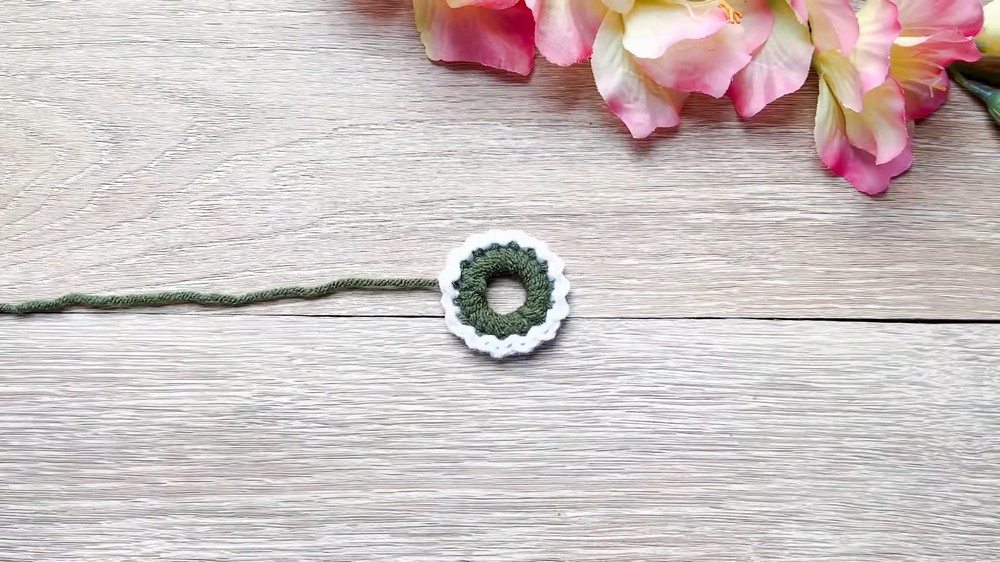
Switch to Color 2, such as white, to create the contrasting texture around the inner ring.
- Make a slip knot with Color 2 and join it around the covered ring with a slip stitch.
- Chain 1.
- Work a slip stitch into the following stitch.
- Repeat [ch 1, sl st into the next stitch] around the ring.
- Join with a slip stitch into the first chain to secure the round.
- Leave a long tail for attaching the inner ring to the outer ring, then cut the yarn.
The alternating chains and slip stitches create a small ruffled edge. Keep your tension consistent so the texture remains visible without pulling the ring out of shape.
Step 3: Crochet Around the Large Outer Ring
Use Color 3, such as red, for the base covering of the larger ring.
- Make a slip knot with Color 3 and place it on your hook.
- Work single crochet stitches evenly around the 3-inch ring until the ring is fully covered.
- Check the covering as you work. Keep the stitches close together and distribute them evenly around the circumference.
- Join the final stitch to the first stitch with a slip stitch.
As with the inner ring, the tutorial does not specify an exact stitch count. Let the ring size and your tension determine how many single crochet stitches are needed.
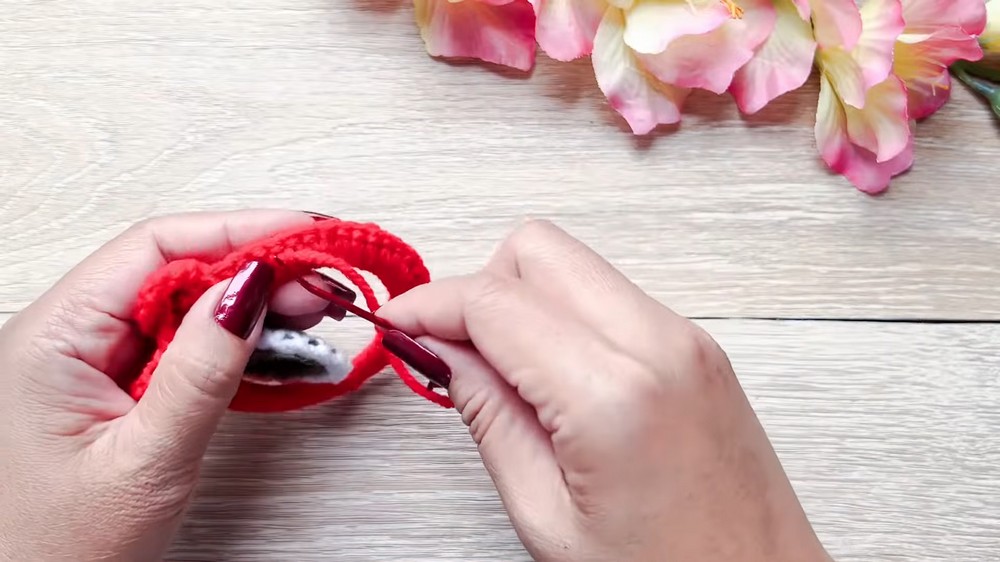
Step 4: Create the Hanging Loop
Make the hanging loop at the joining point of the large ring.
- From the joining point, chain until you reach your desired hanging-loop length.
- Keep the chain sturdy enough to support the ornament when it hangs.
- Secure the end with a slip stitch into the same base stitch where the chain began.
- Cut the yarn, leaving a long tail.
Before continuing, check that the loop sits at the top of the ring and hangs straight. Adjust its length before securing the tail if needed.
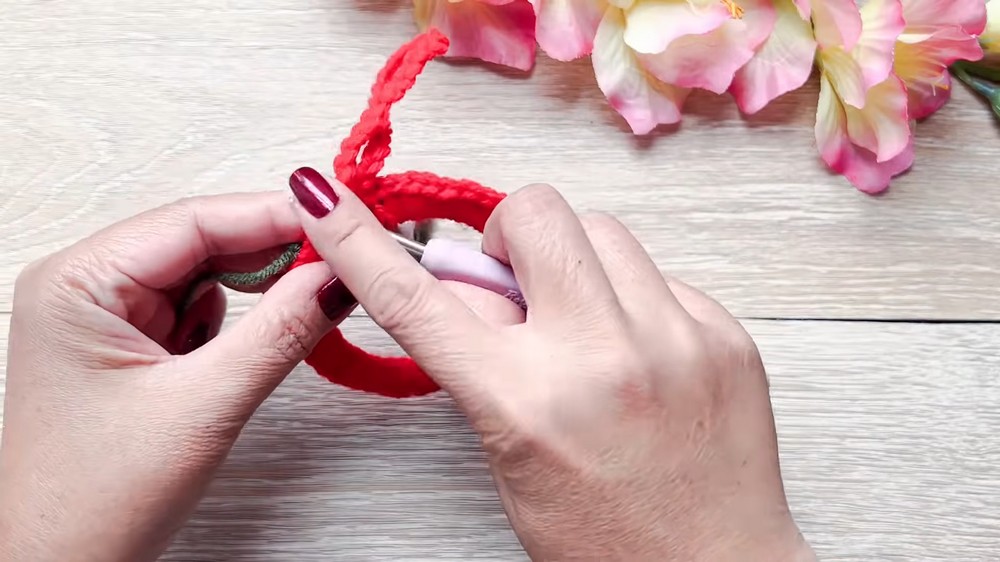
Step 5: Add the Outer Decorative Edging
Switch to Color 1, such as dark green. Join the yarn with a slip stitch beside the base of the hanging chain.
- Chain 3. These chains form part of the repeating edging pattern.
- Skip the next stitch.
- Work one single crochet into the following stitch.
- Repeat [ch 3, skip 1 st, sc in the next st] around the large ring.
- When you reach the starting point, slip stitch back into the beginning to secure the edging.
- Fasten off and secure the loose ends.
The chain loops create an open decorative border around the red base. Keep the skipped stitches and chain spaces consistent so the edging looks balanced around the ring.
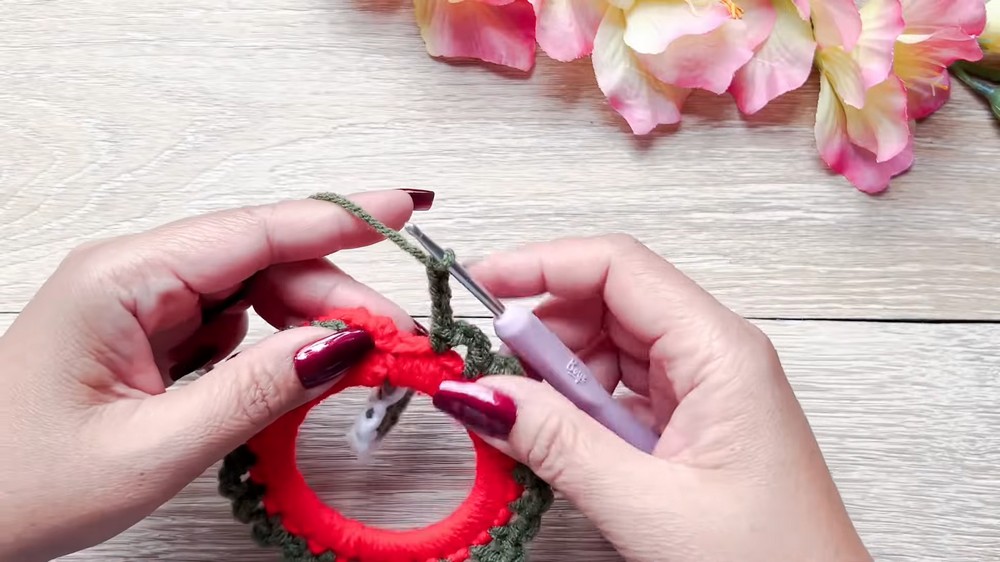
Step 6: Crochet the Bow
Use Color 2, such as white, to make the rectangular bow piece.
Row 1
- Make a slip knot and chain 20.
- Work one single crochet into each stitch across the chain, following the tutorial.
- Check that the row lies flat before turning.
Rows 2-4
- Chain 1 and turn your work.
- Work single crochet stitches across the row.
- Repeat this process until you have completed four rows in total.
- Leave a long tail before cutting the yarn.
The resulting rectangle will form the bow loops. Keep your edges even so the piece folds neatly during assembly.
Step 7: Add Contrasting Lines to the Bow
Use Color 1, such as dark green, to create two decorative horizontal lines.
- Make a slip knot with Color 1.
- Work surface slip stitches across the front of the bow piece between Rows 1 and 2.
- Begin approximately four stitches in from one edge and leave approximately four stitches unworked at the opposite end.
- Fasten off at the back and secure the yarn.
- Repeat the same surface-slip-stitch line between Rows 3 and 4.
- Weave in the loose ends on the back of the piece.
Keep both lines aligned and use similar tension for each. The contrasting stripes should remain visible when the rectangle is folded into a bow.
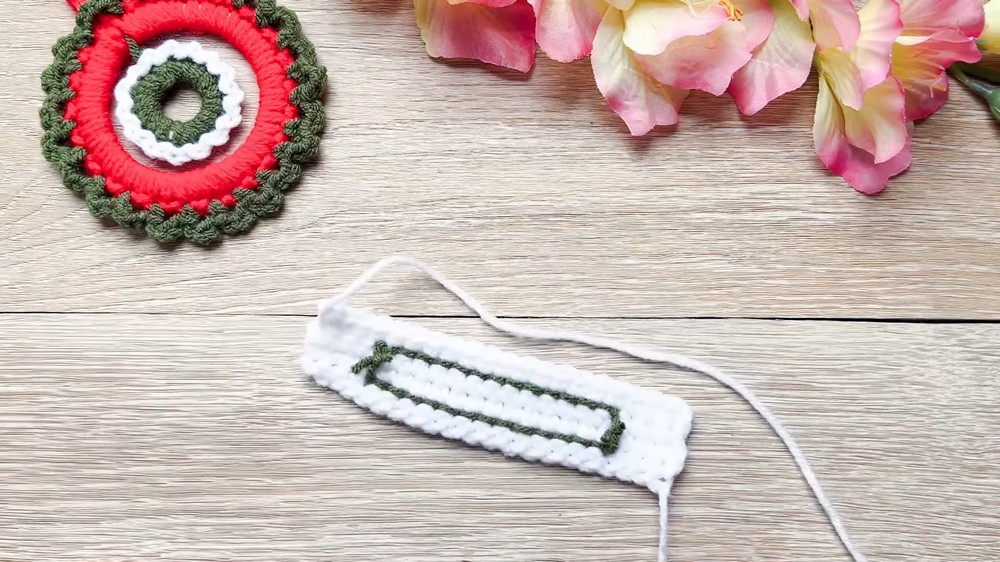
How to Assemble the Crochet Wreath
Once all three components are ready, arrange them before sewing. This makes it easier to center the inner ring and position the bow neatly.
Step 8: Attach the Small Ring to the Large Ring
- Place the small decorated ring inside the large ring, near the upper part of the opening.
- Adjust its position until it looks centered near the top.
- Thread the long tail from the small ring onto your yarn needle.
- Sew the small ring securely to the back of the large ring base.
- Check that the inner ring stays in place without tilting.
- Secure the yarn and trim the excess.
Take care not to pull the sewing yarn so tightly that it distorts either ring. The small ring should remain clearly visible inside the larger wreath.
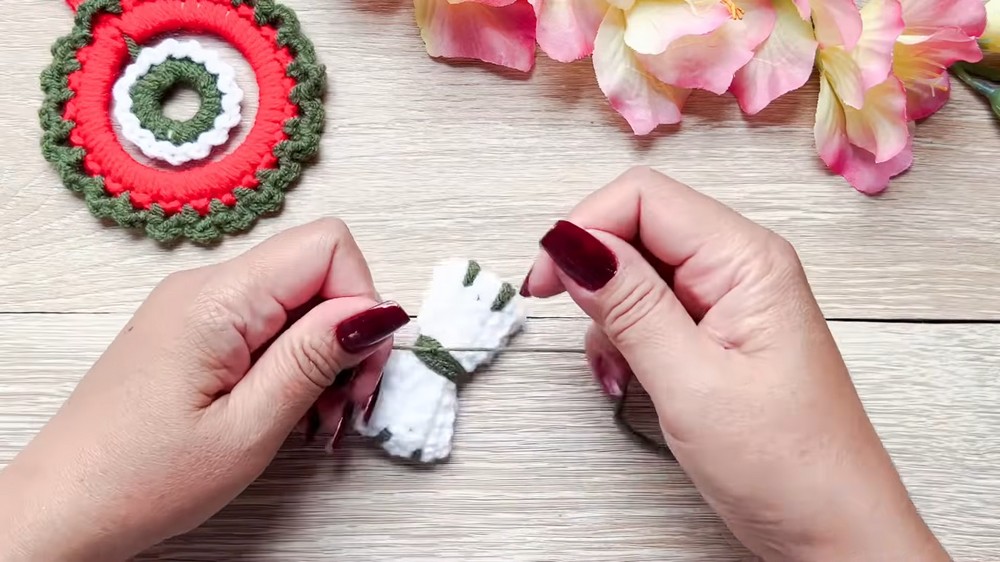
Step 9: Shape the Bow
The crocheted rectangle becomes a bow when its short ends are joined and its center is gathered.
- Fold the rectangle so its two short ends meet.
- Use the long yarn tail to sew the short ends together, forming a loop.
- Turn the joined seam toward the back.
- Pinch the middle of the loop to create the familiar bow shape.
- Thread yarn through the center and pull firmly enough to gather the fabric.
- Wrap the yarn around the middle a couple of times to hold the shape, then secure it at the back.
- Wrap an accent strand around the center once more to blend the contrasting colors neatly.
Adjust both sides of the bow before securing the yarn completely. Similar-sized loops help the finished ornament look balanced.
Step 10: Sew the Bow onto the Wreath
- Position the bow directly beneath the hanging loop at the top of the wreath.
- Check the front of the ornament to make sure the bow sits straight and covers the intended attachment area.
- Use the remaining yarn tail and yarn needle to sew the bow firmly onto the wreath base.
- Secure all loose yarn tails at the back.
- Trim excess yarn only after checking that each attachment is firm.
Hold the ornament by its hanging loop and inspect the front. The small inner ring should sit near the top, the outer edging should look even, and the bow should remain securely in place.

Finishing Checks Before Hanging
Before displaying your crochet Christmas wreath ornament, check these details:
- Both rings are fully covered, with no large gaps showing through.
- The inner ring is sewn securely to the outer ring.
- The chain loop is firmly attached and centered at the top.
- The outer edging is distributed evenly around the wreath.
- Both decorative lines on the bow are secure.
- All yarn ends are fastened and trimmed.
Your finished ornament is ready to hang on a Christmas tree or use as part of a seasonal display. You can also make several wreaths in different color combinations to coordinate with your holiday decorations.






One Comment