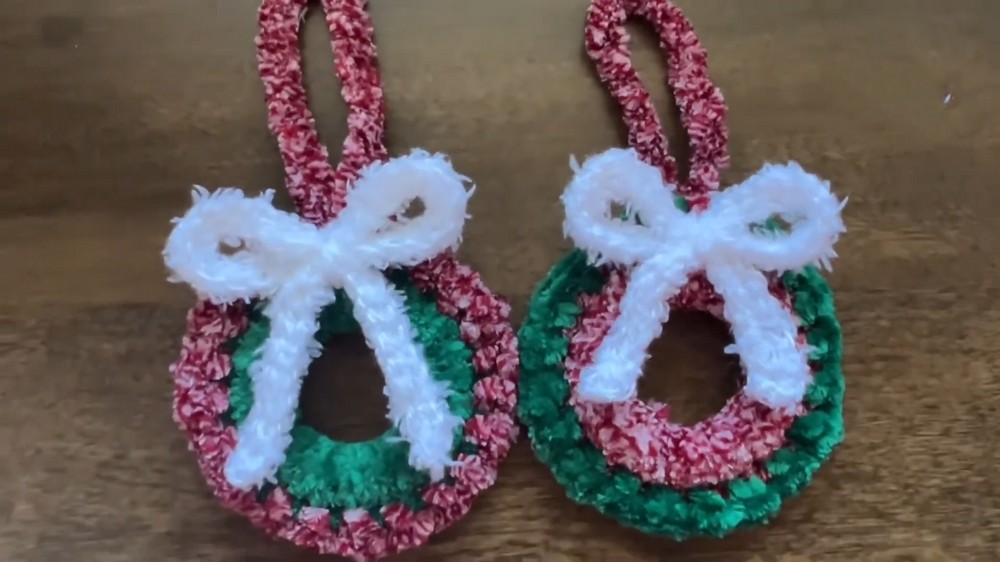
Add plush texture to holiday décor with this mini crochet wreath, featuring a colorful ring border, simple hanging loop, and cinched bow.
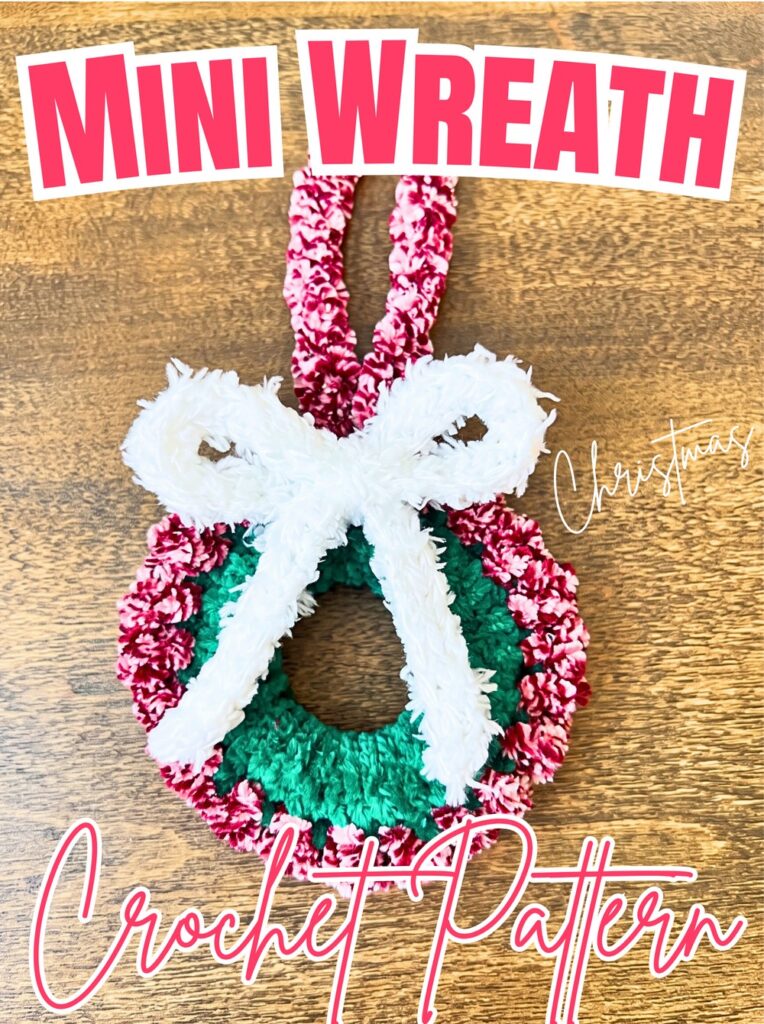
Plush chenille gives this crochet wreath its soft texture and cheerful holiday look. With its compact size and simple stitches, this crochet pattern offers a fun way to create handmade decorations without shaping complicated motifs.
This crochet wreath tutorial explains how to cover your ring, crochet its textured border, and create an easy yarn bow. Follow each crochet step to assemble your ornament, adjust its hanging loop, and explore seasonal color combinations beyond traditional Christmas shades.
Credit Erfin R. Tangdilintin
Materials and Tools Needed
Prepare your yarn and tools before starting. Chenille gives the wreath a fuzzy, plush finish, while acrylic or cotton yarn can make individual stitches easier to see.
- Color A – Ring Base: Green chenille yarn, such as Dollar Tree Just Chenille.
- Color B – Border: Red and white variegated chenille yarn, such as Dollar Tree Just Chenille Medley.
- Color C – Bow: Coordinating chenille yarn, such as Dollar Tree Primer Just Yarn.
- Crochet hook: Size G/6 (4.25 mm) or 5 mm.
- Ring form: A 2-inch or 3-inch craft ring or metal ring base.
- Yarn needle: For securing yarn ends and attaching the bow.
- Scissors: For cutting yarn.
- Bow-cinching yarn: One separate 8–10-inch length of yarn.
Finished Size and Color Ideas
The finished wreath measures approximately 2–3 inches in diameter, depending on the ring form you choose. Its small size makes it suitable for Christmas trees, seasonal displays, and handmade gift decorations.
Traditional green, red, and white create a classic Christmas palette, but you can easily change the colors for other occasions. Try pastel shades for spring or team colors for game day. You can also adjust the hanging loop by chaining 20–25 stitches, depending on how low you want the ornament to hang.
Crochet Abbreviations
The pattern uses US crochet terminology.
- ch: Chain
- sc: Single crochet
- sl st: Slip stitch
- st(s): Stitch(es)
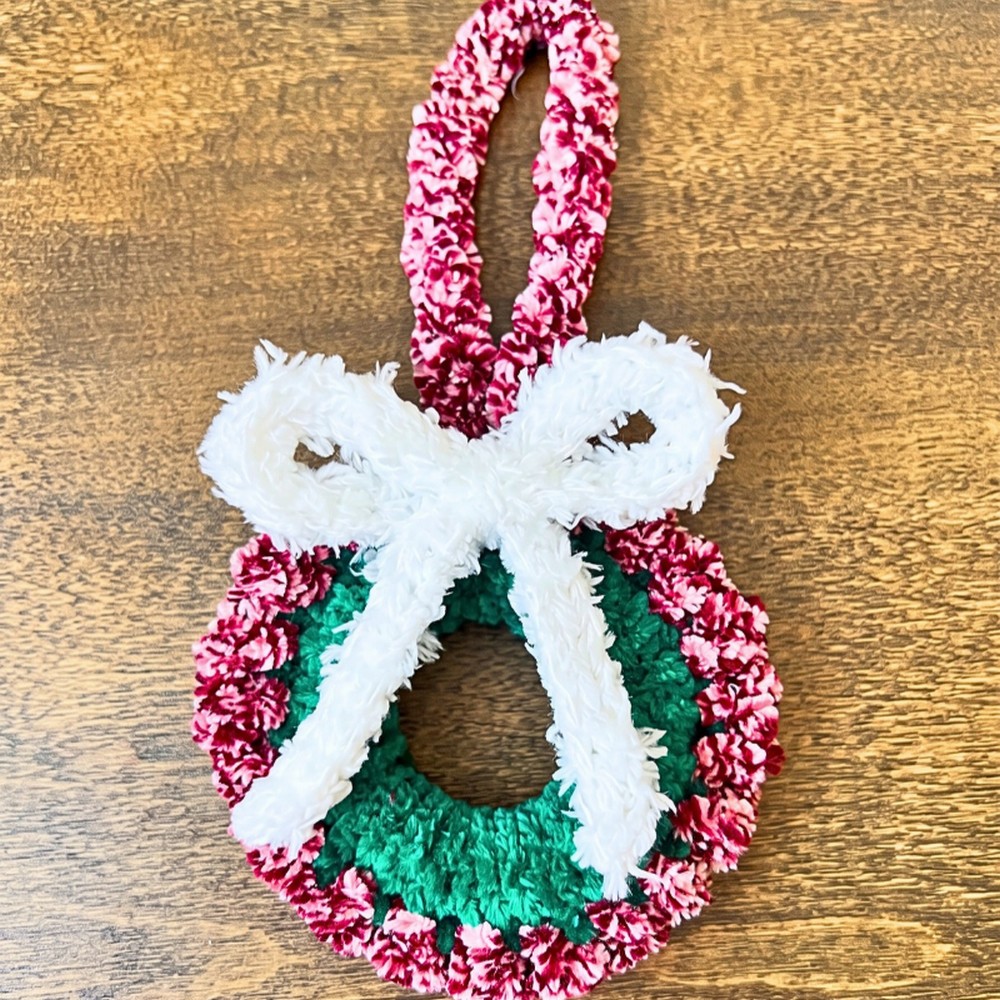
How to Crochet the Mini Wreath
The wreath is built in three parts: the covered ring, the textured border with its hanging loop, and the decorative bow. Complete each part before finishing the assembly.
Step 1: Cover the Ring with Green Yarn
Begin with Color A and your selected crochet hook.
- Make a slip knot and place it on your hook.
- Hold your 2-inch or 3-inch ring securely.
- Insert your hook through the center of the ring and work single crochet stitches around its structure.
- Continue crocheting closely around the entire ring until the original ring is completely hidden.
- Slide the stitches together as you work to avoid gaps between them.
Stitch-count note: No exact stitch count is specified for this round. The number needed depends on your ring size, yarn thickness, and tension. Aim for dense, even coverage rather than forcing a particular count.
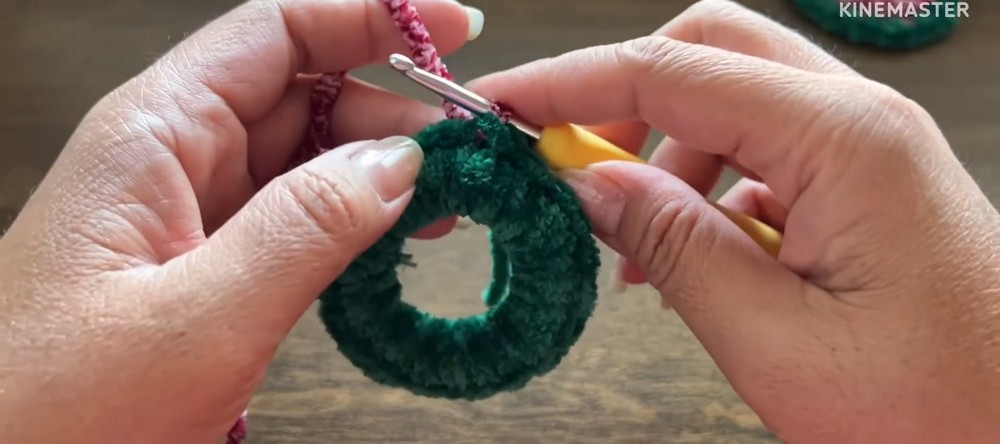
Step 2: Change to the Red-and-White Border Yarn
Once the green base is fully covered, switch to Color B.
- Insert your hook into the first single crochet stitch of the completed round.
- Drop Color A and pick up Color B.
- Pull Color B through the stitch to complete the color change.
- Secure the green yarn ends firmly at the back and trim away the excess.
Check the join before continuing. A secure transition helps prevent the base yarn from loosening as you work the border.
Step 3: Crochet the Textured Border
Use Color B to create the decorative edge around the green ring.
- Chain 1 to begin the border round.
- Work 1 single crochet into the first stitch.
- Chain 1.
- Work 1 single crochet into the next available stitch, then chain 1 again.
- Repeat the single-crochet-and-chain sequence around the ring until you reach the final stitch.
- Insert your hook into the first chain of the round and join with a slip stitch.
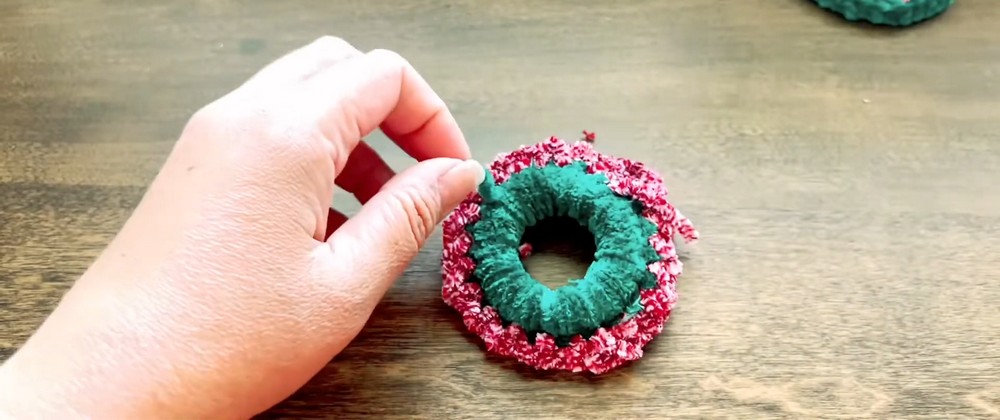
Keep your stitches and chain spaces consistent as you work. The alternating single crochets and chains create a lightly textured border that contrasts with the plush green base.
Chenille tip: Chenille fibers can make stitch tops difficult to distinguish. Feel for each stitch with your fingers and work under its top loops rather than relying only on sight.
Step 4: Make the Hanging Loop
Create the loop immediately after joining the border.
- Chain 20-25 stitches, choosing the length that suits your intended display.
- Bring the chain back toward its starting point.
- Make a slip stitch into the first chain to secure the loop.
- Fasten off and cut the yarn.
- Weave in or securely fasten the loose ends at the back of the wreath.
Before trimming the final tail, check that the loop is long enough to fit over your intended tree branch or hanging point.
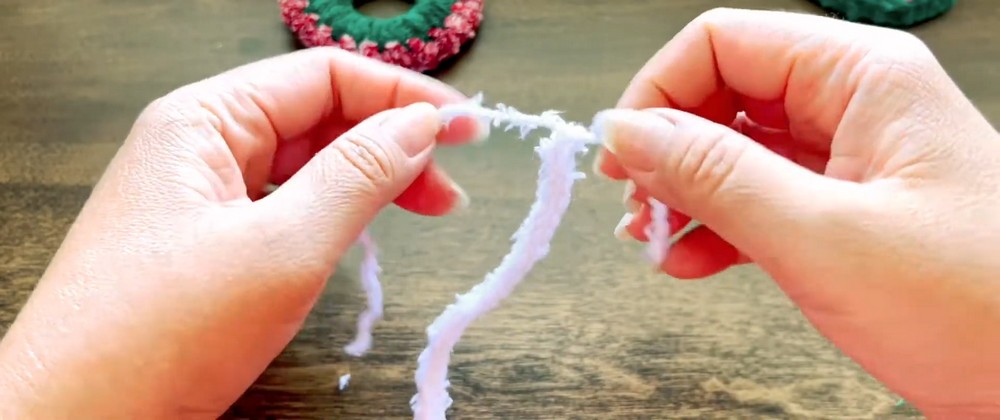
Step 5: Crochet the Bow Band
Use Color C to create the long crocheted strip that forms the bow.
- Make a slip knot with Color C.
- Chain 40.
- Make a slip stitch into the first chain.
- Continue working slip stitches into the chain across its length, following the supplied tutorial.
- Tie off securely and cut the yarn.
Keep the band neat and avoid pulling the stitches too tightly. The finished strip needs enough flexibility to fold and gather into a bow.
Step 6: Cinch the Bow into Shape
Use the separate 8–10-inch length of yarn to shape the band.
- Fold the crocheted band in half to locate its center.
- Thread the separate yarn length through your yarn needle.
- Wrap the yarn tightly around the center of the folded band.
- Pull the wrap snugly until the band gathers into a bow shape.
- Secure the yarn firmly at the back.
Adjust both sides before fastening the cinching yarn completely. If one side looks longer or fuller, gently reposition the band so the bow looks balanced.
Step 7: Attach the Bow to the Wreath
Position the bow on the front of the completed wreath, directly below the hanging loop.
- Center the bow against the green ring.
- Thread a yarn tail through your yarn needle.
- Sew the bow firmly to the wreath, making several secure stitches through its center and the covered ring.
- Check the back to make sure the attachment is secure.
- Fasten off and trim any remaining yarn tails.
The bow should sit neatly below the loop without covering too much of the textured border. Adjust its position before securing the final stitches.
Final Checks and Display Ideas
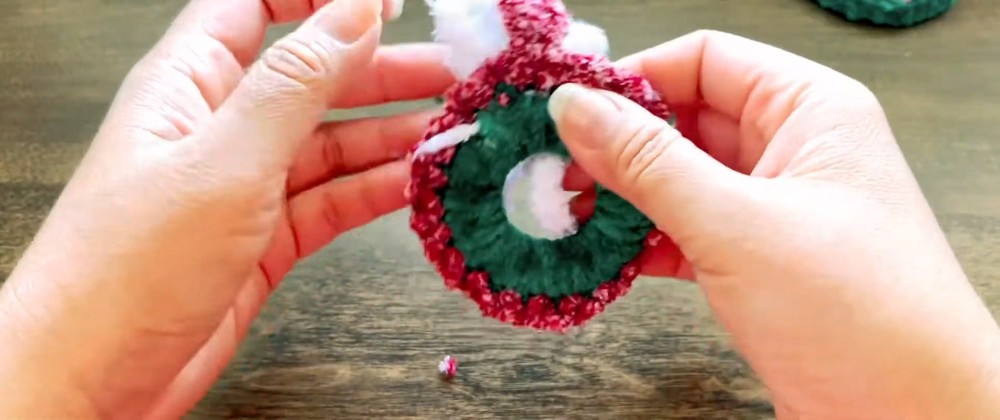
Before displaying your mini wreath, check that the ring is fully covered, the border is secure, and the hanging loop and bow are firmly attached. Trim stray yarn ends only after checking every attachment.
For a coordinated holiday display, make several wreaths using different combinations of green, red, white, or other seasonal shades. You can also experiment with a different ring size to create ornaments in varied dimensions.
This small project is a useful way to explore chenille yarn and make handmade decorations for trees, gifts, and seasonal displays.