Those who love miniature desserts can crochet this Swiss roll keychain with two cotton yarn colors, simple rows, and an easy rolling technique for its signature spiral.
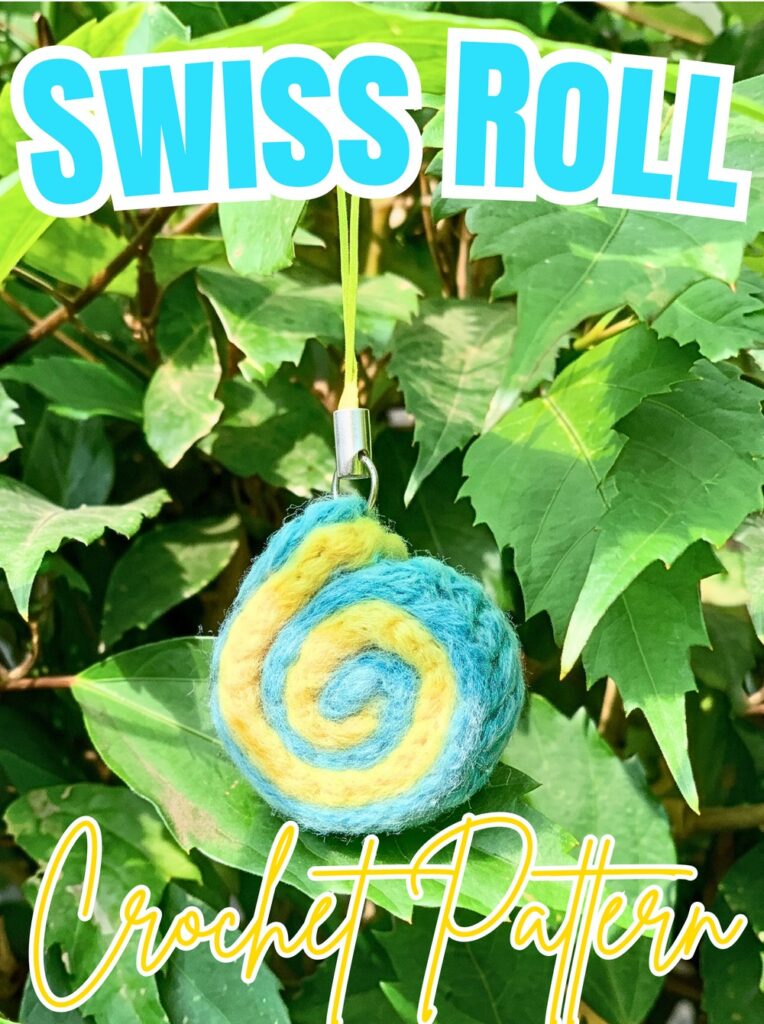
Tiny bakery-style stripes give this crochet Swiss roll keychain its charm, while two small crochet strips create its spiral filling and soft cake layer. Cotton yarn keeps details crisp, and simple rows make shaping approachable.
This crochet pattern guides you through matching chain lengths, working double crochet into back bumps, coiling filling, and whip-stitching outer sponge around it. Clear crochet assembly steps help you secure keychain hardware for a neat finish.
Credit Mariahands
Materials and Tools Needed
Gather your supplies before starting so both strips are ready for rolling and stitching.
- 5-ply cotton yarn: Choose two contrasting colors. Yellow works well for the inner filling, while grey or blue creates the outer cake sponge.
- Crochet hook: Size No. 5, as specified in the video tutorial.
- Tapestry needle: For rolling, sewing, and weaving in yarn ends.
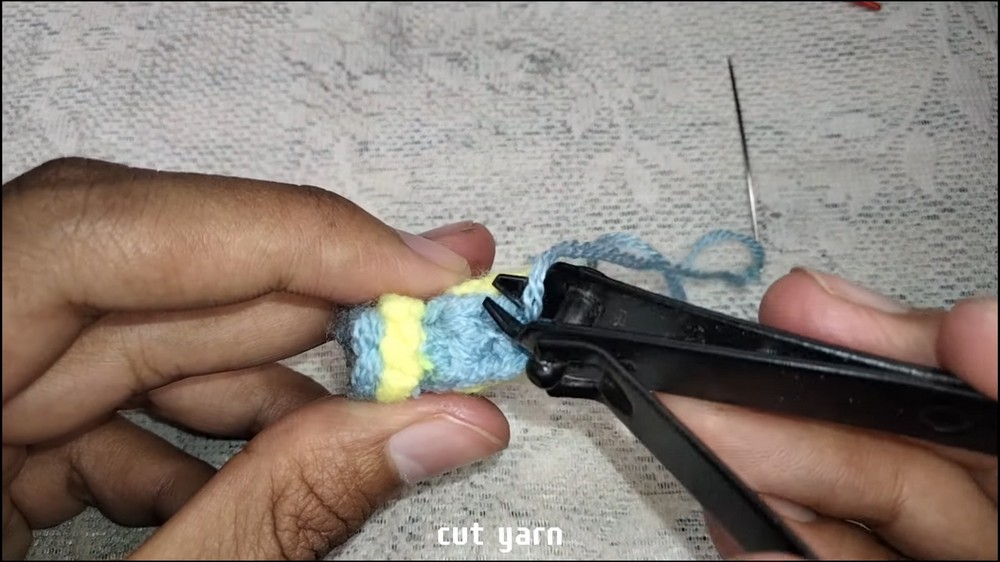
- Scissors or nail clipper: For trimming yarn tails.
- Keychain strap or ring fixture: For turning the finished Swiss roll into a keychain or bag charm.
- Pins: Helpful for holding both strips in position while checking their alignment.
Finished Size and Color Ideas
The finished piece is a miniature amigurumi dessert charm suitable for keys, handbags, backpacks, or small handmade gifts. Exact measurements are not provided in the tutorial, so the final size will depend on your yarn, hook, stitch tension, and how tightly you roll the strips.
Try different color combinations to create several dessert-inspired versions:
- Classic Swiss roll: Yellow filling with grey-blue sponge.
- Strawberry roll: Pink filling with white or cream sponge.
- Chocolate roll: Brown filling with cream sponge.
- Matcha roll: Matcha green filling with pale cream sponge.
Keep the same stitch counts when changing colors to maintain the original pattern proportions.
Crochet Abbreviations
The pattern uses these abbreviations:
- ch: Chain
- sc: Single crochet
- dc: Double crochet
- sl st: Slip stitch
- st: Stitch
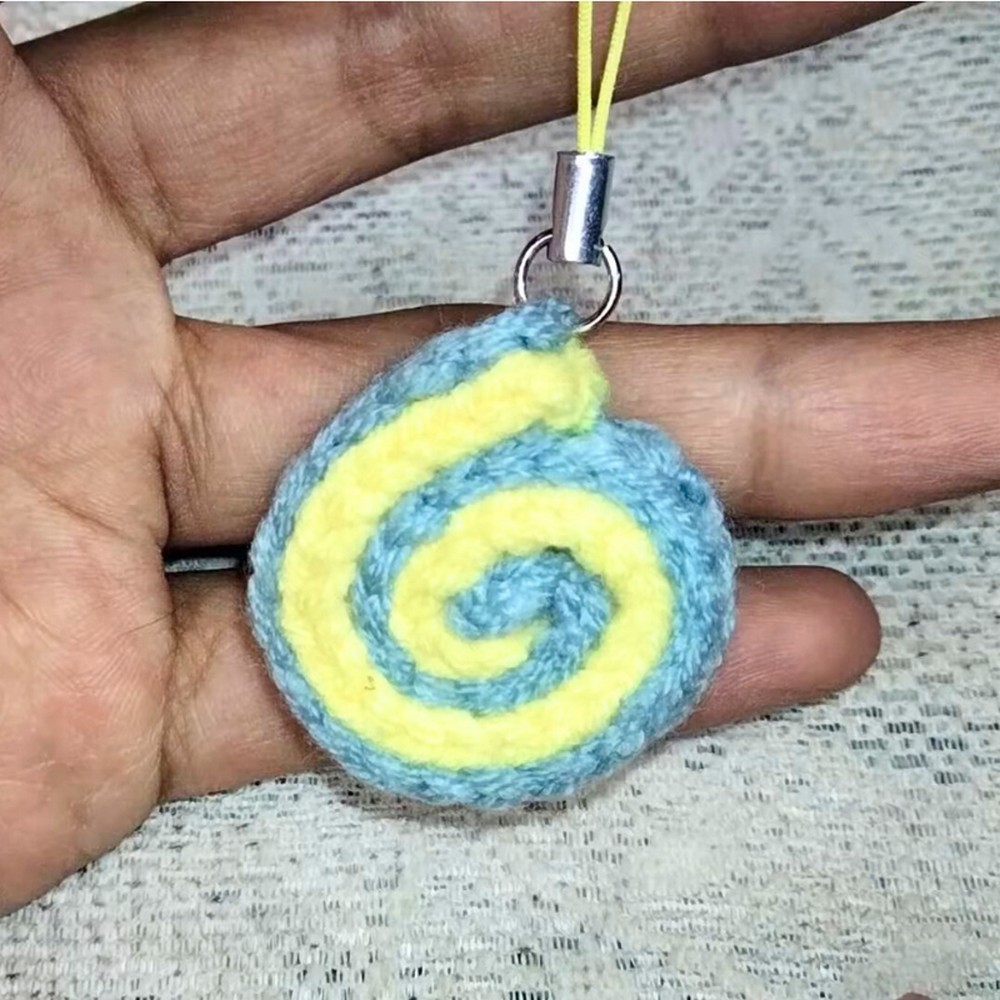
How to Crochet a Swiss Roll Keychain
This miniature cake is made from two separate flat strips. The shorter strip forms the inner spiral, while the longer strip wraps around it to create the outer sponge. Once both pieces are crocheted, they are rolled and sewn together before the keychain fixture is attached.
Step 1: Crochet the Inner Filling
Use yellow or your chosen filling color.
Row 1: Make 32 chain stitches.
Keep your chains reasonably even. If they are too tight, inserting your hook into the back bumps in the next row may become difficult.
Row 2: Starting in the third chain from the hook, work 30 double crochet stitches, inserting your hook into the back bumps of the chain.
To find each back bump, turn the chain slightly so the small raised loops along its underside are visible. Yarn over, insert your hook into the next back bump, pull up a loop, and complete the double crochet stitch.
Continue along the chain until all 30 double crochet stitches are complete. Working into the back bumps creates a tidy edge that can be easier to handle during assembly.
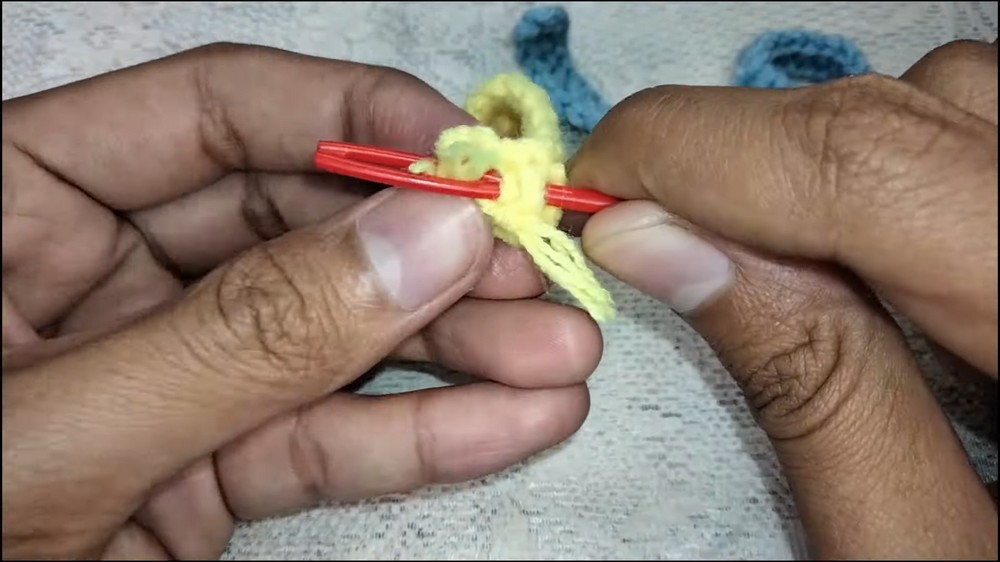
Finish the strip: Make a slip stitch as directed in the source tutorial, fasten off, and leave a long yarn tail for rolling and sewing.
Lay the strip flat briefly before shaping it. Avoid pulling the tail too tightly at this stage, because you will need enough yarn to secure the spiral.
Step 2: Roll the Filling into a Spiral
Take the finished filling strip and begin rolling one end inward.
- Keep the starting end tucked into the center.
- Roll the strip gradually, maintaining an even spiral rather than folding it into a flat bundle.
- Check the visible layers as you go so the center resembles the cut face of a Swiss roll.
- Use the long yarn tail to secure the coil with small stitches if needed.
Keep the spiral snug enough to hold its shape without pulling so tightly that the center becomes distorted. Set the rolled filling aside while you crochet the outer layer.

Step 3: Crochet the Outer Cake Sponge
Switch to grey-blue yarn or your chosen sponge color.
Row 1: Make 36 chain stitches.
This strip is longer than the filling strip, allowing it to wrap around the outside of the spiral.
Row 2: Starting in the third chain from the hook, work 34 double crochet stitches into the back bumps of the chain.
Work steadily across the row, checking that each stitch is made into the next back bump. Keep your tension consistent with the inner strip so the finished layers fit together neatly.
Finish the strip: Fasten off and leave a long yarn tail for sewing.
Do not cut the tail too short. You will use it to secure the outer sponge around the rolled filling.
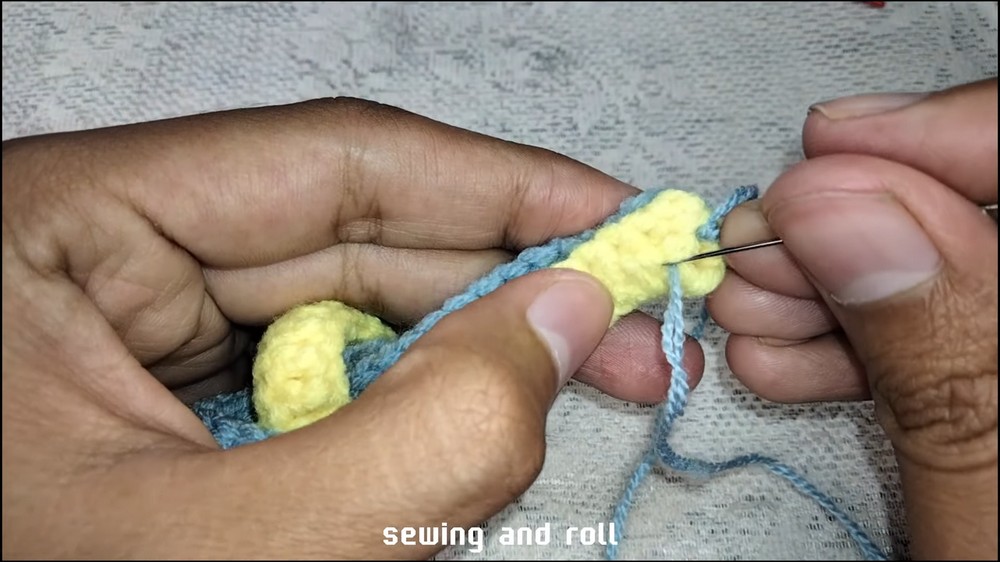
Step 4: Align Both Strips Before Sewing
Place the longer sponge strip flat beside the rolled filling. Arrange the pieces so the sponge can wrap around the spiral without bunching or leaving an unnecessarily large gap.
Use pins to hold the layers in position if they shift while you work. Before sewing, check that:
- The spiral filling remains visible at the end of the roll.
- The outer strip extends far enough to wrap around the filling.
- The sponge edge sits evenly against the rolled layers.
This quick alignment check makes the rolling process easier and helps prevent uneven layers.
Step 5: Roll and Whip-Stitch the Swiss Roll
Thread the tapestry needle with the long yarn tail from the sponge strip.
Begin wrapping the outer sponge around the filling, keeping the spiral centered. As you roll, use small whip stitches along the adjoining edges to join the layers.
For each stitch, pass the needle over the edges being joined and pull the yarn through gently. Continue rolling and stitching a little at a time instead of wrapping the entire strip first and trying to sew everything afterward.
Keep checking the visible spiral end while you work. If the filling begins to slip sideways, pause and reposition it before making more stitches.
Continue until the sponge layer is secured around the filling and the piece resembles a compact Swiss roll cylinder.
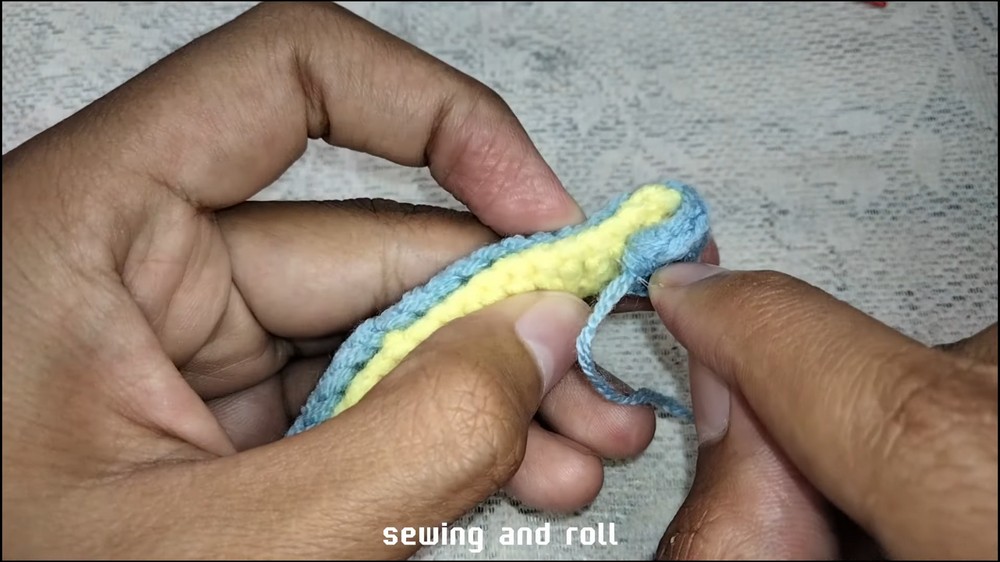
Step 6: Secure the Seam and Weave in Loose Ends
Once the outer layer is fully attached, make a secure finishing stitch and fasten off.
Use the tapestry needle to weave the remaining yarn tails into the crocheted fabric. Pass each tail through several stitches, changing direction where practical to help prevent it from loosening.
Trim excess yarn close to the fabric only after securing the ends. Avoid cutting through any stitches or leaving long tails exposed around the spiral.
Step 7: Attach the Keychain Fixture
Position the keychain strap or ring fixture at the top of the rolled cake, as shown in the source tutorial.
Use a secure attachment method suitable for your hardware. If the fixture has a fabric loop or sew-on tab, stitch it firmly to the crocheted sponge, passing through sturdy stitches rather than only loose surface fibers.
Check that the fixture sits upright and that the stitches do not pull the sponge out of shape. Gently tug the attachment to check its security before using the charm on keys or a bag.
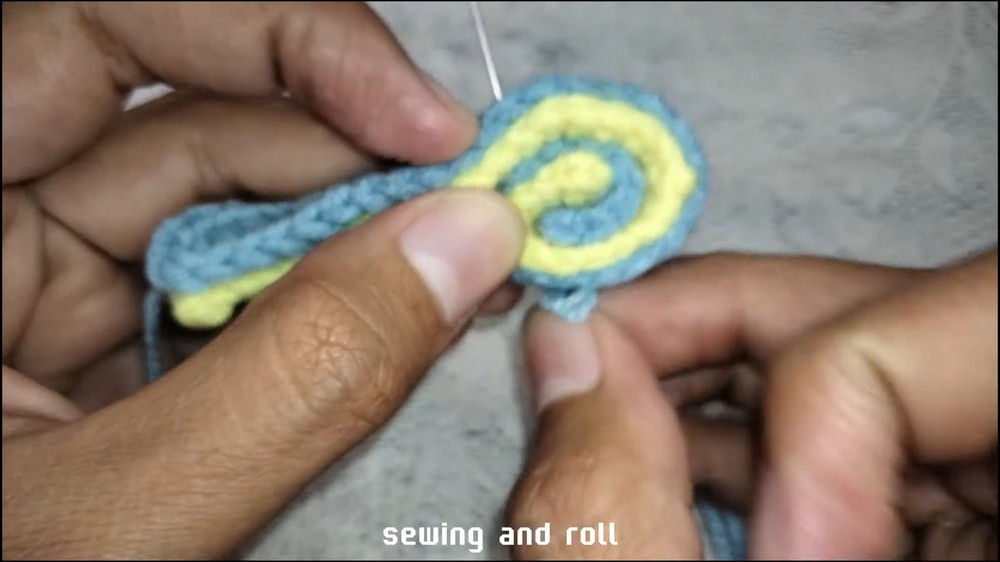
Helpful Tips for a Neat Swiss Roll
- Keep both strips consistent: Similar stitch tension helps the filling and sponge roll together without uneven bulges.
- Do not rush the spiral: Roll gradually and secure the layers as you go to keep the center from shifting.
- Leave long sewing tails: Short tails make it harder to secure the seam and hide loose ends.
- Check the spiral before finishing: Make sure the filling is still visible and the outer sponge sits evenly around it.
- Test the keychain attachment: Hardware needs a firm connection because keys and bags are handled frequently.
Make a Set of Mini Crochet Desserts
Once you have mastered this two-strip construction, experiment with new color combinations to make a collection of miniature dessert charms. Strawberry, chocolate, and matcha-inspired versions can all use the same stitch counts and assembly method, giving each charm a different look without changing the basic pattern.