Easy Crochet Cat Head Coaster Tutorial
Create charming and functional crochet cat head coasters with this fun tutorial! Perfect for beginners and seasoned crocheters alike, these coasters are versatile, add personality to your decor, and make wonderful handmade gifts. Ideal for protecting surfaces while showcasing your creativity.

Crochet cat head coasters are adorable and practical! Their sturdy design ensures durability, while their playful look enhances any coffee table or kitchen setup.
These coasters are lightweight, washable, and ideal for hot or cold beverages—combining charm and functionality effortlessly.
Materials and Preparation
To make a crochet cat head coaster, you will need the following materials:
- Yarn: Worsted weight cotton yarn (ideal for coasters due to its durability and absorbency) in your desired colors (e.g., gray, white, black, orange).
- Crochet Hook: Size H/5.0 mm or as needed to meet the gauge.
- Tools:
- Scissors
- Tapestry needle for weaving in ends
- Stitch markers (optional)
- Optional Accessories:
- Safety eyes or small buttons to embellish
- Yarn Weight: Medium (4)
Abbreviations and Notes
Below are common crochet abbreviations you will encounter in the pattern:
- SC: Single Crochet
- DC: Double Crochet
- INC: Increase (multiple stitches in the same space)
- DEC: Decrease (crochet two stitches together)
- CH: Chain
- SL ST: Slip Stitch
- HDC: Half Double Crochet

Pattern Tips:
- Read the pattern entirely before starting to ensure understanding.
- Use stitch markers to keep track of rounds and prevent miscounts.
- Ensure tight tension; coasters work better when stitches are dense.
Gauge, Approximate Size, and Pattern Notes
Gauge: 4 SC = 1 inch (test and adjust as necessary).
Finished Dimensions: Approximately 4.5 inches in diameter.
Special Techniques:
- Magic Ring: Used to begin in a circular formation.
- Surface Slip Stitch: Optional but can be used for adding facial features like whiskers.
Gauge Swatch (optional): Crochet a small square in SC to check tension and adjust hook size as needed.
Step-by-Step Pattern
Step 1: Create the Cat Head Base
- Magic Ring: Begin with a magic ring. CH 1 to secure.
- Round 1: Work 6 SC into the ring, pull tight, and join with SL ST. (6 stitches)
- Round 2: CH 1, INC in each stitch around. Join with SL ST. (12 stitches)
- Round 3: CH 1, SC in next, INC in next. Repeat around. Join with SL ST. (18 stitches)
- Rounds 4–6: Continue following this pattern of increase until you reach approximately 36 stitches. This should form the circular base.

Step 2: Add Cat Ears
- Ear 1: Attach yarn to the base where you want the ear to start. CH 2, and work as follows:
- Row 1: 3 SC, turn.
- Row 2: DEC once, SC in next. Turn.
- Row 3: DEC to finish. Fasten off.
- Ear 2: Repeat the process on the opposite side.

Step 3: Add Facial Features
- Use surface slip stitch or embroidery to add eyes, nose, and whiskers.
- You can also attach small embellishments such as buttons or eyes for added personality.
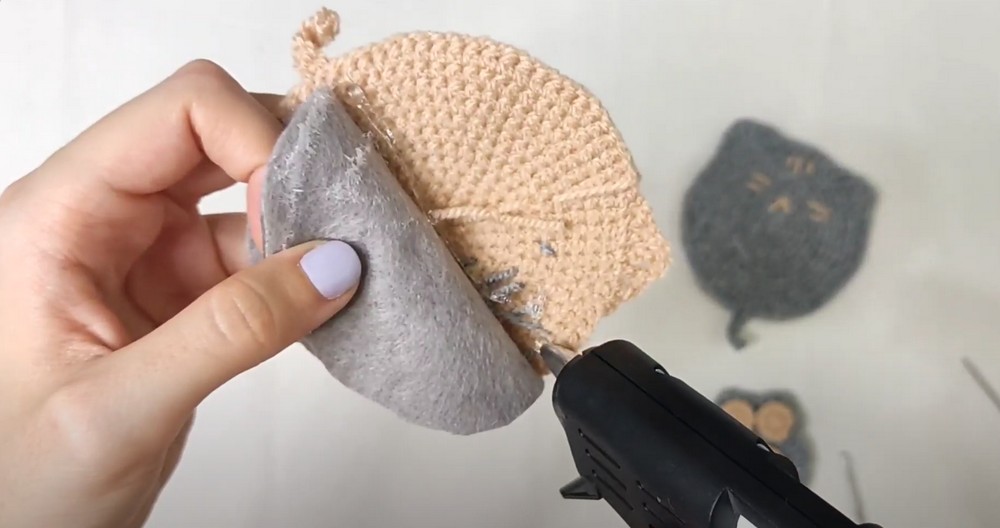
Step 4: Finishing
- Weave in all loose ends with a tapestry needle.
- Block the coaster by pinning it on a flat surface and lightly steaming.
Optional Step: Customize your coaster with a bow or color variations for added flair.
You now have a cute cat head coaster perfect for your home or to gift a fellow cat lover!
Key to Success:
- Choose soft, durable yarn for comfort and longevity.
- Follow the step-by-step tutorial for consistent results.
- Practice basic crochet techniques, such as single crochet and shaping.
- Use a proper hook size to match your yarn.
- Block your finished coaster for a polished look.
Conclusion:
This crochet cat head coaster project is not only functional but also a wonderful way to enjoy crafting. Whether you use these coasters at home or gift them to loved ones, they’re practical, delightful, and a great addition to your handmade creations. Give it a try!


