Need a cheerful coaster that looks just as cute as it is useful? This little chicken hides some surprisingly fun details.

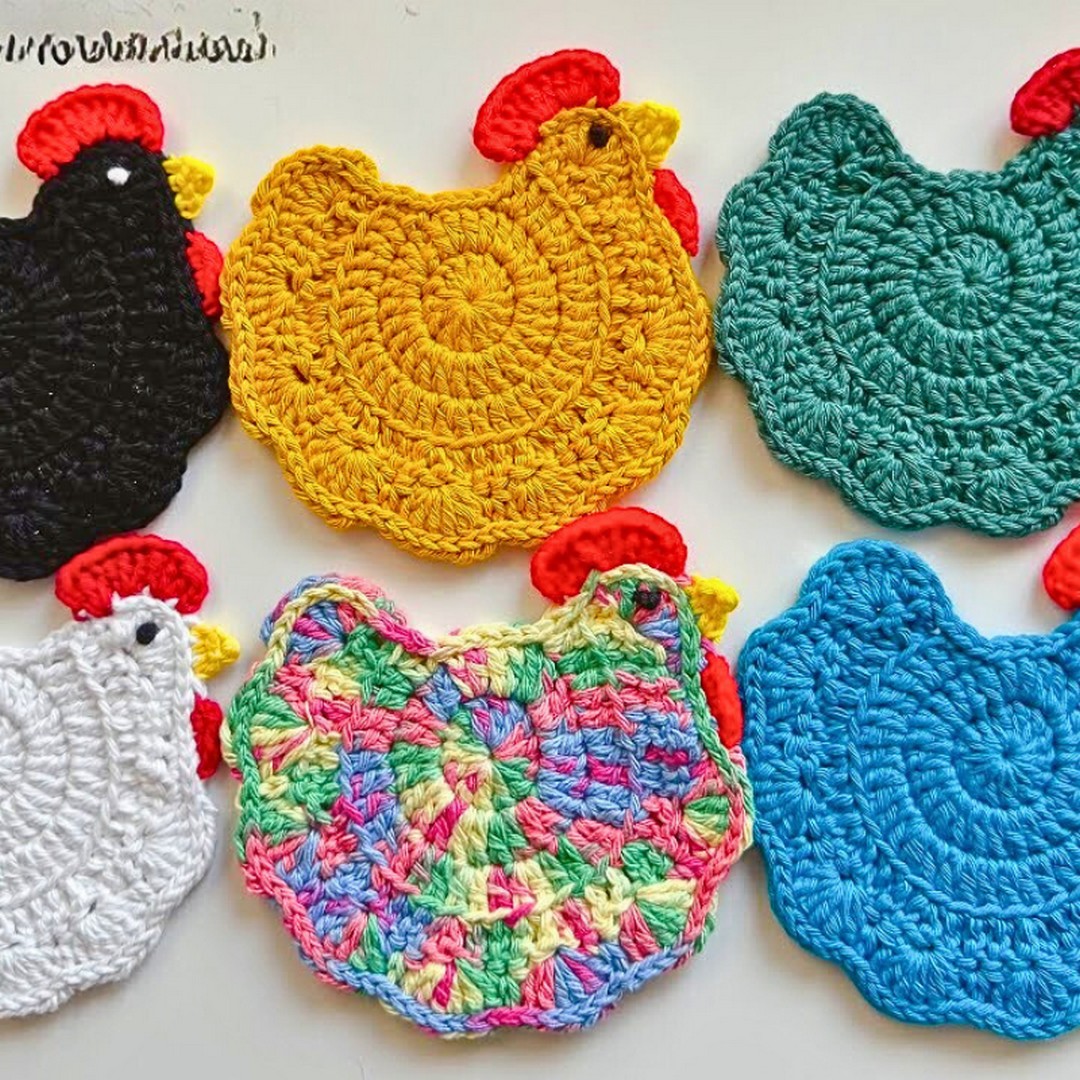
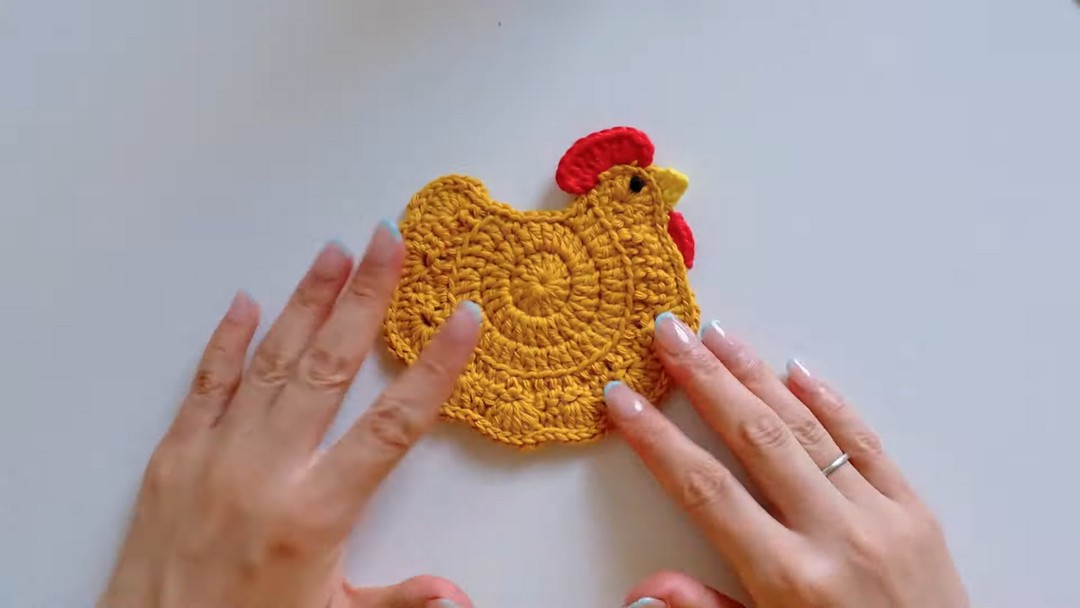
A chicken-shaped crochet coaster instantly makes an ordinary table feel more playful. The rounded body, tiny comb, feathered edge, and bright details turn this design into something that feels decorative even when no cup is sitting on it. It starts with a simple circle, but the transformation happens much faster than it first appears.
What makes this crochet coaster especially satisfying is the way each round gradually reveals the chicken shape. Front-loop stitches, shell feathers, and colorful finishing touches build layer by layer until the character comes to life. By the time the final edging is complete, it feels less like a crochet coaster and more like a handmade piece of table decor that happens to hold your drink.
Credit SquareCircleCrochet
Techniques & Key Stitches Used
- Magic Ring
- Chain (ch)
- Slip Stitch (sl st)
- Single Crochet (sc)
- Half Double Crochet (hdc)
- Double Crochet (dc)
- Front Loops Only (FLO)
- Back Loop Only (BLO)
- Shell Stitch for feather shaping.
Materials & Tools Needed
To craft the Crochet Chicken Coaster, you’ll need:
Yarn: 100% cotton yarn (recommended 8 skeins).
Hook: Size 5 (3.0mm) crochet hook.
Notions: Scissors, yarn needle, and an optional stitch marker.
Gauge
- Not specified in the tutorial.
Finished Size / Measurements
Not specified in the tutorial.
Abbreviations & Terminologies
ch: Chain
sl st: Slip Stitch
sc: Single Crochet
hdc: Half Double Crochet
dc: Double Crochet
FLO: Front Loops Only
BLO: Back Loop Only
Pattern Construction & Key Features
- Starts in the round using a magic ring for the coaster base.
- Transition from the base into shaping with row turning and front-loop-only stitches.
- Shell stitches create feather-like textures around the edge.
- Contrast colors are added for the comb, beak, waddle, and eye.
- Final edging with a slip stitch round provides structure.
Construction Highlights & Key Features
- Magic Ring Foundation: The coaster begins with a magic ring to create a smooth, circular base.
- Working in Rounds: Multiple rounds use double crochets, increasing stitches to form the shape evenly.
- Chicken Accent Details: Includes techniques for creating a comb, beak, waddle, and eye, with fun pops of color.
- Edging Techniques: Slip stitches help in shaping and providing clean edges.
Pattern Overview & Making Process
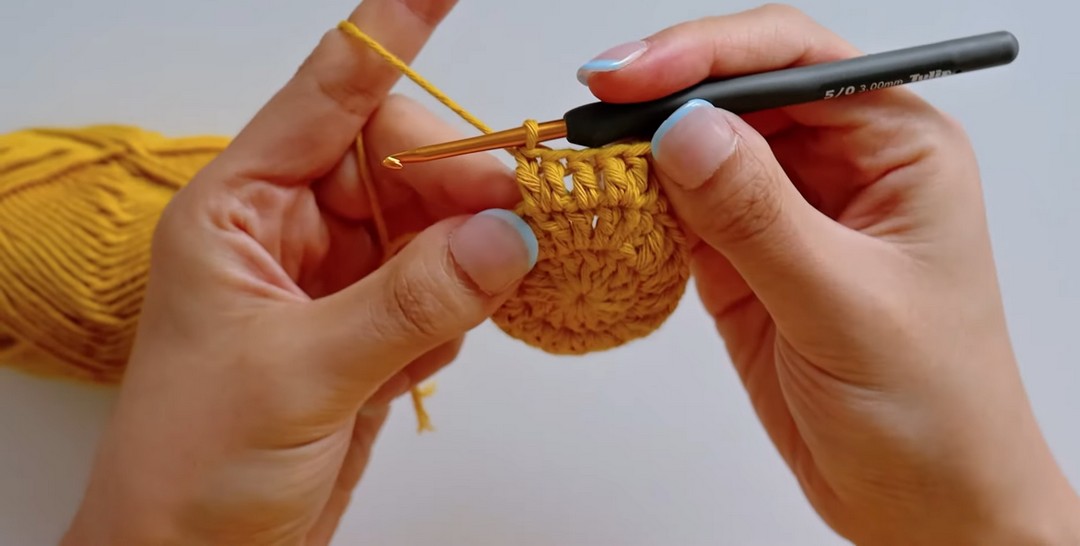
The pattern begins with a magic ring and several rounds of double crochet to create the coaster base. Each round adds increases to expand the circle evenly, building a smooth foundation that forms the body of the chicken.
After the base is complete, the work changes direction with turned rows and front-loop-only stitches. These stitches shape the upper section, and the shell border is worked around the edge to create the feather-like details that give the chicken its distinctive look.
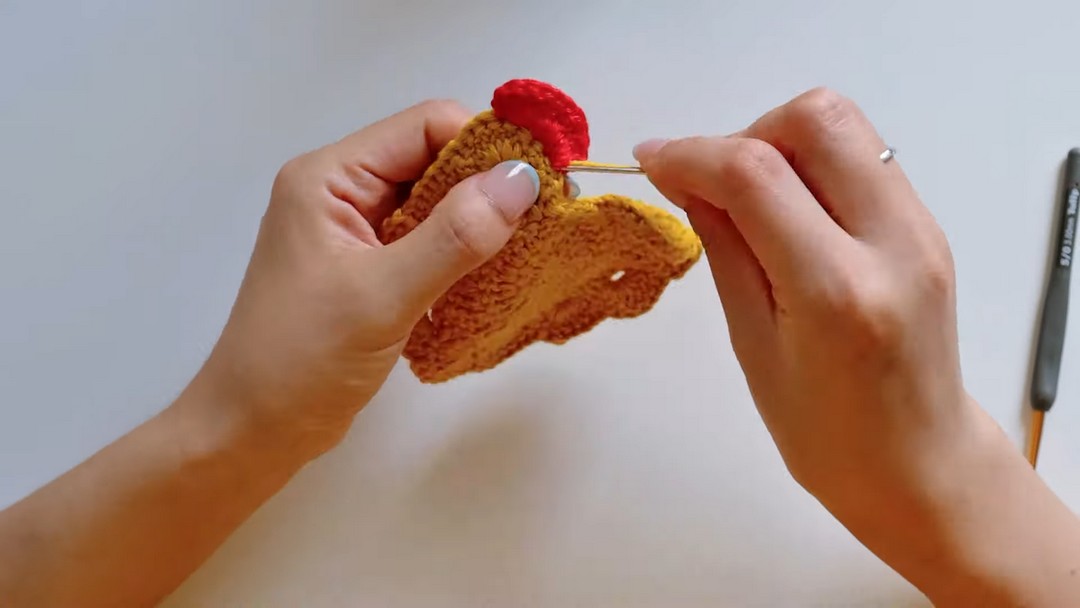
Once the body is finished, the smaller features are added directly onto the coaster. Red yarn forms the comb, yellow yarn creates the beak, and a black knot becomes the eye. A final slip-stitch edging helps define the shape and gives the finished coaster a clean, sturdy outline.
Step-by-Step Instructions
Let’s begin the Magic Ring!
- Start with a magic ring and chain 3 (acts as the first double crochet).
- Work a total of 13 double crochets into the magic ring. Slip stitch to the first double crochet to join.
Round 2: Increase the Base
- Chain 3. Work 2 double crochets in each of the 13 stitches from the previous round.
- You’ll have 26 stitches at the end of this round. Slip stitch to the first double crochet to close the round.
Round 3: Adding Shape with Alternating Increases
- Chain 3. Work 1 double crochet in the first stitch, 2 double crochets in the next.
- Repeat this sequence around. By the end, you’ll have 33 stitches.
Round 4: Start the Chicken Body
- Chain 3 and turn. Work into the front loops only of this round.
- Crochet: 1 double crochet in the first 3 stitches, 2 double crochets in the next stitch. Repeat 8 times, ending with 41 stitches.
Shell Border for Feathers!
- Chain 1 and turn. Create 8 shell shapes by alternating 6 double crochets in 1 stitch and skipping a stitch with single crochet.
- Continue until you shape all 8 shells.
Head, Comb, Beak, and Details
- For the head, add 2 single crochets in designated stitches, skipping others.
- Use red yarn for the comb: chain 2, work 3 double crochets in 3 stitches, then slip stitch.
- For the beak, grab yellow yarn—single crochet into 3 stitches, chain 2, and finish with slip stitches.
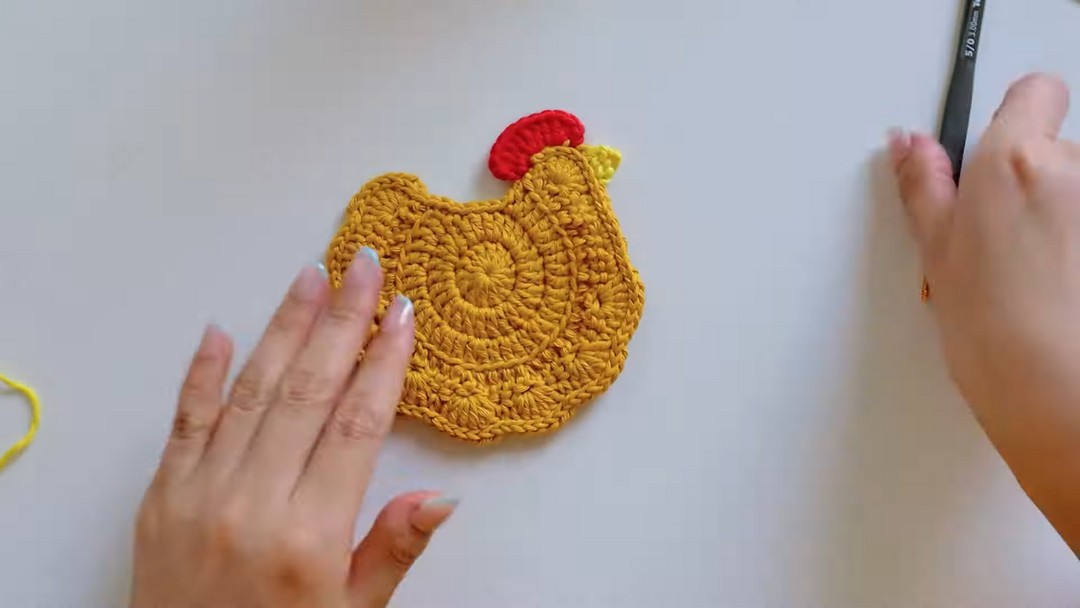
- Create the eye with black yarn tied as a knot in the desired position.
Assembly Instructions
- No additional assembly is required. Attach details and weave in all ends.
Helpful Tips
- Use a stitch marker in Round 6 to know where to stop slip-stitching.
- When slip-stitching into double crochet edges, insert the hook wherever it feels best.
Troubleshooting & Suggestions
- Clean edges: Keep slip stitches consistent for a neat finish.
- Color joining: Use the invisible color-change technique to avoid visible seams.
- Too loose or tight? Adjust your tension as needed to maintain even stitches throughout.
Creative Modifications
- Try multicolored yarn for a whimsical look.
- Add embroidery or embellishments for a farmhouse look.
- Use this pattern for trivets or wall decor!
Conclusion
With its quirky charm and practical use, the Crochet Chicken Coaster is a must-have addition to any home. Grab your materials, follow this fun tutorial, and add a handmade touch to your space today!