Tiny enough for a keyring yet full of personality, this crochet mini octopus comes together with a rounded stuffed body, twelve little tentacles, embroidered eyes, and rosy cheeks for an adorably cheerful finish.
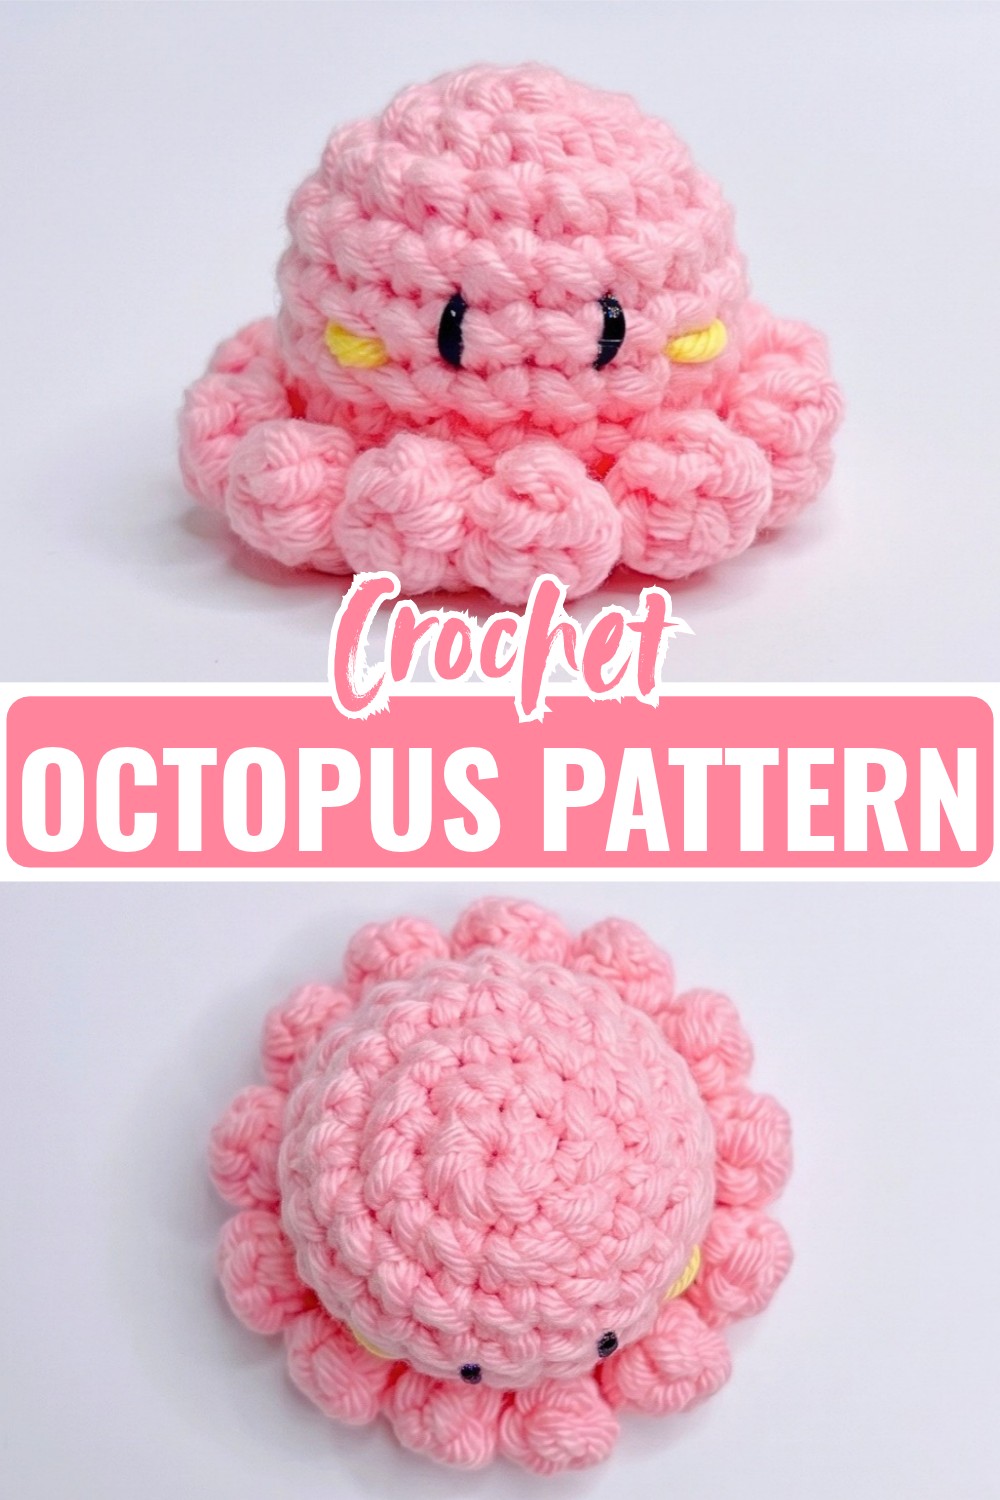
Mini Crochet Octopus Pattern
There is a lot of character packed into this little crochet octopus. The body starts as a small crochet circle, expands just enough to create a rounded shape, and then closes neatly underneath. The tentacles are worked directly from the unused loops at the bottom, so there is no separate sewing for twelve individual pieces.
The construction is simple, but two details deserve extra attention: the body must be stuffed before the final closing round, and the crochet tentacles need to be worked into the exposed front loops left from the BLO round.
Keeping those two stages in the correct order makes the finished underside much neater and helps all twelve tentacles spread evenly around the body.
Credit Xuxu Crochet
Materials & Tools
- 4-ply / 2 mm milk cotton yarn
- Main color, such as yellow
- Small amount of black yarn for the eyes
- Small amount of pink yarn for the cheeks
- 2.5 mm crochet hook
- Fiberfill stuffing
- Stitch marker
- Yarn needle
- Scissors
- Keychain attachment or ring
Finished Size
Approximately 3–4 cm, depending on yarn tension and the materials used.
The compact size makes this octopus suitable for a keychain, backpack charm, zipper accessory, or tiny decorative companion.
Pattern Abbreviations
- MR: magic ring
- ch: chain
- sl st: slip stitch
- sc: single crochet
- inc: increase, 2 sc in the same stitch
- dec: decrease
- BLO: back loop only
- FLO: front loop only
- [ ] × N: repeat the instructions inside the brackets N times
- ( ): stitch count at the end of the round

How to Crochet the Mini Octopus
The body is worked in joined rounds, rather than a continuous spiral. Each round begins with a chain and ends with a slip-stitch join.
Keep a stitch marker nearby if you find it difficult to identify the first stitch after joining.
Crochet the Main Body
Work in your Main Color.
Round 1: Make a MR, ch 1, work 6 sc into the ring, pull the ring closed, and sl st into the first sc to join. (6 sts)
Round 2: Ch 1, work 6 inc around, then sl st into the first sc to join. (12 sts)
Round 3: Ch 1, repeat (1 sc, 1 inc) 6 times around, then sl st into the first sc to join. (18 sts)
Rounds 4–7: Ch 1, work 1 sc in each stitch around, then sl st into the first sc to join. (18 sts per round)
Round 8: Ch 1, repeat (1 sc, 1 dec) 6 times around, then sl st into the first sc to join. (12 sts)
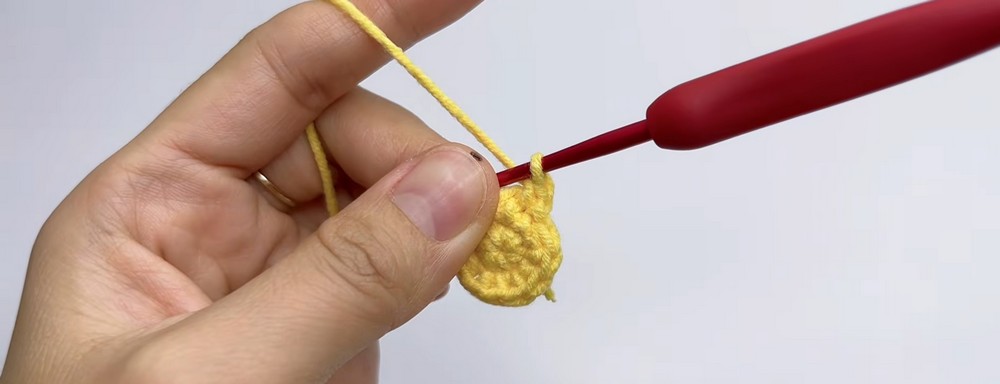
Stuffing Check
Stop after Round 8 and stuff the body with fiberfill.
Because the opening will become difficult to access after the next round, this is the correct time to shape the body. Add the filling gradually and make sure it reaches the lower sides without stretching the stitches.
The body should feel firm enough to hold its round shape, but the stitches should remain closed and even.
Close the Bottom with BLO Decreases
Round 9: Ch 1, working in the BLO only, repeat 6 dec around, then sl st into the first stitch to join. (6 sts)
Fasten off, leaving a short tail.
Thread the tail onto a yarn needle and weave it through the front loops of the remaining 6 stitches. Pull the yarn firmly to close the opening, then secure and weave in the end inside the body.
Why This Round Matters
The BLO work does more than simply close the body. It leaves the front loops from Round 9 exposed, and those loops become the attachment points for the tentacles.
Do not accidentally crochet into those front loops while closing the body. They need to remain visible for the next stage.
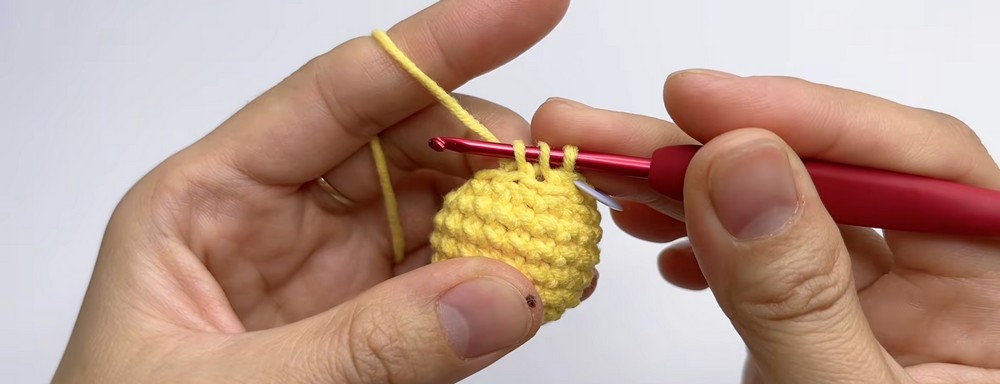
Crochet the 12 Tentacles
The tentacles are worked directly into the unused FLO from Round 9.
This construction means you do not have to make and sew on twelve separate tentacles.
Join the Main Color yarn with a sl st into any exposed front loop from Round 9.
Tentacle 1: Ch 5, skip the first chain from the hook, work 1 sc into each of the next 4 chains, then sl st into the next exposed front loop on the body.
Tentacles 2–12: Repeat (ch 5, skip the first ch from the hook, 4 sc down the chain, sl st into the next exposed front loop) around. (12 tentacles total)
After the twelfth tentacle, sl st into the base of the first tentacle to join.
Fasten off and weave the yarn tail inside the body.
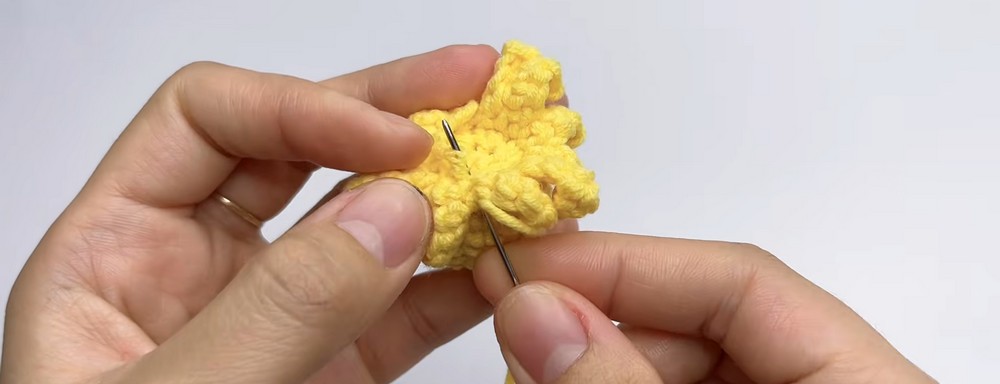
Tentacle Placement Tip
Work through one exposed front loop at a time and move consistently around the circle. If you accidentally skip a loop, you can end up with an uneven gap or an incorrect tentacle count at the end.
The easiest checkpoint is simple: you should finish with 12 tentacles and no unused front loops.
Shape the Tentacles
The tentacles naturally have a little flexibility because they are made from short chains.
Once all twelve are attached, gently curl each one with your fingers.
Avoid pulling them aggressively. A small curve is enough to give the octopus a lively, dimensional appearance.
Shape Tip
Try to keep the tentacles facing outward rather than allowing several to overlap in the same direction. Spreading them around the underside makes the little octopus look fuller and more balanced.
Embroider the Eyes
Use Black yarn, separated into two thin strands.
Thread the yarn onto your needle and embroider two small straight eyes on approximately Round 5 of the body.
Keep the eyes 2 stitches apart.
Face Placement Tip
Before making the second eye, compare its height with the first one. On a miniature amigurumi, even a one-stitch difference can change the expression.
If you are unsure about placement, insert the needle through the intended stitches without pulling the yarn tight first. This lets you check the spacing before committing to the embroidery.
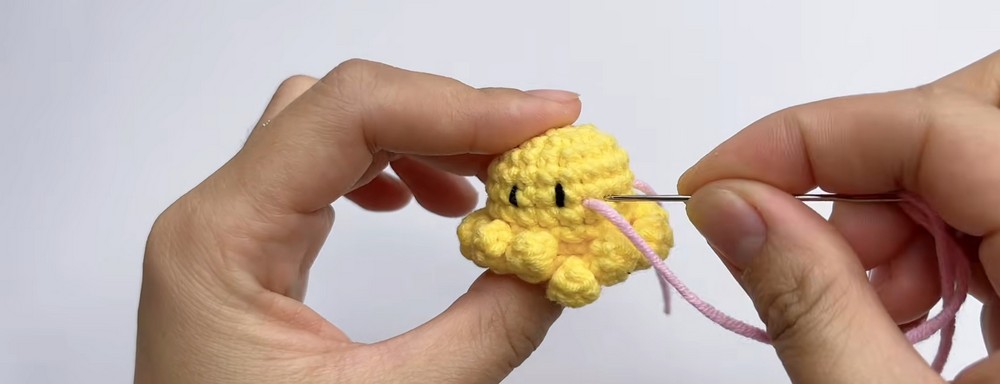
Add the Pink Cheeks
Use Pink yarn.
Embroider a small horizontal stitch just outside and slightly below each eye.
The cheeks should remain small so they complement the eyes without overpowering the tiny face.
Expression Tip
Keep both cheeks at approximately the same height. Slightly lower placement creates a cute blushing effect while keeping the face centered.
Attach the Keychain Ring
If you are turning the octopus into a keychain, attach the metal ring or keychain fixture securely at the center-top of the head around Round 1.
Use strong, repeated stitches through the crochet fabric so the attachment does not pull away when the octopus is handled.
Attachment Tip
The top center is important here. Attaching the ring too far toward one side can cause the octopus to hang at an angle.

Helpful Tips for a Neat Mini Octopus
Keep the Joined Rounds Consistent
This pattern uses a slip stitch to join each round. Make sure your slip stitch is going into the intended first sc rather than accidentally joining into the starting chain.
Count the Body Before Closing
Your key checkpoints are:
- Round 1: 6 sts
- Round 2: 12 sts
- Round 3: 18 sts
- Rounds 4–7: 18 sts
- Round 8: 12 sts
- Round 9: 6 sts
These counts help confirm that the body has the intended rounded shape before you close it.
Stuff Before Round 9
Once the BLO decrease round is completed, the opening becomes very small. Stuffing afterward would be unnecessarily difficult, so complete the filling immediately after Round 8.
Protect the Exposed Front Loops
The unused front loops from Round 9 are essential for the tentacles. Treat them as attachment points rather than ordinary stitches.
Check the Tentacle Count
There should be 12 tentacles around the bottom. If your count is different, check whether you accidentally skipped or used an exposed loop before fastening off.