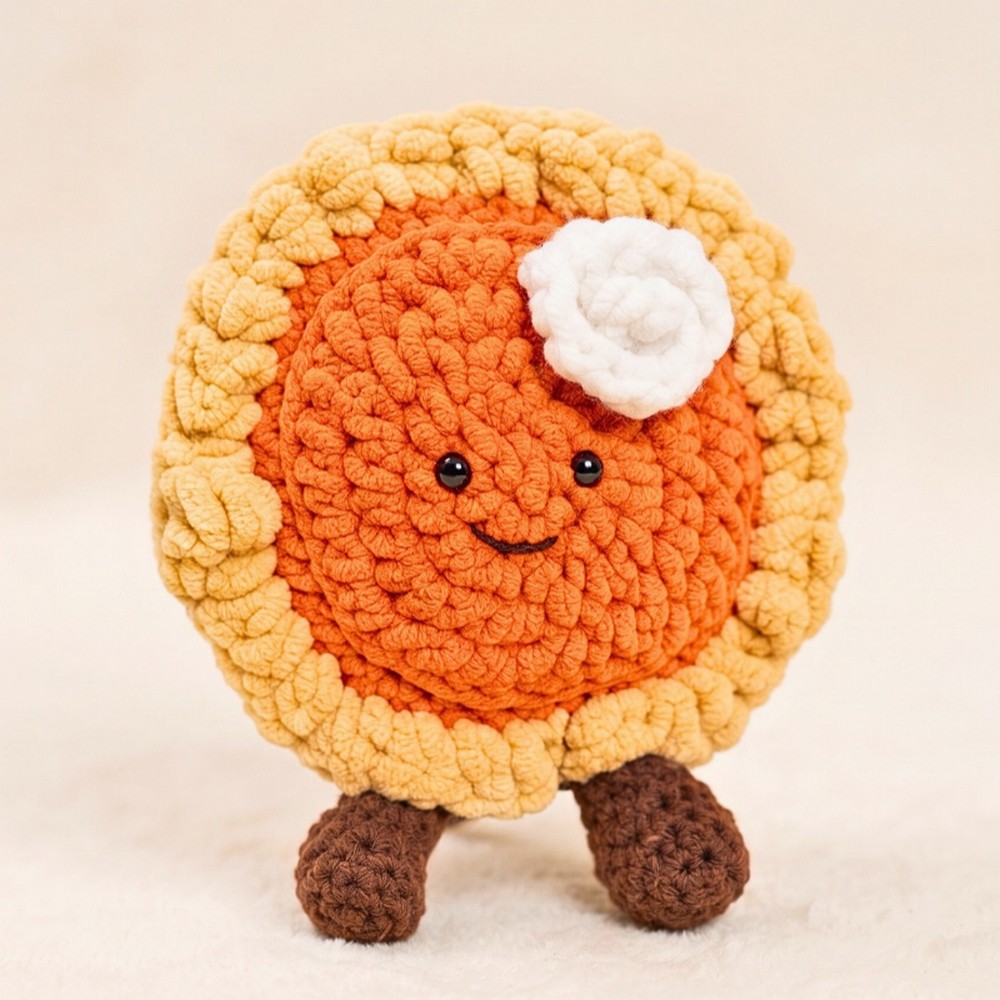
Want to add playful autumn charm to your handmade collection? This crochet pumpkin pie plush features orange filling, scalloped crust, swirled whipped cream, and tiny legs.
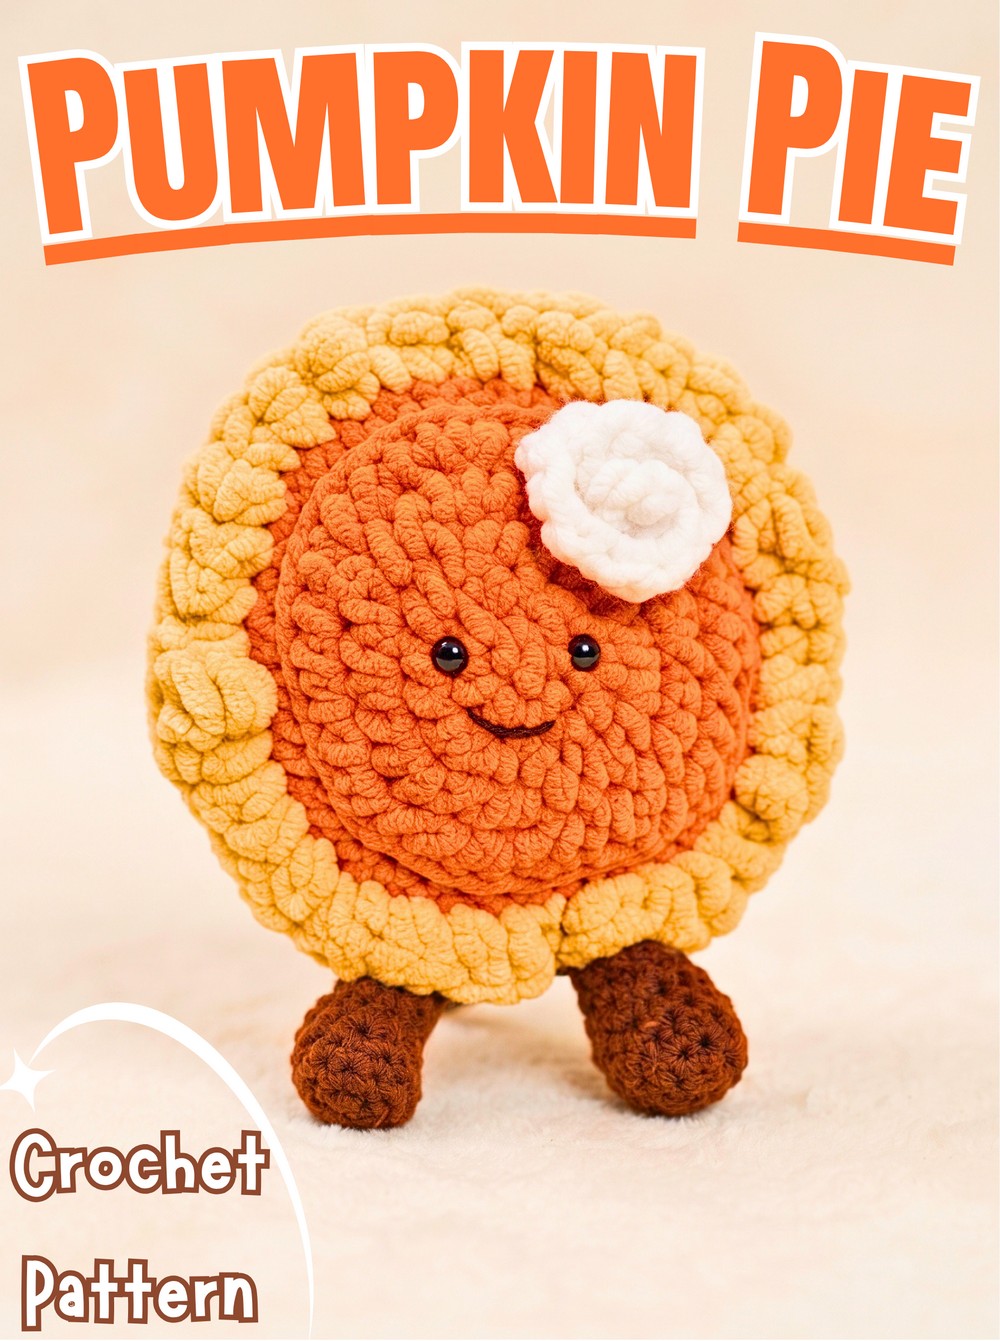
Autumn treats inspire charming handmade decorations, and crochet pumpkin pie brings seasonal sweetness into plush form. Shaping fluffy filling, textured crust, and tiny legs can feel tricky for beginners, but breaking crochet into separate pieces makes each part easier to manage.
This crochet tutorial guides you through shaping orange and tan pieces, curling white whipped cream, and making little brown legs. You’ll also learn how to position safety eyes, embroider a smile, join both pie layers, and add decorative edging. Follow each stage to assemble your own cheerful autumn plush.
Credit TopKnot Chik
Materials & Tools
- Plush orange yarn: For pumpkin pie filling.
- Plush tan yarn: For pie crust.
- White chunky yarn: For whipped cream.
- Black acrylic yarn: For embroidered smile.
- Brown acrylic yarn: For feet and legs.
- 7 mm crochet hook: For orange filling, tan crust, and whipped cream.
- 4.25 mm crochet hook: For feet and legs.
- Safety eyes: For facial details.
- Tapestry needle: For embroidery and sewing pieces together.
- Stitch markers: To track rounds.
- Scissors: For trimming yarn.
- Polyfill stuffing: For filling the plush body.
Finished Size & Customization
This small amigurumi-style pumpkin pie measures roughly a few inches across, making it suitable for seasonal displays or handmade gifts.
- Customize whipped cream: Start with more or fewer chains to create a longer or shorter topping.
- Adjust leg length: Add or remove straight single crochet rounds to change leg length.
- Personalize colors: Experiment with different filling or crust shades while keeping white whipped cream for contrast.
Pattern Abbreviations & Terminology
- st(s): Stitch(es)
- sc: Single crochet
- hdc: Half double crochet
- inc: Increase by working 2 single crochet stitches into one stitch
- dec: Decrease, preferably using an invisible decrease where specified
- hdc-inc: Half double crochet increase, working 2 half double crochet stitches into one stitch
- BLO: Back loop only
- sl st: Slip stitch
- Rnd: Round
Step-by-Step Crochet Pumpkin Pie Tutorial
Step 1: Crochet Orange Pie Filling
Use plush orange yarn and your 7 mm hook to create the round top of your pumpkin pie. Work in rounds, placing your stitch marker in the final stitch of each round to keep track of your progress.
Round 1: Make a magic ring and work 6 sc into it. Pull the ring closed carefully, as chunky yarn can snap if pulled too forcefully. Join with a sl st. (6 sts)
Round 2: Inc in every stitch around. (12 sts)
Round 3: Repeat [1 sc, inc] around to your stitch marker. (18 sts)
Round 4: Repeat [1 sc, inc] around to your stitch marker, following the supplied tutorial’s sequence.
Round 5: Repeat [2 sc, inc] around.
Round 6: Work 1 sc in BLO around.
Fasten off, leaving a short tail to weave into the back.
Working Round 6 in BLO creates a ridge that helps distinguish the edge of the orange filling.
Step 2: Form Tan Pie Crust
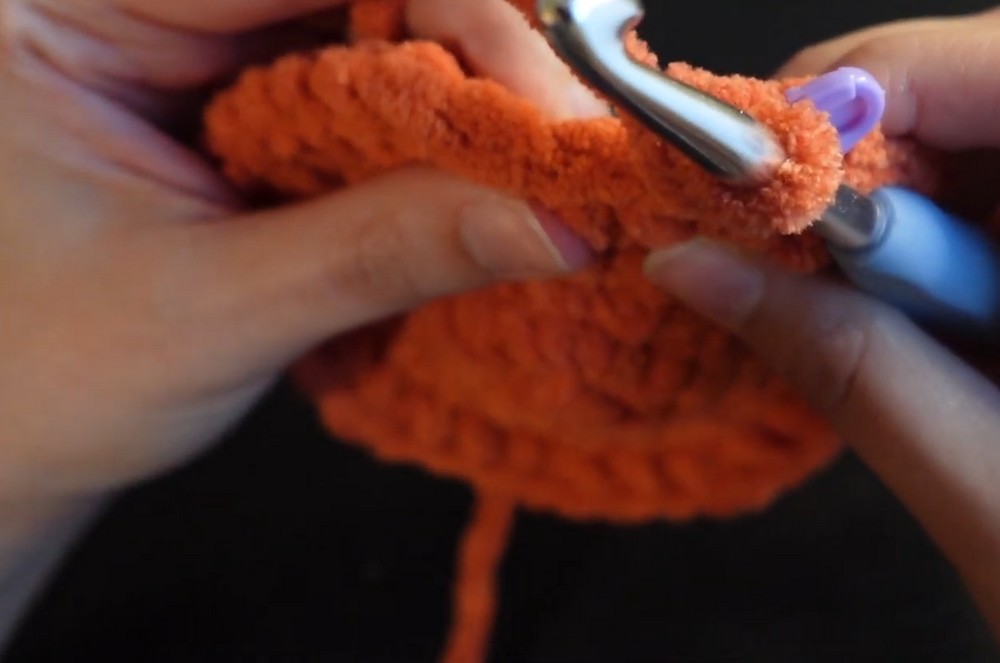
Switch to plush tan yarn and your 7 mm hook. This piece forms the lower shell, with its edges curling upward after finishing.
Round 1: Make a magic ring and work 6 sc into it. Pull closed and join with a sl st. (6 sts)
Round 2: Inc in every stitch around. (12 sts)
Round 3: Repeat [1 sc, inc, inc] around to the stitch marker.
Round 4: Repeat [1 sc, inc] around.
Round 5: Repeat [2 sc, inc] around.
Round 6: Work 1 sc in BLO around.
Round 7: Work 1 sc through both loops of every stitch around.
Fasten off and turn the piece right side out. Its edges should curl upward to create a shallow shell for the pie.
Helpful tip: Check the shape before assembly. Orange filling should sit over the tan shell, with enough room between both pieces for stuffing.
Pattern check: The supplied Round 3 sequence and subsequent stitch counts are incomplete. Confirm the intended counts from your source tutorial so the crust edge matches the orange piece.
Step 3: Create Whipped Cream
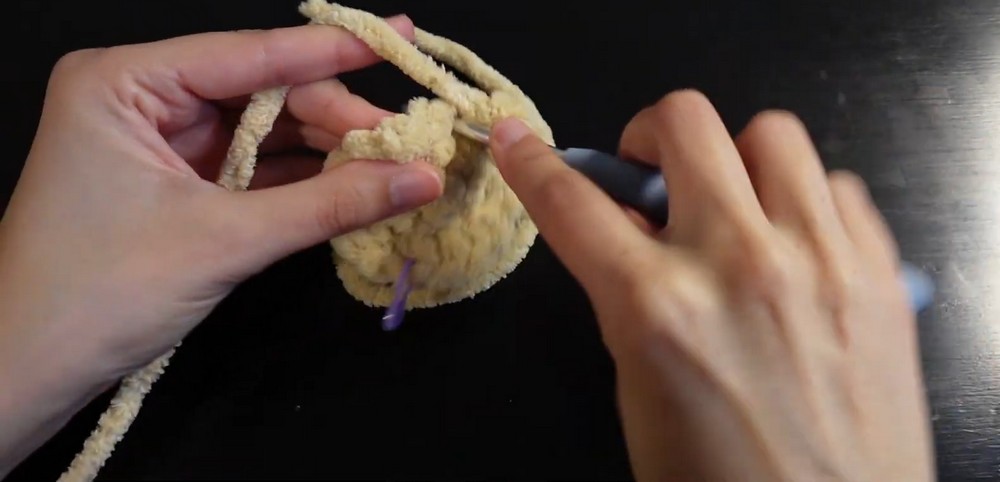
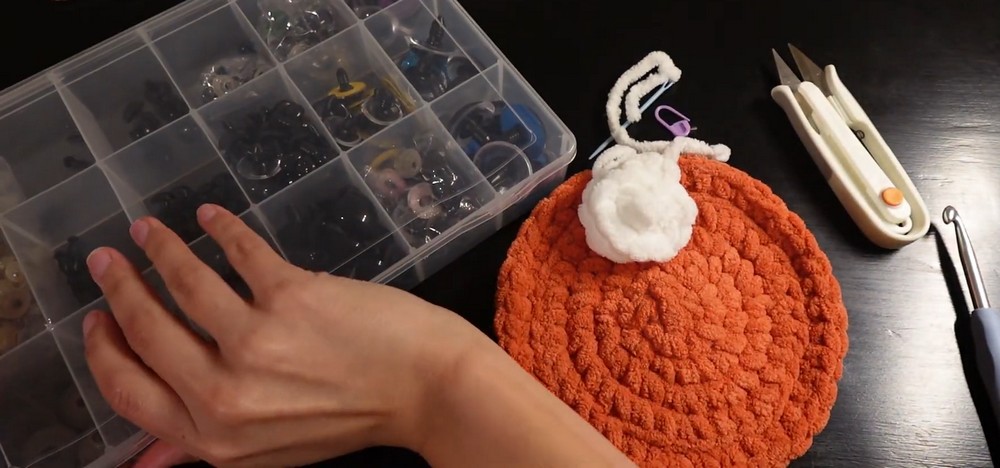
White chunky yarn gives your pie its finishing swirl. Use your 7 mm hook to make a narrow strip that curls naturally when worked.
- Starting chain: Ch 12.
- Create curl: Turn your work and make increases of single crochet stitches along the chain, beginning in the next stitch as described in the supplied tutorial.
- Finish: Work a sl st into the final stitch and leave a long tail for sewing.
- Shape the dollop: Allow the strip to curl inward. Use your tapestry needle to sew through inner layers, anchoring them securely.
For a larger topping, begin with more chains; use fewer chains for a smaller dollop.
Teaching tip: Secure inner layers before attaching whipped cream to the pie. This helps maintain its spiral shape while you sew it onto the filling.
Step 4: Crochet Brown Feet and Legs
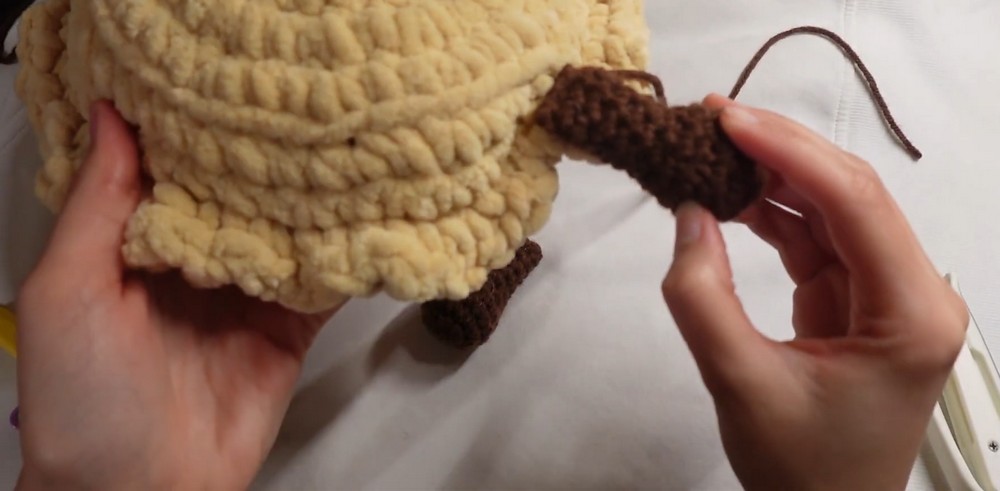
Make two matching legs using brown acrylic yarn and your 4.25 mm hook. Each piece begins with a small rounded foot and continues into a narrow leg.
Round 1: Make a magic ring and work 6 sc into it. (6 sts)
Round 2: Repeat [inc, inc, hdc-inc] twice around.
Round 3: Repeat [1 sc, inc] around.
Round 4: Work 1 sc in every stitch around.
Round 5: Repeat [1 sc, invisible dec] around, using front loops only for each decrease.
Round 6: Repeat [1 sc, invisible dec] around. Begin adding polyfill to the foot.
Round 7: Work 1 sc in every stitch around.
Rounds 8-12: Work 1 sc in every stitch around for 5 rounds, stuffing firmly as you continue upward.
The increases establish foot shape, while decreases narrow it before the straight leg section begins.
Helpful tip: Add stuffing gradually through the open top. Use small amounts so the foot remains rounded and the narrow leg does not become lumpy.
Close each leg: Flatten its top opening, align both sides, and work sl sts across the aligned loops to close it. Leave a long tail for sewing.
Repeat for the second leg, matching its length and shape to the first.
Step 5: Position Safety Eyes
Lay out the orange pie top with its right side facing you. Place safety eyes near the center magic ring, approximately 2–3 rounds outward, following the supplied tutorial.
Check the spacing before securing the backs. The eyes should be positioned to leave room for an embroidered smile below.
Safety note: Safety eyes may present a choking hazard for young children. Embroidered eyes are a better option for plush toys intended for children who might pull small parts loose.
Step 6: Embroider the Smile
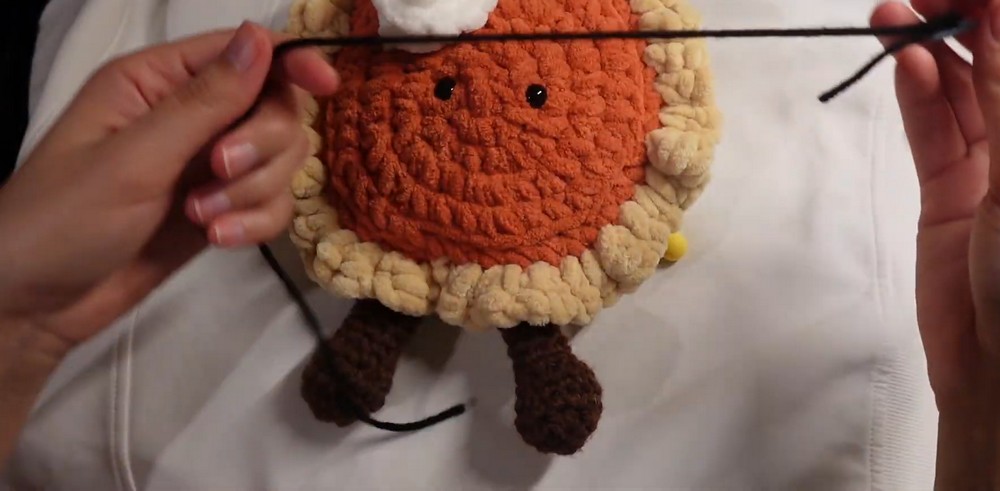
Thread black acrylic yarn through your tapestry needle and stitch a curved smile across the orange face.
- Bring the needle through the back of the orange piece to the starting point of the mouth.
- Form a gentle curve across the face.
- Loop the thread around the upper section once if needed to refine the smile shape.
- Adjust tension so the orange fabric does not pucker.
- Tie off securely at the back and hide loose ends inside.
Check the expression from the front before trimming yarn. Keep the smile centered between the eyes for a balanced appearance.
Step 7: Attach Whipped Cream
Position the finished whipped cream dollop on the upper-left side of the orange face, as shown in the supplied tutorial.
Use its long yarn tail and tapestry needle to sew the base securely to the orange piece. Stitch through the base rather than pulling through the visible upper curls.
Adjust the curl as you sew so it retains its raised, swirled appearance.
Step 8: Join Orange Filling and Tan Crust
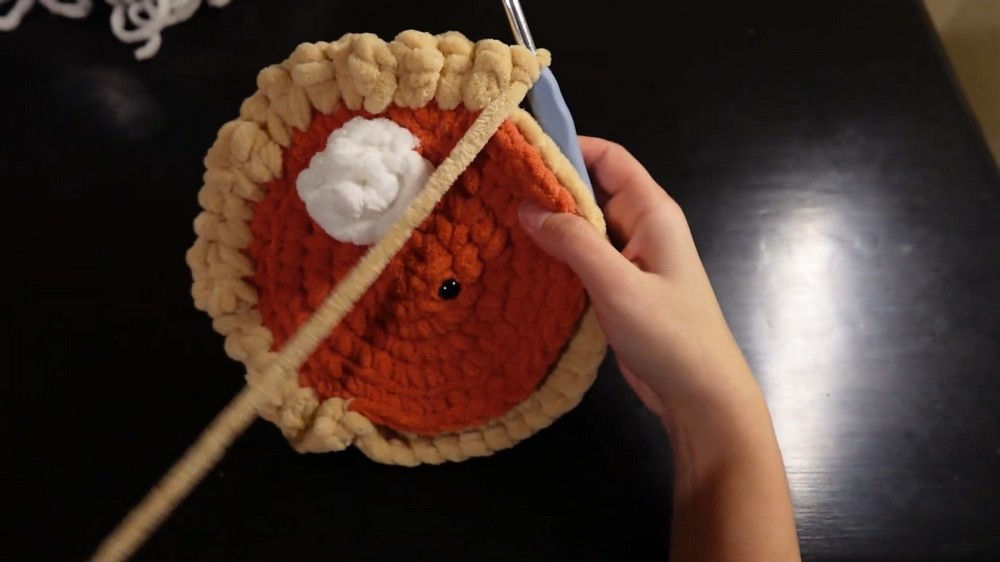
Place the orange pie top directly over the tan crust shell. Align their edges evenly before joining them.
- Insert your hook into the active loop on the crust.
- Work through both loops of the tan piece and both loops of the orange piece simultaneously, with four loops engaged across the two layers.
- Work the decorative border sequence around the edge: [1 sc, 1 hdc, 1 sc] all into the same stitch.
- Continue around, checking that both layers remain aligned.
This combination of single crochet and half double crochet creates a scalloped, pie-crust-like border.
Stuffing checkpoint: When you have crocheted approximately three-quarters of the way around, pause to add polyfill. Distribute it evenly and press gently to check softness. The pie should feel plush without being overfilled.
Continue crocheting around to close the remaining gap, then join with a sl st.
Step 9: Sew on Both Legs
Position the flattened tops of the brown legs along the bottom border where orange filling meets tan crust.
Before sewing, place both legs against the pie and compare their positions. They should sit at similar heights and angle slightly outward for a stable, playful look.
Use the long yarn tails to sew each leg securely in place. Tie off at the back, trim excess yarn, and hide the ends inside the plush.
Finishing tip: Check the pie from the front and side before securing final knots. Small adjustments at this stage can make the finished character look more balanced.
Step 10: Final Finishing
Inspect the completed pumpkin pie plush before displaying it.
- Confirm that the safety eyes are securely fastened.
- Check that the embroidered smile is centered and its yarn ends are hidden.
- Ensure the whipped cream is anchored without losing its curl.
- Check that the crust border is even and the filling is distributed smoothly.
- Confirm that both legs are firmly attached.
- Hide remaining yarn tails and trim excess.
Your crochet pumpkin pie is ready to bring a little handmade autumn charm to seasonal decorating or gifting.