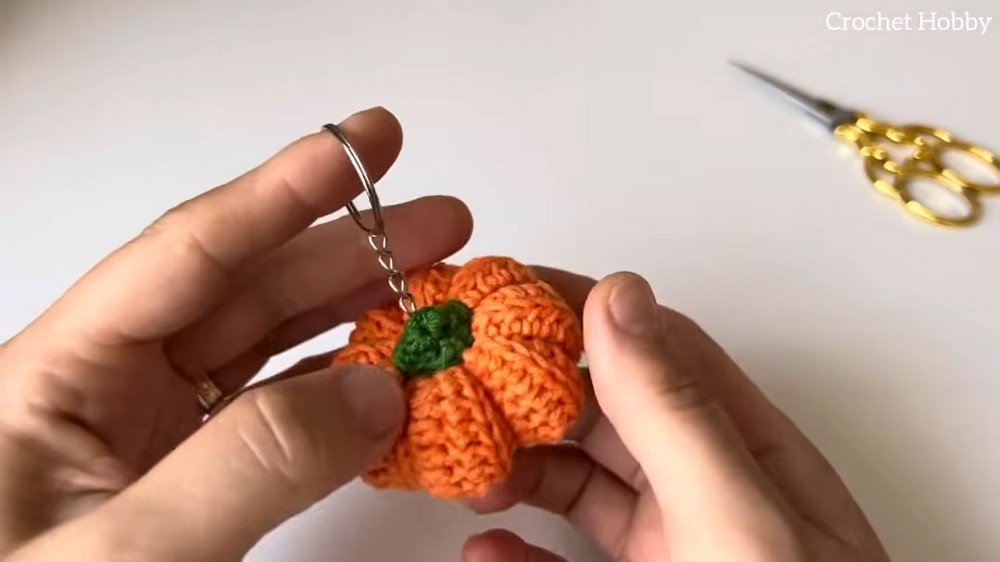
Here’s a simple ribbed rows into tiny pumpkin charm with eight defined segments, firm stuffing, and green cap detail for an autumn-ready keychain.
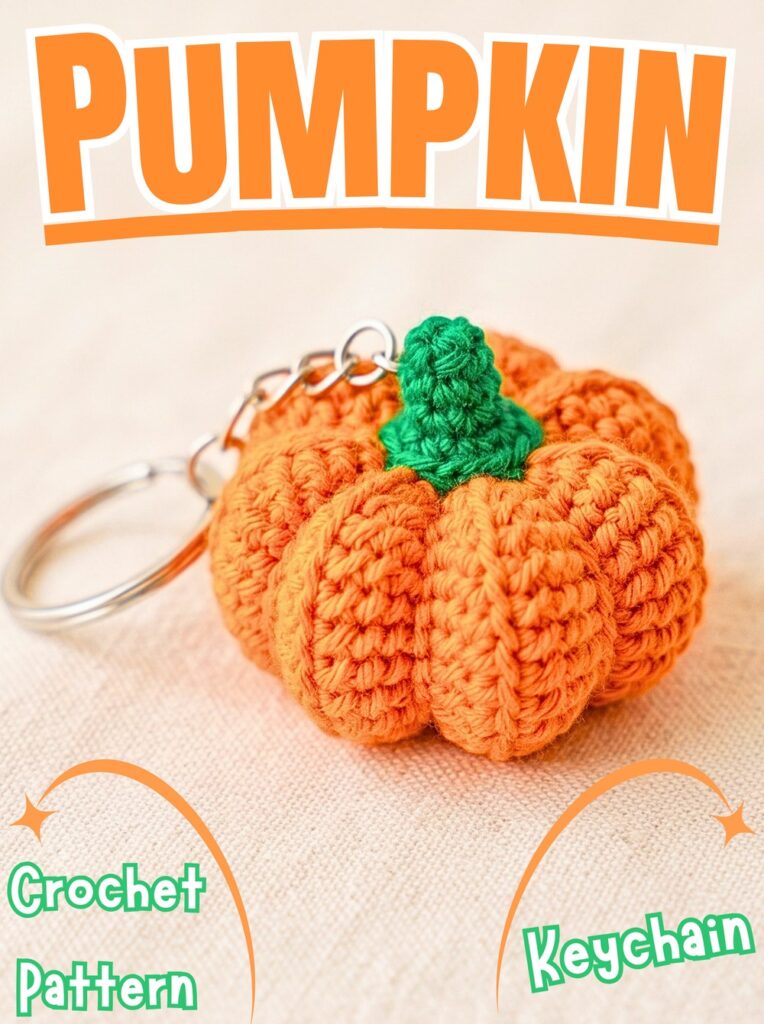
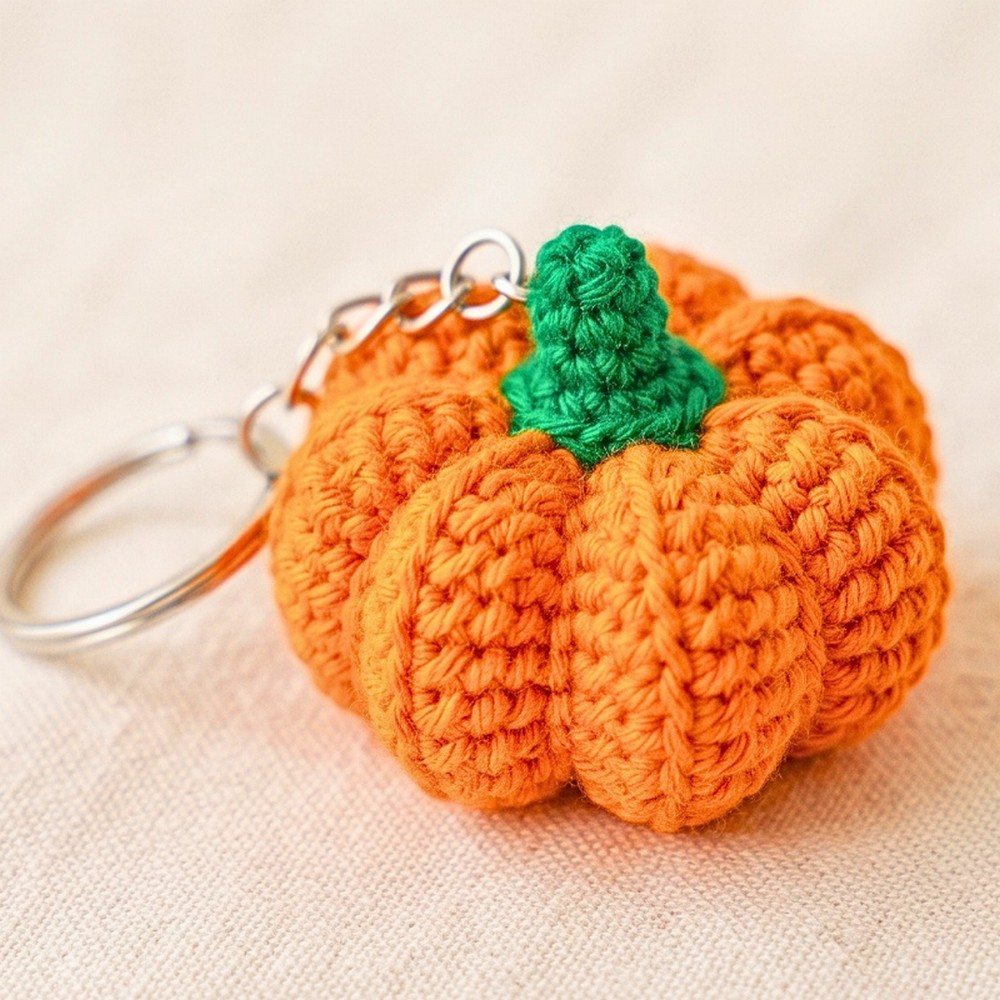
Tiny size does not stop this crochet pumpkin from showing plenty of character. Ribbed orange rows create vertical texture, while eight stitched segments give finished pumpkin its familiar rounded shape for bags, keys, or seasonal gifting.
This crochet keychain uses beginner-friendly hdc rows, BLO ribbing, simple seaming, gathering, and basic shaping. You will also learn how stuffing affects pumpkin shape, how to divide body into eight sections, and how to finish it with green top cap and keychain ring.
Credit Crochet Hobby
Materials & Tools Needed
- Yarn: Cotton yarn such as Alize Cotton Gold
- Orange: Pumpkin body
- Green: Stem/top cap
- Crochet Hook: 2.50 mm
- Polyfill Stuffing
- Yarn Needle
- Scissors
- Keychain Ring
Finished Size & Customization
Finished pumpkin measures approximately 1.5–2 inches wide, making it compact enough for keys, bags, or autumn-themed gifts.
For different looks, try variegated yarn for multi-toned pumpkin texture. You can also adjust pumpkin width by changing number of body rows before seaming.
Size Note: Body rows control circumference around finished pumpkin. Keep in mind that changing row count also changes amount of ribbing visible around finished shape.
Pattern Abbreviations
- ch: Chain
- hdc: Half double crochet
- sc: Single crochet
- inc: Increase – work 2 sc in same stitch
- blo: Back loop only
- sl st: Slip stitch
Step-by-Step Crochet Pumpkin Keychain Process
Crochet Ribbed Pumpkin Body
Purpose: Long ribbed rectangle becomes pumpkin body after seaming. Working through BLO creates raised vertical texture that later emphasizes pumpkin segments.
Using orange yarn, begin with foundation chain.
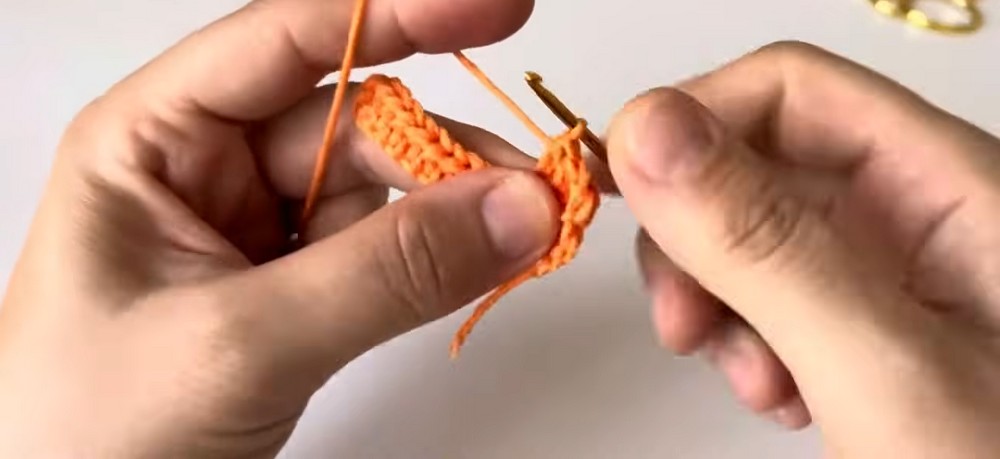
Foundation Chain: Ch 15.
Row 1: Work 1 hdc in 2nd ch from hook and in each remaining chain across. (14 hdc) Ch 1 and turn.
Teaching Guide: First hdc is worked into 2nd chain from hook, leaving 14 hdc across. Count carefully here because every later row is based on this 14-stitch width.
Row 2: Working in blo, work 14 hdc across. (14 hdc) Ch 1 and turn.
Why BLO Matters: Back-loop-only stitches create horizontal ridges across each row. Once rectangle is folded and turned into pumpkin body, these ridges become vertical ribbing.
Rows 3-18: Repeat Row 2, working 14 hdc in blo across each row until 18 rows are complete.
Shape Check: Finished rectangle should have consistent width and clearly visible ridges. If one row contains fewer or more than 14 hdc, correct count before continuing because uneven edges make seaming harder.
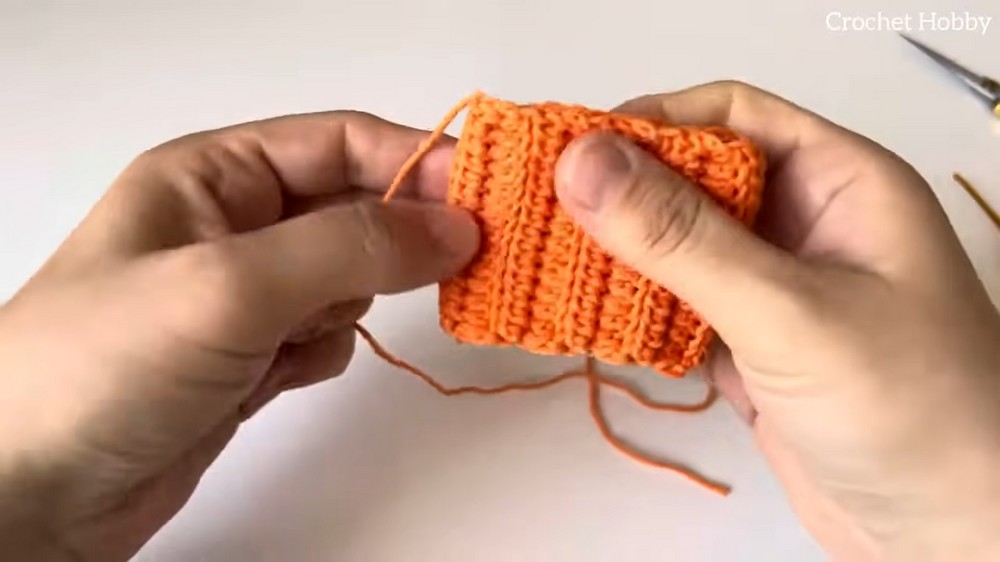
Seam Ribbed Rectangle into Body Tube
Purpose: Joining first and last rows turns flat ribbed piece into cylindrical pumpkin body, preparing both openings for gathering.
Fold ribbed rectangle in half, matching first and last rows together.
Seaming: Work sl sts through back loops of both edges to join them into closed cylinder. Fasten off, leaving long yarn tail for gathering.
Teaching Guide: Match ridges and row edges before making slip stitches. Work through corresponding loops consistently so seam stays straight rather than twisting around body.
Check Before Gathering: Cylinder should open at both ends and sit evenly without twisted ribbing.
Close Top and Add Stuffing
Purpose: First opening is gathered closed, then stuffing gives pumpkin its rounded volume before bottom is sealed.
Thread long orange tail onto yarn needle. Weave needle evenly around stitches at top opening, then pull yarn firmly to gather opening closed and anchor securely.
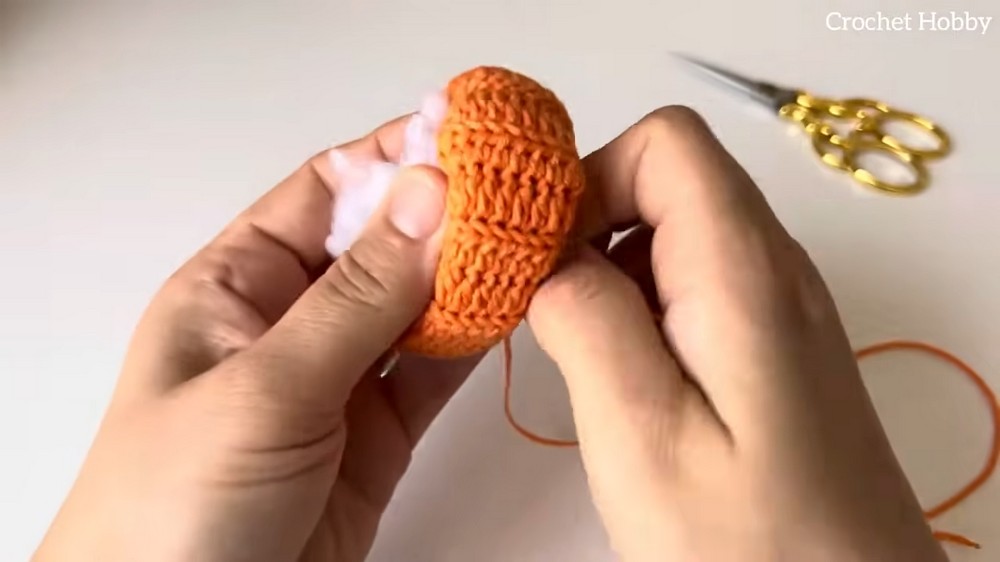
Gathering Tip: Keep needle passes evenly spaced around opening. Pull gradually rather than with one sudden tug so opening closes evenly.
Stuff pumpkin firmly with polyfill.
Stuffing Check: Add enough stuffing to fill body and create rounded form, but distribute it evenly so no large empty areas remain. Firm stuffing helps segment lines hold their shape later.
Thread another length of orange yarn around bottom opening. Pull tight to close bottom completely, then weave in ends.
Important Check: Before finishing bottom, look at pumpkin from several angles. Body should be filled evenly without obvious flat spots. Add or redistribute stuffing before fully securing bottom if needed.
Define Eight Pumpkin Segments
Purpose: Segmenting changes simple stuffed cylinder into recognizable pumpkin shape by pulling eight evenly spaced indentations from top to bottom.
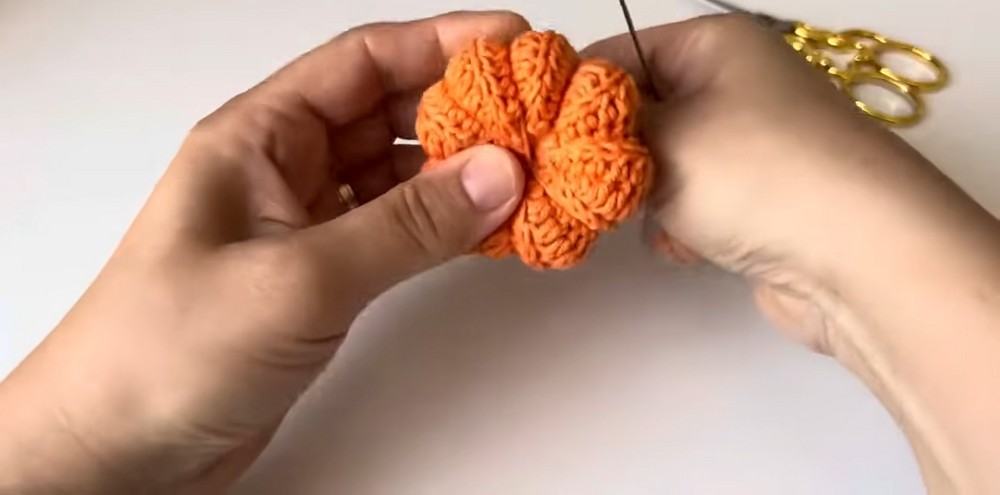
Using long orange yarn strand, wrap yarn tightly around outside of pumpkin from top to bottom, dividing body into 8 equal segments. Pass needle through center core to anchor each indentation.
Teaching Guide: Aim for equal spacing around pumpkin. Each pass should pull inward with similar tension so eight sections appear balanced rather than producing one oversized segment and several narrow ones.
Shape Check: View pumpkin from top before final anchoring. Eight segment divisions should spread evenly around center. If one indentation sits too close to another, loosen and reposition before securing.
Crochet Green Stem / Top Cap
Purpose: Small green circle covers top center and provides finished attachment point for keychain ring.
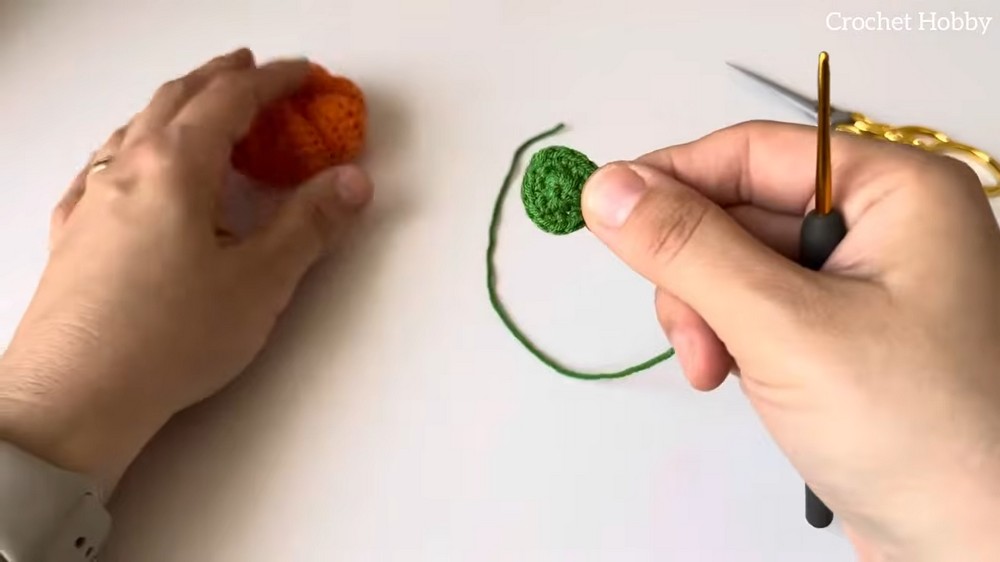
Using green yarn, make magic ring.
Round 1: Work 8 sc into magic ring, join with sl st to first stitch, then ch 1. (8 sc)
Round 2: Work (1 inc, 1 sc) around for 12 stitches, join with sl st, fasten off, leaving long tail for sewing. (12 sts)
Teaching Guide: Each increase places 2 sc into one stitch, while following it with 1 sc creates gradual expansion. Check final count before fastening off so cap sits evenly on pumpkin top.
Attach Green Cap
Purpose: Cap covers center of pumpkin body and completes stem area before keychain hardware is added.
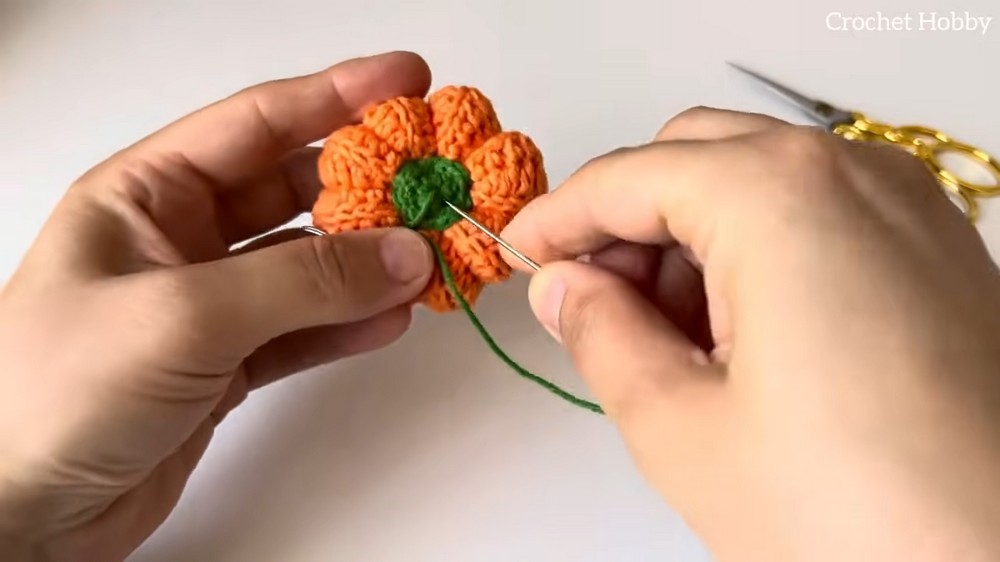
Center green circular cap on top of pumpkin. Using green yarn tail, sew cap securely onto pumpkin body.
Placement Check: Cap should sit over center point where eight pumpkin segments meet. If it looks off-center, reposition before making final stitches.
Attach Keychain Ring
Purpose: Ring turns finished pumpkin into functional bag or key accessory.
Attach keychain ring firmly through center of green cap.
Security Check: Tug ring gently after attachment. Connection should remain firm without pulling cap away from pumpkin body.
Your ribbed crochet pumpkin keychain is ready for keys, bags, autumn displays, or seasonal gifting, with eight defined segments giving it its classic pumpkin character.