
Need a quick Halloween pattern that uses very little yarn but still looks instantly festive? This tiny crochet ghost comes together as a simple appliqué with a rounded head, little arms, and a playful tail-perfect for turning into a garland, gift topper, or seasonal decoration.
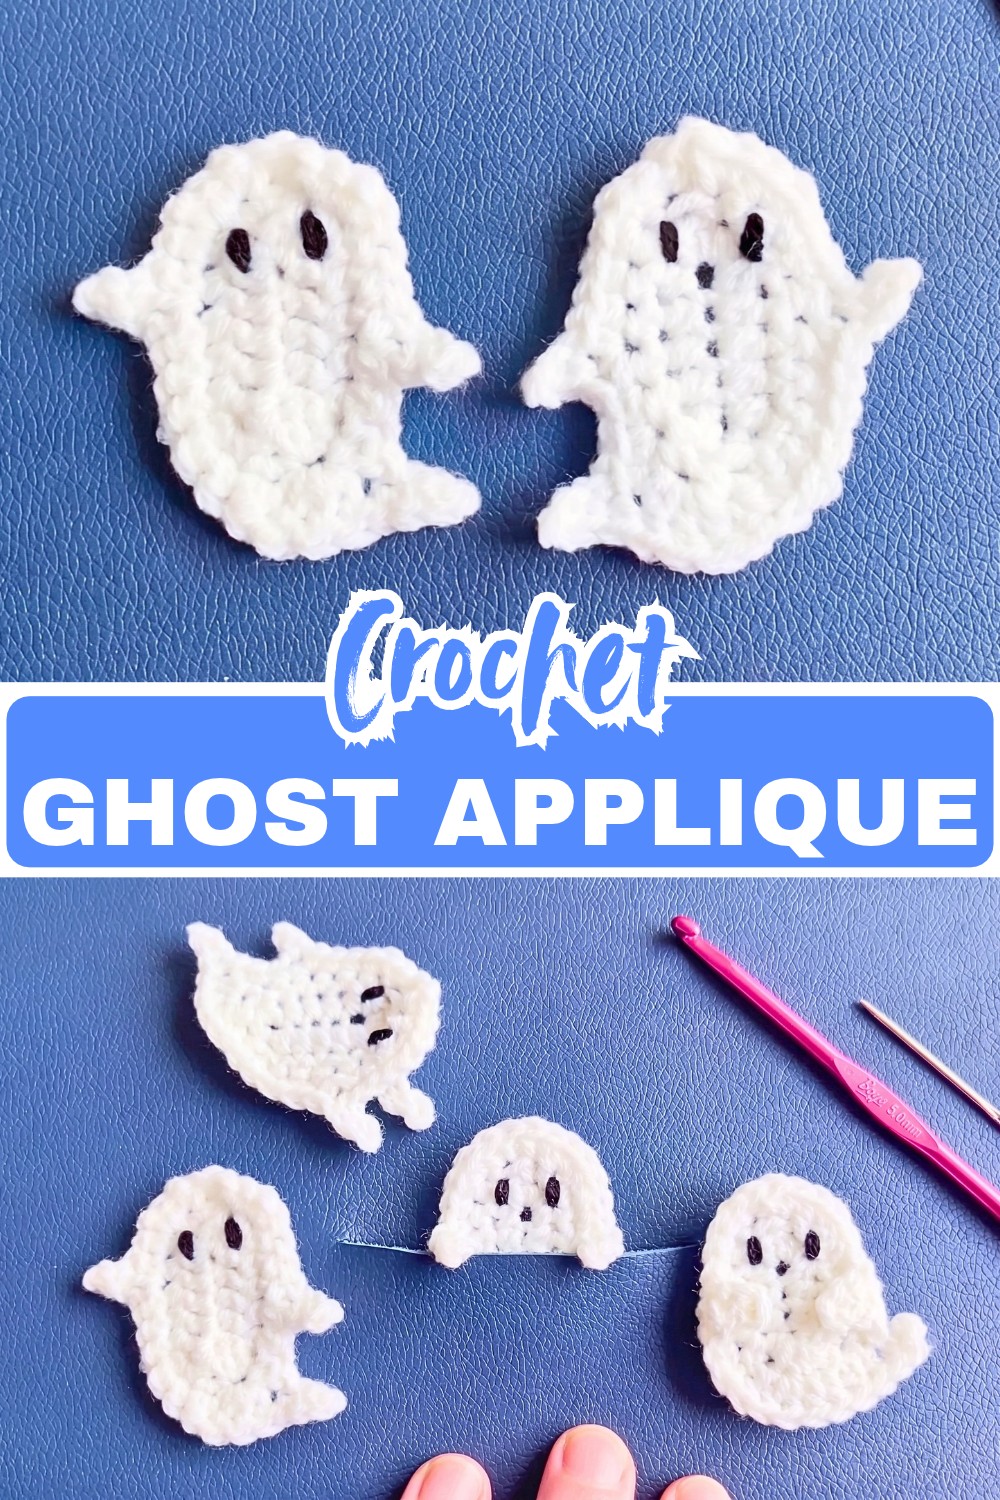
Easy Crochet Ghost Pattern
You don’t need a large amount of yarn or a complicated construction to make it. The crochet ghost is worked from a short foundation chain, with increases shaping the rounded head and small chain details forming the arms and pointed tail. Once the shape is finished, a couple of embroidered eyes are all it needs to come to life.
Because it is small and flat, this is also a useful crochet piece when you want something you can finish quickly. Make one crochet ghost for a treat bag, several for a garland, or change the yarn and hook size to create different versions for your Halloween display.
Credit Caro-stitched
Materials & Tools
- Aran-weight yarn in white
- Small amount of black yarn for the eyes
- 4.5 mm crochet hook
- Darning or tapestry needle
- Scissors
For a child-friendly version: Embroidered eyes are preferable to loose safety eyes or other small pieces that could come off.
Abbreviations
- ch: Chain
- sl st: Slip stitch
- sc: Single crochet
- hdc: Half double crochet
- dc: Double crochet
- st(s): Stitch(es)

How to Crochet the Ghost
The ghost is worked as a flat applique. The foundation chain establishes the length of the body, while the stitches worked around both sides of it create the rounded shape.
Row 1 – Build the Ghost’s Base
Make a slip knot and ch 6. Starting in the second chain from the hook, work 2 hdc in the first chain, 1 hdc in each of the next 3 chains, and 2 hdc in the final chain. Turn your work and continue along the opposite side of the foundation chain with 2 hdc in the first chain, 1 hdc in each of the next 3 chains, and 2 hdc in the final chain. Join with a sl st to the first stitch, then ch 1.
Why this works: Working around both sides of the starting chain creates an enclosed oval rather than a straight strip. This gives the ghost its rounded lower shape.

Row 2 – Round Out the Head
Work 2 sc in the first stitch, 1 dc in each of the next 5 stitches, 2 dc in each of the next 2 stitches, 1 dc in each of the next 5 stitches, and 2 sc in the final stitch. Join with a sl st to the top of the first stitch, then ch 1.
The increases around the lower portion help widen the ghost while the taller stitches give the upper section more height.

Row 3 – Add the Arms and Tail
Now you’ll shape the details that make this look like a ghost rather than a plain oval.
Work 2 sc in each of the first 2 stitches, followed by 1 sc in each of the next 3 stitches.
First arm: Chain 3. Make a sl st in the second chain from the hook, then 1 sc in the next chain. Return to the base of the arm and work 1 sc in the stitch where the arm began.
Continue with 2 hdc in each of the next 2 stitches, then work 5 sc along the bottom of the body.
Tail: Work 1 dc in the next stitch. Ch 3, then make a sl st in the second chain from the hook and 1 sc in the next chain. Work 1 sc back into the stitch where the dc was made, then work 3 dc in that same stitch.
Continue with 6 sc along the opposite side of the body.
Second arm: Repeat the same arm construction as the first arm.
Finish by working 2 sc in each of the final 2 stitches, then join with a sl st to the first stitch.
Check the Shape Before Finishing
Lay the ghost flat before cutting your yarn. The head should look rounded, the arms should extend from the sides, and the tail should create a small point along the bottom.
If one arm looks higher or more pronounced than the other, check your stitch placement before fastening off. Catching an uneven arm now is much easier than trying to correct it after the ends are woven in.

Finishing the Ghost
Cut the yarn, leaving a tail long enough to weave in comfortably. Pull the yarn through the final loop and secure it.
Use your darning needle to weave the tail through the back of the stitches. Trim any excess yarn once the end is secure.
Add the Ghost’s Eyes
Use black yarn to embroider two small eyes onto the face.
The original design uses a doubled strand of black yarn and only a couple of stitches for each eye, which keeps the expression simple and cute.
Placement tip: Put the eyes slightly below the center of the rounded head rather than too close to the top. This leaves the ghost looking more open and playful.
You can also change the expression by:
- Making larger or smaller eyes
- Spacing the eyes farther apart
- Adding a tiny embroidered mouth
- Using a different color for a whimsical version

Ways to Use Your Crochet Ghost
Once the ghost is finished, you don’t have to leave it as a standalone applique.
- Halloween garland: Make several ghosts and string them together.
- Treat bags: Sew one onto a Halloween goodie bag.
- Gift topper: Add one to a wrapped Halloween gift.
- Clothing or accessories: Sew it onto a suitable bag, hat, or other accessory.
- Seasonal décor: Add several ghosts alongside crocheted pumpkins and bats.
- Keychains or charms: Adapt the design with a suitable attachment method.
Because the ghost is flat and lightweight, it works particularly well anywhere you want a small seasonal accent without adding much bulk.

Customize the Size
Want a tiny ghost? Use thinner yarn with a smaller hook.
Want a larger decoration? Move up to a thicker yarn and appropriately sized hook.
Just remember that changing the yarn and hook also changes the final proportions, so your ghost may not look exactly like the sample. That’s perfectly fine for this type of decorative pattern-the silhouette is what gives it its character.
Final Thoughts
This little ghost is a great example of how a few simple crochet techniques can create a recognizable character. The foundation chain establishes the body, the increases round out the head, and the small chain details give it its arms and playful tail.
Best of all, you can finish one quickly and then decide what you want to do with it. Make a whole group for a Halloween garland, add one to a gift, or combine several with other crochet appliques for a festive display.


