Need a Halloween table detail that still earns its place after the party is over? These crochet spiderweb coasters create a crisp web-like pattern while giving you a practical spot for your mug or glass.
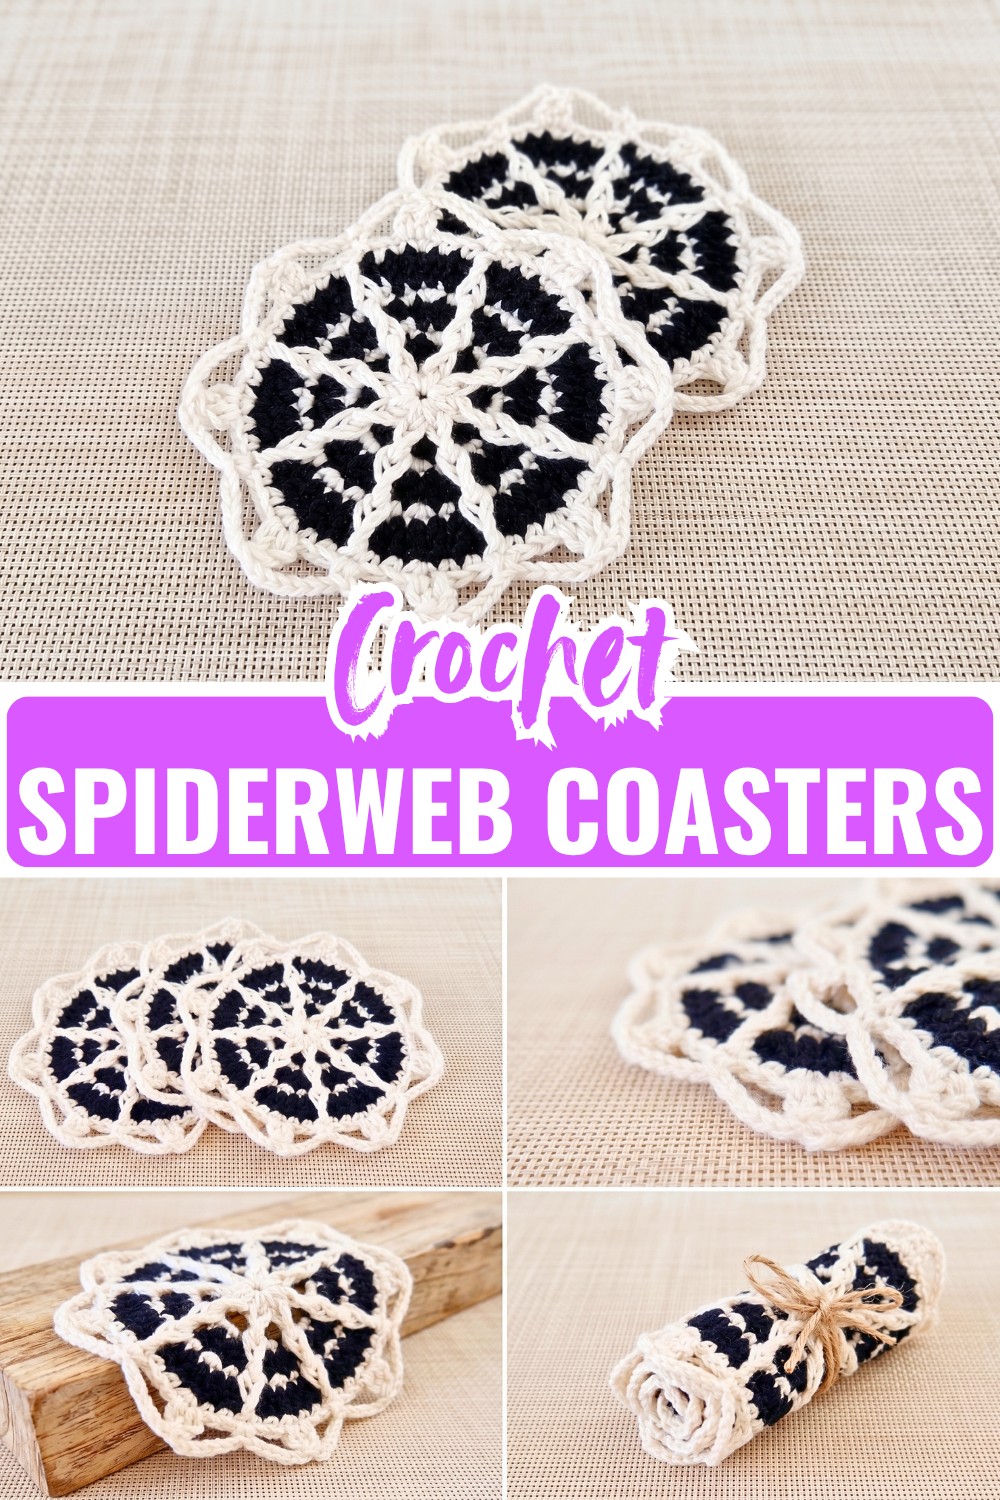
The crochet design starts small and gradually opens outward, with the raised front-post stitches creating the web’s repeating structure. Alternating black and white rounds make those details stand out, while the final openwork round turns the edge into the distinctive crochet spiderweb shape.
The pattern is worked in rounds, so the main thing to watch is where each special stitch belongs. In particular, the front-post double crochets are worked around posts from earlier rounds rather than simply into the next available stitch. Once that structure is established, the later rounds become much easier to follow.
Credit Crochet For You
Pattern Details
- Skill Level: Intermediate
- Finished Size: Approximately 5.25 inches in diameter
- Crochet Terms: US terminology
- Construction: Worked in joined rounds
Materials & Tools
- Worsted-weight yarn (4-Medium): Approximately 20 yards each of white and black. Cotton is recommended because it gives the coaster a firm, practical fabric.
- 4.0 mm (US G-6) crochet hook
- Tapestry needle: For weaving in ends.
- Scissors
Abbreviations
- ch: Chain
- sl st: Slip stitch
- sc: Single crochet
- hdc: Half double crochet
- dc: Double crochet
- fpdc: Front post double crochet
- dc2tog: Double crochet 2 together
- st(s): Stitch(es)

How to Crochet the Spiderweb Coaster
Build the Center
The first two rounds create the small center circle. The color change makes the middle of the web immediately visible.
Round 1 – White: Make an adjustable magic ring, ch 1, work 8 hdc into the ring, pull the ring closed, and sl st into the top of the first hdc. (8 hdc)
Round 2 – Black: Join black yarn with ch 1, then work 2 hdc in each stitch around and sl st to the first hdc. (16 hdc)
A useful checkpoint
At the end of Round 2, you should have 16 stitches. This is worth checking before moving on because Round 3 uses the stitches from Round 1 to create the raised web points.

Create the Raised Web Details
Round 3 is where the design starts looking less like an ordinary circle. Instead of working every stitch into the current round, you’ll reach down to the post of a Round 1 hdc.
Round 3 — White: Join white with ch 1, work 2 sc in the first stitch, then work 1 fpdc around the post of the corresponding hdc from Round 1. Skip the hdc stitch behind the fpdc, then repeat [2 sc in the next st, 1 fpdc around the post of the Round 1 hdc] around and sl st to the first sc. (16 sc, 8 fpdc)
Where should the fpdc go? Look down past the current round to the raised hdc from Round 1. The hook goes around that stitch’s post, creating the raised line that will become part of the spiderweb.

Widen the Coaster
The next black round adds stitches between the raised sections and increases the overall diameter.
Round 4 – Black: Ch 1, work [1 hdc in each of the next 2 sts, 2 hdc in the next st] around, then sl st to the first hdc. (32 hdc)
You can carry the black yarn up the back between color changes or fasten off and rejoin it at each round. Choose whichever method gives you the neatest result.
Repeat the Raised Web Pattern
Round 5 brings the raised lines forward again. This time, the fpdc is worked around the fpdc from Round 3, so the raised sections continue outward rather than disappearing into the new round.
Round 5 – White: Ch 1, work 1 sc in the first st, 2 sc in the next st, 1 sc in the next st, then 1 fpdc around the post of the corresponding fpdc from Round 3. Repeat [1 sc, 2 sc in the next st, 1 sc in the next st, 1 fpdc around the fpdc below] around and sl st to the first sc. (32 sc, 8 fpdc)
The important part here is not to work the fpdc into the top loops of the previous stitch. Reach around the post of the earlier fpdc. That’s what keeps the raised web lines aligned.

Add the Wider Outer Section
The coaster now begins to spread toward its final size.
Round 6 – Black: Ch 1, work [1 dc in each of the next 3 sts, 2 dc in the next st] around, then sl st to the top of the first dc. (40 dc)
Because this round uses double crochet, the fabric grows more quickly in height as well as width. Keep your tension relaxed enough that the coaster doesn’t start pulling inward.
Extend the Web Lines
The final solid round repeats the raised structure one more time.
Round 7 – White: Ch 1, work 1 sc in each of the next 2 sts, 2 sc in the next st, 1 sc in each of the next 2 sts, then 1 fpdc around the post of the corresponding fpdc from Round 5. Repeat [1 sc in each of the next 2 sts, 2 sc in the next st, 1 sc in each of the next 2 sts, 1 fpdc around the fpdc below] around and sl st to the first sc. (48 sc, 8 fpdc)
At this point, the coaster has the main body of the web. The last round changes the edge completely by introducing open chain spaces.

Create the Spiderweb Edge
This final round is what gives the coaster its open, web-like outline. Unlike the earlier rounds, you won’t work continuously into every stitch.
Round 8 – White: Ch 7 (counts as 1 dc and ch 4), skip the next 2 sts, work 1 dc2tog across the next 2 sts, ch 6, skip the next 2 sts, and work 1 sc in the next st.
Continue repeating the outer sequence around the coaster, creating the chain loops and pointed sections that form the web edge.
Join with a sl st into the first chain loop.
Fasten off and weave in all remaining ends.
Before you finish
Lay the coaster flat on a table. If the outer loops look slightly uneven, gently arrange them with your fingers while the piece is still relaxed.
The coaster should lie reasonably flat rather than forming a bowl. If the edge is pulling noticeably, check that your chain stitches and joining stitches aren’t being worked too tightly.

Finishing
Weave all yarn tails securely into the back of the coaster and trim the excess.
Your spiderweb coaster is ready to use.
The finished piece is approximately 5.25 inches across, making it a useful size for a coffee mug, glass, or small dish while still showing enough of the web pattern to work as Halloween table decor.
For a coordinated set, repeat the pattern in the same two colors—or reverse the colors and make a black-centered version with white web details.