Learn how to create charming crochet pumpkins that blend beauty and functionality.
Perfect for seasonal decorations or gifts, this versatile project combines cozy appeal with practical design. Easy to customize, these pumpkins add style to any space.
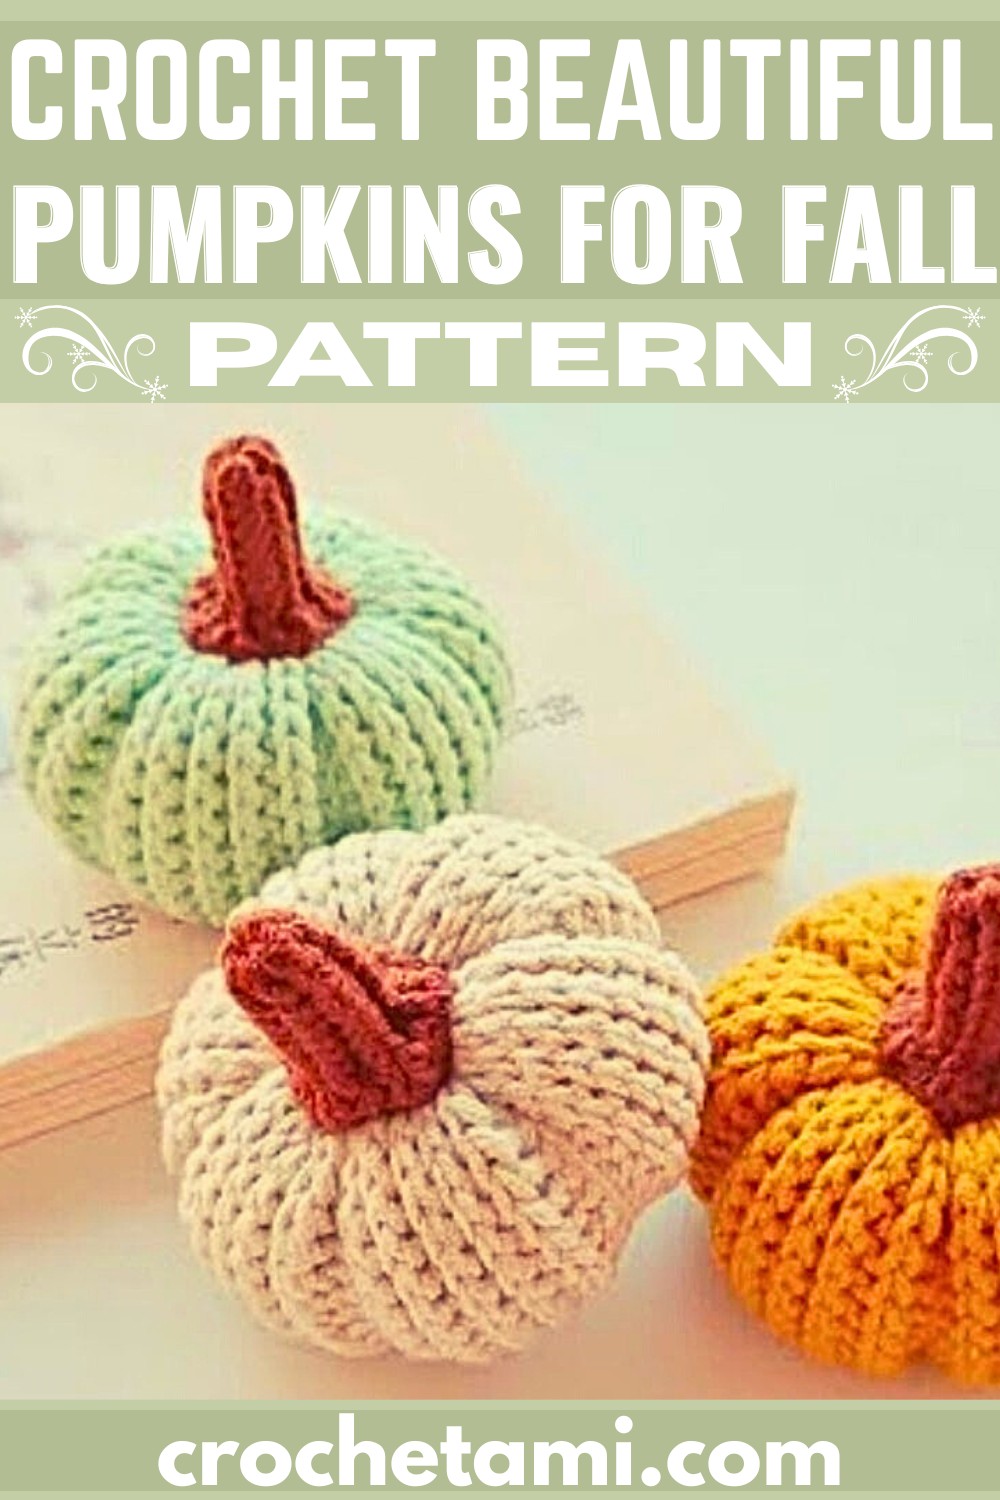
Crochet pumpkins are ideal for fall decor and can also be thoughtful gifts. Their intricate stitches make them durable and long-lasting.
Whether displayed at home or in seasonal events, their design and soft texture bring warmth and appeal to your surroundings.
Materials and Preparation
To make your crochet pumpkin, gather the following materials:
- Yarn: Worsted weight (size 4) yarn in orange (for the body), green or brown (for the stem), and an optional accent color for leaves.
- Hook Size: 4.5 mm (or recommended hook size for your chosen yarn).
- Stuffing: Polyester fiberfill or similar material for shaping and filling the pumpkin.
- Stitch Marker: To mark the first stitch of the round.
- Yarn Needle: For sewing, weaving in ends, and shaping the pumpkin.
- Scissors.
Optional Tools:
- A ruler or measuring tape to ensure sizing.
- Buttons or twine for added pumpkin embellishments.
Abbreviations and Notes
Here are the abbreviations used in this tutorial:
| Abbreviation | Meaning |
|---|---|
| CH | Chain |
| SC | Single Crochet |
| INC | Increase (2 SC in one stitch) |
| DEC | Decrease (Single Crochet 2 together) |
| SL ST | Slip Stitch |
| BLO | Back Loop Only |
Helpful Tips Before Starting:
- This pumpkin is crocheted in continuous rounds unless stated otherwise. Use a stitch marker to keep track of your rounds.
- Adjust hook size if your pumpkin comes out larger or smaller than expected.

Gauge, Approximate Size, and Pattern Notes
Gauge: 4″x4″ (10×10 cm) = 16 stitches x 20 rows in single crochet. While gauge isn’t critical for this project, maintaining an even tension ensures a neat and tidy result.
Finished Size: Approximately 4″-5″ wide, depending on yarn weight used and how tightly you stuff your pumpkin.
Pattern Notes:
- You’ll learn how to create the ridges by working in Back Loop Only (BLO).
- The stem is worked separately and sewn onto the finished pumpkin.
- No gauge swatch is necessary for this project.
Step-by-Step Pattern
1. Crochet the Pumpkin Body
- Make a magic ring.
- Round 1: SC 6 into the magic ring. (6 SC)
- Round 2: INC in each stitch around. (12 SC)
- Round 3: (SC 1, INC) repeat around. (18 SC)
- Round 4: (SC 2, INC) repeat around. (24 SC)
- Round 5: (SC 3, INC) repeat around. (30 SC)
- Continue increasing, following the same pattern (adding 1 more SC between each increase) until you reach 60 SC in the round.

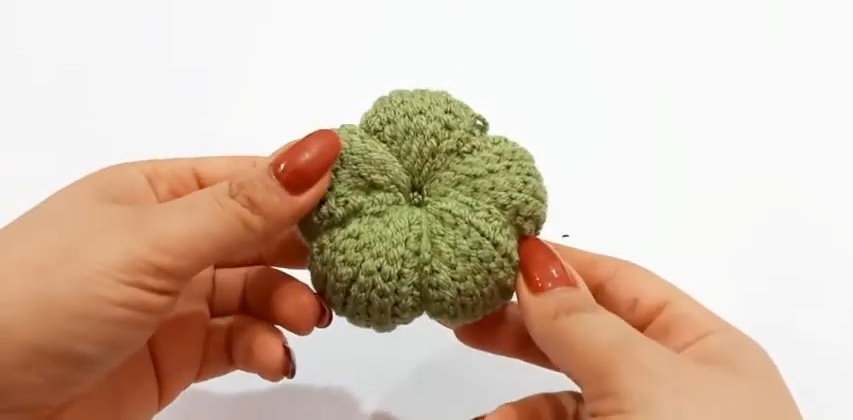
2. Shape the Pumpkin
- Work evenly in BLO for 8-10 rows (or until you achieve your desired pumpkin height).
- Begin decreasing:
- (SC 8, DEC) repeat around. (54 SC)
- (SC 7, DEC) repeat around. (48 SC)
- (SC 6, DEC) repeat around. (42 SC)
- Stuff your pumpkin with fiberfill as you decrease further. Shape it firmly but avoid over-stuffing:
- (SC 5, DEC) repeat around. (36 SC)
- (SC 4, DEC) repeat around. (30 SC)
- (SC 3, DEC) repeat around. (24 SC)
- Continue to decrease until the hole closes (use a yarn needle to sew it shut if needed).
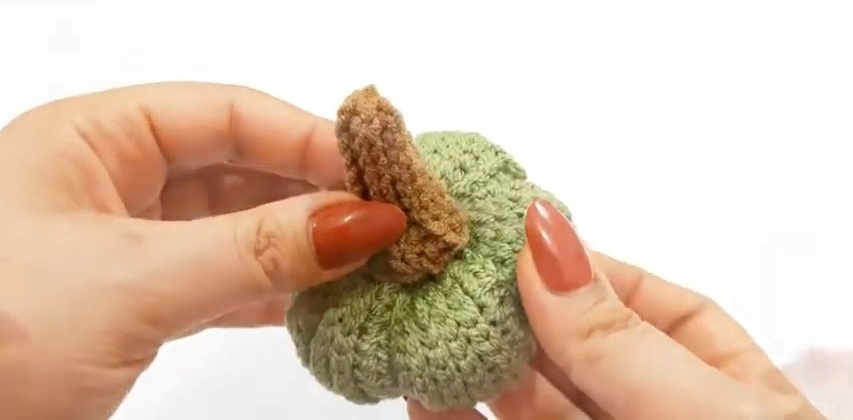
3. Crochet the Stem
- With green or brown yarn, CH 6.
- Starting in the 2nd chain from the hook, SC across. (5 SC)
- CH 1, turn; work SC rows until the stem is approximately 1.5”-2” tall.
Bind off, leaving a long tail for sewing.
4. Assembly and Finishing
- Use your yarn needle and the tail to sew the stem onto the top of the pumpkin.
- To give the pumpkin its signature “ridges,” use a long piece of yarn to stitch vertically from the top center, pulling slightly tight, and looping around the bottom. Repeat 6-8 times evenly around the pumpkin.
- Add extra details like crocheted leaves, twine, or buttons!
Key to Success
- Choose the right yarn to ensure durability and texture.
- Follow detailed pattern instructions for accurate shaping.
- Use proper stuffing material for a firm yet soft finish.
- Select colors to match your decor or seasonal theme.
- Practice patience for clean and attractive stitching results.
Conclusion
Creating crochet pumpkins is an enjoyable, rewarding project that combines creativity with practicality. With their cozy aesthetic and versatility, they’re a perfect handmade addition to your seasonal decor. Give this project a try and bring a personal touch to your space.