Looking for a fun fall crochet project? This adorable Pumpkin Pie Turtle is the perfect way to add a touch of seasonal charm to your handmade collection.
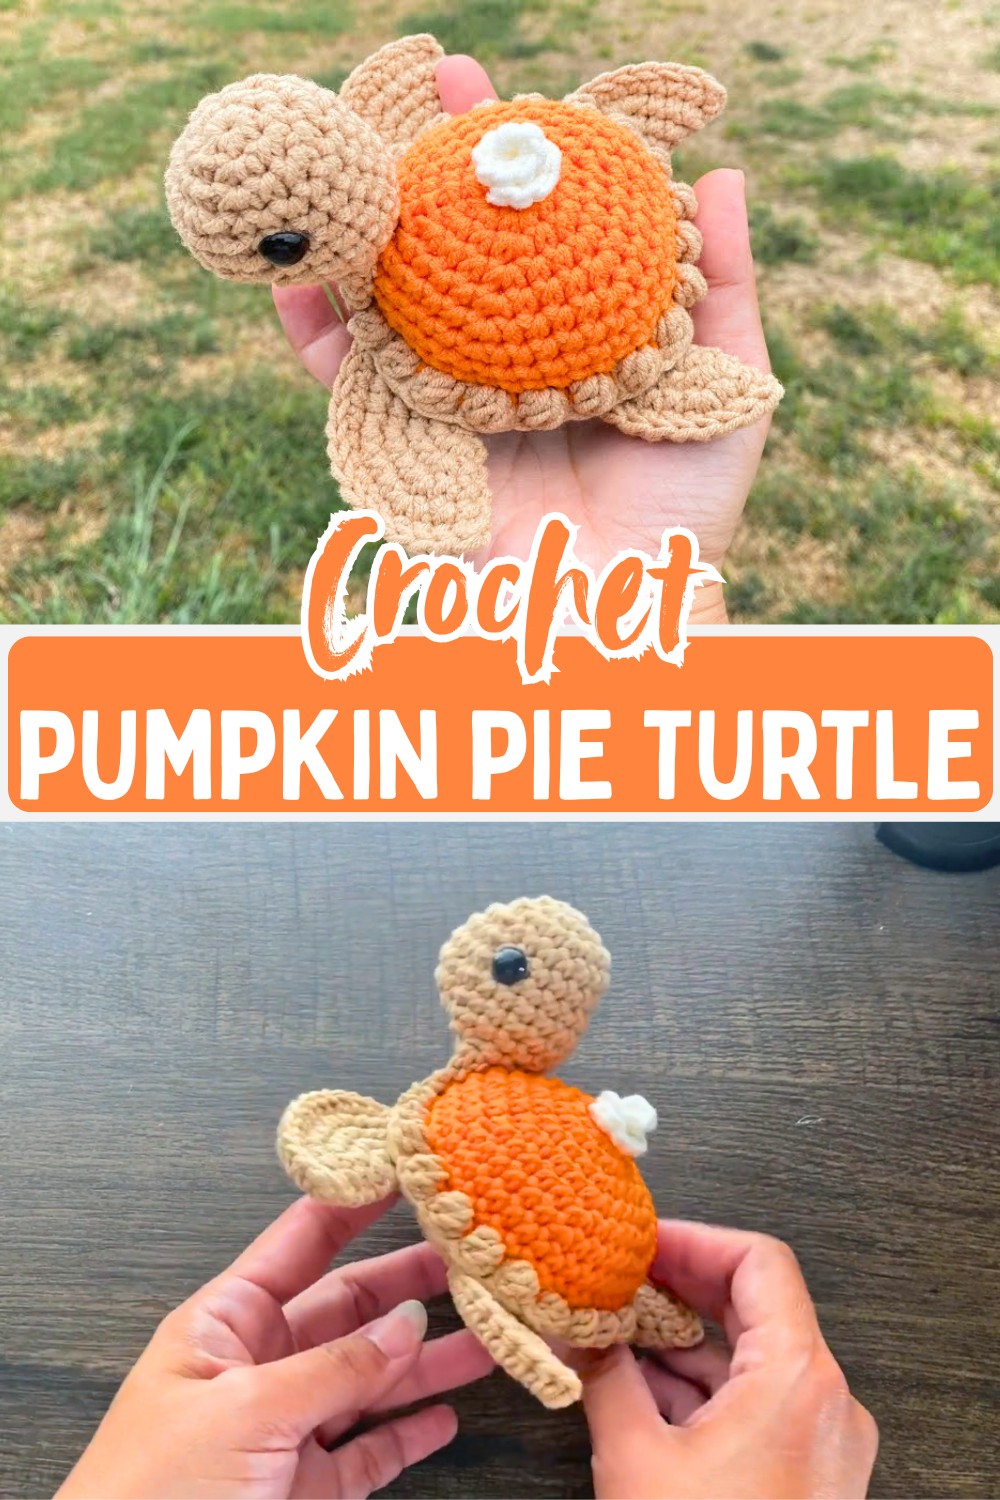
Some seasonal designs are cute, but this one adds an unexpected twist. This crochet Pumpkin Pie Turtle blends a tiny turtle with a pumpkin pie shell and a whipped cream topping, creating a playful decoration that instantly captures the spirit of autumn. Every small detail comes together in a way that makes the finished crochet piece memorable.
The crochet pattern builds this playful design one piece at a time, with every finished section making the Pumpkin Pie Turtle look even more charming. From shaping the pie-inspired shell to adding the little legs, head, and final whipped cream accent, each step gradually brings the character to life. The clever finishing details are what make this crochet design stand out from ordinary fall decorations.
Credit Trang Lam Crochet – Left Handed
Design Details
This delightful design merges a festive pumpkin pie dessert with a sea turtle amigurumi!
- Shell functions as the pie crust and filling.
- Miniature whipped cream serves as the finishing touch on top.
Techniques & Key Stitches Used
- Working in the round
- Magic Ring (MR)
- Back Loop Only (BLO)
- Stitch increases (inc) & decreases (dec)
- Chain stitch (ch)
- Slip stitch (slst)
- Puff stitch (puff)
- Single crochet (sc)
Materials Needed
- Milk cotton yarn in Orange, Tan, and White
- Stuffing

Tools Required
- 2.5 mm crochet hook
- Sewing needle
- Scissors
- 8 mm rounded safety eyes
- Hot glue gun & pins (for assembling/securing parts)
Gauge
Not specified in the original tutorial.
Finished Size / Measurements
Not specified in the original tutorial.
Abbreviations & Terminologies
MR: Magic Ring
ch: Chain
sc: Single crochet
inc: Increase
dec: Decrease
slst: Slip stitch
BLO: Back Loop Only
Helpful Tips Before You Start
- Pin parts carefully before sewing to ensure symmetry.
- Attach safety eyes to the head (between Rounds 5–6) using a glue gun.

Pattern Overview & Making Process
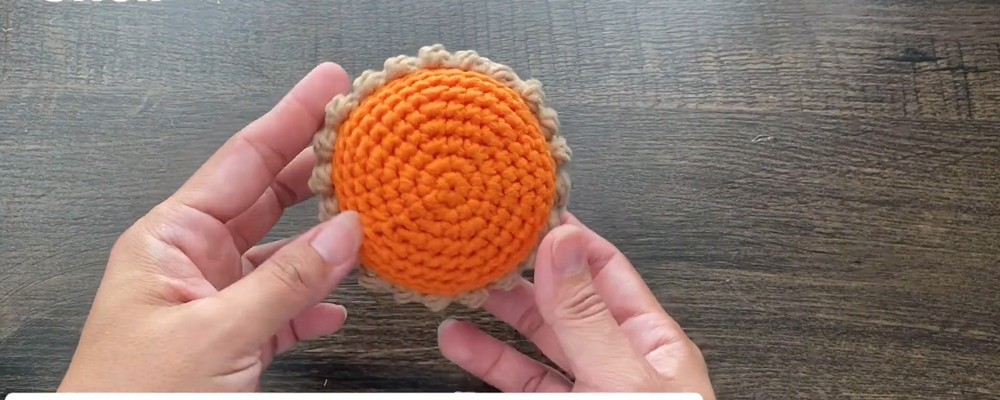
The tutorial begins with the pumpkin pie shell, worked in continuous rounds using orange yarn before changing to tan yarn for the pie crust. The shell is shaped with regular increases and decreases, lightly stuffed, and finished with a puff-stitch crust worked into the front loops for its signature pie edge.
Next, the whipped cream topping is made from a short chain that naturally curls into a spiral. The front legs, back legs, and head are crocheted separately in tan yarn using simple rounds with gradual shaping. Each piece is completed individually before moving on to assembly.
To finish, the head and legs are sewn underneath the shell, creating the turtle’s body. The safety eyes are attached to the head, and the curled whipped cream is secured to the top of the shell, completing the pumpkin pie look with its charming finishing touch.
Step-by-Step Pattern Instructions
Shell
Using Orange Yarn:
- Round 1: 6 sc in a Magic Ring, slst to join.
- Round 2: Ch 1, 6 inc, slst.
- Round 3: Ch 1, (1 sc, 1 inc) * 6, slst.
- Round 4: Ch 1, (2 sc, 1 inc) * 6, slst.
- Round 5: Ch 1, (3 sc, 1 inc) * 6, slst.
- Round 6: Ch 1, (4 sc, 1 inc) * 6, slst.
- Round 7: Ch 1, (5 sc, 1 inc) * 6, slst.
- Rounds 8–9: Ch 1, 42 sc. Cut orange yarn.
- Round 10 (BLO): Attach tan yarn, 42 sc, slst.
- Round 11: Ch 1, (5 sc, 1 dec) * 6, slst.
- Round 12: Ch 1, (4 sc, 1 dec) * 6, slst.
- Round 13: Ch 1, (3 sc, 1 dec) * 6, slst.
- Round 14: Ch 1, (2 sc, 1 dec) * 6, slst. Stuff before closing further.
- Round 15: Ch 1, (1 sc, 1 dec) * 6, slst.
- Round 16: Ch 1, 6 dec, slst. Cut yarn and weave in the end.
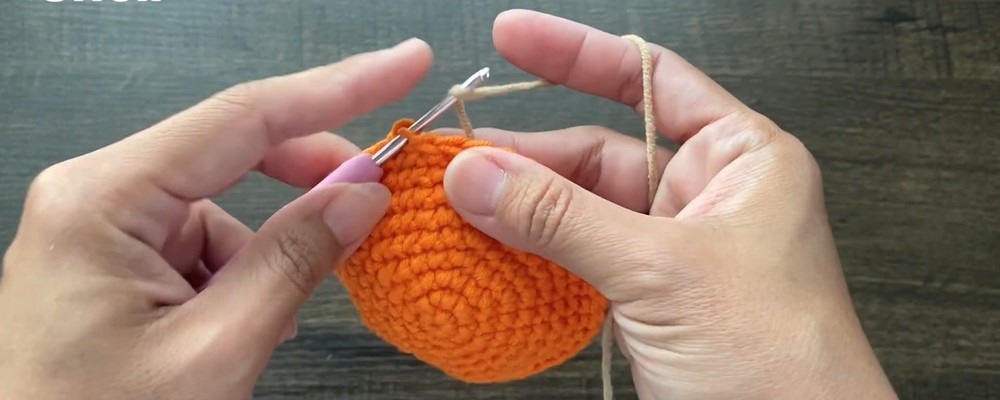
Pie Crust Edge
Using Tan Yarn:
- Attach to the remaining front loops from Round 10:
- Slst in the next stitch, then puff in the following stitch.
- Repeat this slst + puff sequence all the way to the end.
Whipped Cream
Using White Yarn:
- Ch 6.
- From the 2nd ch from the hook, work 3 sc in each chain stitch across (15 stitches total).
- Coil the piece to shape.

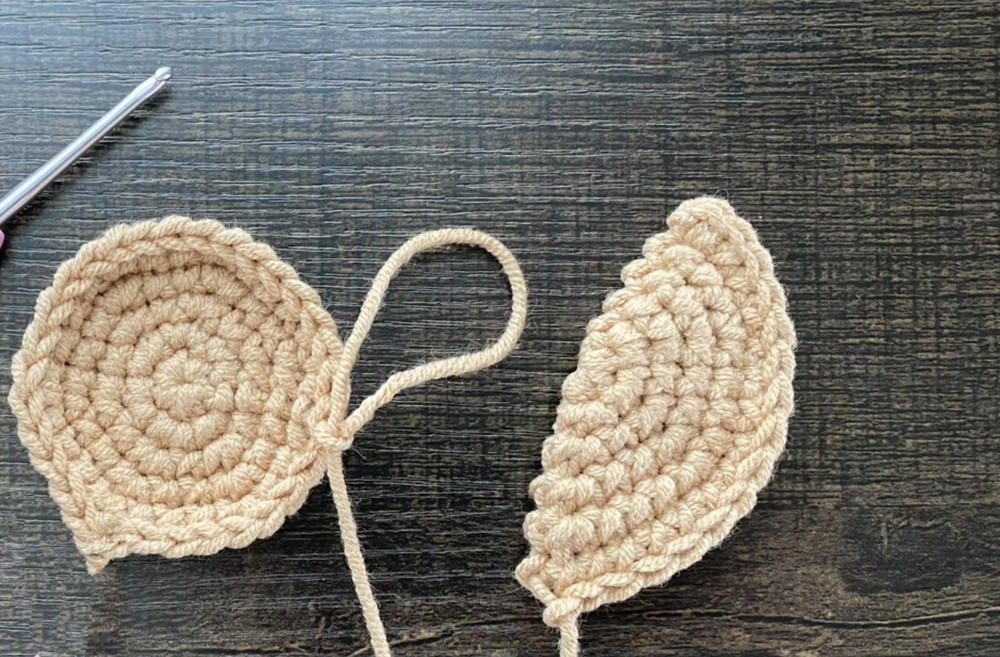
Front Leg (Make 2)
Using Tan Yarn:
- Round 1: 6 sc in MR, slst.
- Round 2: Ch 1, 6 inc, slst.
- Round 3: Ch 1, (1 sc, 1 inc) * 6, slst.
- Round 4: Ch 1, (2 sc, 1 inc) * 6, slst.
- Round 5: Ch 1, (3 sc, 1 inc) * 6, slst.
- Finish: Fold the flat piece in half and work 15 sc through both layers to close.
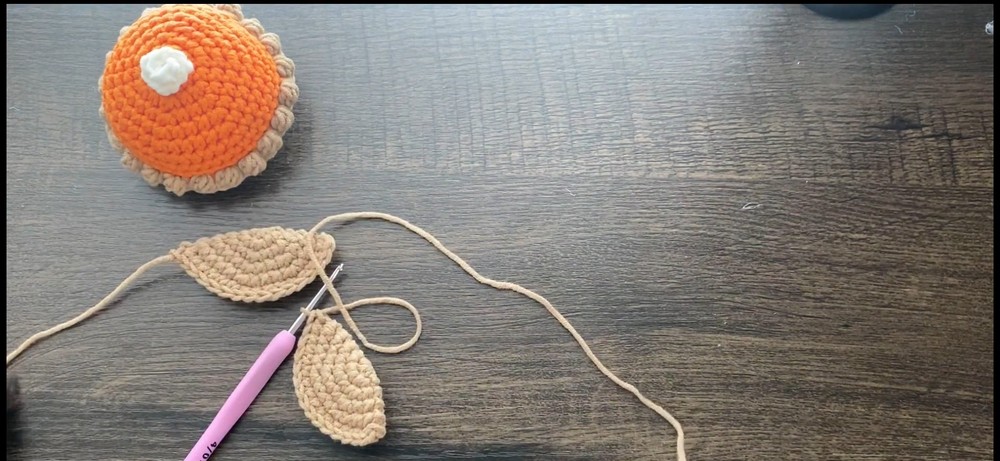
Back Leg (Make 2)
Using Tan Yarn:
- Round 1: 6 sc in MR, slst.
- Round 2: Ch 1, 6 inc, slst.
- Round 3: Ch 1, (1 sc, 1 inc) * 6, slst.
- Round 4: Ch 1, (2 sc, 1 inc) * 6, slst.
- Finish: Fold the flat piece in half and work 12 sc through both layers to close.
Head
Using Tan Yarn:
- Round 1: 6 sc in Magic Ring, slst.
- Round 2: Ch 1, 6 inc, slst.
- Round 3: Ch 1, (1 sc, 1 inc) * 6, slst.
- Round 4: Ch 1, 5 inc, 13 sc, slst.
- Rounds 5–7: Ch 1, 23 sc, slst.
- Round 8: Ch 1, 5 dec, 13 sc, slst.
- Round 9: Ch 1, 4 dec, 10 sc, slst.
- Round 10: Ch 1, 3 dec, 6 sc, slst.
- Round 11: Ch 1, 3 hdc, 7 sc, slst.
- Rounds 12–13: Ch 1, 10 sc, slst.

Assembly Instructions
- Position & pin the head, front legs, and back legs underneath the shell body.
- Use a sewing needle to secure all the limbs and the head firmly onto the shell.
- Glue the miniature whipped cream directly onto the center top of the orange pie shell.
- Insert the 8mm safety eyes between Rounds 5–6 of the head, securing them with hot glue.

Helpful Tips & Common Fixes
- Clean Color Change: On the last orange stitch of Round 9, pull through the final yarn-over with Tan to ensure a smooth transition to Round 10.
- Even Puff Crust: Pull up loops to the same height for each puff stitch so the crimps in the crust look uniform.
- Variations:
- Pecan Pie Turtle: Dark brown top, tan bottom.
- Apple Pie Turtle: Light green top with tan crust.
- Add a keychain ring to the head for a seasonal bag charm.
Creative customization ideas for your pie turtle craft
- Pecan Pie Turtle
- Create a rich brown “shell” to replicate pecans, and add textured details with embroidery or beads. Drizzle “caramel” (thin yarn or sewing cord) for a realistic look.
- Apple Pie Turtle
- Use warm golden and red hues for the turtle shell, incorporating apple slice designs or lattice stitching to resemble pie crust.
Color and Design
- Warm Autumn Color Combinations
- Use warm tones like burnt orange, mustard yellow, and deep red for a cozy fall aesthetic.
- Consider blending these colors in stripes or variegated patterns for the pie shell.
Functional Accessories
- Keychain or Bag Charm
- Attach a lobster clasp or keyring to make it a functional accessory.
- Use lightweight materials for portability.
Autumn Details
- Crocheted Leaf or Cinnamon Stick
- Add a small crocheted or felted leaf, or attach a faux cinnamon stick to amplify the cozy, autumnal charm.
Size Variety
- Mini or Jumbo Versions
- Create a variety of pie turtles in different sizes for versatility.
- Mini turtles can be ornaments, while jumbo ones can double as plush décor.
Personality
- Embroider Cute Faces
- Add personality by embroidering adorable faces with sleepy eyes, rosy cheeks, or “blushing” detail on the turtles’ cheeks.
Coordinated Collection
- Crochet a Matching Pie Turtle Collection
- Build an entire pie turtle family with different pie flavors! Think pumpkin pie, cherry pie, blueberry pie, and more.