
Ever wanted to make a little snowman that brings smiles and warmth to everyone this holiday season? Let’s create something truly special!
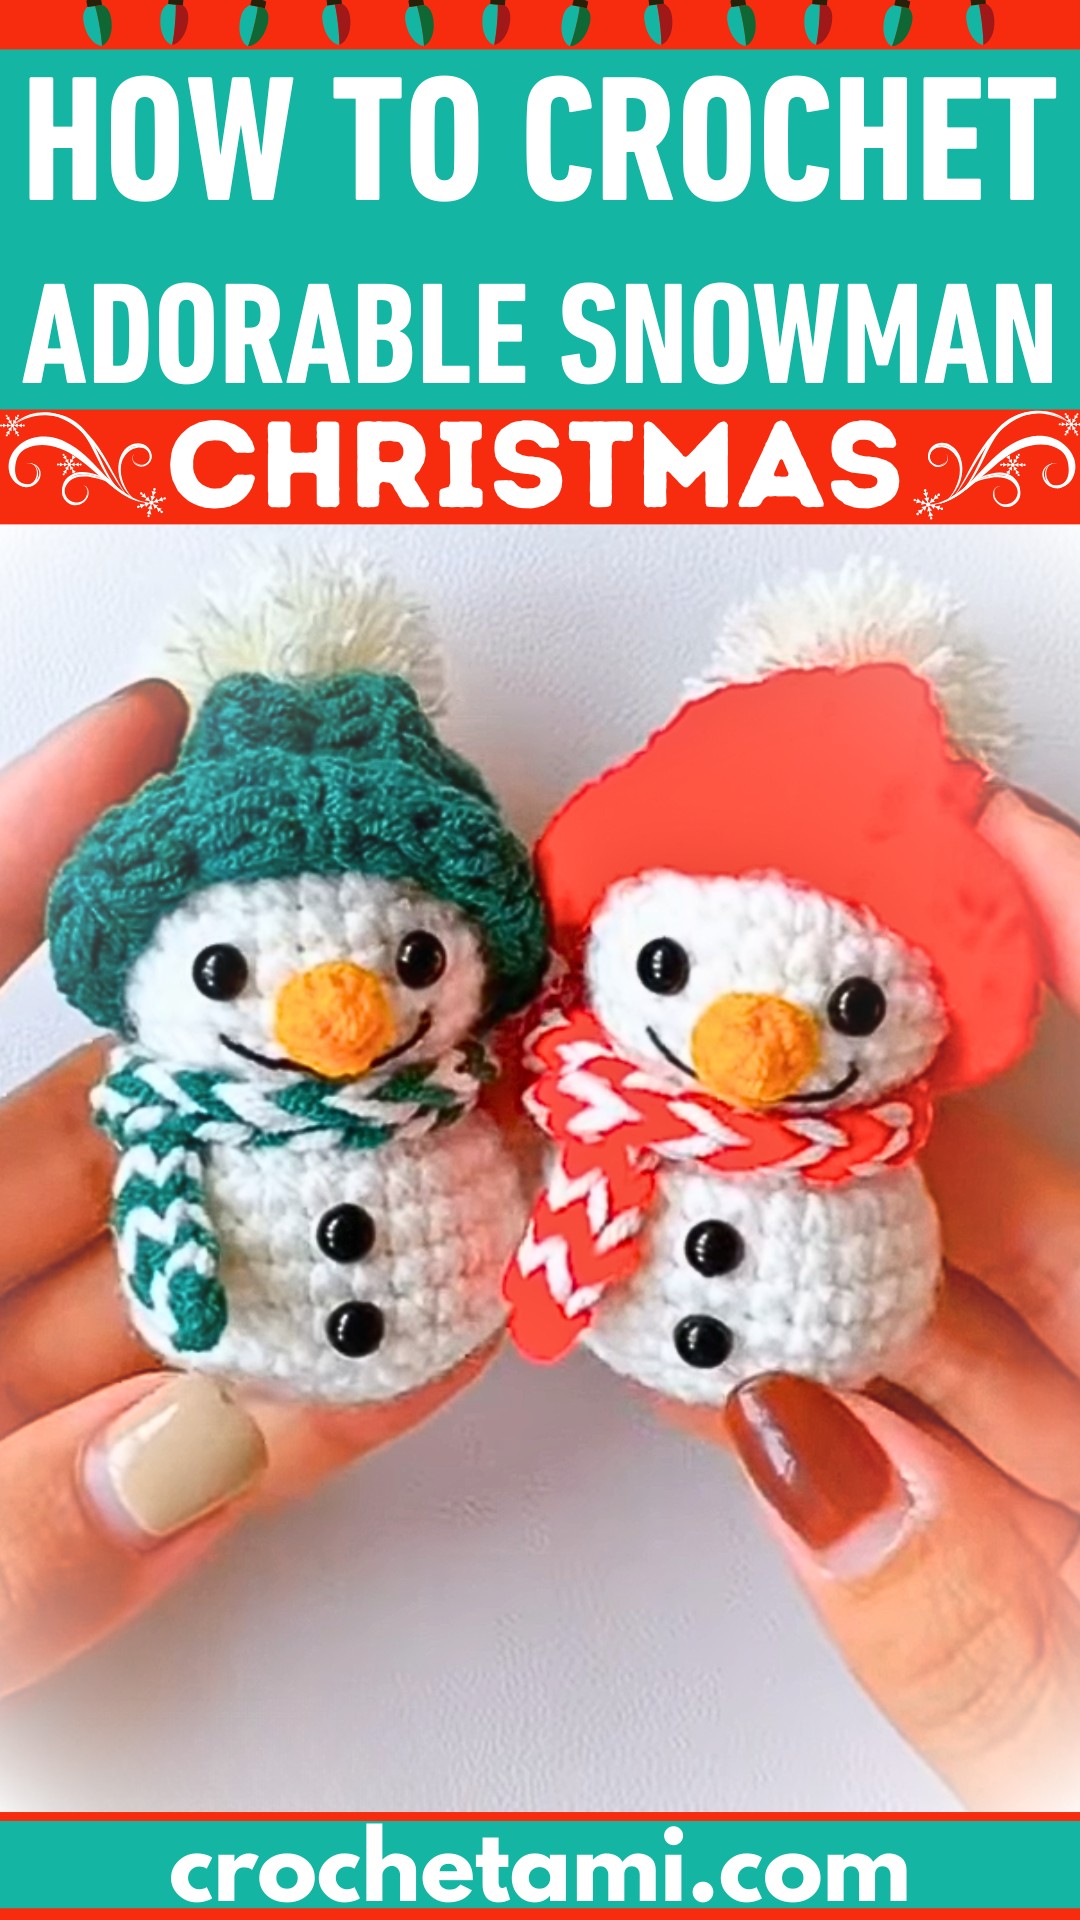
Nothing captures the holiday spirit quite like a handmade snowman with a cheerful smile and cozy winter accessories. This crochet design starts with a seamless body, then slowly comes to life with a ribbed hat, striped scarf, and fluffy pom-pom that make every detail stand out. The real charm appears as each small crochet piece comes together into one adorable holiday decoration.
The tutorial keeps every step easy to follow while building each part in the right order, making the entire crochet process feel smooth from beginning to end. From shaping the body to adding the final smile, every stage reveals another delightful detail that makes the finished crochet snowman even more charming, making it hard to stop before seeing the complete result.
Credit Crochet Magic
Crochet Snowman Pattern & Guide
Finished Size: Approx. 5–7 inches tall (depending on yarn and hook size).
Skill Level: Beginner-friendly but detailed for intermediate flair.
Materials & Tools Needed:
- Yarn:
- White (Snowman Body, Pom-Pom)
- Green (Hat & Scarf)
- Orange (Carrot Nose)
- Hook:
- 2.15 mm crochet hook (or size matching your yarn weight).
- Notions & Accessories:
- 5 mm safety eyes or black beads.
- Polyester fiberfill stuffing.
- Black embroidery thread (for mouth).
- Tapestry needle and scissors.
- Hot glue gun with glue sticks.
- Small comb (for fluffing the pom-pom).
- Decorative buttons.
Pattern Key Features:
- Seamless Amigurumi Body: Crafted in a single piece from head to base for smooth shaping.
- Ribbed Winter Hat: Adds texture with a cuffed style topped with a fluffy pom-pom.
- Two-Color Woven Scarf: Combines green and white strands into a mini accessory.
- Quick Assembly: Hot glue saves time and ensures secure embellishments.
Stitches & Abbreviations
- MR: Magic Ring
ch: Chain
sc: Single Crochet
hdc: Half Double Crochet
inc: Single Crochet Increase (2 sc in same stitch)
dec: Single Crochet Decrease / Invisible Decrease
BLO: Back Loop Only
sl st: Slip Stitch
st(s): Stitch(es)
Pattern Overview & Making Process
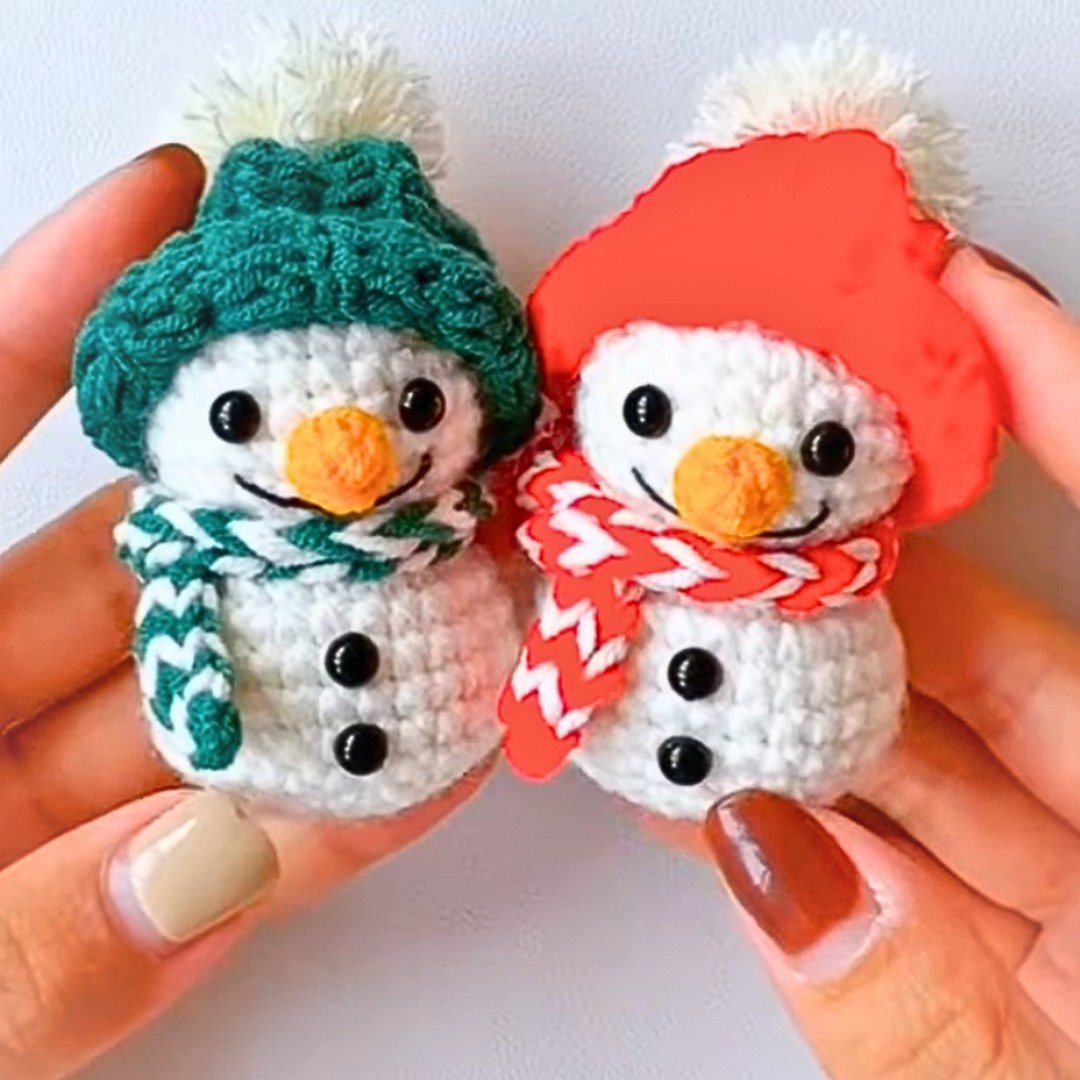
The pattern starts by making the head and body as one continuous piece with white yarn. Gradual increases shape the head, invisible decreases form the neck, and the body is enlarged before closing the base after stuffing to create a neat, rounded finish.
Next, the smaller details are made separately. A tiny carrot nose is crocheted in orange, while the green hat is worked in rows using back-loop-only half double crochet to create its ribbed texture. The hat is sewn into a tube, gathered at the top, and finished with a fluffy white pom-pom.
To complete the snowman, a striped scarf is worked with green and white yarn, then all the pieces are assembled. The scarf is tied around the neck, the hat and pom-pom are attached, the eyes, nose, and buttons are secured, and a simple embroidered smile gives the finished snowman its cheerful holiday look.
Step-by-Step Pattern
1. Head & Body (White Yarn)
Worked seamlessly from the top (head) to the base of the body.
Head Section:
- Round 1: MR, ch 1, 6 sc in ring. Join with sl st. (6 sts)
- Round 2: inc around (2 sc in each st). (12 sts)
- Round 3: (1 sc, inc) x 6. (18 sts)
- Round 4: (1 sc, inc, 1 sc) x 6. (24 sts)
- Rounds 5–8: sc in each st around. (24 sts)
Narrowing the Neck:
- Round 9: (1 sc, dec, 1 sc) x 6. (18 sts)
- Round 10: (1 sc, dec) around. (12 sts)
Stuff the head with fiberfill firmly at this stage.
Body Section:
- Round 11: (1 sc, inc) x 6. (18 sts)
- Round 12: (1 sc, inc, 1 sc) x 6. (24 sts)
- Round 13: (3 sc, inc) x 6. (30 sts)
- Rounds 14–17: sc in each st around. (30 sts)
Shaping the Base:
- Round 18: (3 sc, dec) x 6. (24 sts)
- Round 19: (1 sc, dec, 1 sc) x 6. (18 sts)
- Round 20: (1 sc, dec) around. (12 sts)
Fasten off, leaving a long tail. Stuff the body** firmly**, and weave the tail through the final round’s front loops. Pull tight to close.
2. Carrot Nose (Orange Yarn)
- Round 1: MR, ch 1, 4 sc in ring. (4 sts)
- Round 2: (1 sc, inc) x 2. (6 sts)
Fasten off and tuck tail inside cone.
3. Ribbed Winter Hat (Green Yarn)
- Foundation Row: Ch 15.
- Row 1: hdc in 3rd ch from hook and across. (13 sts)
- Rows 2–12: Ch 2, turn, hdc in BLO across. (13 sts per row)
Fasten off, leaving a long tail. Fold the rectangle into a tube, stitch its seam, then cinch the top using the long tail. Fold the cuff upwards stylishly.
Pom-Pom:
- Wrap white yarn around your fingers ~40 times.
- Tie tightly in the middle, snip loops, fluff with a comb, and trim evenly.
4. Two-Color Striped Scarf (Green & White Yarn)
- Ch 3 with green yarn.
- Alternate pulling loops of green and white yarn across 40 rows.
- Fasten off and weave in ends.
5. Assembly & Final Touches
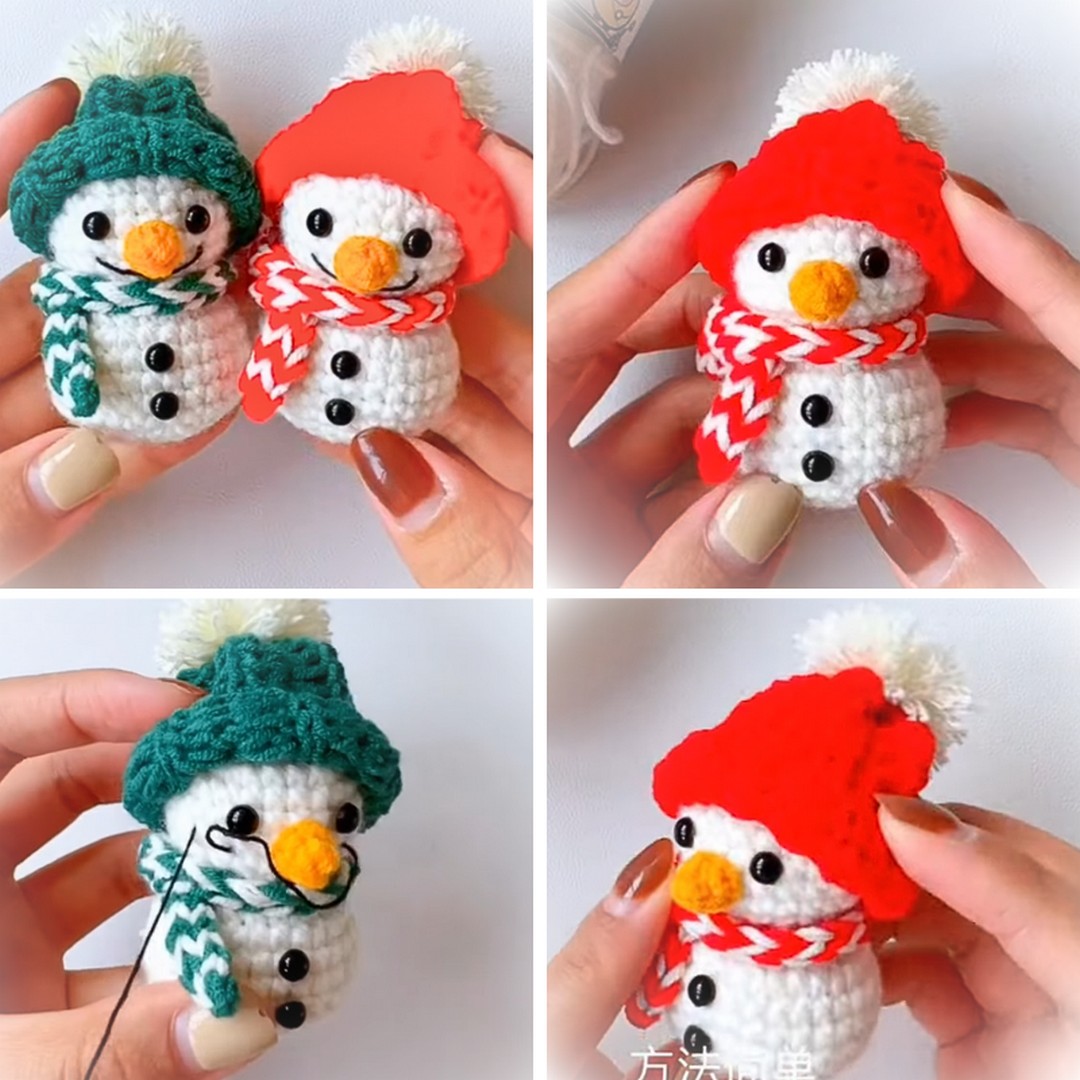
- Tie the scarf around the neck seam.
- Hot-glue the pom-pom on top of the hat.
- Secure the hat onto the snowman’s head.
- Attach 5 mm eyes on Round 6 of the head.
- Hot-glue the carrot nose between the eyes.
- Sew or glue buttons down the snowman’s torso.
- Embroider a smile using black thread.
Tips & Customizations
- Neck Gap Prevention: Use tight, invisible decreases to ensure clean transitions.
- Theme Variations: Swap yarn colors (e.g., red for Santa vibes or blue for an icy look!).
- Ornament Feature: Add a yarn loop to the hat for a tree decoration.
Conclusion:
This adorable snowman makes the perfect holiday gift or decor piece! Follow this guide step-by-step and let your creativity shine. Happy crocheting!


