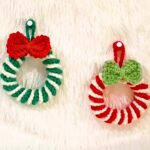
Bring striped texture to your Christmas tree with a soft crochet ball ornament, shaped from a simple ribbed strip and finished with a sparkling ribbon bow for a festive handmade touch.
Crochet Christmas Ball Ornament Pattern
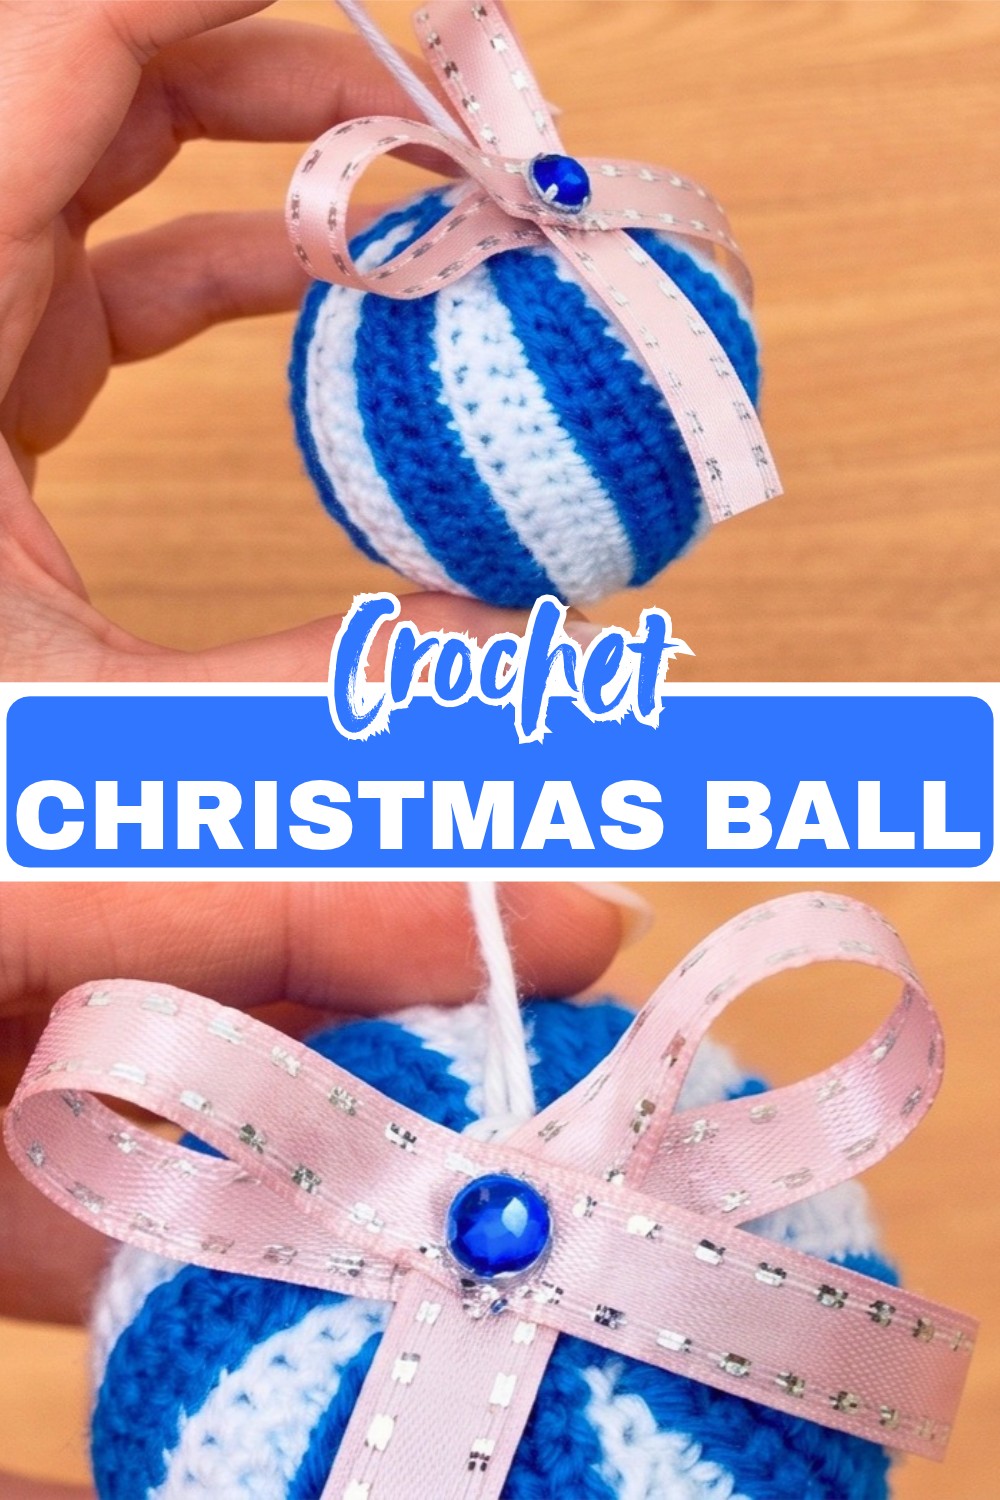
These crochet Christmas ball ornaments are a lovely way to bring texture and handmade character to a holiday tree. The simple striped design is created with rows of back-loop-only single crochet, giving the finished ball a subtle ribbed texture that makes the colors stand out.
The construction is especially useful for beginners because the crochet ornament starts as a flat rectangle before being seamed and stuffed into shape. The important part is keeping the stripe sequence consistent and cinching both ends firmly so the stuffing stays enclosed and the crochet ball ornament develops a neat round shape.
Credit Easy Crochet Studio
Materials & Tools Needed
- Yarn: Medium/sport-weight cotton yarn in two contrasting colors
- Crochet Hook: 2.5 mm
- Stuffing: Polyester fiberfill
- Tapestry or darning needle
- Scissors
- Decorative ribbon: Rhinestone, glitter, or another festive style
- Decorative gem, bead, or pin for the center of the bow
- Measuring tape
Finished Size & Customization Ideas
The completed ornament measures approximately 14–15 cm long and 5 cm wide before assembly. Once the rectangle is seamed, stuffed, and gathered, it forms a compact round ornament.
Try red and white for a traditional candy-cane look, or switch to green and gold for a different holiday palette. You can also replace the decorative bow with a small bell, wooden bead, or another lightweight embellishment.
Pattern Abbreviations
- ch: Chain
- sc: Single crochet
- BLO: Back loop only
- st(s): Stitch(es)

Crochet Christmas Ball Ornament Pattern
Foundation Chain
Using your main color, make a slip knot and ch 21.
Striped Crochet Body
Row 1: Turn and sc in the 2nd ch from hook and across. (20 sts)
Row 2: Ch 1, turn, and sc in BLO across. (20 sts)

Row 3: Change to the contrasting color while completing the final stitch of Row 2; ch 1, turn, and sc in BLO across. (20 sts)
Row 4: Ch 1, turn, and sc in BLO across with the contrasting color. (20 sts)
Row 5: Change back to the main color while completing the final stitch of Row 4; ch 1, turn, and sc in BLO across. (20 sts)
Row 6: Ch 1, turn, and sc in BLO across with the main color. (20 sts)
Continue repeating the two-row color sequence-two rows in the contrasting color followed by two rows in the main color-until the strip reaches approximately 14-15 cm in length.
Reader tip: Keep every row in BLO. This is what creates the raised ribbing that gives the ornament its textured appearance. Also, make each color change in the final stitch of the previous row so the stripe transition stays clean.

Fasten off after reaching the desired length, leaving a long yarn tail for assembly.
Assembly
1. Form the Tube
Fold the crocheted rectangle so the two short ends meet, and the textured side remains facing outward.
Using the long yarn tail and a tapestry needle, stitch the first row to the final row stitch by stitch. Secure the seam firmly to create an open-ended tube.
2. Gather the Bottom
Thread the needle around the stitches along one open end of the tube. Once you have worked around the entire opening, pull the yarn firmly to gather the edge closed.
Secure the yarn with a firm knot on the inside.
3. Add the Stuffing
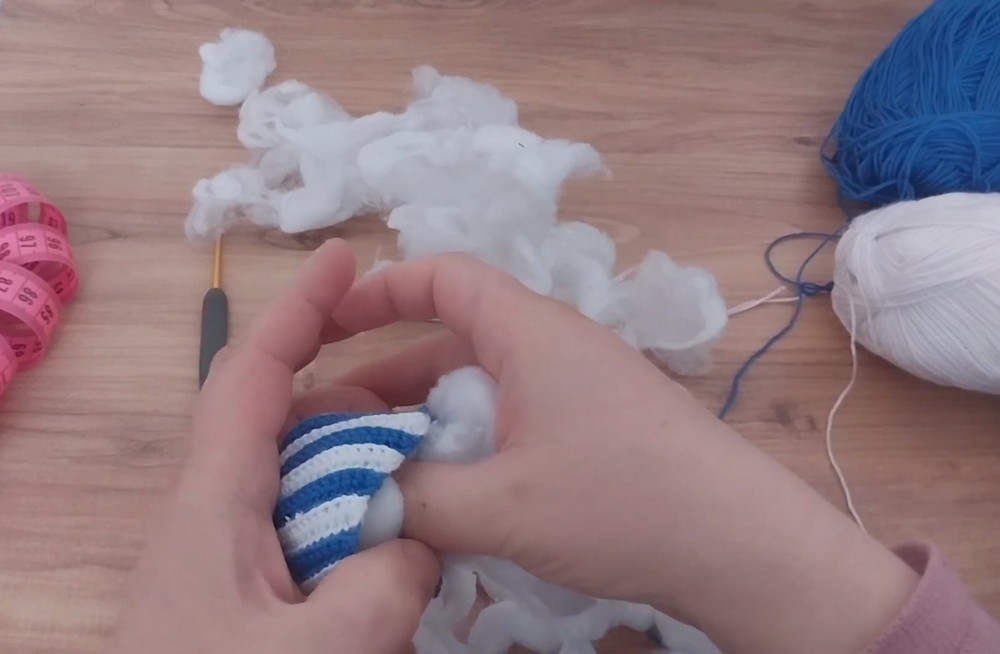
Fill the tube with polyester fiberfill, adding enough stuffing to create a firm, rounded shape.
Avoid packing it so tightly that the stitches stretch apart. Add small amounts at a time and shape the filling with your fingers so the ornament becomes evenly rounded.
4. Close the Top
Once the ornament has a smooth spherical shape, weave the needle around the remaining open edge.
Pull the yarn gradually to gather the opening closed. Check the shape before making the final knot-if one side looks flatter, adjust the stuffing before tightening completely.
Secure the yarn and hide the remaining tail inside the ornament.
5. Add the Hanging Loop
Create or attach a small yarn loop at the top center of the ornament. Make sure the loop is securely fastened because it will support the ornament when it hangs from the tree.
6. Finish with the Ribbon
Tie a small decorative ribbon bow and position it at the top center of the ornament.

Secure the bow in place and add a lightweight decorative gem, bead, or pin to the center for a festive finishing detail.
Finishing tip: Center the bow over the stripe pattern before securing it. A small adjustment here can make the finished ornament look much more balanced when it hangs.

Final Look
Your ribbed crochet Christmas ball ornament is now ready for the tree. The alternating colors highlight the raised BLO texture, while the stuffed construction gives it the rounded shape of a traditional bauble.

Make several in different color combinations for a coordinated handmade tree, or create a few as small holiday gifts.