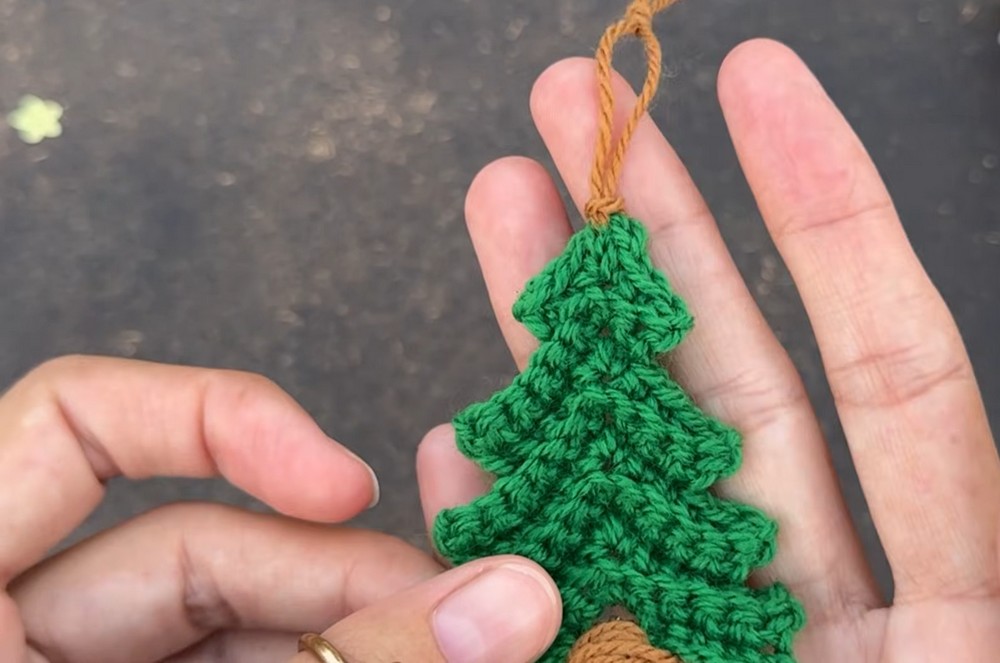
Looking for a quick holiday crochet decoration? This Christmas tree ornament uses simple single crochet stitches, shaped branches, and a hanging loop for festive displays.
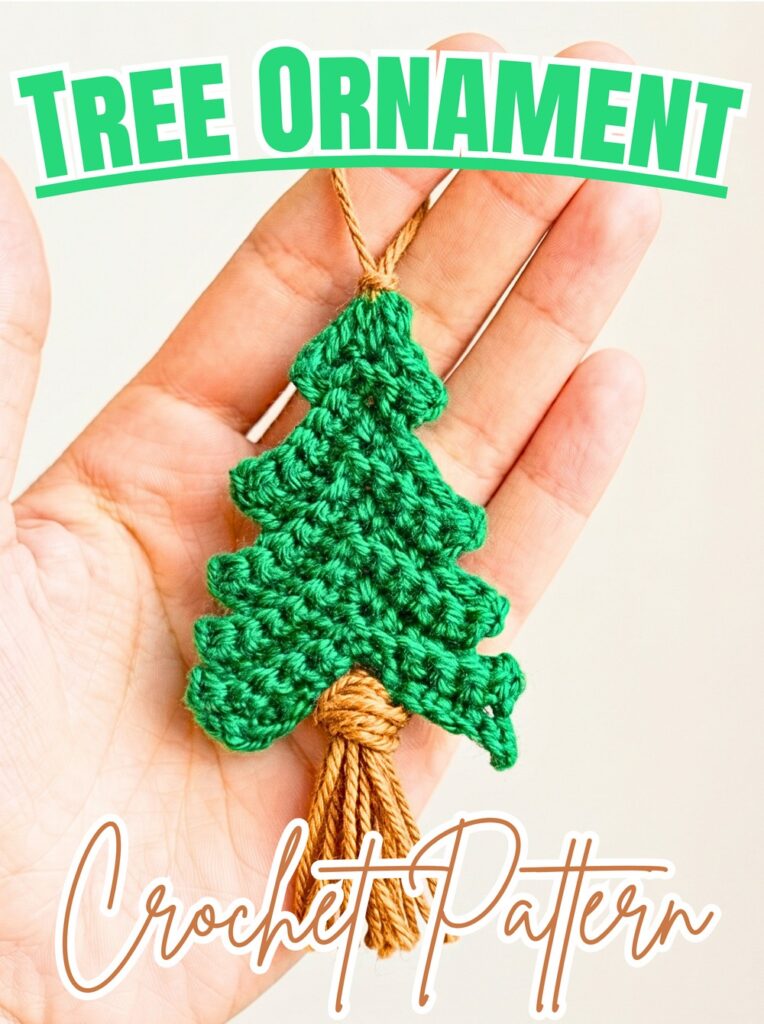
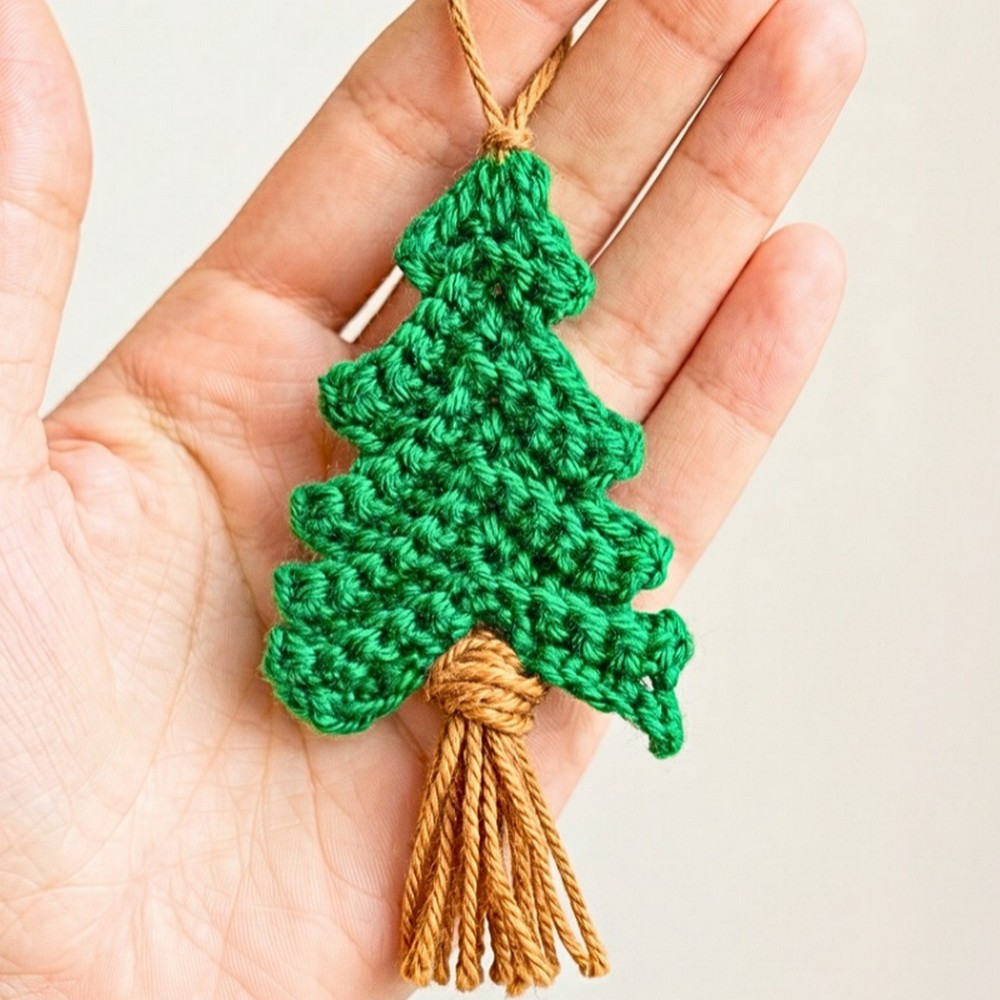
Handmade Christmas decorations bring personality to holiday trees, gift wrapping, and seasonal garlands without requiring lots of yarn or complicated techniques. This crochet Christmas tree ornament uses short rows and carefully placed branch points to shape a recognizable tree, even if shaping crochet pieces feels unfamiliar at first.
With this crochet tutorial, you’ll learn how to work each row, form the tree’s stepped branches, create its hanging point, and attach a brown yarn trunk. Follow the pattern from foundation chain to finishing details, then personalize your ornament with festive colors.
Credit Crochet Patterns Free
Materials & Tools
- Yarn: 3-ply yarn in green for the tree and brown for the trunk.
- Crochet hook: 2.5 mm.
- Other tools: Yarn needle and scissors.
Finished Size & Customization
Finished size: Approximately 3.5–4 inches tall, excluding the hanging loop and trunk.
This lightweight ornament works well for Christmas trees, holiday garlands, and gift tags.
- Add sparkle: Use metallic or glitter yarn for the green tree.
- Decorate the branches: Sew on tiny sequins or seed beads, or add French knots in contrasting yarn.
- Change the proportions: Adjust the foundation chain to explore different tree sizes. Changing the chain length will also affect the branch shaping, so the remaining rows may need adjustments.
Pattern Abbreviations
- ch: Chain
- sc: Single crochet
- st/sts: Stitch/stitches
- sk: Skip
- sl st: Slip stitch
- t-ch: Turning chain
- FO: Fasten off
Pattern note: Work with green yarn for the main tree body and brown yarn for the trunk. The instructions use US crochet terminology. Keep your stitches even so the small branches remain clearly defined.
Step-by-Step Crochet Christmas Tree Pattern
Foundation Chain: Start the Tree
The foundation chain determines the width available for shaping the branches.
- With green yarn, make a slip knot and chain 12.
- Check that the chain is not twisted and that each chain is easy to work into.
This starting chain provides 11 working chains after skipping the first chain from the hook.
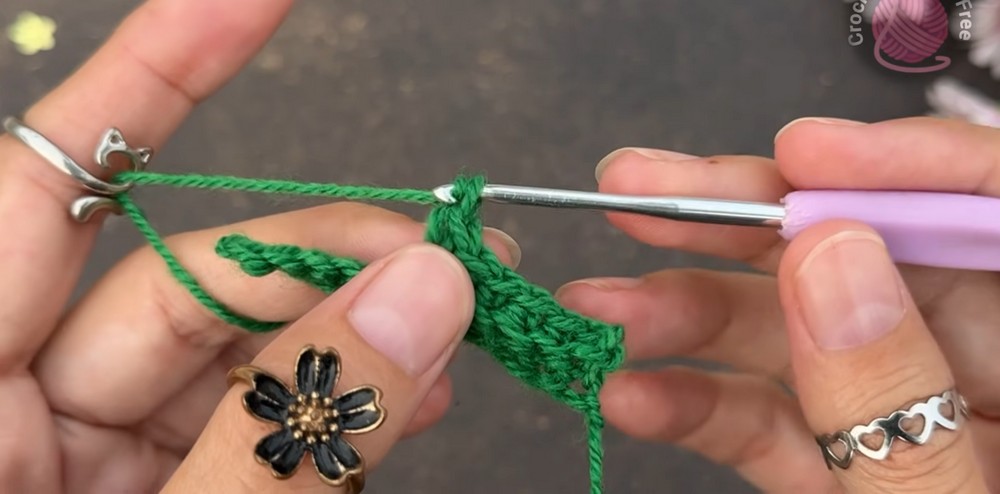
Row 1: Establish the Base
- Skip the first chain from the hook.
- Work 1 sc into each of the remaining 11 chains.
- Chain 1 and turn your work.
Stitch count: 11 stitches.
Teaching tip: Keep the first row relaxed enough to bend naturally, but avoid loose loops that could make the tree’s lower edge uneven.
Row 2: Create the First Branch Point
This row introduces the first change in direction that helps form the tree silhouette.
- Chain 1 and turn.
- Skip the first stitch, then work 5 sc across the next five stitches.
- In the next stitch, work (ch 1, sc, ch 1, sc) into the same stitch.
- Work 1 sc into each of the next four stitches.
- Skip the last stitch as specified in the supplied pattern.
- Chain 1 and turn.
Pattern check: The original instructions do not give a confirmed total stitch count for this row. Follow the placement sequence carefully and compare the shape with the tutorial before continuing.
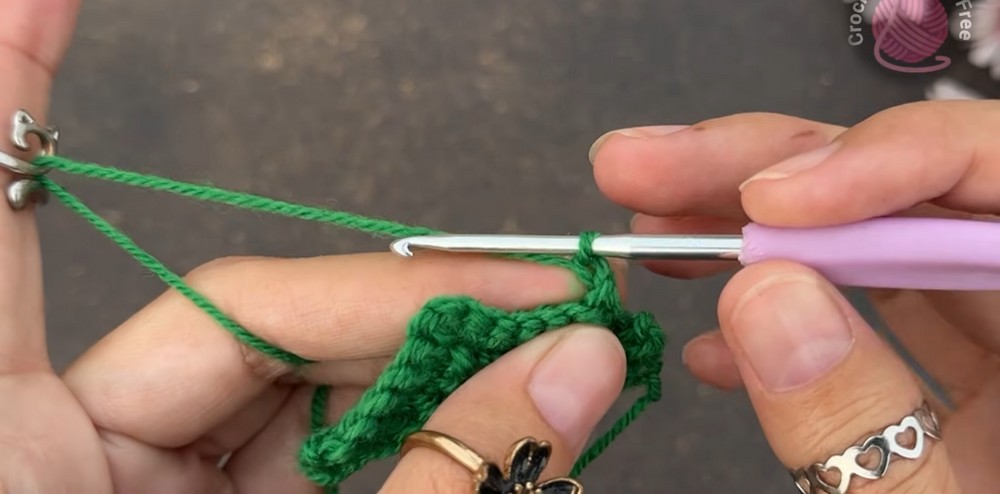
Row 3: Extend the Branch Shape
The next row builds around the branch point while continuing the stepped outline.
- Work 1 sc into each of the first five stitches.
- In the next stitch, work (sc, ch 1, sc) into the same stitch.
- Work 1 sc into each of the next five stitches.
- Skip the last stitch.
- Chain 1 and turn.
The chain space between the two single crochets helps define the branch point. Keep it visible rather than pulling it tight.
Row 4: Shape the Next Tier
- Work 1 sc into each of the first six stitches.
- In the next stitch, work (sc, ch 1, sc).
- Work 1 sc into each of the next four stitches.
- Skip the last two stitches.
- Chain 1 and turn.
Check your work: The skipped stitches shorten one side of the row, helping create the angled edge of the tree.
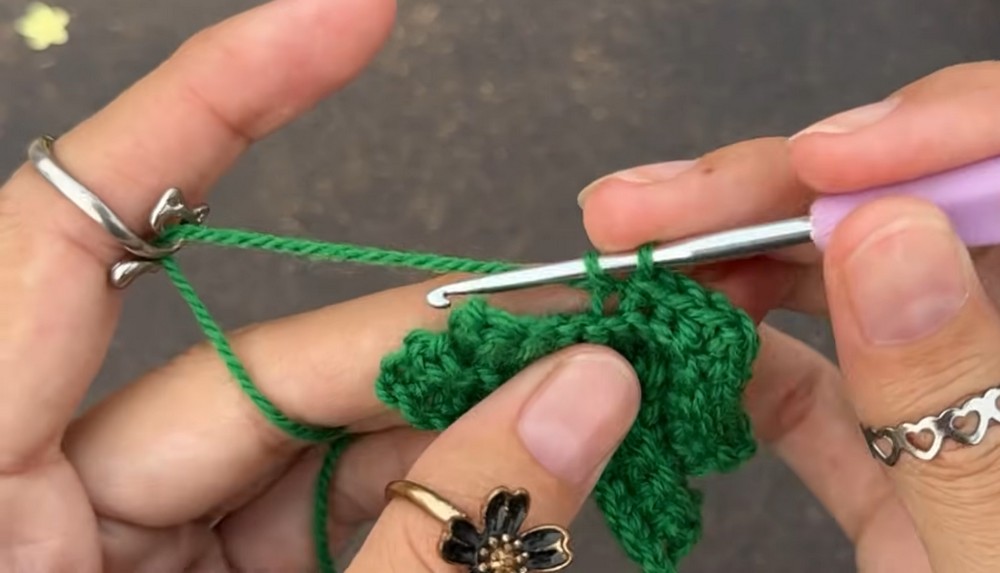
Row 5: Continue the Branch Outline
- Work 1 sc into each of the first five stitches.
- In the next stitch, work (sc, ch 1, sc).
- Work 1 sc into each of the next five stitches.
- Skip the last two stitches.
- Chain 1 and turn.
Keep the branch point consistent with the previous rows. The alternating row lengths contribute to the layered appearance.
Row 6: Narrow the Tree
- Work 1 sc into each of the first six stitches.
- In the next stitch, work (sc, ch 1, sc).
- Work 1 sc into each of the next three stitches.
- Skip the last three stitches.
- Chain 1 and turn.
Helpful tip: Count the stitches before skipping the remaining stitches. Missing the intended stopping point can change the shape of the next branch.
Row 7: Define Another Branch Tier
- Work 1 sc into each of the first four stitches.
- In the next stitch, work (sc, ch 1, sc).
- Work 1 sc into each of the next four stitches.
- Skip the remaining stitches.
- Chain 1 and turn.
The remaining unworked stitches are intentionally skipped according to the supplied instructions. Check the outline before beginning the next row.
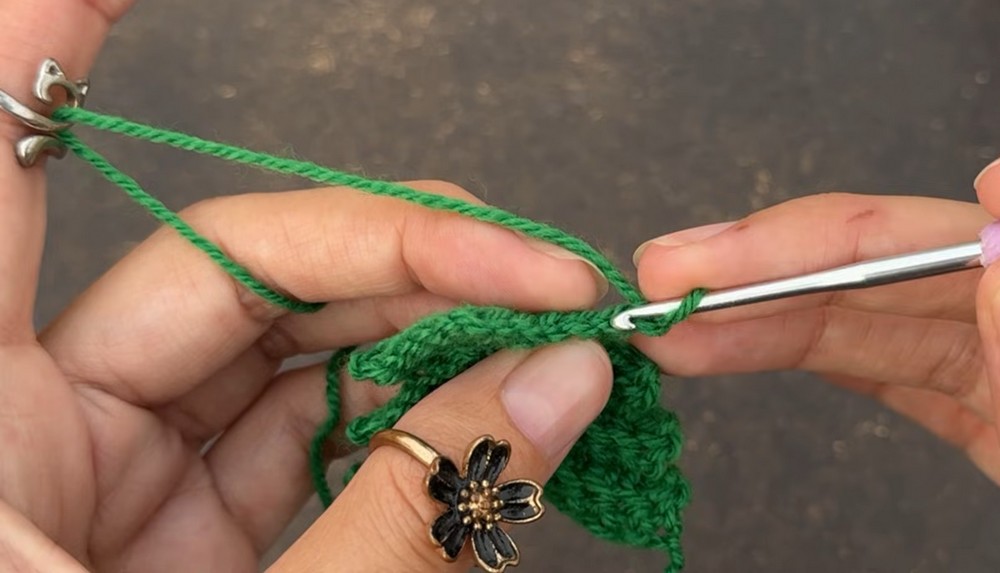
Row 8: Shape the Upper Section
- Work 1 sc into each of the first five stitches.
- In the next stitch, work (sc, ch 1, sc).
- Work 1 sc into the next stitch.
- Skip the last four stitches.
- Chain 1 and turn.
This shorter row brings the shaping closer to the top of the tree. Keep the chain space at the branch point open so it remains distinct.
Row 9: Form the Top Point and Hanging Loop
The final green row creates the tree’s upper point and the chain loop used for hanging.
- Work 1 sc into each of the first two stitches.
- In the next stitch, work (sc, ch 2, sc) into the same stitch.
- Work 1 sc into each of the next two stitches.
- Skip the remaining stitches.
- Chain 1 and fasten off the green yarn.
The chain-2 section forms the small loop or point described in the original pattern. Before finishing, check the video to confirm its intended hanging orientation.
Finishing tip: Leave enough yarn to secure the final end neatly, then weave it through the back of the stitches.
Add the Brown Yarn Trunk
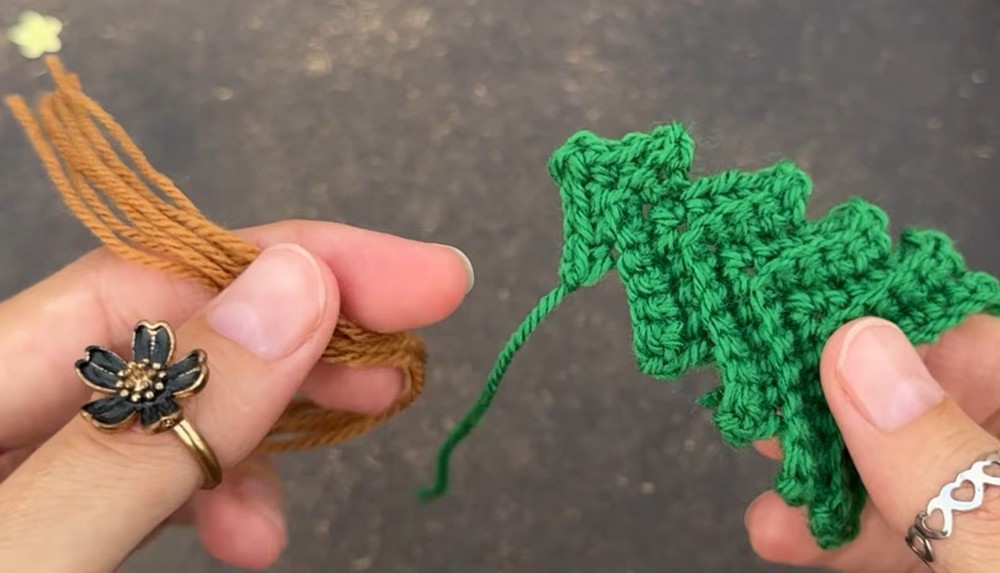
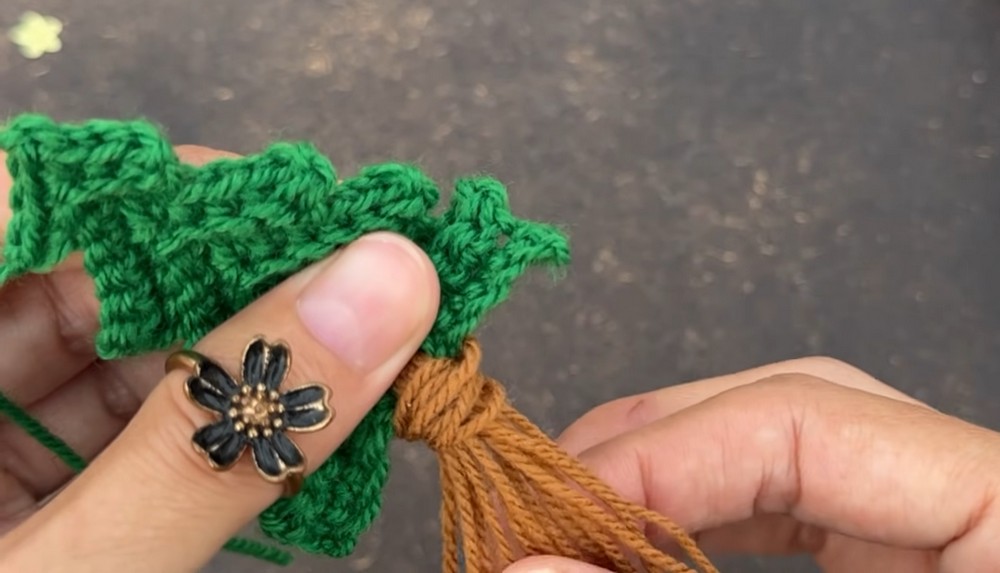
The trunk gives the ornament its final tree-like appearance. Short strands of brown yarn create a small tassel at the bottom.
- Prepare the strands. Cut several short lengths of brown yarn. Keep them long enough to fold in half and trim after attachment.
- Find the bottom center. Identify the center of the tree’s lower edge.
- Insert the hook. Push the hook through the selected stitch or space at the base.
- Attach the yarn. Fold one brown strand in half, catch its folded loop with the hook, and pull it through the selected space.
- Secure the strand. Pass the loose ends through the folded loop and pull gently to create a lark’s head knot.
- Repeat as needed. Add strands until the trunk looks suitably full.
- Trim evenly. Cut the brown ends to a neat, compact length.
Check the result: The trunk should sit at the bottom center rather than leaning toward one side. Avoid pulling so tightly that the green fabric bunches.
Decorating Ideas for Your Finished Tree
Choose a simple green tree for a traditional Christmas look, or use glitter yarn to catch the light. Small embroidered French knots can resemble colorful lights, while carefully sewn sequins add sparkle.
This little ornament can decorate a Christmas tree, brighten a handmade gift tag, or join a festive garland. Make several in complementary colors for a coordinated holiday display.