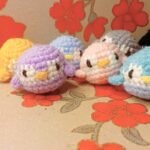
Bring a tiny crochet penguin to life with a rounded body, bright yellow feet and beak, and a sweet white face patch-all finished in miniature amigurumi style.
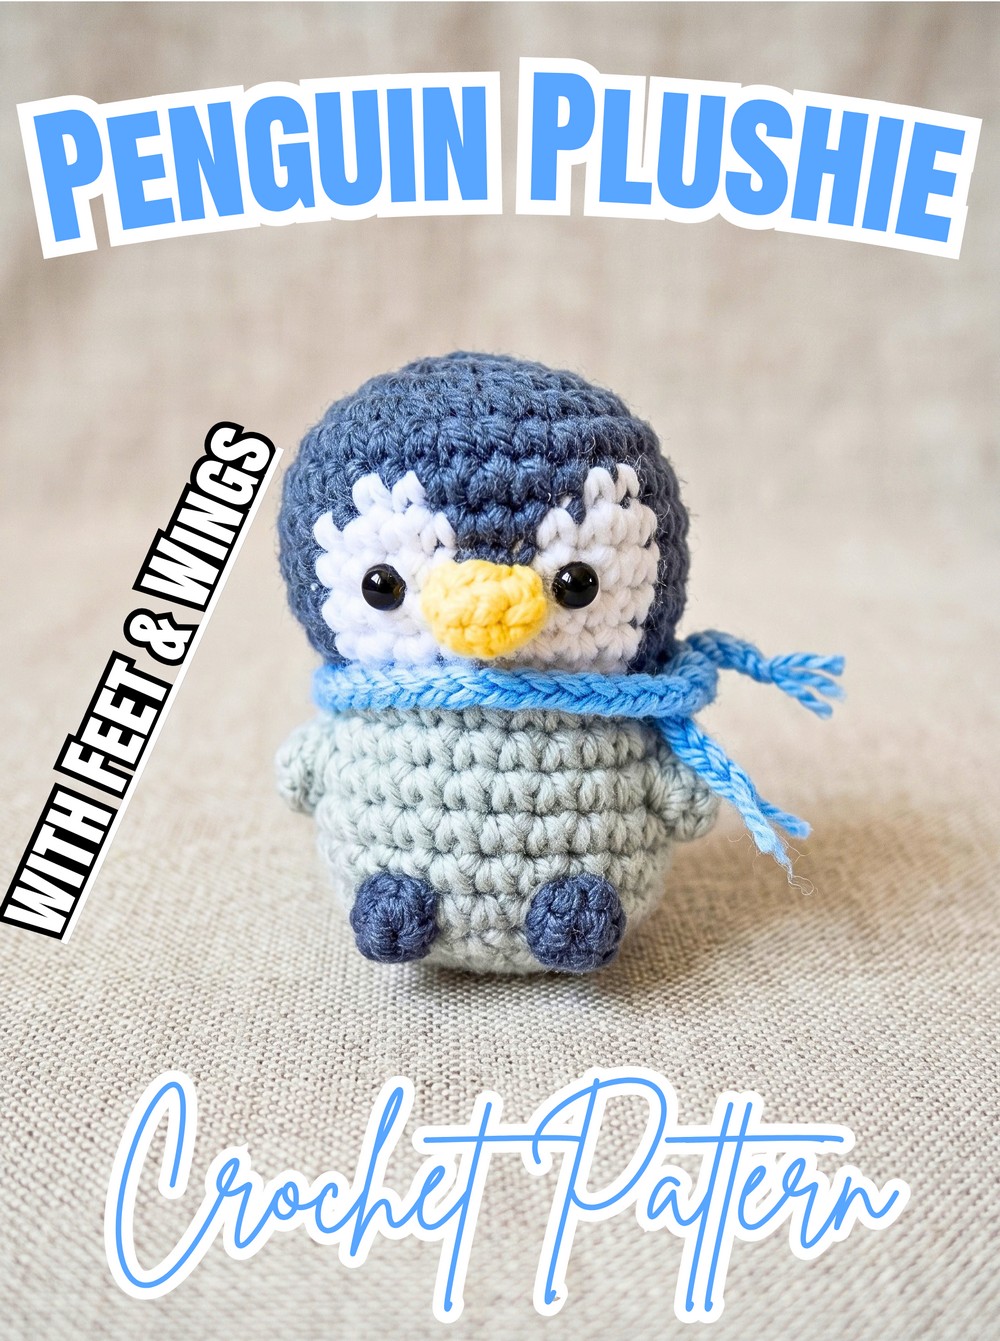
Round, soft shaping gives this crochet penguin its adorable little silhouette, while the white face patch and yellow details make its features stand out. It is small enough to display anywhere or give as a handmade gift.
Designed for an easy crochet experience, this pattern uses simple increases, decreases, color changes, and integrated popcorn-stitch feet and wings. You’ll learn how to shape the head and body, add the facial details, and finish the crochet penguin neatly.
Credit Tedzukurida
Materials & Tools Needed
- Yarn:
- 4-ply Milk Cotton Yarn in Dark Gray for the main head and body
- White for the face and belly color patch
- Light Gray for the lower body section
- Yellow for the beak and feet
- Blue, optional, for a decorative scarf
- Crochet Hook: 3.0 mm or 3.5 mm
- Safety Eyes: 6 mm or 5 mm
- Stitch Marker: To keep track of rounds
- Notions: Yarn needle, scissors, and fiberfill stuffing
Finished Size & Customization Ideas
Using 4-ply milk cotton yarn with a 3.0 mm hook, the finished penguin measures approximately 3.5 to 4 inches tall.
For extra personality, add a matching mini-scarf in blue, pink, or red yarn using simple half double crochets. Pastel yarn colors can also give the little penguin a softer decorative plushie look.
Pattern Abbreviations & Terminology
- Rnd / Row: Round or Row
- ch: Chain
- sc: Single Crochet
- hdc: Half Double Crochet
- inc: Increase – work 2 single crochets into the same stitch
- dec: Decrease – work 2 single crochets together as one stitch
- sl st: Slip Stitch
- st(s): Stitch(es)
- FO: Fasten Off
- […]: Repeat instructions inside the brackets for the specified number of times

How to make a crochet Head
Begin with Dark Gray yarn and work the head in rounds, adding the white face patch as the shape develops. Keep your stitch marker in place so the round sequence stays easy to follow.
Rnd 1: Using Dark Gray yarn, start with a magic ring and work 6 sc. Pull tight to close. (6 sts)
Rnd 2: Work an inc in every stitch around. (12 sts)
Rnd 3: Work [1 sc, inc] repeated 6 times around. (18 sts)
Rnd 4: Work [1 sc, inc, 1 sc] repeated 6 times around. (24 sts)
Rnd 5: Work [3 sc, inc] repeated 6 times around. (30 sts)
Rnd 6: Dark Gray 12 sc, switch to White for 2 sc, switch to Dark Gray for 4 sc, switch to White for 2 sc, switch to Dark Gray for 10 sc. (30 sts)
Rnd 7: Dark Gray 11 sc, White 4 sc, Dark Gray 2 sc, White 4 sc, Dark Gray 9 sc. (30 sts)
Rnd 8: Repeat the same color pattern as Round 7: Dark Gray 11 sc, White 4 sc, Dark Gray 2 sc, White 4 sc, Dark Gray 9 sc. (30 sts)
Rnd 9: Dark Gray 11 sc, White 10 sc, Dark Gray 9 sc. (30 sts)
Rnd 10 (Decreasing and Transition): Dark Gray: [3 sc, dec] x 2, 1 sc; White: [2 sc, dec, 3 sc, dec, 1 sc]; Dark Gray: [2 sc, dec, 3 sc, dec]. (24 sts)
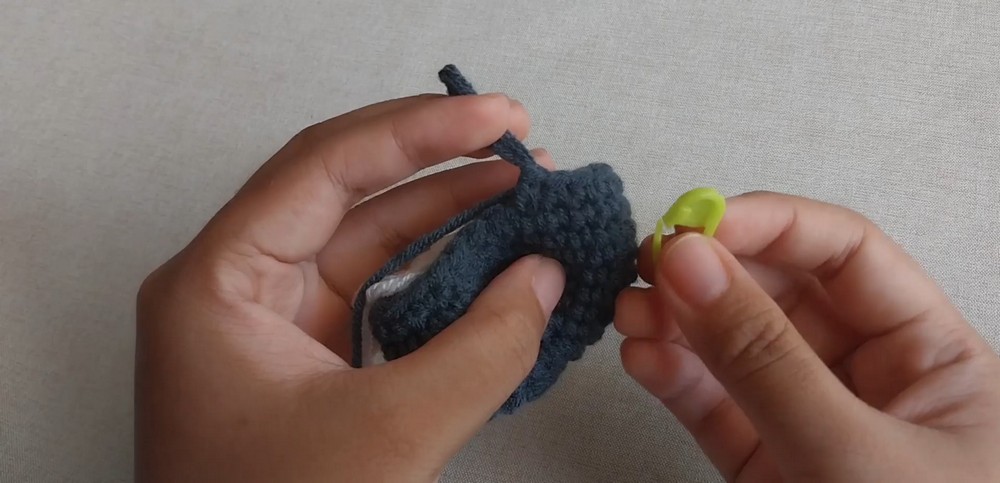
Rnd 11 (Shape Tapering): Dark Gray: [2 sc, dec] x 2, 1 sc; White: [1 sc, dec, 2 sc, dec, 1 sc]; Dark Gray: [1 sc, dec, 2 sc, dec]. (18 sts) Leave the final loop of the last decrease incomplete to switch smoothly into Light Gray yarn for the body.
Body & Feet
The lower section continues directly from the head. The yellow popcorn stitches create the feet within the round, so there is no separate foot piece to sew on later.
Rnd 12: Switch to Light Gray yarn and work [2 sc, inc] repeated 6 times around. (24 sts)
Rnd 13: Work 1 sc in each stitch all the way around. (24 sts)
Rnd 14 (Feet Integration): Work 8 sc, 1 popcorn stitch using yellow yarn or matching foot color for the first foot, 10 sc, 1 popcorn stitch for the second foot, finish with 4 sc. (24 sts)
Rnd 15: Work 1 sc in each stitch all the way around. (24 sts)
Rnd 16: Work 1 sc in each stitch all the way around. (24 sts)
Add the Integrated Wings
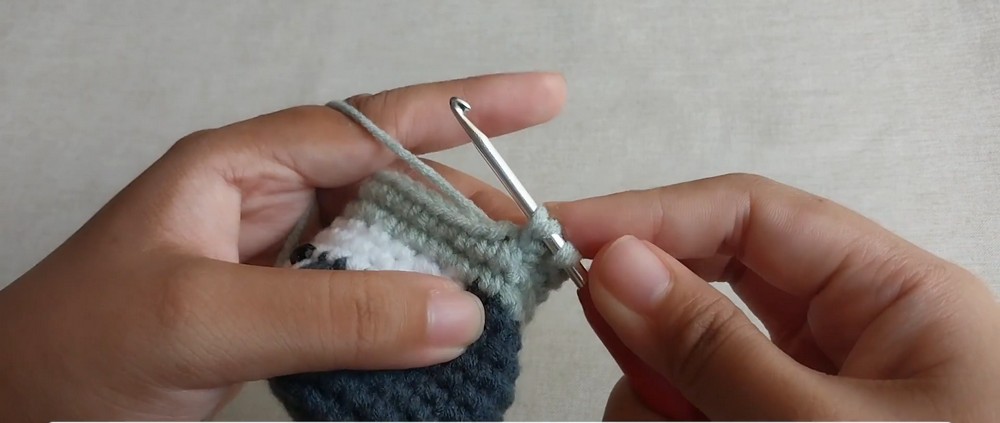
The next round introduces the Dark Gray popcorn stitches that form the penguin’s small arms or wings.
Rnd 17 (Arm / Wing Details): Work 12 sc, switch to Dark Gray for 1 popcorn stitch (first arm), work 3 sc in Light Gray, switch to Dark Gray for 1 popcorn stitch (second arm), finish the round with 7 sc in Light Gray. (24 sts)
Continue shaping the lower body with decreases.
Rnd 18: Work 1 sc, 1 dec, [1 popcorn stitch], 1 sc, 1 dec, [2 sc, dec] repeated 4 times, finish with 1 sc. (18 sts)
Rnd 19: Work [1 sc, dec] repeated 6 times around. (12 sts)
Stuff and Close
Before the final decrease round, fill both the head and lower body firmly with fiberfill. Add the stuffing gradually and make sure the shape remains rounded rather than lumpy.
Rnd 20: Work [dec] repeated 6 times around. (6 sts)
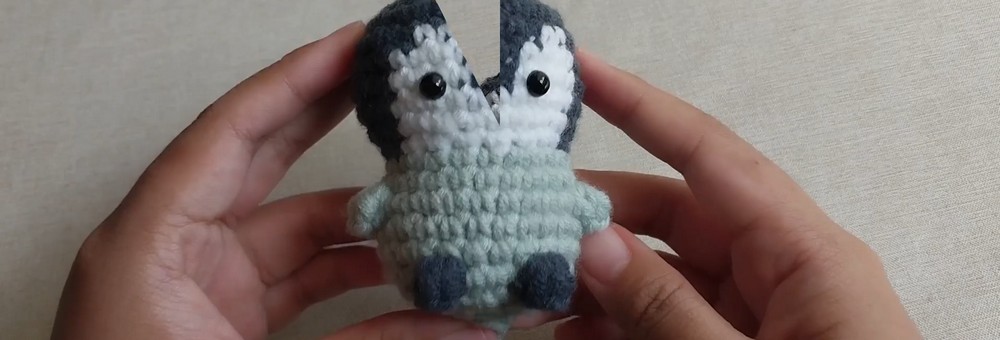
Closure: Fasten off, leaving a short yarn tail. Use your yarn needle to weave through the front loops of the remaining 6 stitches, pull tight to cinch closed, and weave in the remaining tail securely inside the body.
Crochet Beak
Use Yellow yarn to make the small beak that will sit between the penguin’s eyes.
Rnd 1: Using Yellow yarn, start by chaining 3 sts.
Rnd 2: Working into the second chain from the hook, work 1 sc, 1 inc in the next chain, and 2 sc in the final chain. (5 sts)
Rnd 3: Work 1 sc in each stitch all the way around. (5 sts)
Finishing: Fasten off, leaving a long tail for sewing.
Add the Face Details
Placement matters here because the white face patch provides the visual center for both the eyes and beak.
Eyes Placement: Insert the 6 mm safety eyes between Rnd 8 and Rnd 9 of the head, centering them symmetrically within the white face patch with approximately 4 stitches of space between them. Secure the backings firmly on the inside before stuffing.
Beak Attachment: Position the yellow beak precisely in the center of the face, right between the safety eyes. Sew it securely using the long yarn tail left from the beak, then knot and hide any remaining threads inside the head.

Optional Mini Scarf
Give your finished penguin an extra pop of color with a tiny scarf. Blue, pink, or red yarn works well, and simple half double crochets are enough to create the small accessory.
Wrap the scarf around the neck once the penguin is fully finished, adjusting the length so it sits neatly without covering the face or wings.
Your crochet penguin is now complete, with its feet and wings worked directly into the body for a tidy finish and minimal sewing.