Meet a tiny crochet Miffy with built-in popcorn arms and feet, plus a simple no-sew finish that keeps this adorable bunny quick to assemble.
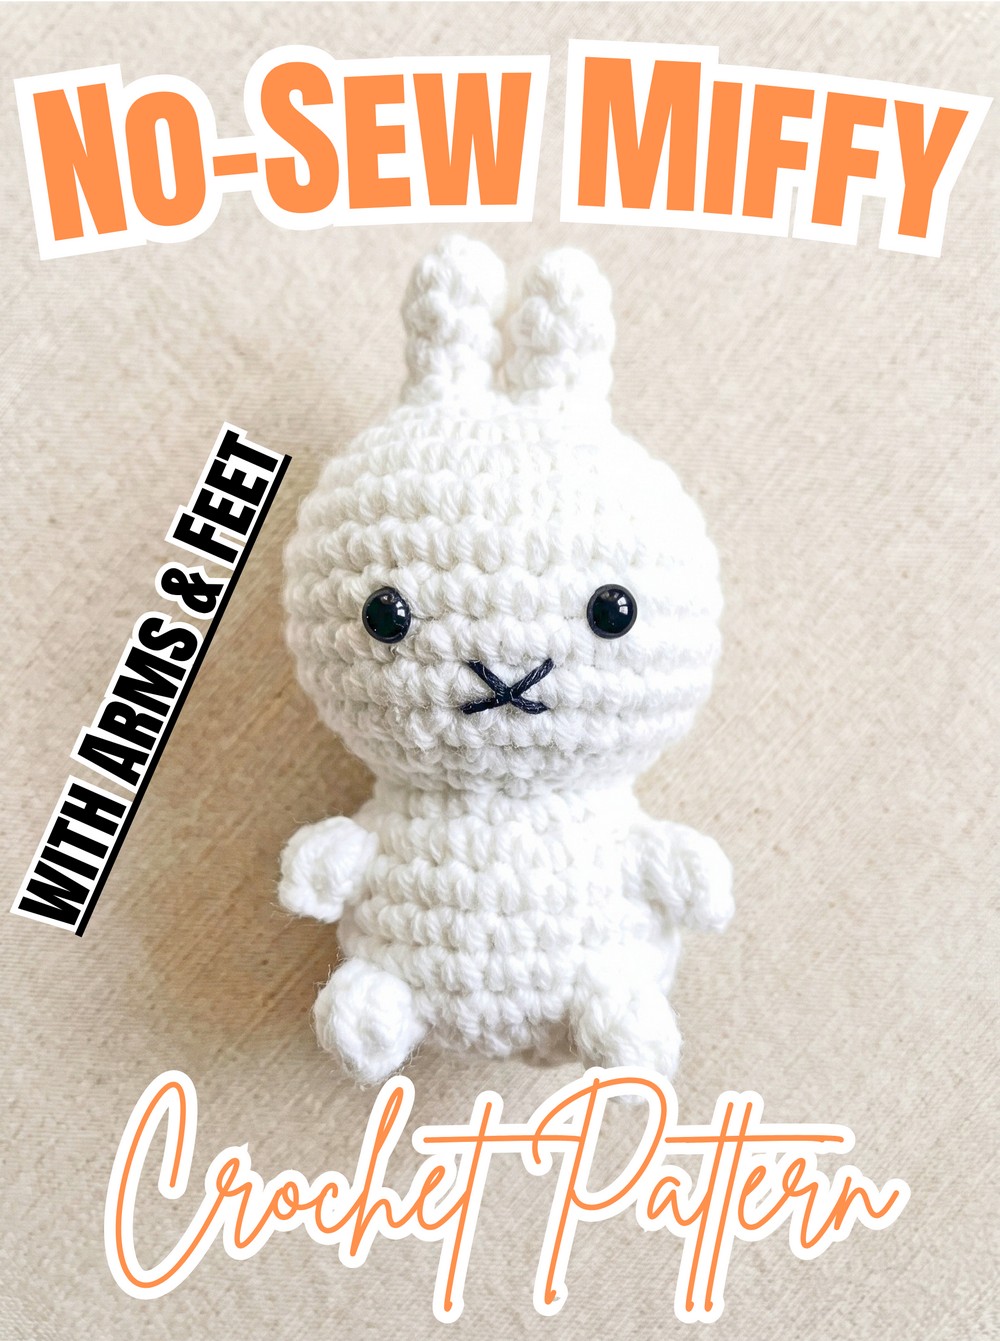
Bunny details come together neatly in this Crochet Miffy Amigurumi, with the ears joined directly to the head and tiny popcorn stitches forming the arms and feet. Its compact size makes it lovely for gifting or keeping nearby.
Beginners can follow the continuous-round crochet pattern with clear stitch counts, facial placement, stuffing guidance, and finishing instructions. You can also change the outfit color from Round 18 or use plush yarn for a softer version.
Credit Tedzukurida
Materials & Tools Needed
- Yarn: White milk cotton yarn, 4-ply
- Black thread or yarn: For embroidering the face
- Crochet Hook: 3.00–3.50 mm
- Safety Eyes: 6 mm
- Stitch marker
- Yarn needle
- Fiberfill stuffing
- Scissors
For a different look, change the yarn color from Round 18 to create a little dress or sweater. A tiny crocheted flower or bow can also be added to one ear. Velvet or chenille yarn with a larger hook can give the bunny a softer, plush feel.
Finished Size & Crochet Terms
This Miffy measures approximately 10-12 cm tall, although the final size can vary with yarn weight and hook size.
Abbreviations
- st(s) = stitch(es)
- sc = single crochet
- inc = increase, 2 sc in the same stitch
- dec = decrease, preferably an invisible decrease
- FLO = front loop only
- BLO = back loop only
- dc = double crochet
- sl st = slip stitch
- Rnd(s) = round(s)
- Popcorn stitch: Work 5 dc in the same stitch, remove the working loop from the hook, insert the hook from front to back through the first dc of the group, grab the working loop, and pull it through.

Crochet Miffy Amigurumi Pattern
Make the Ears
You will make two narrow ears first. The second ear stays attached to the working yarn because it will be joined directly to the first ear when you begin the head.
Rnd 1: Start with a magic ring and work 6 sc into the ring; place your stitch marker into the last stitch so you can continue in continuous spiral rounds. (6 sts)
Rnds 2–4: Work 1 sc in each st around for 3 rounds. (6 sts)
For the first ear, cut the yarn, fasten off, and weave the short tail inside the ear.
For the second ear, keep the yarn attached after Round 4. This working strand will immediately become the yarn used to join both ears.
Join the Ears and Shape the Head
The next round connects the two finished ears, so keep them positioned beside each other before beginning. From here, the head grows directly from that joined base.
Rnd 5: Working from the second ear, crochet 6 sc around the second ear, then immediately work 6 sc around the first ear; place your stitch marker at the end of the round. (12 sts)
Rnd 6: [1 sc, 1 inc] repeat 6 times. (18 sts)
Rnd 7: [2 sc, 1 inc] repeat 6 times. (24 sts)
Rnd 8: [3 sc, 1 inc] repeat 6 times. (30 sts)
Rnds 9–13: Work 1 sc in each st around for 5 rounds. (30 sts)
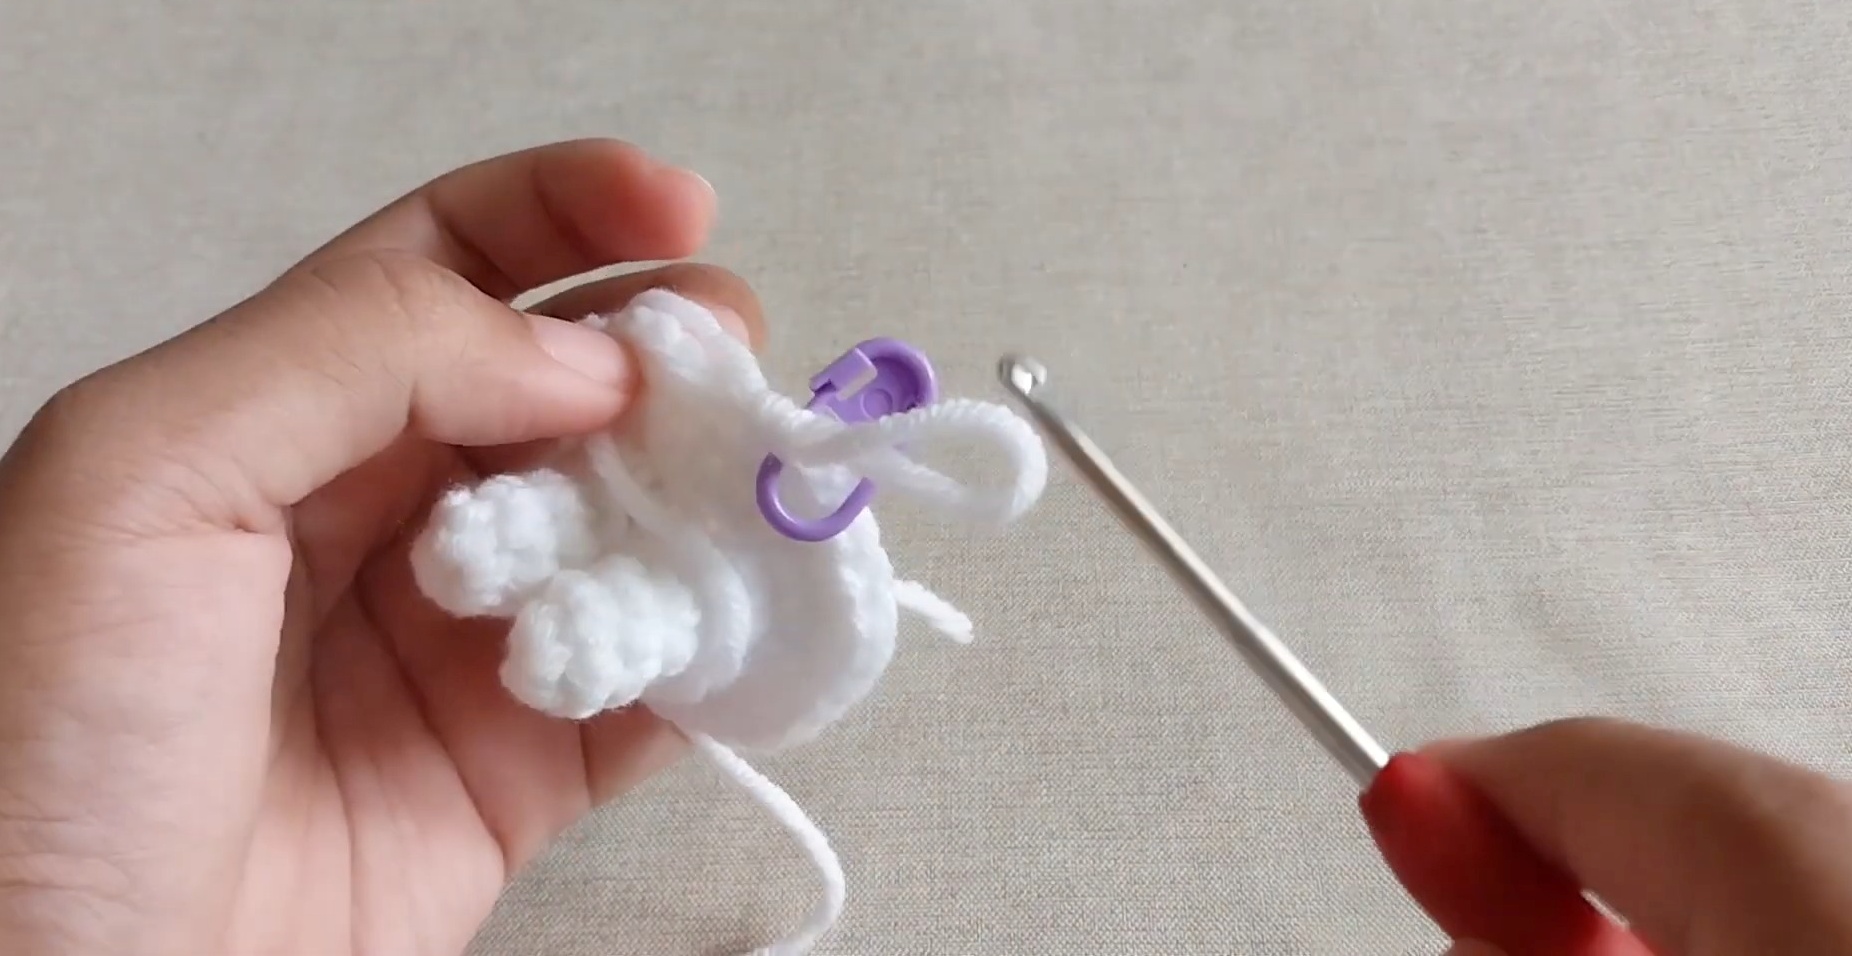
Add the Face and Begin the Body
Before the head narrows, place the safety eyes so their position can be checked while the stitches are still easy to access.
Rnd 14: [3 sc, 1 dec] repeat 6 times. (24 sts)
Rnd 15: [2 sc, 1 dec] repeat 6 times. (18 sts)
Rnd 16: [4 sc, 1 dec] repeat 3 times. (15 sts)
Insert the 6 mm safety eyes between Rnds 11 and 12, leaving approximately 4 stitches between them, then secure the backings firmly.
Rnd 17: Working in FLO only, [4 sc, 1 inc] repeat 3 times. (18 sts) Keep the unworked back loops exposed because they will later be used to close the base.
Rnd 18: [2 sc, 1 inc] repeat 6 times. (24 sts)
If you want to add a colored dress or sweater, this is the round where you can change from white yarn to your chosen outfit color.

Shape the Arms and Feet
Miffy’s little limbs are made directly into the body with popcorn stitches, so there is no need to crochet and sew separate arms or feet.
Rnd 19: 9 sc, work 1 popcorn st for the first arm, 8 sc, work 1 popcorn st for the second arm, 5 sc. (24 sts)
Rnds 20–21: Work 1 sc in each st around for 2 rounds. (24 sts)
Rnd 22: 11 sc, work 1 popcorn st for the first foot, 5 sc, work 1 popcorn st for the second foot, 6 sc. (24 sts)
Rnd 23: [1 sc, 1 dec] repeat 8 times. (16 sts)
At this stage, firmly stuff the head and upper body with fiberfill. Add the stuffing gradually rather than filling everything at once, checking the shape as you go so the bunny stays rounded and firm without becoming overly stretched.
Rnd 24: [2 sc, 1 dec] repeat 4 times. (12 sts)
Rnd 25: Work 6 dec. (6 sts)
Cut the yarn, leaving a long tail for closing.

Finish the Head and Body
Thread the remaining yarn tail onto a yarn needle. Weave it through the front loops of the final 6 stitches, then pull firmly to close the opening completely. Bring the remaining tail inside the body and hide it securely.
The lower base is closed separately using the back loops that were deliberately left unworked in Round 17. Take a separate strand of white yarn or use the remaining tail from Round 17, pick up those exposed BLO stitches, and sew across the opening to flatten and seal the base.
Add Miffy’s Face
Use a short length of black embroidery thread or thin black yarn for the mouth. Center it between the safety eyes and embroider Miffy’s recognizable vertical-and-horizontal X-shaped mouth.
Secure the thread and hide the knots inside the body. Give the ears a final gentle adjustment so they sit neatly, then check that the eyes, facial stitching, and base are secure.

Your little Miffy is ready with her ears, popcorn arms and feet, and clean continuous finish. Make several in different colors, or change the yarn from Round 18 for a simple outfit variation.