
Here, soft yellow chenille yarn becomes an adorable crochet puppy with a tiny brown beret, bobble details, and rosy cheeks, guided through beginner-friendly shaping and assembly.

Chenille yarn gives this crochet puppy its cuddly look, while bobble stitches add playful texture to its little body. Beginners can follow the crochet shaping in manageable rounds without needing complicated color changes.
This crochet tutorial covers body and head shaping, matching ears, a brown beret, and sweet facial details. Clear round counts and finishing guidance help you bring your crochet puppy together with confidence.
Credit Odinka Studio
Credit Odinka Wisanindhi
Materials & Tools
- Yarn: Fine chenille yarn in light yellow for the body, head, and ears, plus dark brown for the beret.
- Crochet Hook: 2.2 mm or size 3/0.
- Safety Eyes: For the puppy’s face.
- Polyester Fiberfill: To shape the head and body.
- Stitch Markers: To track round beginnings.
- Tapestry Needle: For sewing and weaving in yarn ends.
- Scissors: For trimming yarn.
- Pink Blusher or Makeup: For adding rosy cheeks.
- Small Brush: To apply the cheek color gently.
Finished Size & Customization
This amigurumi puppy is designed to fit comfortably in your palm. Its exact size depends on your yarn thickness, hook, and stitch tension.
For a personalized look, choose a pastel shade for the beret or adjust the safety-eye placement slightly to change the puppy’s expression. Keep the light-yellow body for its recognizable Pompompurin-inspired appearance.
Pattern Abbreviations
- st(s): Stitch(es)
- ch: Chain
- sc: Single crochet
- inc: Increase; work 2 single crochets in the same stitch
- dec: Decrease; work 2 single crochets together
- bobble (5 dc): Bobble stitch made with 5 double crochets in the same stitch
- FLO: Front loops only
- BLO: Back loops only
- sl st: Slip stitch
- Rnd: Round

Step-by-Step Crochet Pattern
Step 1: Begin the Body with Light Yellow Yarn
Start with a foundation chain to create the puppy’s lower body. Unlike a basic circular start, this opening uses both sides of the chain to form an oval base.
Round 1: Ch 6. Starting from the second chain from the hook, work 1 sc, then 4 sc, 3 sc in the last chain stitch. Along the opposite side of the foundation chain, work 3 sc and finish with an inc in the final stitch. Total: 12 stitches.
Round 2: Work an inc, sc 3, inc 3 times, sc 3, then inc 2 times. Total: 18 stitches.
Teaching tip: Keep the foundation chain flat while working along its opposite side. Twisting the chain can distort the oval and make later rounds harder to follow.
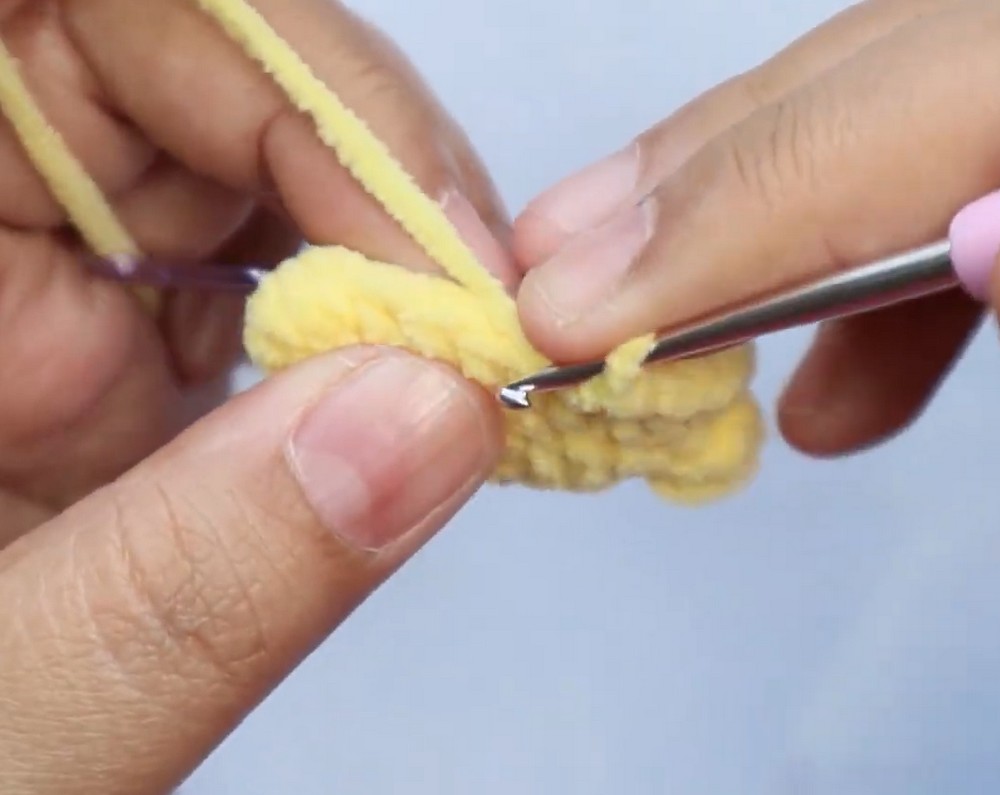
Step 2: Add the First Bobble Details
Bobble stitches create raised accents that give the puppy’s body its distinctive textured appearance.
Round 3: Work sc 3, bobble (5 dc), sc 8, bobble (5 dc), then sc 5. Total: 18 stitches.
For each bobble, work 5 double crochets into the same stitch according to your chosen bobble technique, keeping the stitch grouped together to form one raised detail.
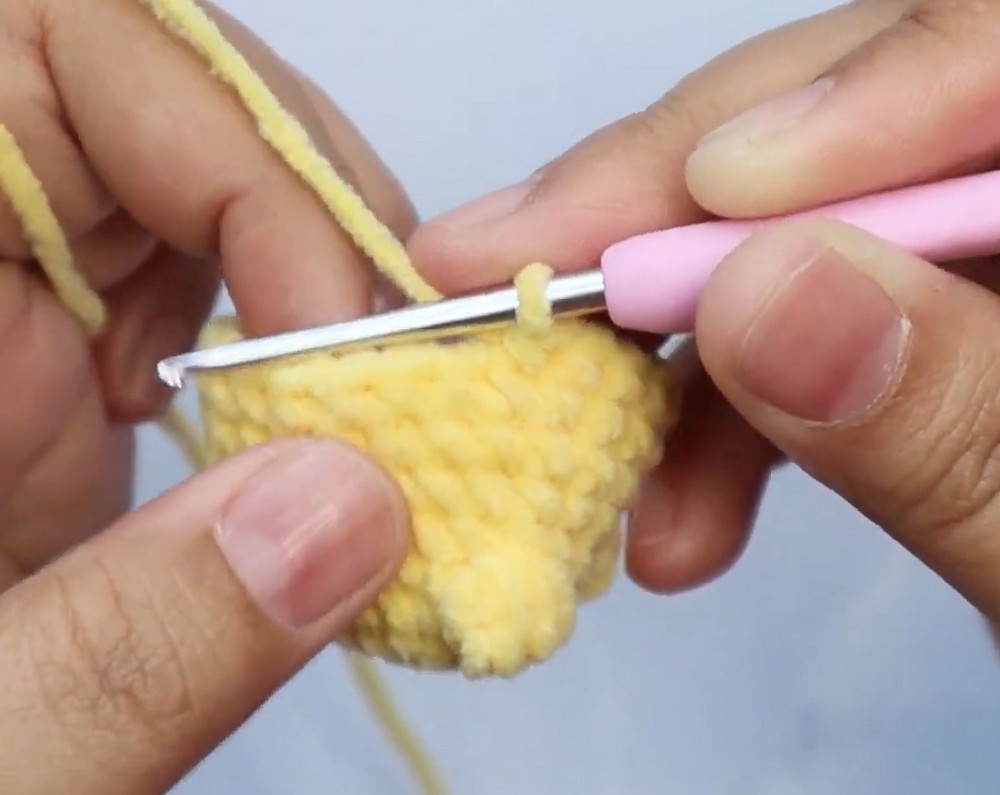
Round 4: Work (sc, inc), sc 3, repeat (sc, inc) 3 times, sc 3, then repeat (sc, inc) 2 times. Total: 24 stitches.
Round 5: Work sc 5, bobble (5 dc), then sc 18. Total: 24 stitches.
The raised details should remain visible on the outer surface. Keep your bobbles consistent so they look balanced rather than stretched or flattened.
Step 3: Build the Body and Add More Texture
Rounds 6-7: Work sc around in every stitch. Total: 24 stitches per round.
These even rounds establish the body’s height between the decorative sections.
Round 8: Work sc 13, bobble (5 dc), sc 6, bobble (5 dc), then sc 3. Total: 24 stitches.
Result check: The body should have a rounded outline with raised bobble details visible on its surface. If the texture looks crowded, check that each bobble occupies its intended stitch.
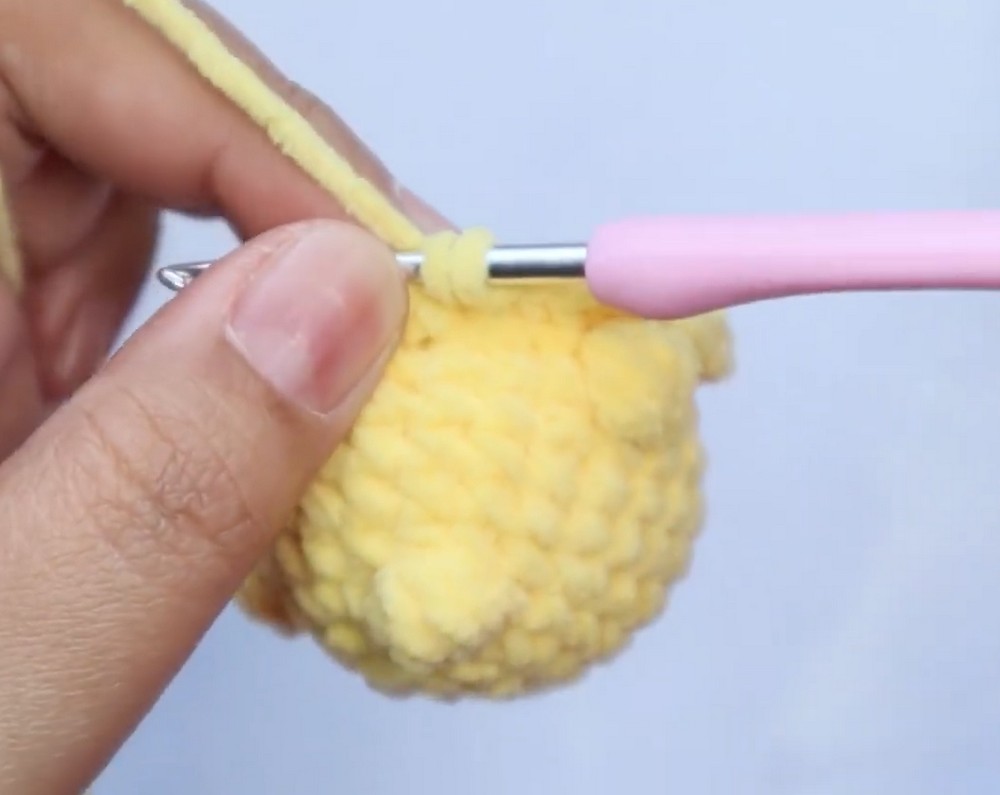
Step 4: Shape and Stuff the Lower Body
The next round begins narrowing the lower section before the upper head is expanded.
Round 9: Work (sc, dec), sc 3, repeat (sc, dec) 3 times, sc 3, then repeat (sc, dec) 2 times. Total: 18 stitches.
Add polyester fiberfill to the lower body now. Distribute it evenly, using small amounts at a time to prevent lumps.
Helpful tip: Keep stuffing firm enough to support the shape, but avoid stretching the chenille stitches until gaps appear.
Step 5: Expand the Head
The front-loop increase round creates a wider section for the puppy’s head.
Round 10: Work an increase in every front loop around. Total: 36 stitches.
Rounds 11-17: Work sc around in every stitch. Total: 36 stitches per round.
Keep the rounds even as the head develops. Chenille yarn can conceal individual stitches, so use your stitch marker and count carefully rather than relying only on appearance.
Eye placement: Insert safety eyes between Rounds 14 and 15, approximately 6 stitches apart.
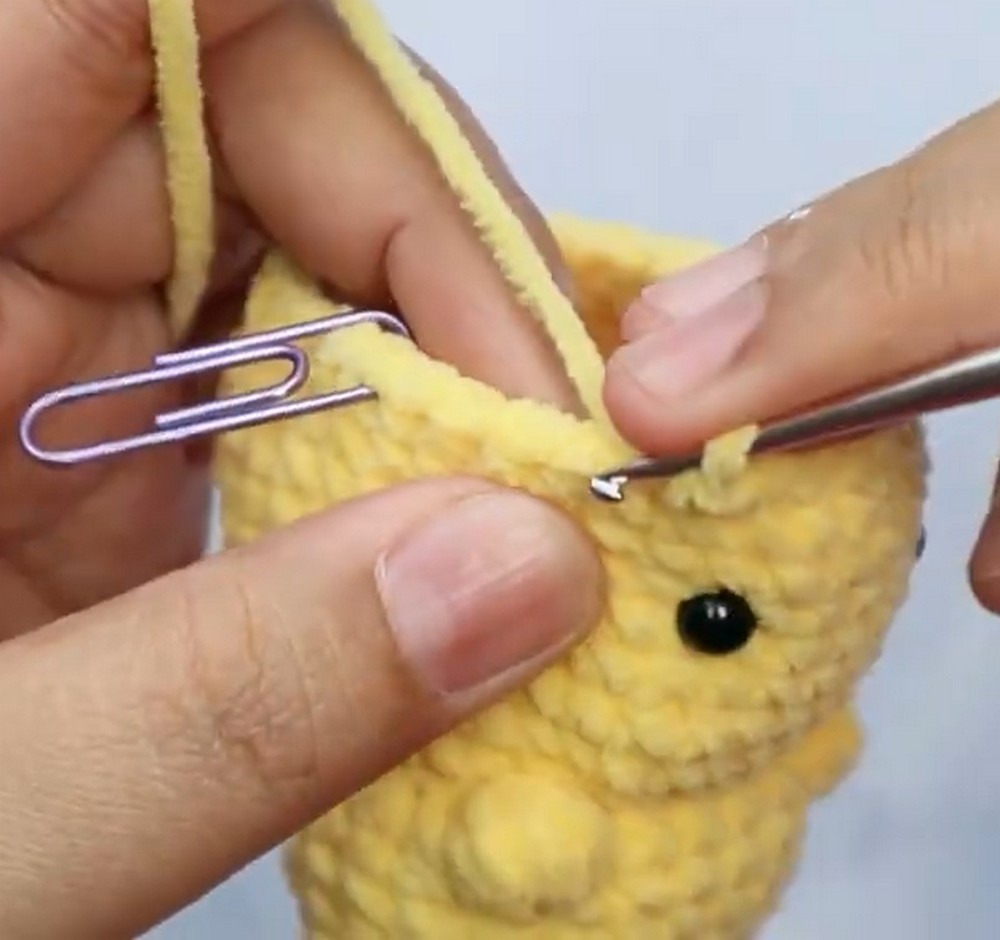
Before securing the backs, look at the face from the front to check that both eyes sit level. Safety eyes are difficult to remove after their washers are attached.
Step 6: Close the Head Gradually
Decrease rounds bring the wide head toward its final closed shape.
Round 18: Repeat (sc 4, dec) 6 times. Total: 30 stitches.
Round 19: Repeat (sc 3, dec) 6 times. Total: 24 stitches.
Add more fiberfill through the remaining opening to support the head.
Round 20: Repeat (sc 2, dec) 6 times. Total: 18 stitches.
Round 21: Repeat (sc, dec) 6 times. Total: 12 stitches.
Round 22: Repeat dec 6 times. Total: 6 stitches.
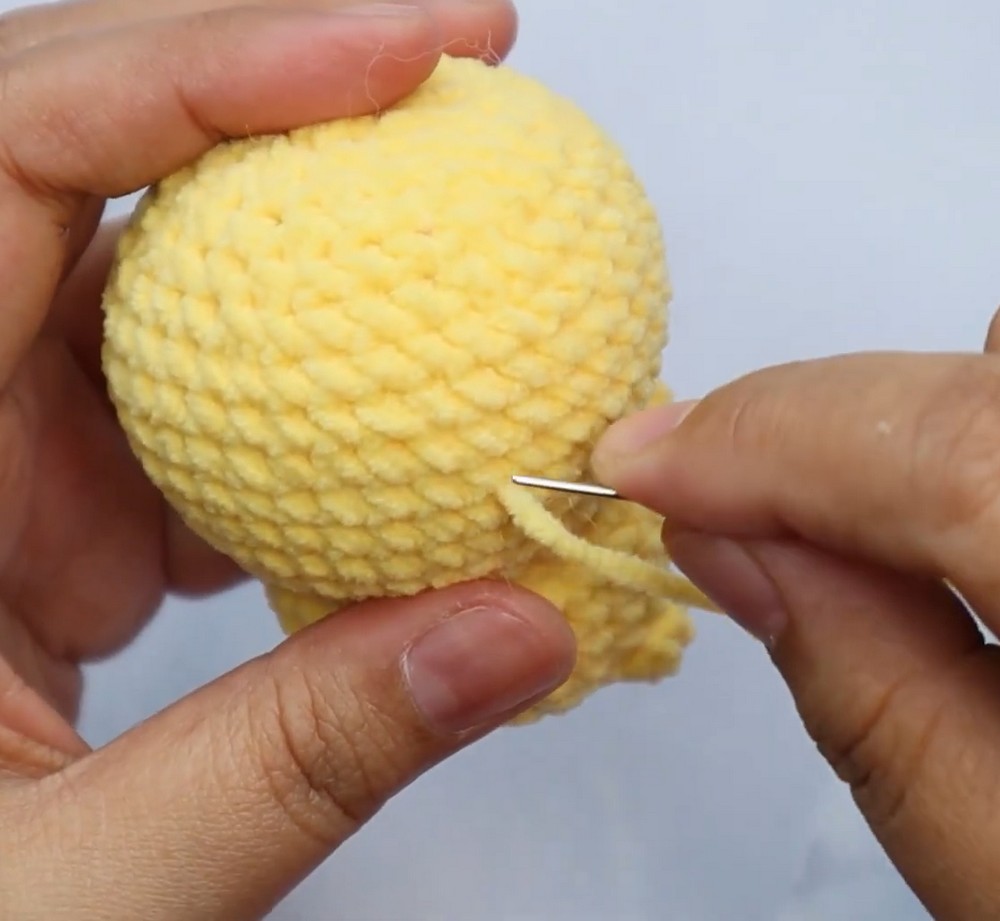
Cut the yarn, leaving a long tail. Thread it through the front loops of the remaining 6 stitches with a tapestry needle, then pull firmly to close the opening. Hide the yarn tail inside the finished piece.
Result check: The head should feel rounded and evenly stuffed, with no large opening or obvious gaps between stitches.
Step 7: Crochet Two Matching Ears
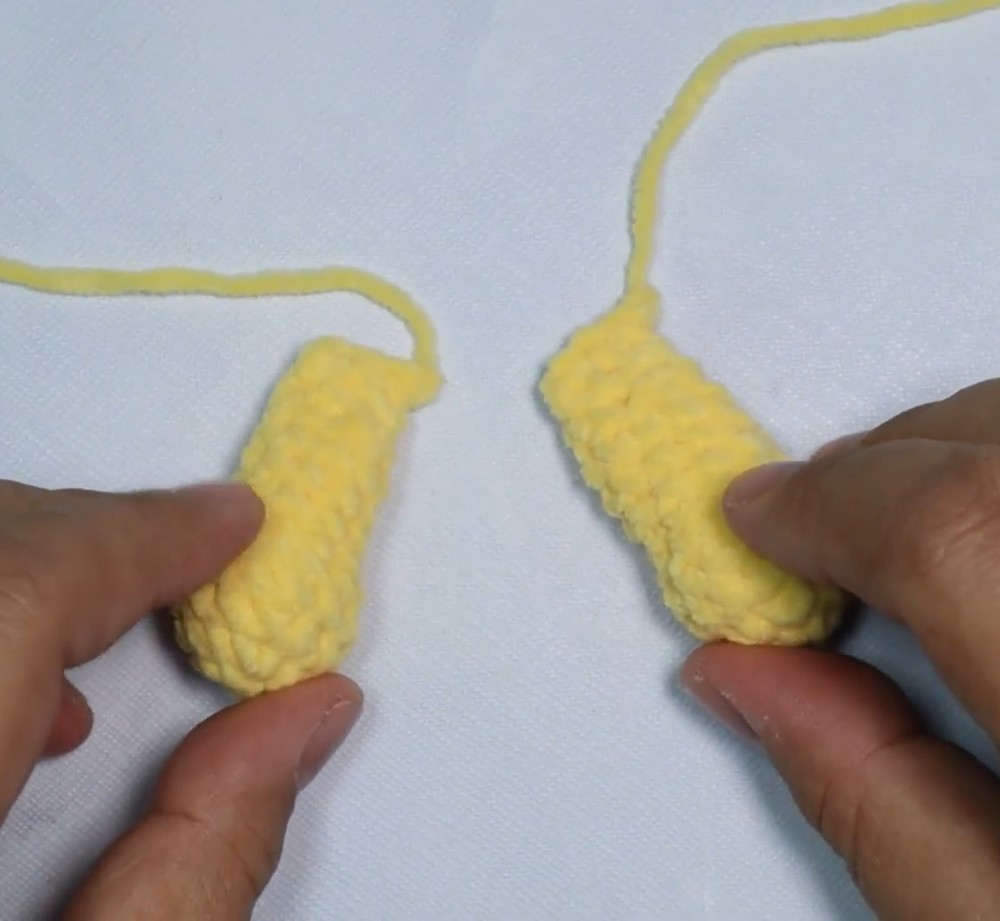
Use light-yellow chenille yarn for both ears. Each ear is worked in continuous rounds and gradually narrowed toward its tip.
Round 1: Make a magic ring and work 6 sc into it. Total: 6 stitches.
Round 2: Repeat inc 6 times. Total: 12 stitches.
Rounds 3-4: Work sc around. Total: 12 stitches per round.
Round 5: Repeat (sc 2, dec) 3 times. Total: 9 stitches.
Rounds 6-9: Work sc around. Total: 9 stitches per round.
Round 10: Repeat (sc, dec) 3 times. Total: 6 stitches.
Round 11: Work sc around. Total: 6 stitches.
Round 12: Flatten the open end of the ear and crochet through both sides across 3 matching stitches using sc. Total: 3 stitches.
Chain 1, cut the yarn, and leave a long tail for sewing. Repeat the complete instructions to make the second ear.
Helpful tip: Compare both ears before attaching them. Similar lengths and widths help the finished puppy look balanced.
Step 8: Crochet the Dark Brown Beret
The beret begins with a small center and expands outward into a rounded cap.
Round 1: Make a magic ring and work 6 sc into it. Total: 6 stitches.
Round 2: Work sc around. Total: 6 stitches.
Round 3: Work inc 6 times in the front loops only. Total: 12 stitches.
Round 4: Repeat (sc, inc) 6 times. Total: 18 stitches.
Round 5: Repeat (sc 2, inc) 6 times. Total: 24 stitches.
Round 6: Repeat (sc 3, inc) 6 times. Total: 30 stitches.
Round 7: Work sc around in the back loops only. Total: 30 stitches.
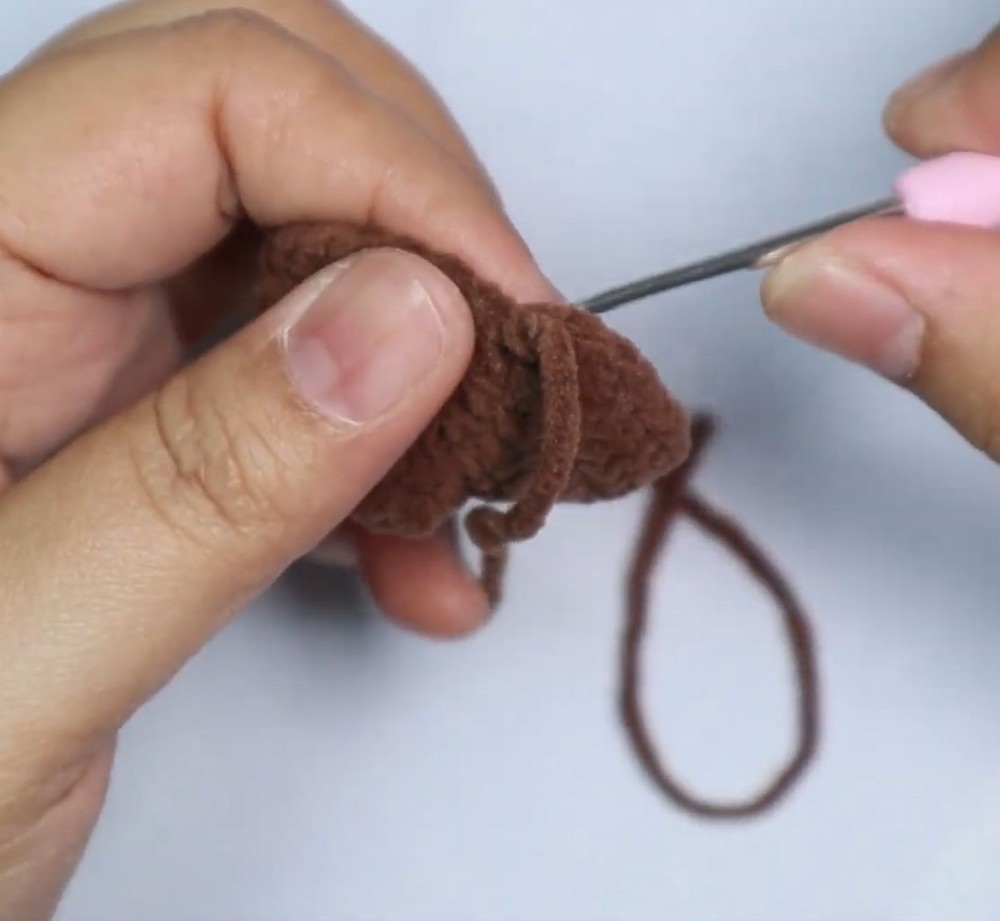
Finish with a slip stitch, cut the yarn, and leave a long tail for sewing.
Result check: The beret should have a rounded crown and a defined edge. Place it loosely on the head before sewing to check its position.
Step 9: Attach the Ears and Beret
Position both ears on opposite sides of the head and sew them securely between Rounds 19 and 20.
Use the long yarn tails left on the ears and a tapestry needle. Take small stitches through each ear’s flattened edge and the head, keeping the attachment snug without pulling the fabric out of shape.
Next, center the dark brown beret on top of the head between the ears. Sew around its base to secure it.
Placement check: View the puppy from the front and sides before finishing the seams. The ears should sit evenly, while the beret should look centered rather than tilted unintentionally.
Step 10: Embroider the Nose and Mouth
Use dark brown yarn to add the puppy’s facial expression.
Embroider a small nose and mouth centered on the face between Rounds 13 and 15. Work slowly with short stitches so the details remain neat against the light-yellow chenille.
Keep the nose centered between the eyes, and check its position before weaving in the yarn ends.
Step 11: Add Rosy Cheeks
Finish the face with a soft touch of pink blusher or makeup.
Using a small brush, gently apply color directly below each eye. Start with a very light amount and build the color gradually until both cheeks look balanced.
Finishing tip: Test the color on a discreet area first, especially if the toy will be handled frequently. Makeup may transfer or mark chenille yarn, so use sparingly.
Finishing Touches
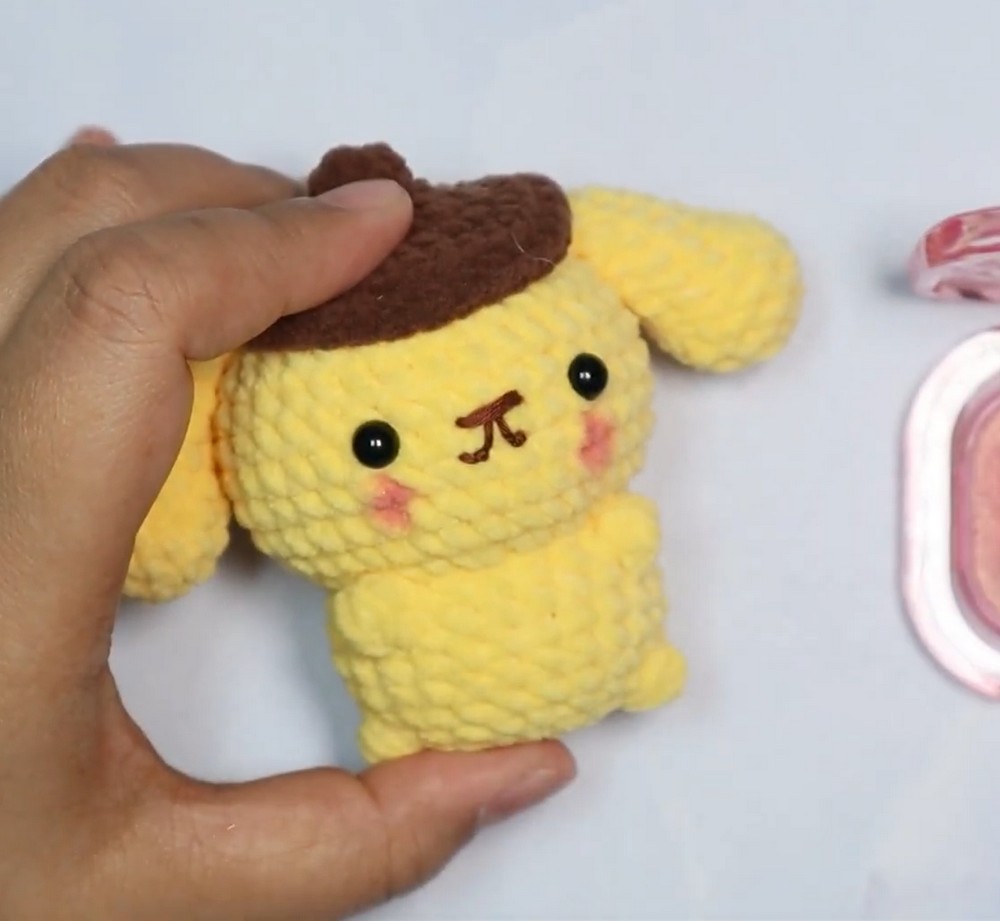
Check that all yarn tails are hidden, both ears are secure, and the beret is firmly attached. Smooth the chenille gently with your fingers to restore its fluffy appearance.
Your Pompompurin-inspired crochet puppy is now complete, with textured bobble details, matching ears, a tiny brown beret, and rosy cheeks. Display it as a handmade decoration or keep it as part of your amigurumi collection.


