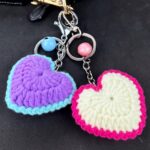
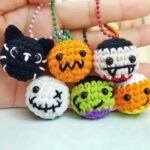
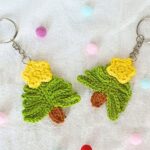
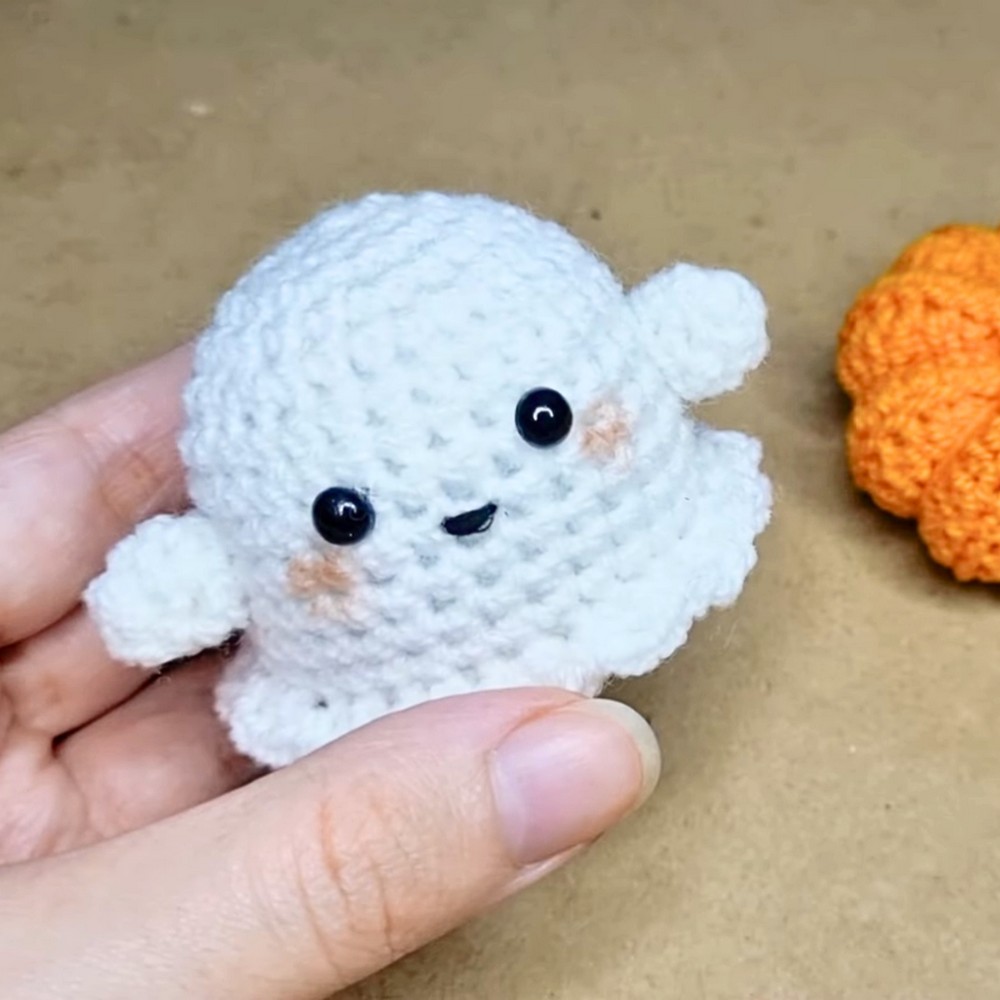
This adorable Crochet Ghost Keychain is spooky-season perfection! With its simple yet customizable design, beginners and seasoned crocheters alike can enjoy crocheting this tiny spectral buddy that’s cute, quirky, and versatile.
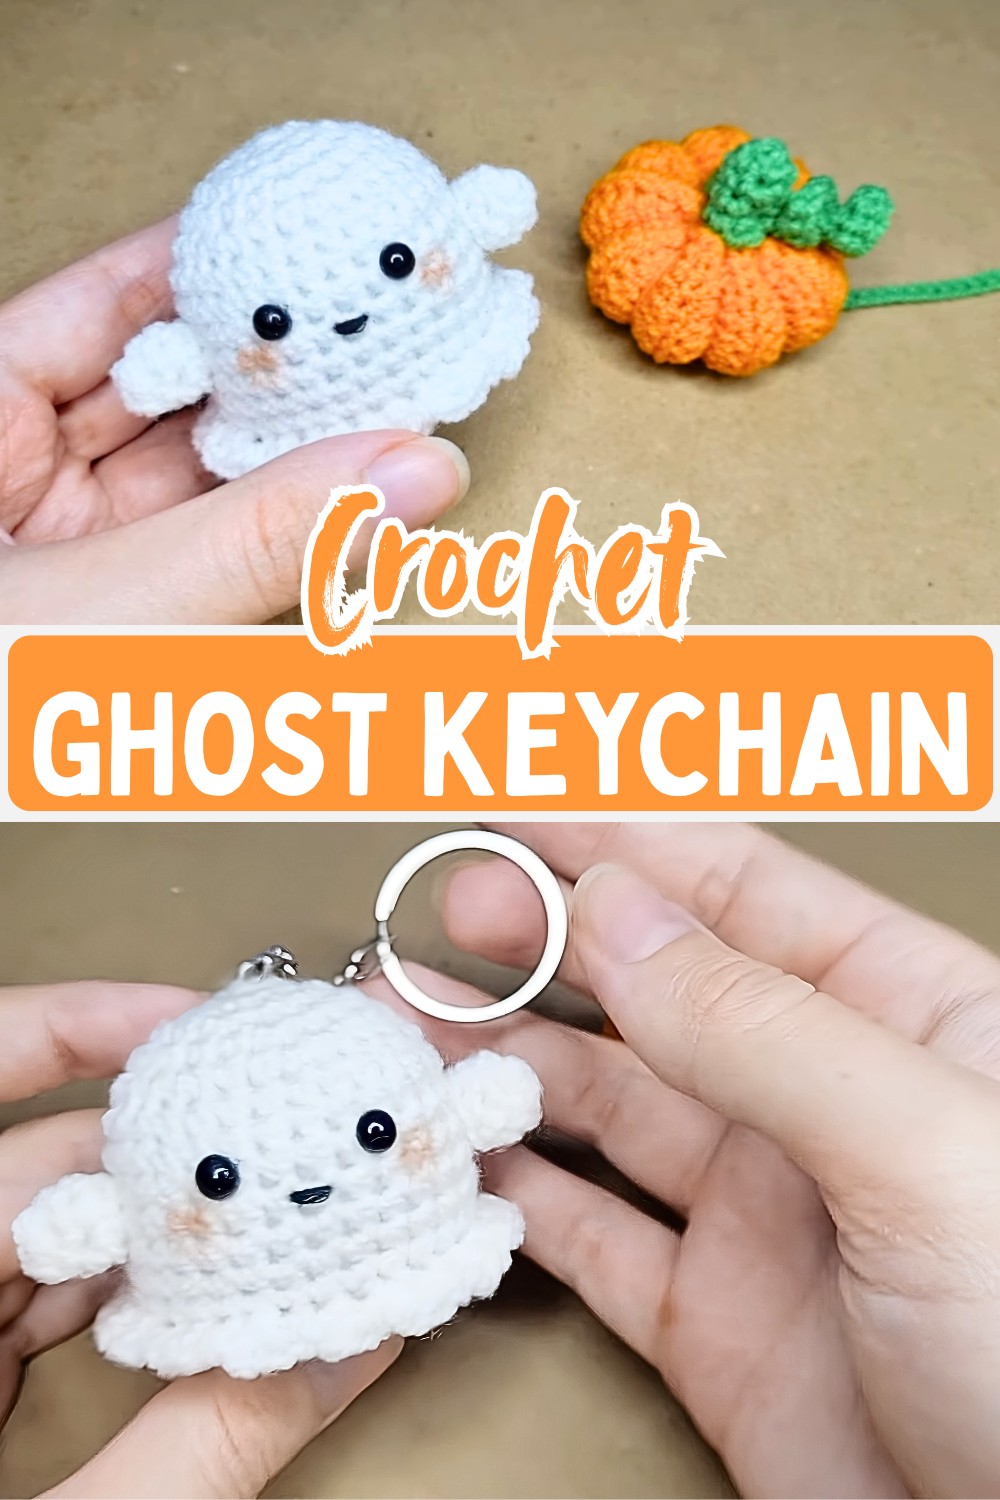
Crochet Ghost Keychain Tutorial
This cute crochet ghost is the perfect accessory for Halloween or any time you want a little spooky charm in your life! Whether it’s clipped to your backpack, hanging on your keys, or decorating your room, this handmade piece adds both fun and personality everywhere it goes. Its small size makes it portable while its adorable ghostly face guarantees smiles.
Practical Uses
Making this crochet ghost is a wonderful way to practice basic crochet techniques like magic rings, single crochets, and forming shapes. Beginners will love how straightforward the instructions are, while experienced crocheters can whip it up quickly. Once completed, you can use your creation in countless ways—attach it to a bag, gift it to a friend, or add it to your collection of festive decorations. You can even customize the face or colors to make it uniquely yours!
Credit Furry Yarn
Materials & Tools Needed
- Yarn: White yarn (acrylic or cotton) for the ghost and black yarn or embroidery floss for details; adjust the thickness based on your preference for ghost size.
- Crochet hook: Size suitable to your chosen yarn; typically, a 2.5mm or 3mm hook is perfect for tight stitches.
- Fiberfill stuffing: To give the ghost dimension.
- Safety eyes or black felt: For the ghost’s face.
- Glue or sewing needle: To attach embellishments like eyes and hands.
- Scissors: A sharp pair for clean cuts.
- Stitch markers: Helpful to track rows and increases.
- Gauge: Not crucial for this keychain, but tight stitches are recommended to avoid stuffing showing through.
Key Features of the Pattern
- Uses basic stitches like magic ring, single crochet (sc), and slip stitch (sl st).
- Constructed in the round for smooth shaping.
- Features seamless shaping for the ghost’s body using increases, decreases, and working in back loops.
- Makes tiny, detachable hands that add a playful touch.
- Embellishments like safety eyes and embroidered facial expressions personalize each ghost.
- Quick finishing steps include attaching keyring hardware for functionality.
Creating Your Crochet Ghost Keychain
This pattern is simple yet satisfyingly spooky! Begin with the magic ring—the foundation of your ghost’s plump figure. You’ll alternate between calm rows of single crochet and increasing rounds to shape the ghost’s curved belly. Then, you’ll work decreases to form the rounded top, which gives your ghost that adorable floating effect!
Once the base body is done, the keychain comes alive with details: small crochet “hands” are added, eyes are glued or stitched in, and an embroidered smile brings this ghostly cutie to life. Finish by sewing in your ends, attaching a keyring, and voilà—a tiny ghost buddy ready to haunt your crafts or accessorize your keys!
Step-by-Step Detailed Instructions
Ghost Body:
Steps:
- Magic Ring (Round 1)
- Create a magic ring. Insert your hook into the ring, chain 1, then make 6 single crochets (sc) into the ring.
- Pull the tail tight to close the ring and join the last sc to the first sc with a slip stitch (sl st).
- You now have 6 stitches in the round.
- Round 2: Increase
- Work 2 sc in each stitch around.
- This increases your stitch count to 12 stitches.
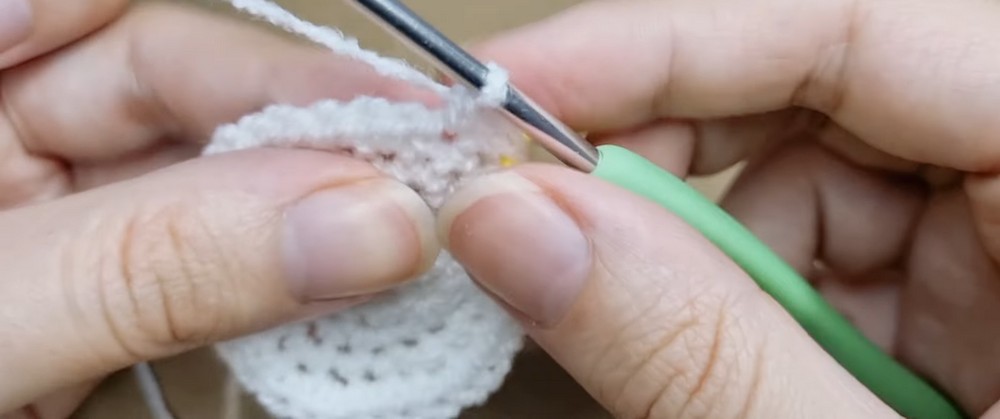
- Round 3: Alternating Increase
- Work 1 sc in the first stitch, then 2 sc in the next stitch. Repeat this pattern (1 sc, 2 sc) all the way around.
- At the end of the round, you should have 18 stitches.
- Rounds 4–11: Build the Body with Single Crochet
- Crochet 1 sc in each stitch around for 8 more rounds to shape the ghost’s main body.
- Remember to use a stitch marker to keep track of the starting stitch for each round.
- Rounds 12–13: Back Loop Only
- Work 1 sc in the back loop of each stitch for these two rounds.
- This provides a slightly textured ridge for the ghost’s bottom rim.
- Rounds 14–17: Decrease and Closing the Top
- Begin decreasing to shape the head:
- Round 14: Work 1 sc in the first 2 stitches, then sc decrease (insert hook into next 2 stitches, yarn over, pull through both loops). Repeat around.
- Round 15: Work 1 sc, then sc decrease. Repeat around.
- Round 16: Work 1 sc in each stitch.
- Round 17: Skip stitches where necessary to close the head at the top.
- Begin decreasing to shape the head:
- Stuff the Ghost
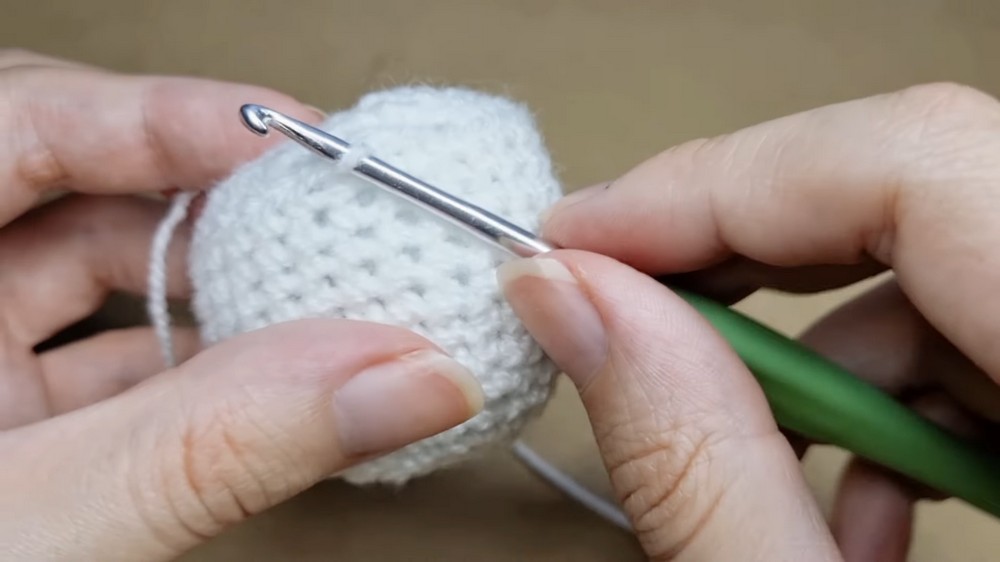
- Before fully closing the top, stuff the body lightly with fiberfill to give it a rounded shape. Avoid overstuffing, as it could stretch the stitches.
Ghost Hands
Steps:
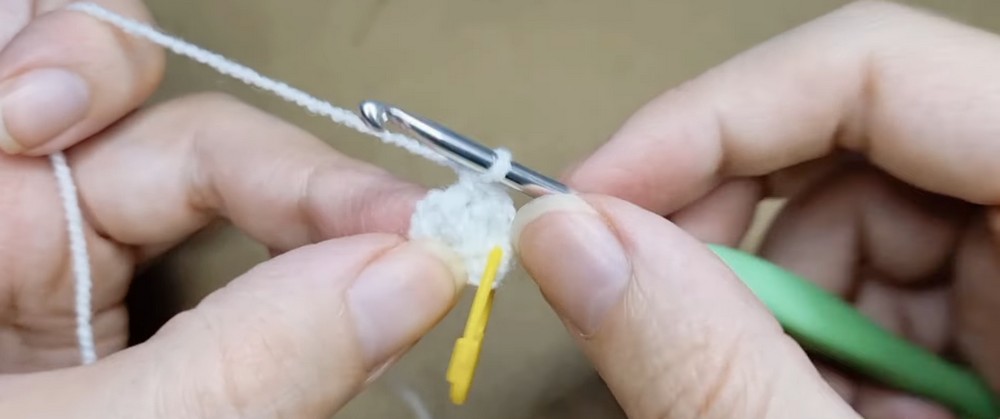
- Magic Ring for Hands
- Create a magic ring. Chain 1 and work 5 single crochets (sc) into the ring. Pull the tail tight and join with a slip stitch.
- Rounds 2–3: Crochet Rows
- Work 1 sc in each stitch for 2 rounds to shape the tiny hands.
- Finishing Hands
- Fasten off and leave a long tail for sewing later. Make a second hand using the same steps.
Facial Features and Decoration
Steps:
- Attach the Eyes
- Choose the placement for the ghost’s eyes on its front side. Use glue or sew safety eyes securely.
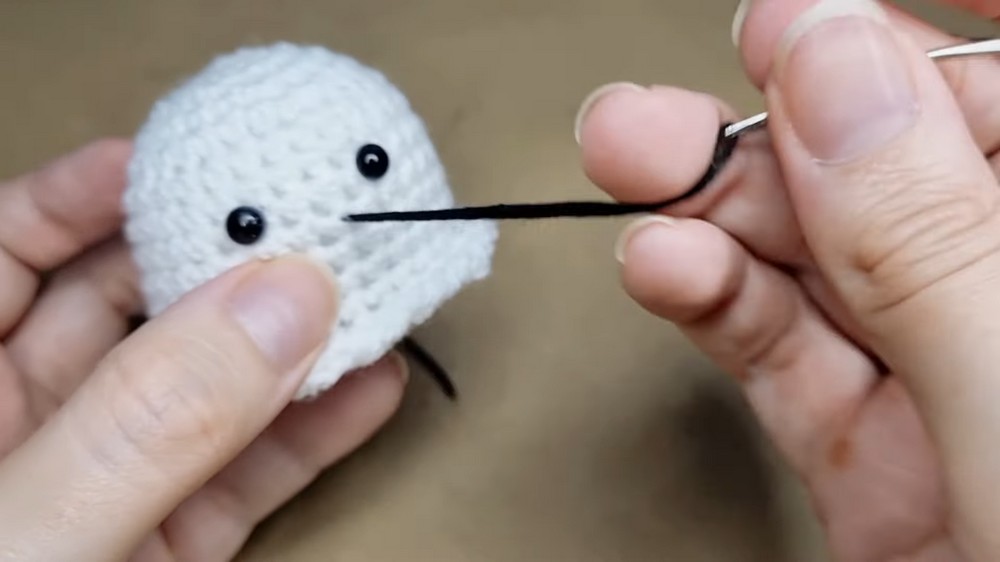
- Embroider the Smile
- Thread your needle with black floss or yarn and carefully stitch a small smile below the eyes to give your ghost its spooky personality.
- Optional Blush
- Add small circles made of pink felt (or blush with fabric paint) under the eyes for an extra cute ghost!
Assembly and Keyring
Steps:
- Attach the Hands
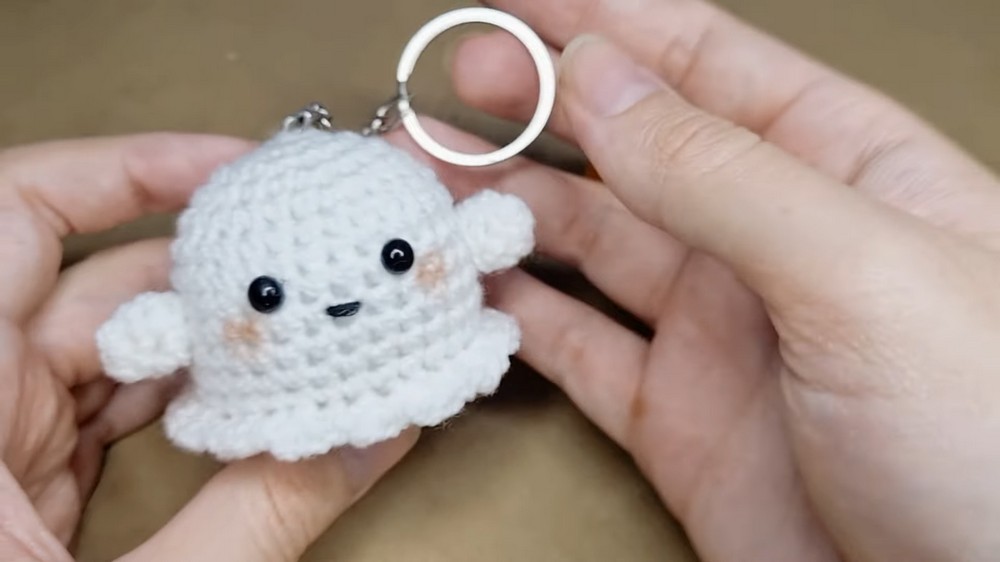
- Sew the hands onto the sides of the ghost using the tails you left earlier. Place them symmetrically, so the ghost looks balanced.
- Secure the Keyring
- Attach the ghost to a keyring loop by sewing the top of the ghost to the hardware. You can also use a small ring or chain to make this part easier.
Troubleshooting & Suggestions
Common Issues:
- Loose Magic Ring: Be sure to pull the tail tightly to close the ring and prevent gaps in the ghost’s bottom.
- Uneven Tension: Keep your tension consistent throughout to avoid visible lines or inconsistencies.
- Crooked Face Details: Mark where you want the eyes and mouth using pins before sewing or gluing them on.
Creative Modifications:
- Experiment with yarn colors for a rainbow ghost family or Halloween-themed colors like orange or green.
- Add glitter yarn strands for extra sparkle.
- Resize the pattern for bigger ghosts to use as plushies or tiny ones for accessories like earrings or bag charms.
Conclusion
This Crochet Ghost Keychain is a delightfully quick and easy project perfect for Halloween gifts or year-round spooky fun. Designed with beginners in mind, it focuses on basic stitches and fun finishing touches.