Those cheerful stripes, rounded segments, and tiny stem give this crochet pumpkin keychain plenty of personality, with simple color changes offering fresh seasonal looks.
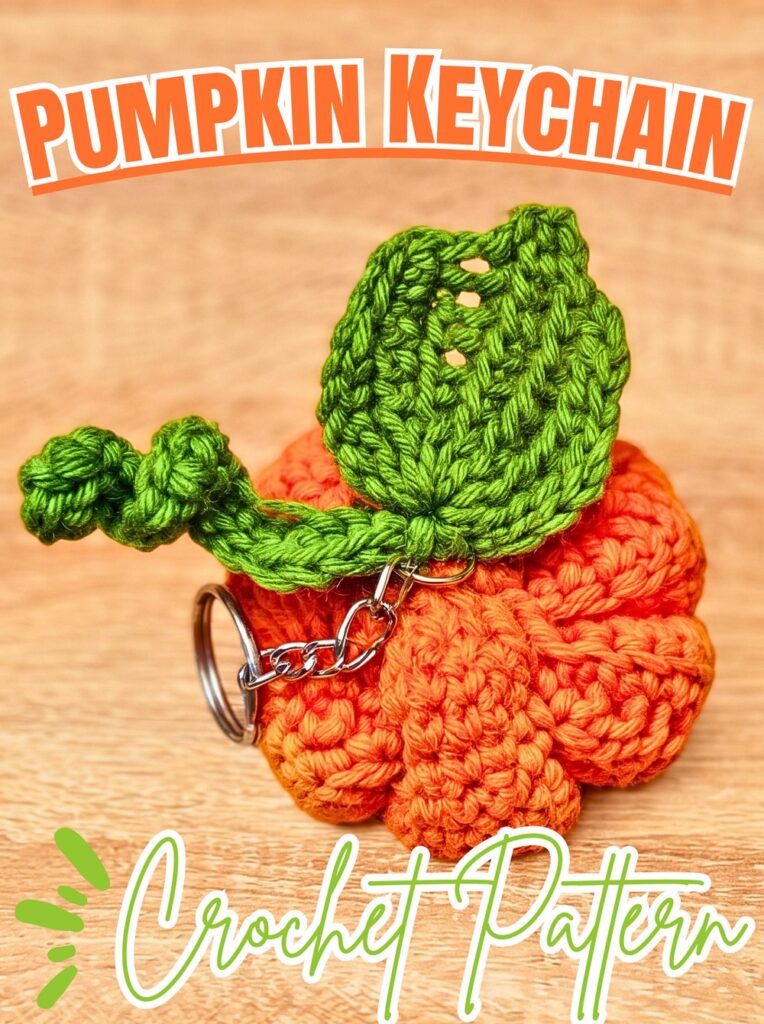
Orange, white, and green stripes bring playful contrast to this crochet pumpkin keychain, while its rounded, raised segments create recognizable pumpkin texture. A small brown stem completes its shape, and changing colors or adjusting finishing details can give each crochet pumpkin its own distinctive style.
This tutorial explains how to crochet a striped pumpkin panel, shape it into a plump body, and add a stem and keychain ring. You’ll also learn how color combinations, careful stuffing, and simple shaping details help personalize your finished crochet design for autumn accessories or handmade gifts.
Credit MrsKline Crafts
Materials & Tools Needed
- Yarn: 4-ply yarn in orange, white, green, and brown
- Crochet hook: Use the hook size specified in your original pattern
- Keychain ring: For attaching the finished pumpkin to keys, bags, or backpacks
- Polyester fiberfill: For creating a plump pumpkin shape
- Yarn needle: For sewing seams, shaping ridges, and attaching the stem
- Scissors: For trimming yarn
- Stitch marker: Optional, for tracking rounds while crocheting the stem
Pattern Abbreviations & Terminology
- Ch: Chain
- Sc: Single Crochet
- Hdc: Half Double Crochet
- Dc: Double Crochet
- Sl St: Slip Stitch
- BLO: Back Loop Only
- St / Sts: Stitch / Stitches
- Inc: Increase; work 2 stitches into the same stitch

Step-by-Step Crochet Pumpkin Keychain Tutorial
Part 1: Crochet the Striped Pumpkin Body
Step 1: Create the foundation chain
Using your first body color, chain 21. This foundation chain establishes the width of the rectangular panel that will become the pumpkin body.
Keep your chains even without pulling them too tightly. Consistent tension makes it easier to work the different stitch heights across the row and helps the panel maintain its intended shape.
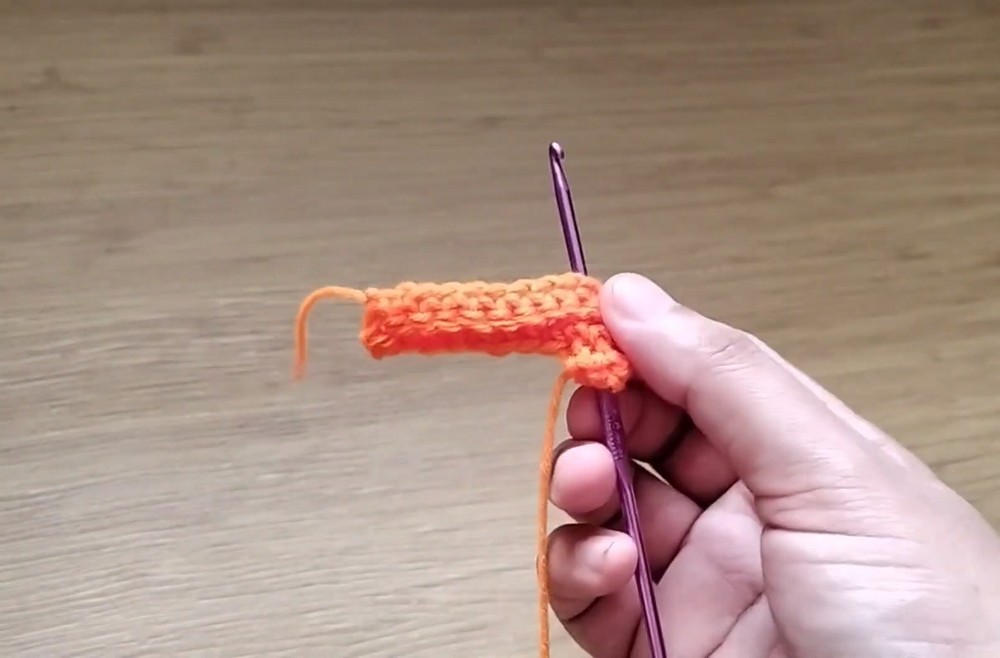
Step 2: Work the first row
Starting in the appropriate chain according to your pattern, work this stitch sequence across the row:
- 3 single crochet stitches
- 3 half double crochet stitches
- 8 double crochet stitches
- 3 half double crochet stitches
- 3 single crochet stitches
This arrangement places shorter stitches at both ends and taller stitches through the middle. Once joined and stuffed, this shaped panel helps create the rounded appearance of the pumpkin.
Check your stitch count before continuing. Keeping each row consistent helps the finished body look balanced after assembly.
Step 3: Continue the rows through back loops
For each following row, work through the back loop only (BLO), repeating the same stitch sequence used in Row 1.
Continue until you have completed 24 rows in total. The design uses three body colors—orange, white, and green—with 8 rows in each color.
Keep each color section consistent to create clearly defined stripes. Working through the back loops also produces raised lines in the fabric, adding texture that becomes more noticeable once the panel is shaped.
Step 4: Check the finished panel
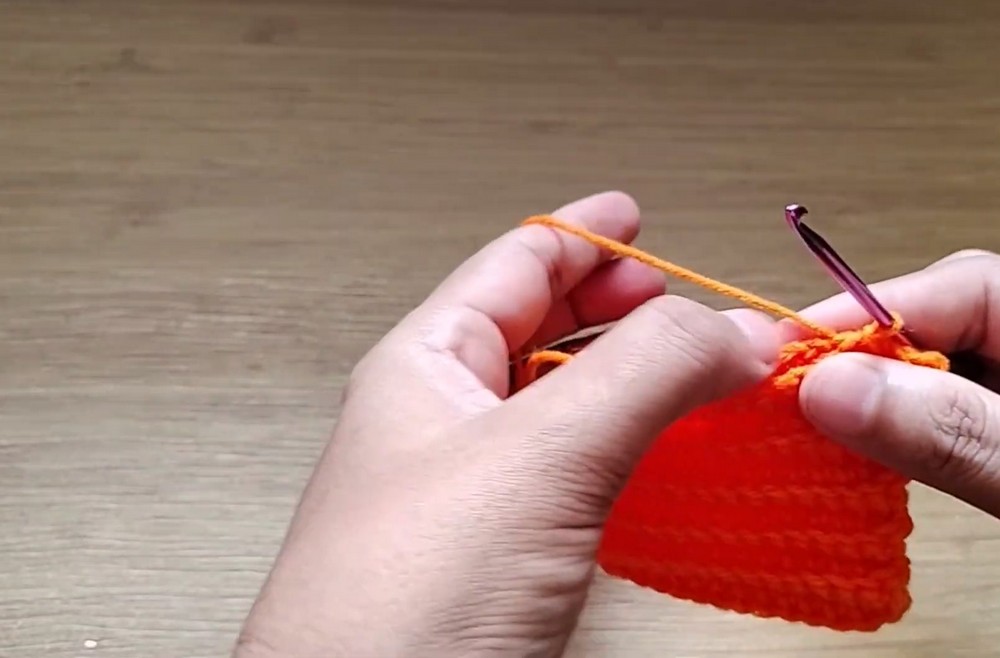
Lay the completed panel flat and inspect its color sections, stitch texture, and overall shape. Confirm that all 24 rows are complete and that each color occupies the intended 8-row section.
Keep any yarn tails needed for assembly accessible. A neat, evenly worked panel makes joining and gathering easier.
Part 2: Join and Stuff the Pumpkin Body
Step 5: Sew the side edges together
Fold the panel so its two short edges meet. Thread a suitable yarn tail through your yarn needle and sew the edges together to form a tube.
Match the colored rows carefully before sewing. Aligning the stripes at the seam gives the pumpkin a more continuous appearance instead of leaving its color sections visibly offset.
Step 6: Gather one open end
Using your yarn needle and a length of yarn, sew a running stitch around one open end of the tube. Pull the yarn gradually to draw the opening closed.
Secure the gathered end so it stays shut while you work on the other side. Avoid pulling so aggressively that the yarn cuts into the stitches or creates an uneven bunch.
Step 7: Fill the body with fiberfill
Add polyester fiberfill through the remaining open end. Work in small amounts and distribute the stuffing throughout the tube so the body becomes plump and rounded.
Avoid packing in too much fiberfill at once. Overstuffing can stretch the stitches and make the second opening difficult to close, while too little stuffing may leave the pumpkin looking flat.
Step 8: Close the second opening
Work another running stitch around the remaining open end. Pull the yarn gradually to close the gap around the stuffing.
Before securing it fully, adjust the fiberfill so the body looks evenly rounded. Fasten the yarn securely once the opening is closed, then weave in any loose ends.
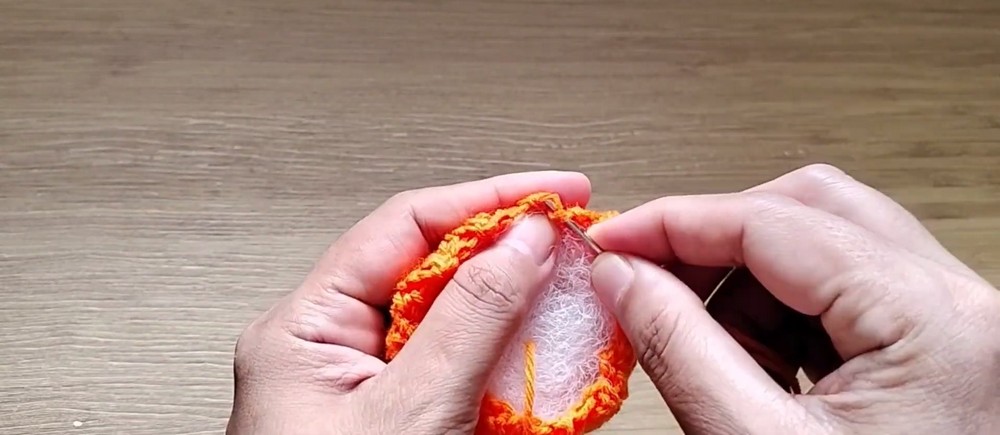
Part 3: Shape the Raised Pumpkin Segments
Step 9: Define the pumpkin ridges
Thread a length of yarn onto your needle and use it to create vertical indentations around the stuffed body. Pass the yarn around the pumpkin from one end toward the other, drawing it snugly enough to form a visible groove.
Repeat the shaping process around the body to create distinct rounded segments. Keep the tension reasonably consistent so the ridges look balanced rather than having one deep indentation and several barely visible ones.
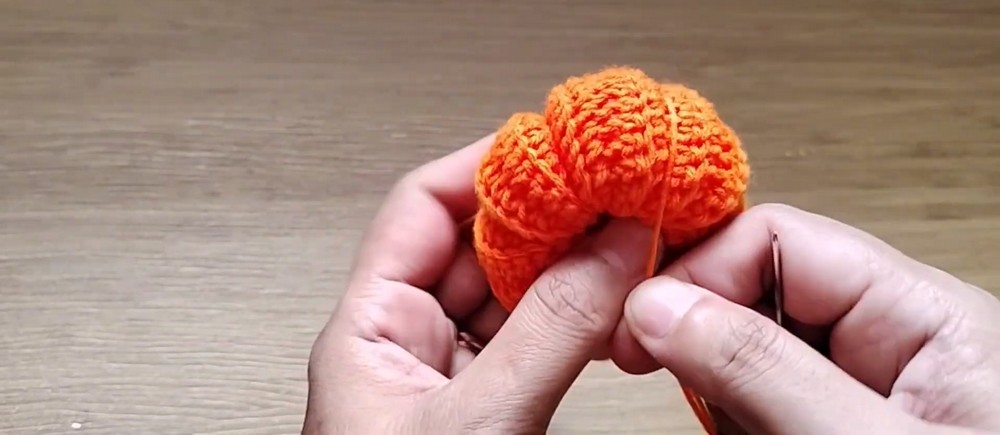
The aim is to emphasize the pumpkin’s naturally segmented appearance while keeping its plump form. Avoid pulling so tightly that the body becomes misshapen.
Step 10: Secure the shaping yarn
Once the ridges look even, secure the yarn at the appropriate end and weave in the remaining tail. Examine the pumpkin from several angles to check its rounded silhouette and stripe arrangement.
Make any gentle adjustments needed before attaching the stem. This shaping stage brings the stuffed panel closer to its recognizable pumpkin form.
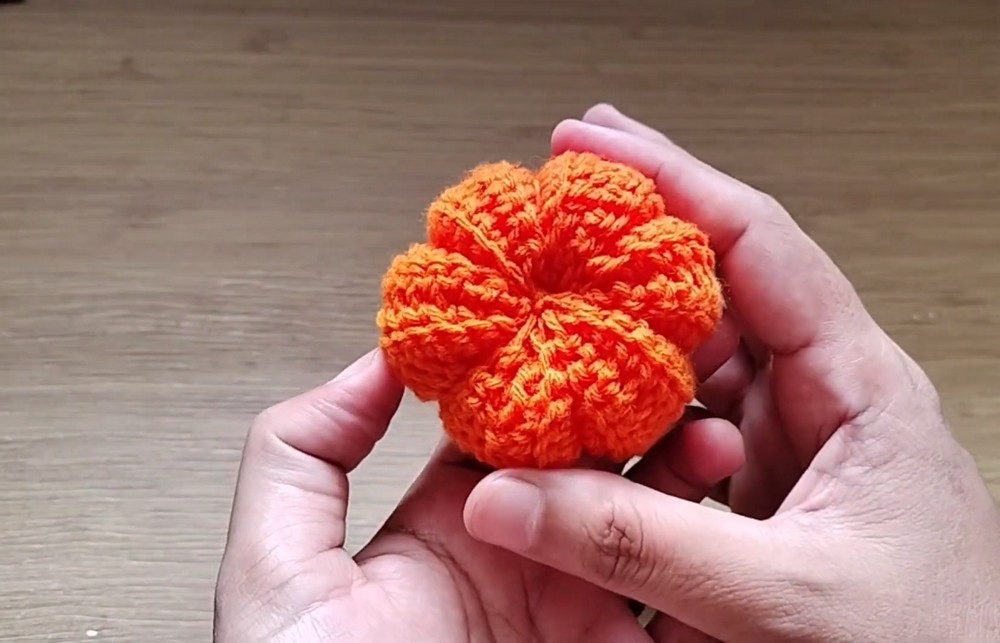
Part 4: Crochet the Brown Stem
Round 1: Form the stem center
Using brown yarn, make a magic ring. Chain 1 and work 6 single crochet stitches into the ring. Join with a slip stitch as specified in your pattern.
Total: 6 stitches.
Pull the starting tail to close the center securely. Keep the stitches compact to create a small foundation for the stem.
Rounds 2-6: Build the stem
For each round, chain 1 and work 1 single crochet into every stitch around. Join with a slip stitch at the end of each round, following your pattern.
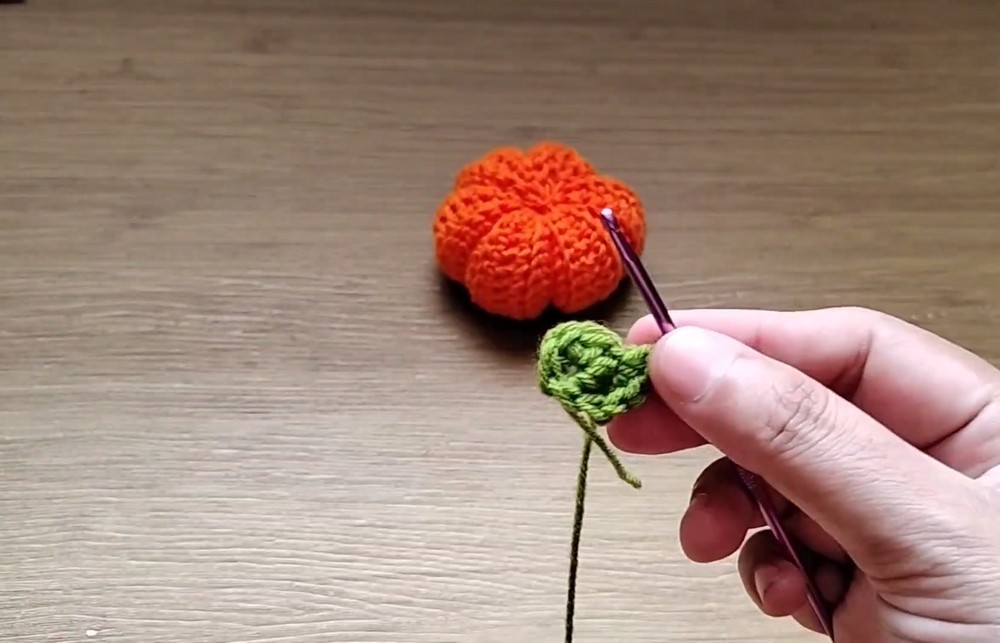
Total: 6 stitches per round.
These straight rounds create the narrow stem. Maintain even tension so it stays compact rather than widening unintentionally.
Round 7: Widen the stem top
Chain 1 and work 2 single crochet stitches into every stitch around. Join with a slip stitch to finish the round.
Total: 12 stitches.
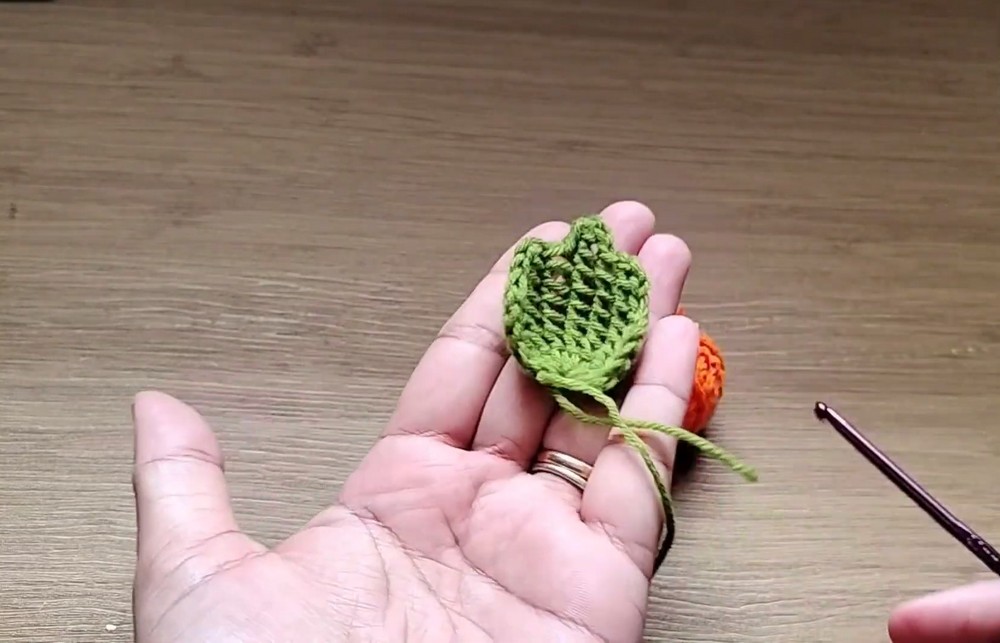
This increase round creates a wider section at the top. Fasten off, leaving a long yarn tail for sewing the stem onto the pumpkin.
Part 5: Assemble the Pumpkin Keychain
Step 11: Sew the stem in place
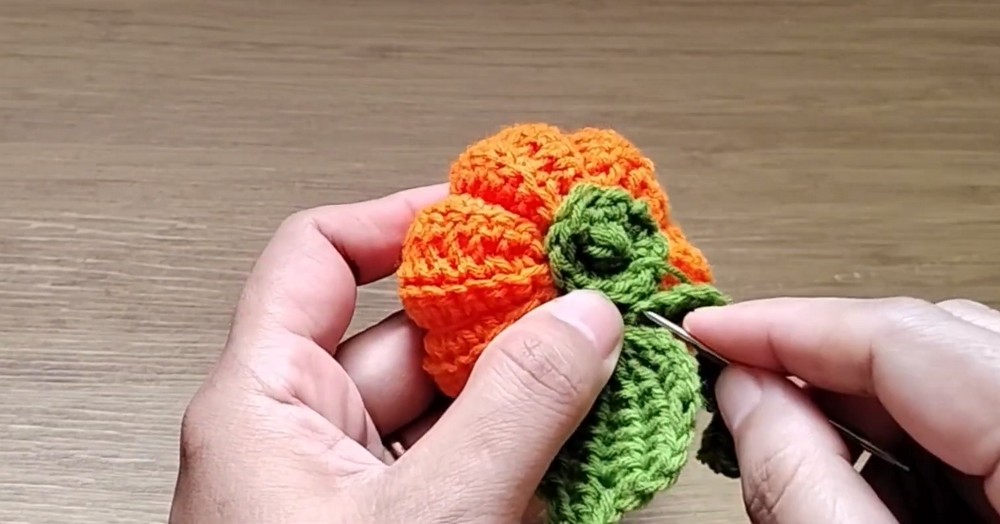
Position the brown stem over the gathered opening at the top of the pumpkin. Use its long yarn tail and a yarn needle to sew it securely to the body.
Check that the stem sits upright and covers the gathered area neatly. Secure the yarn inside the pumpkin and weave in any remaining tail.
Step 12: Attach the keychain ring
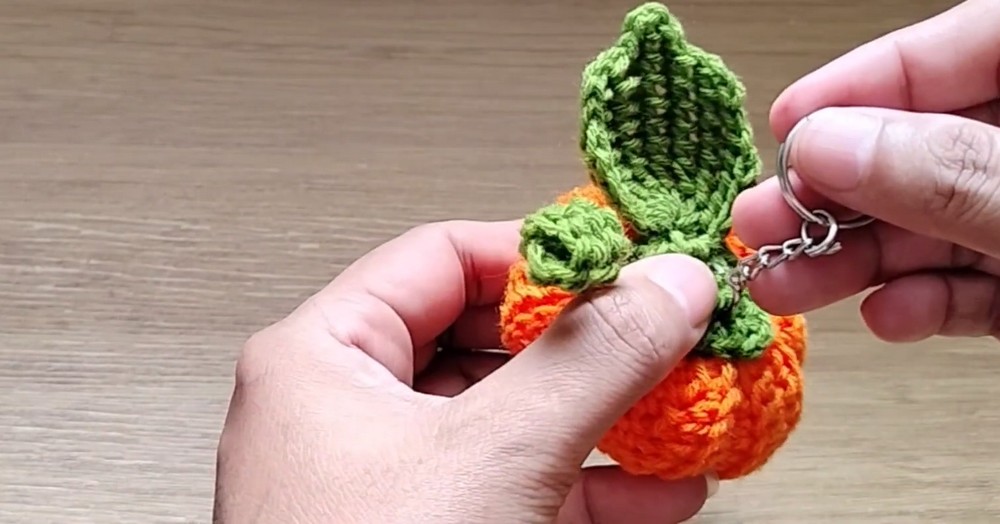
Position the keychain ring at the top of the finished pumpkin. Attach it securely to the stem or upper edge, depending on your design and the way your ring is constructed.
Use a strong yarn connection and check that the ring is firmly held before carrying the keychain. Weave in remaining yarn ends and trim any excess.
Inspect the finished piece to make sure its stripes, raised segments, stem, and keychain attachment all look neat.
Customization Ideas
Experiment with Different Pumpkin Colors
Orange, white, and green give this design a playful striped appearance. For a more traditional autumn style, use orange throughout the body and keep the brown stem.
You can also try softer pastel shades or other contrasting colors to create a different seasonal look while keeping the same basic construction method.
Change the Stripe Arrangement
The original design uses 8 rows each of orange, white, and green yarn. Changing the order of these sections can produce a noticeably different color pattern without changing the basic body construction.
For a balanced result, keep your chosen color sections consistent and check how the stripes meet at the side seam.
Adjust the Pumpkin’s Shape
The stuffing and ridge tension affect how plump the finished pumpkin appears. Distribute fiberfill evenly, then draw the shaping yarn snugly enough to define the segments without flattening the body.
Small adjustments to stuffing placement and ridge tension can change the final appearance while preserving the same basic pattern.
Make It a Seasonal Handmade Gift
Attach the finished keychain to keys, a handbag, or a backpack for a cheerful autumn accessory. It can also be included in a small handmade gift or added to a collection of crochet charms.