Looking for a tiny autumn accessory? This striped crochet pumpkin keychain combines cheerful colors, rounded ridges, and a little brown stem in one adorable handmade design.
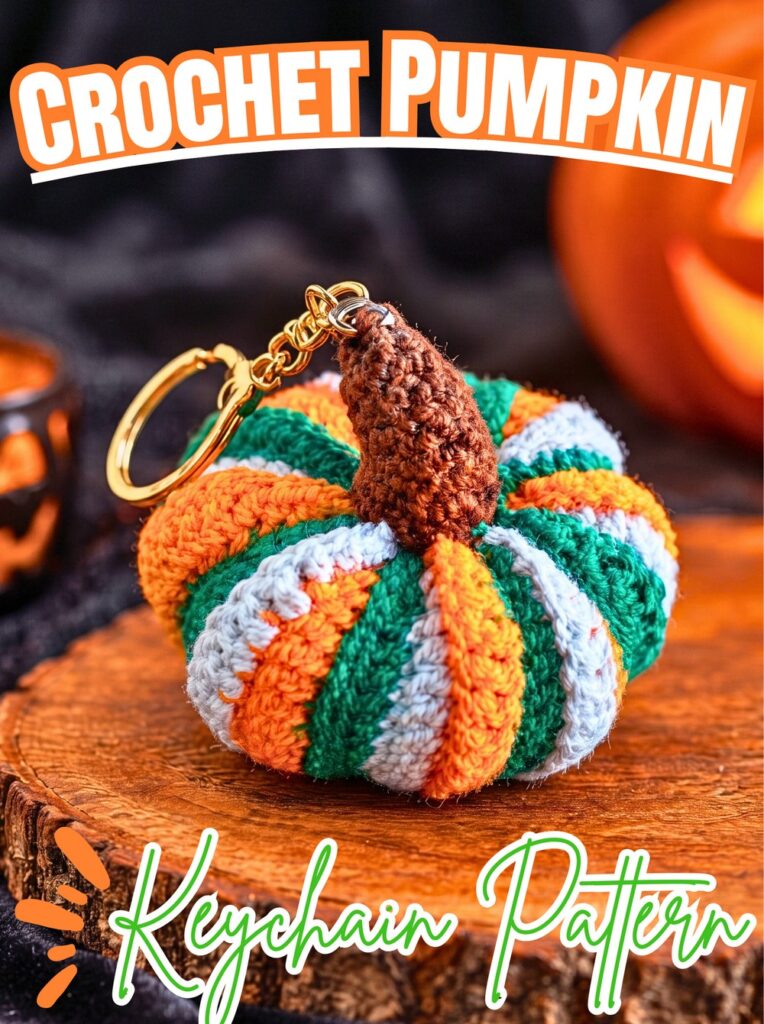
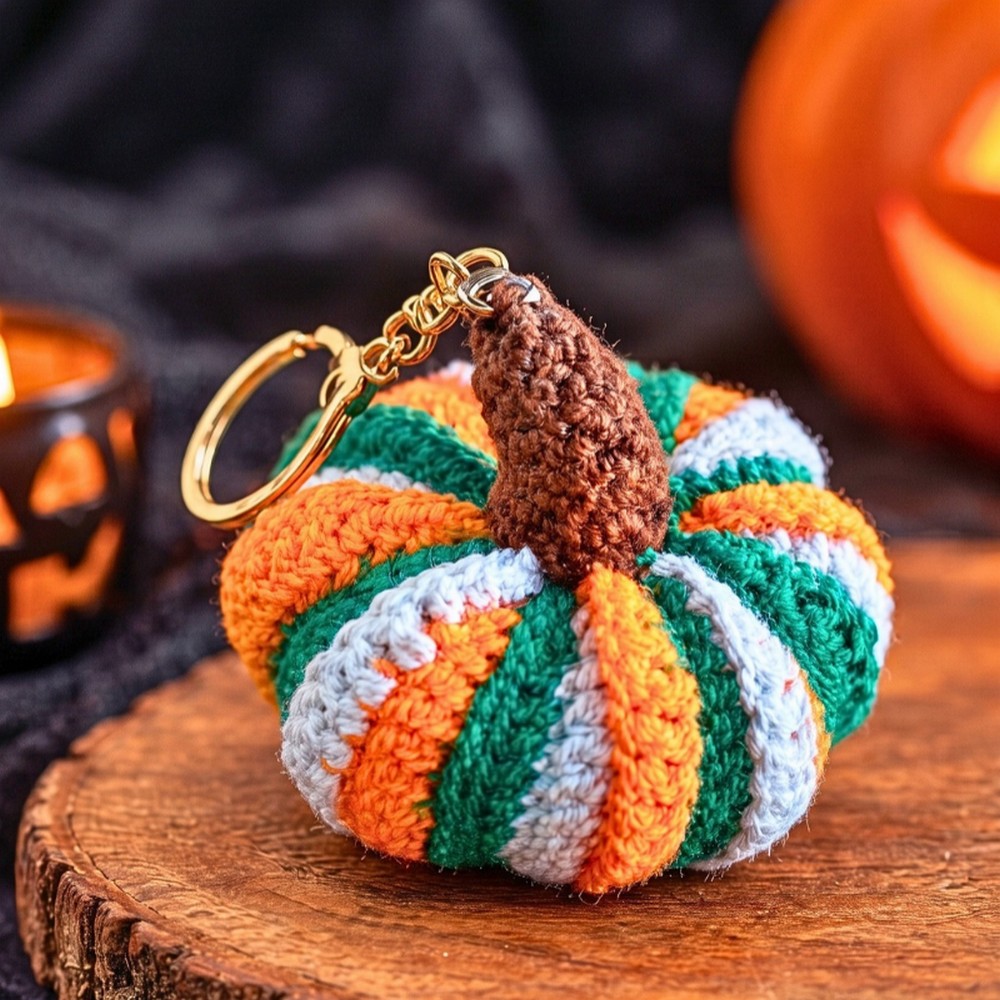
The orange, white, and green stripes give this crochet pumpkin keychain its playful seasonal charm, while its rounded shape and raised sections create a classic pumpkin look. A small brown stem completes this crochet design, making it a sweet accessory for keys, bags, or a fall-inspired gift.
Turning a flat crochet panel into a plump pumpkin is easier when each stage is explained clearly. This crochet tutorial guides you through the striped body, gathered edges, stuffing, shaping, and stem, then shows how to attach the keychain ring. Let’s get started!
Credit Magic rings crochet
Materials & Tools
Yarn: Lightweight or DK/sport-weight yarn in orange, white, and green for the striped body, plus brown for the stem.
Crochet hook: Choose a hook suitable for your yarn; approximately 2.0–3.5 mm may work for a small amigurumi keychain.
Stuffing: Fiberfill or cotton stuffing.
Yarn needle: For sewing the body, attaching the stem, and weaving in ends.
Scissors: For trimming yarn.
Keychain ring: For turning the finished pumpkin into a portable accessory.
Finished size: Approximately 2–3 inches tall, depending on yarn and hook size.
Customization: Use one color for a traditional pumpkin or alternate orange, white, and green for a striped finish. Changing the total number of rows can alter the width, but keep the panel proportions and color blocks balanced.
Crochet Abbreviations & Terminology
Ch: Chain
St(s): Stitch(es)
Sl st: Slip stitch
Sc: Single crochet
Hdc: Half double crochet
Dc: Double crochet
BLO: Back loop only
Rnd: Round
Row: A horizontal line of stitches worked back and forth
FO: Fasten off
Step-by-Step Crochet Pumpkin Keychain Pattern
Step 1: Create the Foundation Chain
Begin with your first pumpkin color. Make a slip knot and crochet 21 chains.
This foundation establishes the length of your pumpkin panel. Keep your chain relaxed rather than pulling it tightly, so the first row remains easy to work into.
Step 2: Shape the First Row
Work into the foundation chain, beginning in the second chain from your hook.
Make 1 single crochet in each of the next 3 chains.
Work 1 half double crochet in each of the next 3 chains.
Make 1 double crochet in each of the next 8 chains.
Work 1 half double crochet in each of the next 3 chains.
Finish with 1 single crochet in each of the last 3 chains along the opposite side, following the supplied pattern.
The stitch sequence is 3 sc, 3 hdc, 8 dc, 3 hdc, 3 sc. The shorter stitches at both ends and taller stitches through the middle help establish the panel’s shape.
Helpful tip: Check the stitch sequence before moving on. The center section should contain 8 double crochets, with the shorter stitch groups balanced at either end.
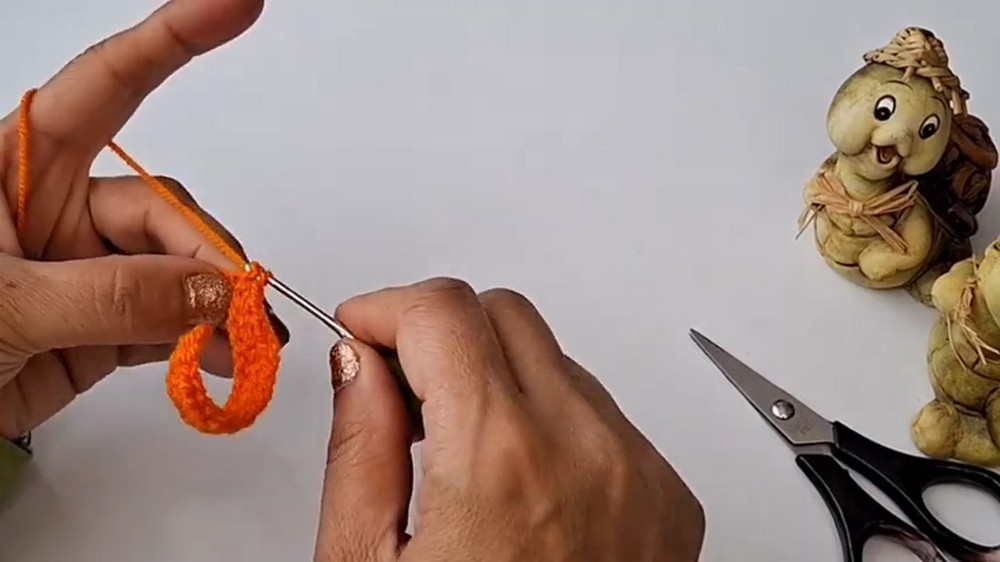
Step 3: Change Color and Work into BLO
Prepare your next yarn color for the striped body. Skip the final chain as indicated in the supplied instructions, join the new color, chain 1, and turn your work.
Work the same stitch sequence into the back loop only (BLO): 3 single crochets, 3 half double crochets, 8 double crochets, 3 half double crochets, and 3 single crochets.
Working into BLO creates visible horizontal ridges across the crochet fabric. These ridges will help give the finished pumpkin its textured appearance.
Check your work: The row should retain the same stitch arrangement as the first row, with a defined line of texture along its surface.
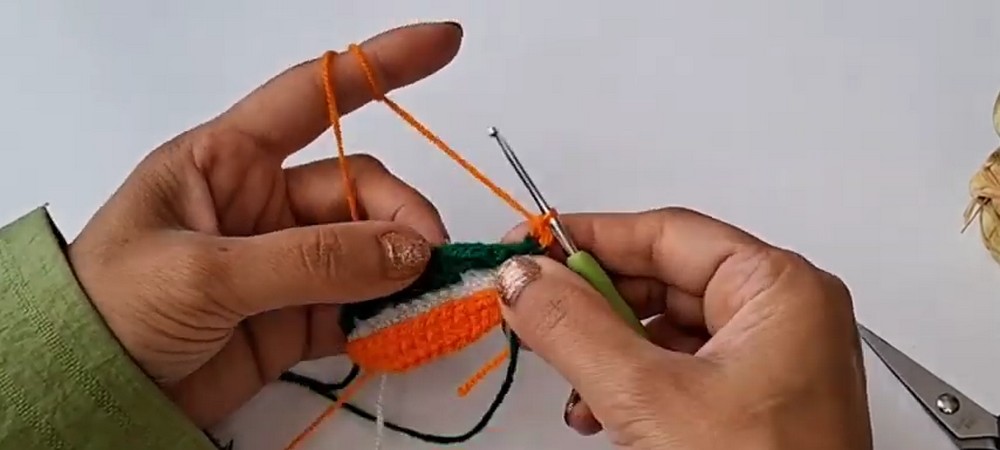
Step 4: Continue the Striped Panel
Repeat the established stitch sequence for Rows 3–24, continuing to work into BLO.
Change colors as desired. For the three-color version shown in the supplied tutorial, work 8 rows in each color to make 24 rows altogether.
Keep the stitch groups consistent throughout the panel. If you choose different colors or stripe widths, plan the changes before beginning each section so the finished design looks balanced.
Helpful tip: Count your completed rows regularly. Reaching 24 rows gives you the intended panel length before assembly begins.
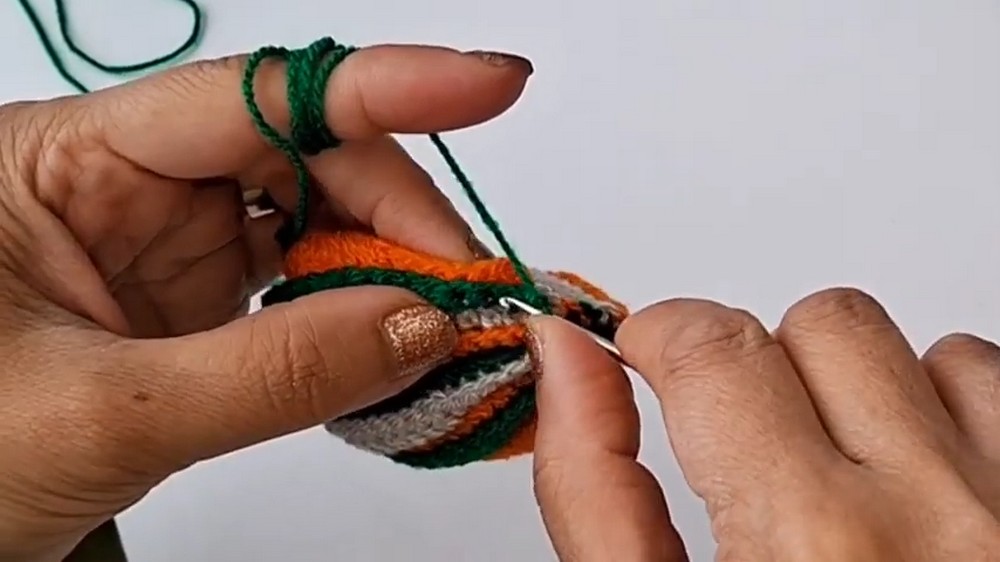
Step 5: Join the Panel into a Tube
Once all 24 rows are complete, fold the panel so its first and last rows meet.
Chain 1, then join the two vertical edges using slip stitches or single crochet, working from bottom to top as described in the supplied tutorial.
This seam transforms the flat panel into a tube, which will become the rounded pumpkin body after both ends are gathered.
Check your work: The edges should meet evenly, without a large gap or a twisted panel. Keep the seam secure so the body holds together during stuffing.
Step 6: Gather and Close the Top
Turn the tube inside out, leaving a long yarn tail for sewing.
Thread the tail through your yarn needle. Make small running stitches evenly around the top opening, passing the needle through the fabric close to the edge.
Pull the yarn gradually until the opening closes completely. Secure the gathered section with a firm knot.
Evenly spaced stitches help distribute the fabric rather than bunching it heavily in one spot.
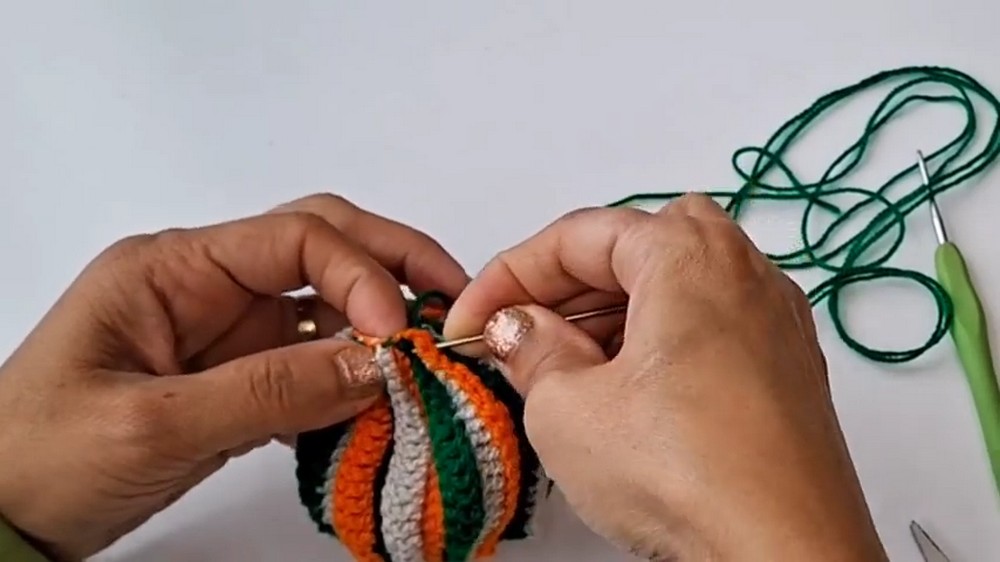
Step 7: Prepare the Bottom Opening
Pass the yarn needle through the inside of the pumpkin body to bring your working tail toward the opposite opening.
Make small running stitches around the bottom edge, following the same gathering method used at the top. Leave the opening loose enough to add stuffing before closing it completely.
Preparing this opening now makes the next stage easier and helps the filling stay inside the body.
Step 8: Stuff and Close the Pumpkin
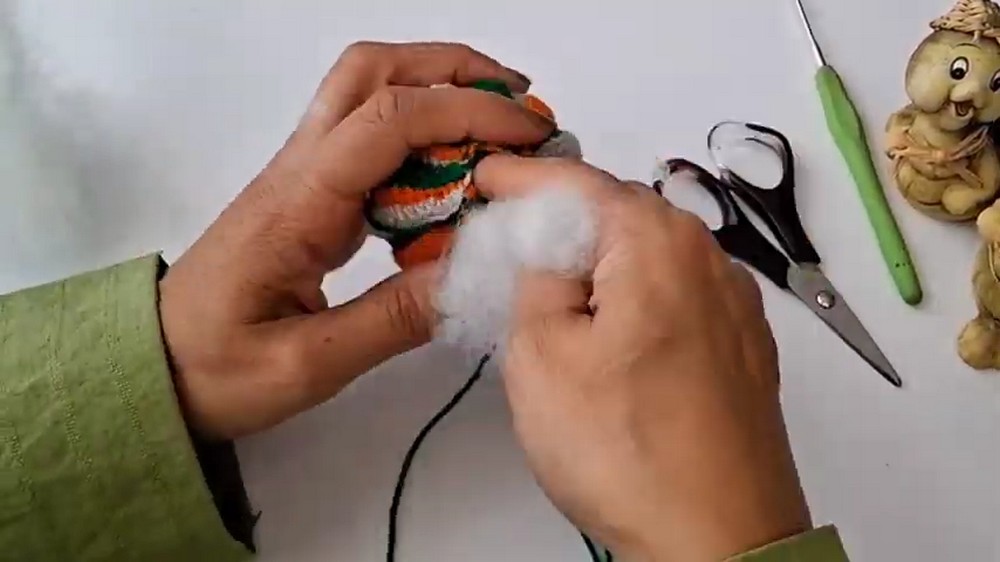
Add fiberfill or cotton stuffing through the bottom opening. Distribute it gently throughout the body so the pumpkin becomes plump without developing obvious lumps.
Once the shape looks full, pull the gathering yarn tightly to close the bottom. Secure the closure with a knot.
Helpful tip: Add small amounts of stuffing at a time. This gives you better control over the rounded shape and makes it easier to distribute the filling evenly.
Step 9: Define the Pumpkin Ridges
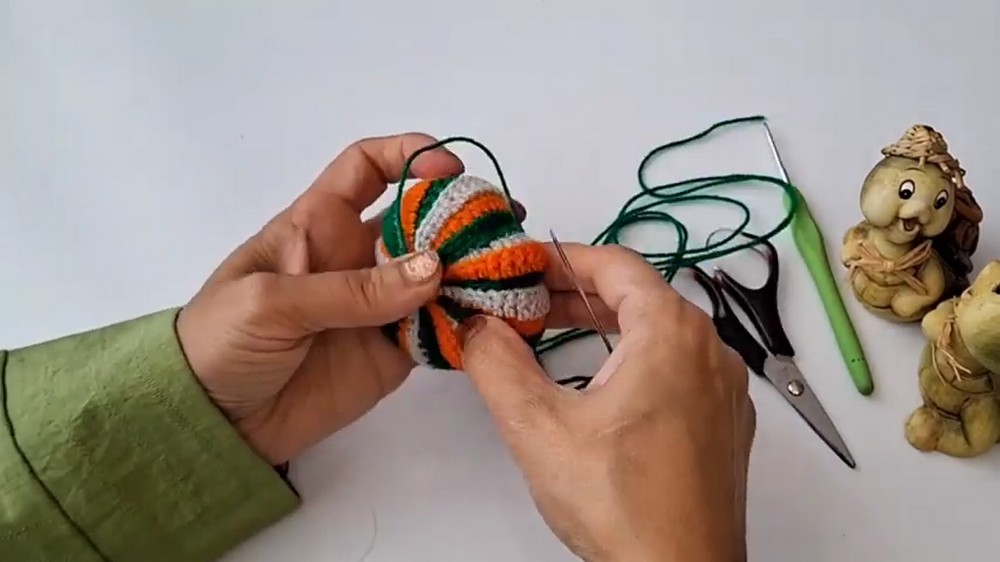
Cut a suitable length of yarn and wrap it tightly around the vertical sections of the stuffed body, following the color divisions to create distinct pumpkin segments.
Pull the yarn enough to form visible indentations without flattening the pumpkin completely. Secure the yarn firmly and weave in the loose ends.
This shaping stage turns the stuffed tube into a recognizable pumpkin, emphasizing its rounded sections and textured surface.
Check your work: The body should look plump, with clearly defined grooves between its raised sections. Adjust the tension if one segment appears much deeper than the others.
Crochet Pumpkin Stem
Step 10: Make a Magic Ring
Using brown yarn, create a magic ring. Chain 1, then work 6 single crochets into the ring.
Pull the yarn tail to close the center tightly, then join with a slip stitch to the first single crochet.
You should have 6 stitches in the first round. A tight center prevents a noticeable hole at the base of the stem.
Step 11: Build the Stem Height
Chain 1 and work 1 single crochet into each stitch around for Rounds 2–6.
Repeat this process for all five rounds, keeping 6 stitches in each round. These straight rounds build the narrow, upright portion of the stem.
Helpful tip: Keep your tension consistent. Stitches that are too loose may leave visible gaps, while excessively tight stitches can make the small stem difficult to work.
Step 12: Shape the Stem Base
For Round 7, chain 1 and work 2 single crochets into every stitch around. Join with a slip stitch to the first stitch.
Your stitch count increases from 6 to 12 stitches. This wider base provides a section that can be sewn securely onto the top of the pumpkin.
Fasten off, leaving a long tail for attaching the stem.
Final Assembly & Finishing
Step 13: Sew the Stem onto the Pumpkin
Position the brown stem at the center of the pumpkin’s gathered top. Use the long yarn tail and a yarn needle to sew its wider base securely to the body.
Check the placement from several angles before securing the final stitches. A centered stem complements the pumpkin’s rounded shape and completes its familiar silhouette.
Weave in any remaining loose ends inside the pumpkin so they do not show on the finished surface.
Step 14: Attach the Keychain Ring
Attach the keychain ring securely to the stem or upper edge of the pumpkin, following the attachment method used in the supplied tutorial.
Check that the ring is firmly fastened and that the stitches supporting it can withstand normal handling. If the ring has a connecting loop, make sure the loop is closed securely before using the keychain.
Step 15: Check the Finished Pumpkin
Inspect the finished piece before attaching it to your keys or bag.
Make sure the body is evenly stuffed and retains its rounded shape.
Check that the orange, white, and green stripes are clearly visible.
Confirm that the brown stem is centered and firmly attached.
Secure loose yarn ends and check the keychain ring one final time.
Your striped crochet pumpkin keychain is now complete. Its compact size, textured pumpkin ridges, cheerful autumn colors, and little brown stem make it a charming handmade accessory or a thoughtful seasonal gift.