Make an Adorable Crochet Hello Kitty For Handmade Amigurumi
Craft your own adorable Crochet Hello Kitty with this unique project! This design combines charm and functionality, making it a perfect handmade gift, collectible, or decoration.
Its versatile nature allows you to customize it to suit your style while enjoying the fun of crochet.
The Crochet Hello Kitty is not only cute but also practical. It can serve as a toy, home décor, or key accessory.
Its sturdy design ensures durability, while its timeless appeal makes it suitable for all ages. Start making this project to bring joy and a personal touch to your space!
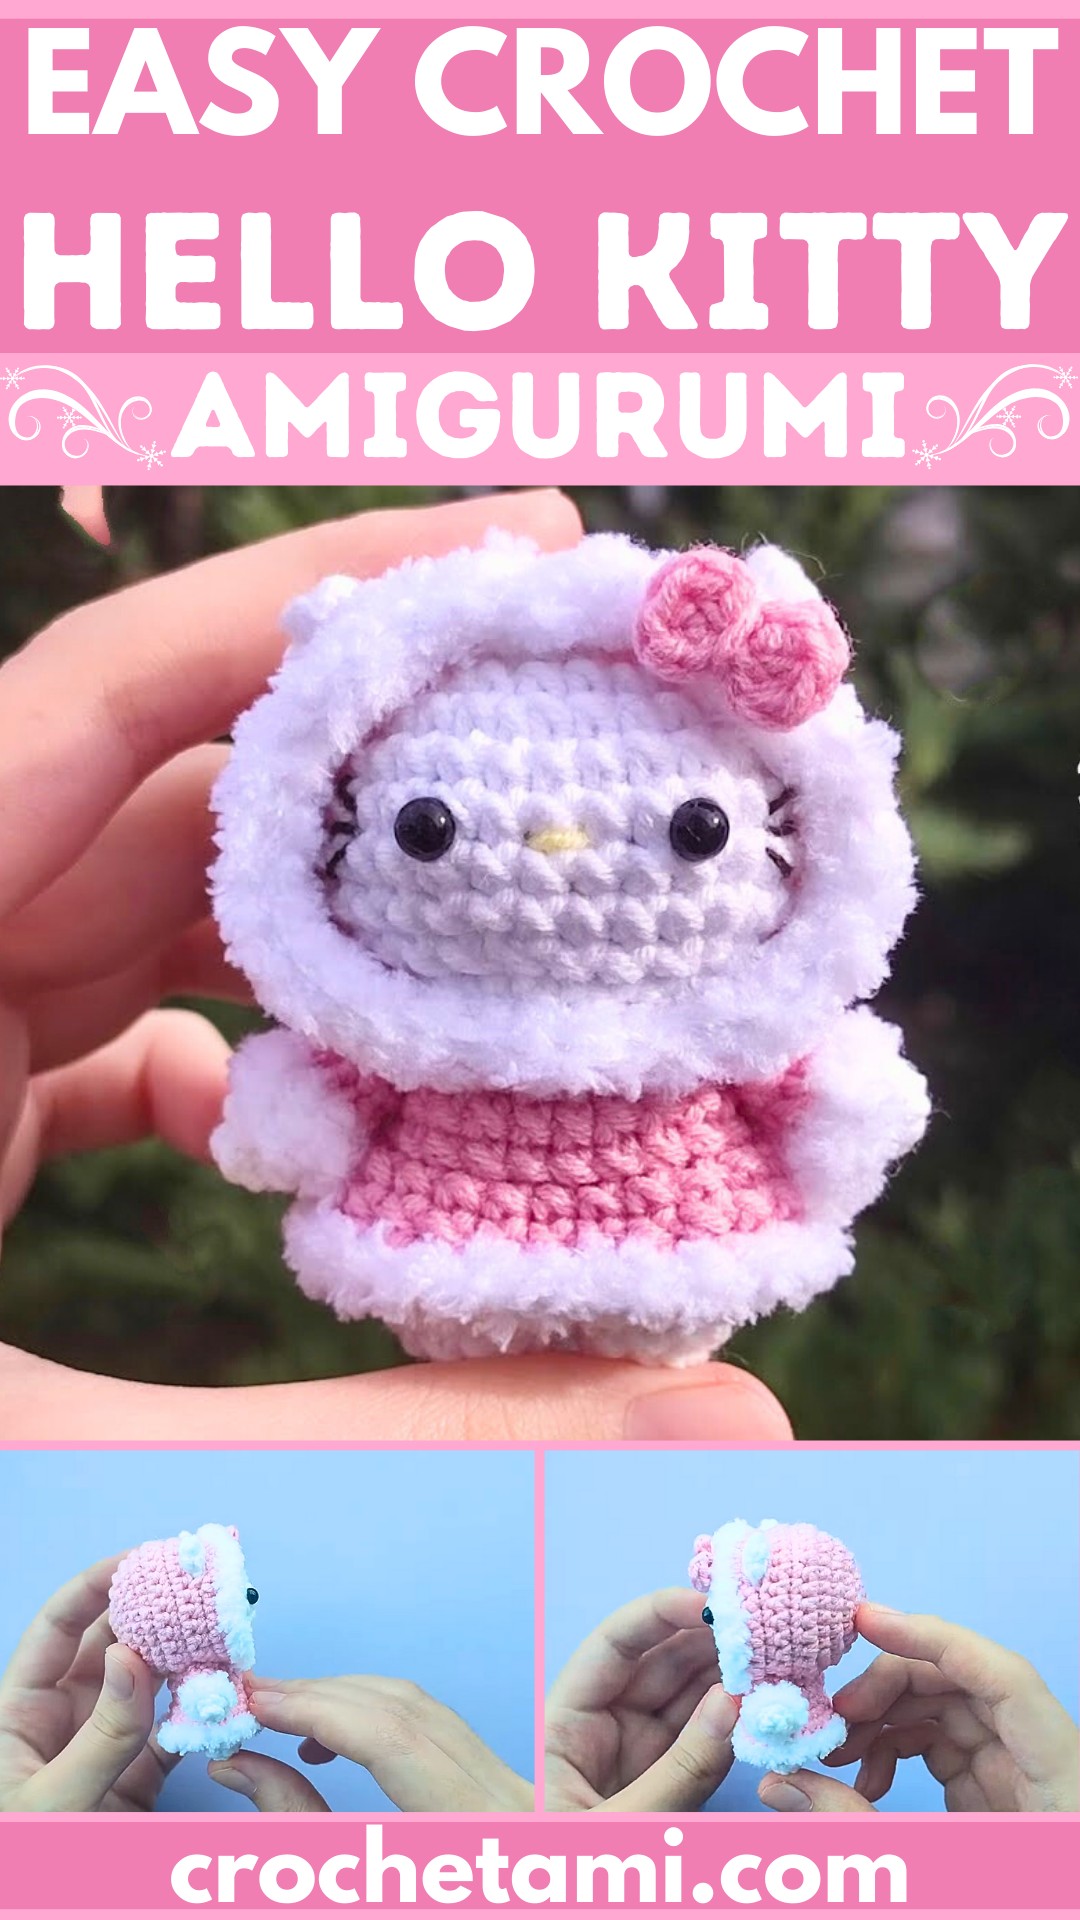
Credit Marin Crochet
The step-by-step video tutorial for the Crochet Hello Kitty is provided at the end of the post.
Materials and Preparation
To create your very own crochet Hello Kitty, gather the following supplies:
Materials Needed:
- Yarn:
- White (Main color for the body and head; worsted weight yarn recommended).
- Pink or red (For the signature bow).
- Yellow (For the nose).
- Black (For the eyes and whiskers).
- Crochet Hook: Size 3.50 mm (E).
- Polyester Fiberfill: For stuffing the body and head.
- Safety Eyes: 8 mm size (optional; you may also embroider the eyes).
- Tapestry Needle: For sewing pieces together and weaving in ends.
- Stitch Markers: To keep track of your rounds in amigurumi.
- Scissors: For cutting yarn.
Abbreviations and Notes
Abbreviations Used in the tutorial:
- MR: Magic Ring (or Adjustable Ring)
- CH: Chain
- SC: Single Crochet
- INC: Increase (work 2 SC in the same stitch)
- DEC: Decrease (single crochet two stitches together)
- SL ST: Slip Stitch
- F/O: Fasten Off

Notes:
- This tutorial is worked in a continuous spiral unless stated otherwise. Use a stitch marker to keep track of the beginning of your rounds.
- The project involves basic shaping techniques like increasing and decreasing.
- Stuff your Hello Kitty parts firmly but don’t overstuff to distort the stitches.
- Although gauge is not critical for amigurumi, ensure your stitches are tight enough to prevent the stuffing from peeking through.

Key to Success:
- Use high-quality yarn for a polished and durable finish.
- Follow the tutorial instructions attentively for accurate detailing.
- Choose soft, pastel shades for a classic Hello Kitty look or get creative with bold colors.
- Take your time during assembly for precise, neat stitches.


