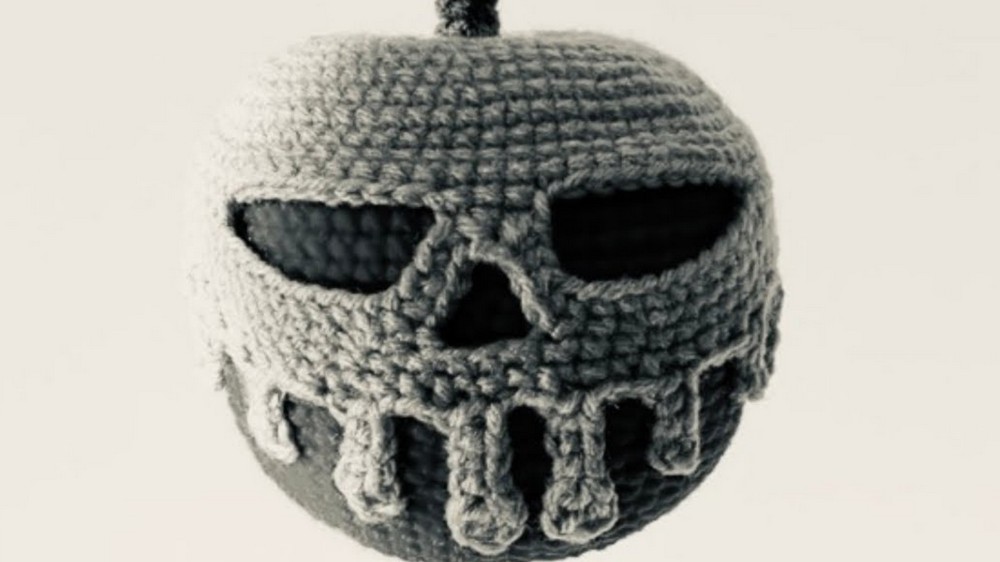
The poisoned apple is a striking design that brings a creative flair to your crocheting. With its bold apple base and skull-like drips, it’s perfect for spooky Halloween décor, themed gifts, or even playful keepsakes. The addition of a delicate leaf and stem makes it wonderfully realistic while giving it a unique touch. Whether you make this for yourself or as a fun surprise for a loved one, it’s bound to stand out.
Spooky Crochet Poisoned Apple Pattern
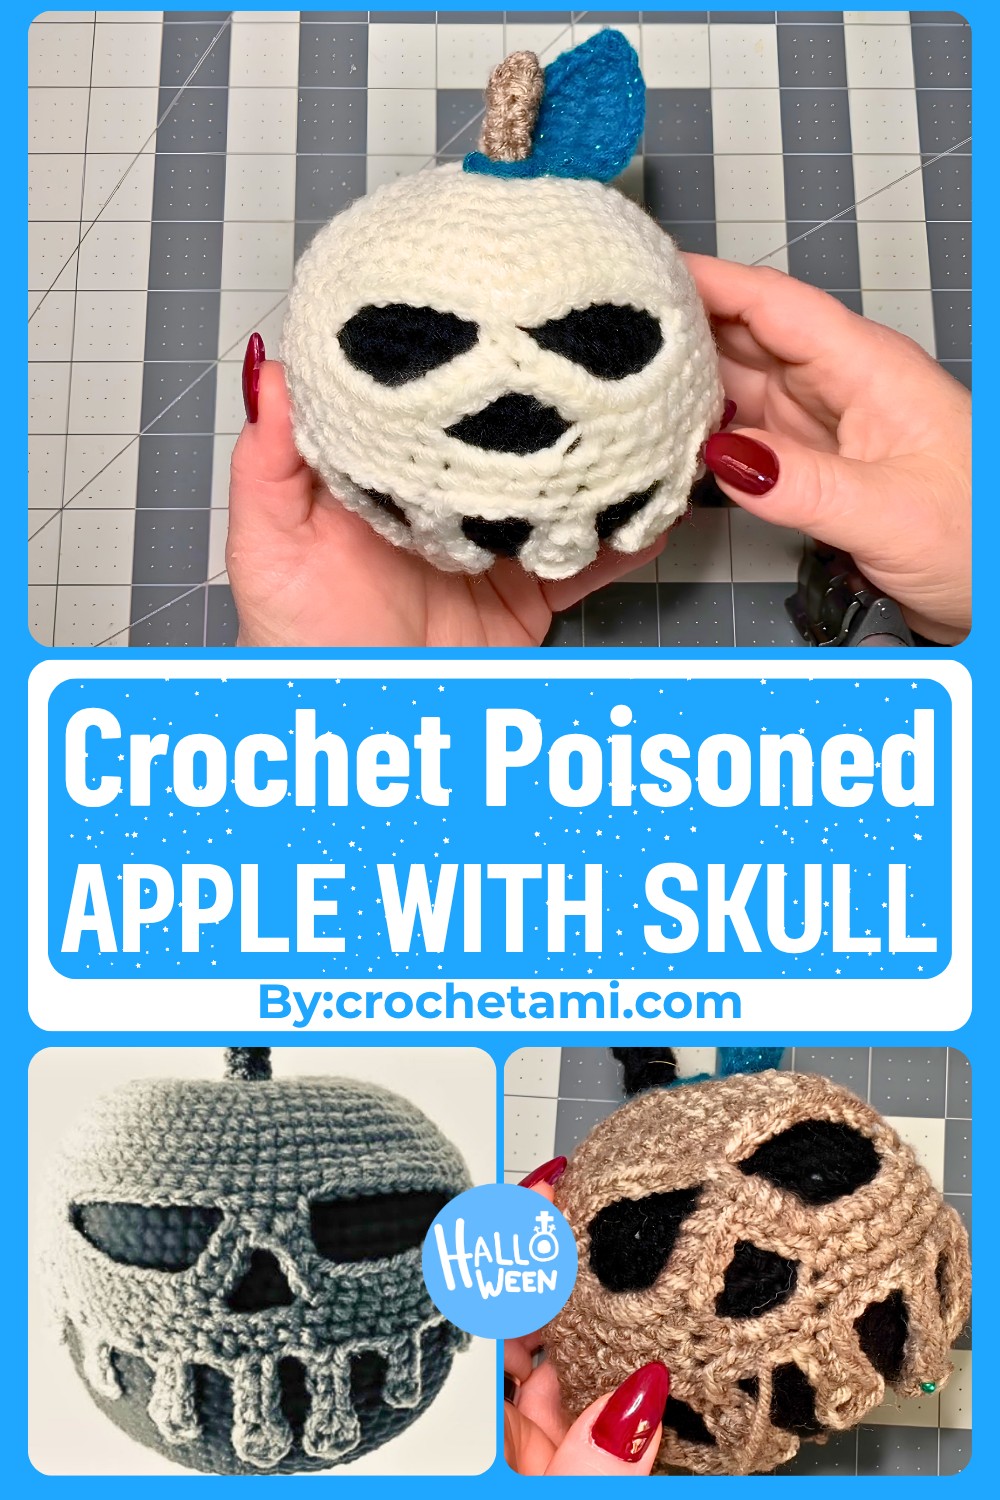
This crochet apple isn’t just about appearances — it’s a great way to practice key crochet techniques like increases, decreases, and working in rounds. The design allows you to mix colors, like black and cream, or swap them for classic combinations like red and green.
The step-by-step process ensures beginners can crochet confidently while perfecting their stitches. Once completed, your poisoned apple will look magical and make a quirky addition to your decorations or soft toy collection.
Credit Custom Comfy Crochet By Dawn Marie
Materials & Tools Needed
- Yarn (Worsted/Aran, Category 4):
- Main apple color: Classic red or dark poison green (approx. 30–40 g).
- Skull drip color: Cream, bone, or white (approx. 20–25 g).
- Stem color: Brown (small amount).
- Leaf color: Green (small amount).
- Hook:
- 3.5 mm–4 mm (E–G) for a firm, amigurumi‑tight fabric.
- Stuffing:
- Polyester fiberfill, enough to firmly fill one apple.
- Notions:
- Yarn/tapestry needle for sewing and weaving in ends.
- Stitch markers (essential for tracking rounds).
- Scissors.
- Optional: Pins to position the skull overlay before sewing.
- Optional Embellishments:
- Safety eyes or embroidered details if you’d like to add extra spooky faces.
- Black embroidery thread for outlining or adding cracks/lines.
Techniques likely used:
- Magic ring (magic circle).
- Working in continuous rounds.
- Single crochet increases (2 sc in same st).
- Single crochet decreases (sc2tog or invisible decrease).
- Basic chaining and slip stitching for the drips.
Pattern Note & Gauge
This is a crocheted amigurumi poisoned apple with a separate skull “drip” overlay, stem, and leaf.
The piece is worked in the round using mainly single crochet (sc), with simple increases and decreases for shaping.
- Gauge: Not critical, but aim for a tight fabric so stuffing doesn’t show.
Example gauge (for worsted weight, 4 mm–4.5 mm hook):
~16–18 sc = 4 in (10 cm).
Making the Poisoned Apple
You’ll first crochet a round apple by working in the round, adding stitches to make it grow, then removing stitches to make it curve in again. The whole body uses simple single crochet, so once you get the hang of counting stitches and using a stitch marker, the shape practically builds itself. Stuff it as you go so the apple ends up smooth and nicely rounded.
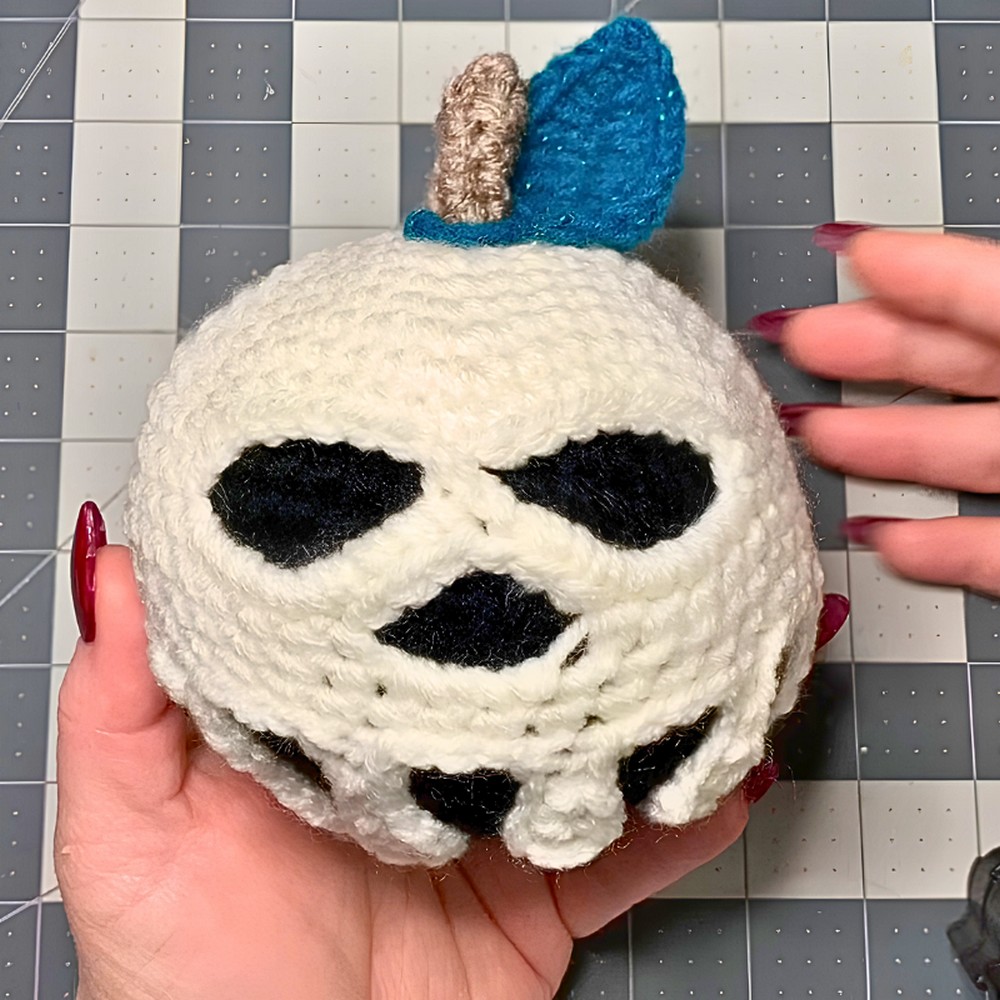
Next, you’ll crochet the spooky skull “drip” that sits on top. This is like a little skull mask that hangs over the apple, with long, oozy strands that look like poison. Once the skull piece is done, you sew it in place, then finish the project with a short stem and a small leaf to give it that classic apple look with a dark twist.
Construction & Key Features (Summary)
- Apple body worked in the round from the top or bottom using single crochet.
- Shaping is created with increases and decreases for a round, plump form.
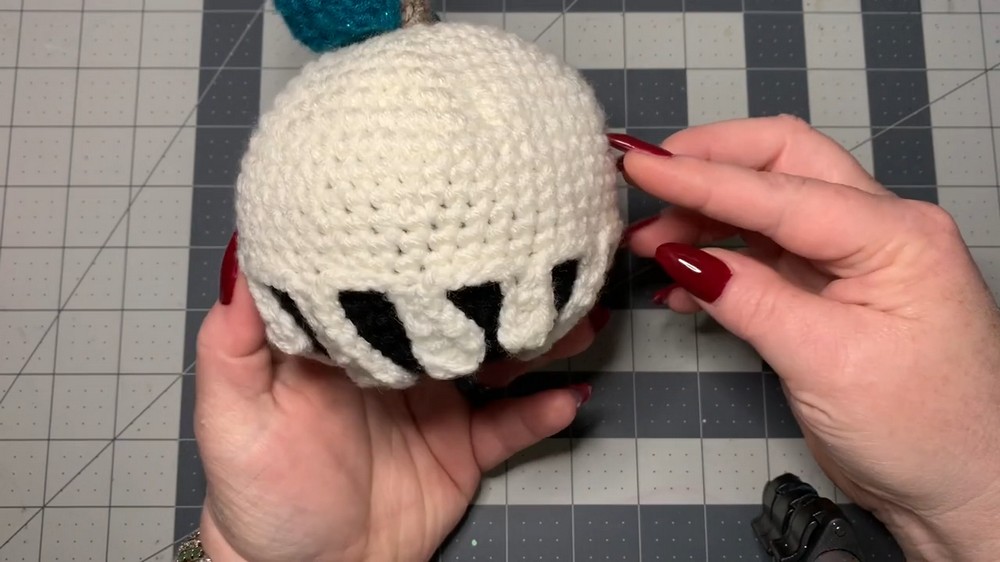
- Separate skull overlay crocheted as a flat/relief piece with dripping edges.
- Overlay is sewn onto the apple, giving a layered, “melting” skull look.
- Stem and leaf are made individually and attached last for a tidy finish.
Step‑by‑Step Pattern
This is an expanded, descriptive pattern outline based on standard amigurumi techniques for a poisoned apple with skull overlay.
1. Apple Body (Worked in the Round)
- Start with a magic ring in your main apple color.
- Round 1: 6 sc into magic ring, pull tight. (6)
- Increase to form the sphere:
- Round 2: 2 sc in each st around. (12)
- Round 3: 1 sc, inc around. (18)
- Round 4: 2 sc, inc around. (24)
- Round 5: 3 sc, inc around. (30)
- Round 6: 4 sc, inc around. (36)
- Adjust to the size you like; add more increase rounds if you want a larger apple.
- Work even rounds for height:
- Rounds 7–14 (or more as desired): 1 sc in each st around, no increases.
This creates the middle “belly” of the apple.
- Rounds 7–14 (or more as desired): 1 sc in each st around, no increases.
- Begin decreasing to close:
- Next round: 4 sc, dec around.
- Following round: 3 sc, dec around.
- Continue: 2 sc, dec, then 1 sc, dec, gradually shaping the bottom.
- Stuff as you go:
- Add fiberfill when the opening is still wide enough; shape with your hands to keep the apple round.
- Final rounds:
- When you’re near closed, switch to invisible decreases for cleaner shaping.
- Close the final hole by weaving the tail through the remaining front loops and pulling tight, then secure.
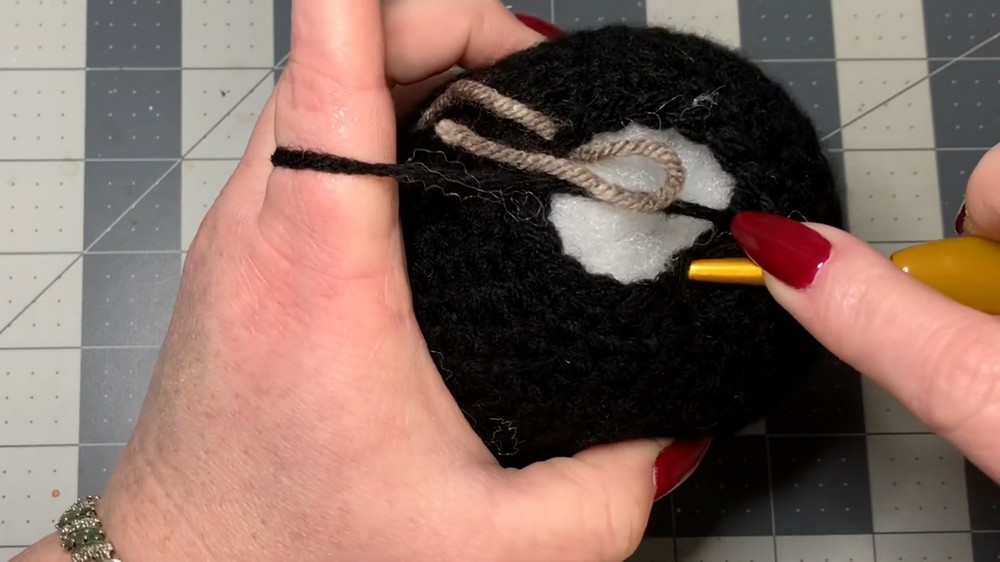
2. Indent (Optional “Apple Dimple”)
- Thread a long tail of matching yarn on a needle.
- Insert the needle from the top center down through the bottom center.
- Pull gently to create a subtle dimple; knot securely and hide ends.
This gives a realistic apple top/bottom shape.
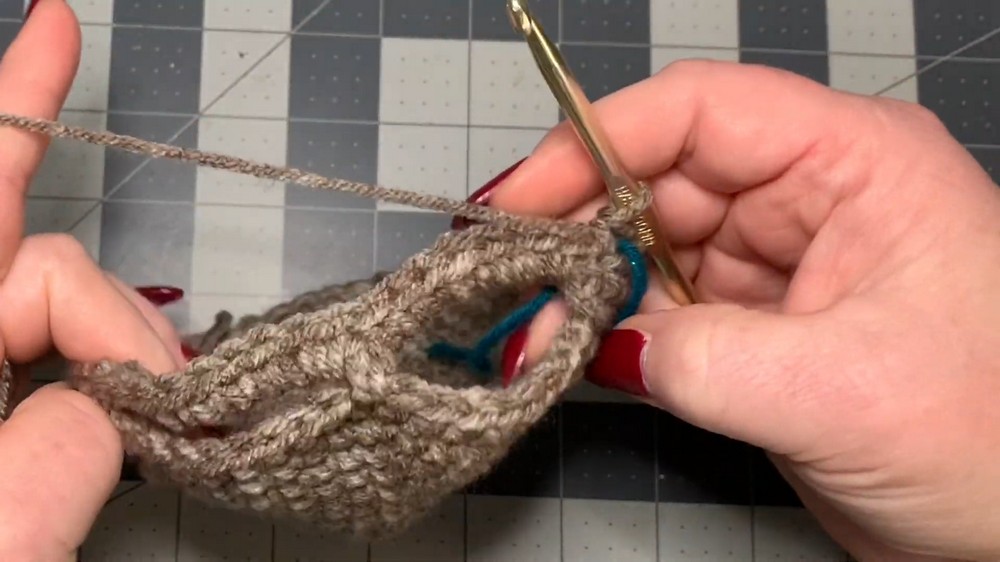
3. Skull Drip Overlay
- Base circle:
- With skull color (cream/white), make a magic ring.
- Round 1: 6 sc into ring. (6)
- Round 2: 2 sc in each st. (12)
- Round 3: 1 sc, inc around. (18)
- Round 4: 2 sc, inc around. (24)
- Adjust to match the apple’s top circumference (usually a bit smaller so it stretches snugly).
- Shape the skull face:
- Work a few more rounds with minimal or no increases so you have a slightly domed circle.
- Add eye sockets by creating small chain spaces (e.g., ch 3–4, skip 3–4 sts, sc in next), then working around them on the next round.
- Form the dripping edges:
- From the lower edge of the skull circle, ch 5–8, then sl st back down or sc back down to form “drips.”
- Vary chain lengths to make uneven, realistic poison drips.
- Work around the lower edge, adding several drips of different lengths.
- Finishing the overlay:
- Fasten off and leave a long tail for sewing.
- Lightly block or gently flatten if needed so the overlay sits nicely on the apple.

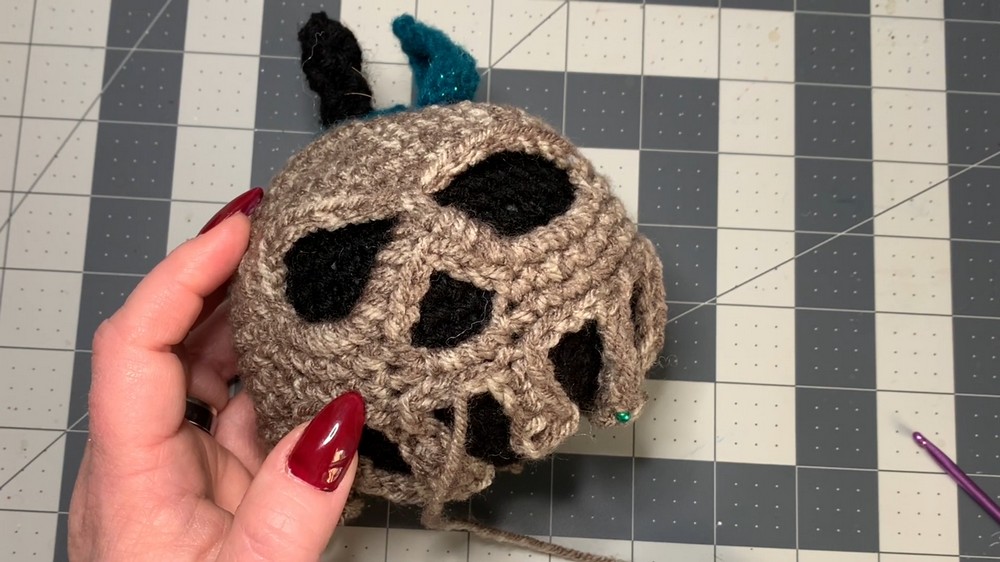
4. Attach the Skull Overlay
- Position the skull on top of the apple so the face and drips fall naturally.
- Pin in place if desired to keep it centered.
- Using the long tail and a yarn needle, sew around the edges, catching only a small amount of apple stitches so the seam is neat.
- You can tack down a few drips for security, or leave them free for a more fluid look.
- Adjust and smooth as you go to keep the skull symmetrical.
5. Stem
- With brown yarn, attach at the apple’s top center.
- Option A – Simple stem:
- Ch 5–6, turn, sl st back down the chain; fasten off and secure.
- Option B – Slightly thicker stem in the round:
- Round 1: Magic ring, 4–5 sc. (4–5)
- Rounds 2–4: 1 sc in each st around.
- Stuff lightly if desired, sew to top of apple.
- Sew firmly so the stem stands upright or has a slight curve.
6. Leaf
- With green yarn, ch 6.
- Work back along the chain:
- Row: sc in 2nd ch from hook, hdc in next, dc in next, hdc in next, sc in last.
- Optional: Turn and work along the other side of the foundation chain to create a full “leaf oval.”
- Fasten off, leaving a tail to sew.
- Attach the leaf at the base of the stem, angling it outward for a cute finish.
Troubleshooting & Suggestions
Common Issues & Fixes
- Gaps in fabric/stuffing showing:
Use a smaller hook than the yarn label suggests (e.g., 3.5–4 mm with worsted). Keep tension firm but comfortable. - Uneven round shape:
Make sure you’re counting stitches each round and placing increases/decreases evenly. If it leans, adjust stuffing and gently shape with your hands. - Skull overlay too loose or too tight:
If it’s too loose, redo with a smaller hook or one fewer increase round. If too tight, add an extra increase round or one more increase in a few spots. - Messy color transitions where skull meets apple:
Since the skull is sewn on, keep the seam under the overlay edge. Sew with small, invisible stitches and avoid pulling too tight.
Creative Modifications
- Color Variations:
- Classic: Red apple + cream skull.
- “Dark magic”: Black apple + neon green skull.
- Candy style: Pastel apple + soft pink or mint skull.
- Extra Embellishments:
- Embroider a tiny nose, teeth, or cracks on the skull.
- Add safety eyes or embroidered eyes for a more “alive” skull.
- Sew a loop at the top to turn it into a hanging ornament or keychain.
- Adapt to Other Uses:
- Leave unstuffed and lightly filled to use as a sachet or lavender pouch.
- Attach a long chain to turn it into a bag charm.
- Make mini versions as Halloween garland or party favors.
Conclusion
This poisoned apple pattern is a delightful mix of creativity and simplicity, making it perfect for showcasing spooky charm or practicing amigurumi techniques like shaping and embellishing. Whether you stick to the eerie classic design or personalize it with colors, textures, and added details, this project is bound to spark your imagination.