Create a festive “Little Monster Halloween Lantern” that’s perfect for adding spooky charm to your decorations! With clever shaping techniques, detailed embellishments, and a sturdy structure, this lantern balances cuteness and creativity, making it a standout crochet pattern.
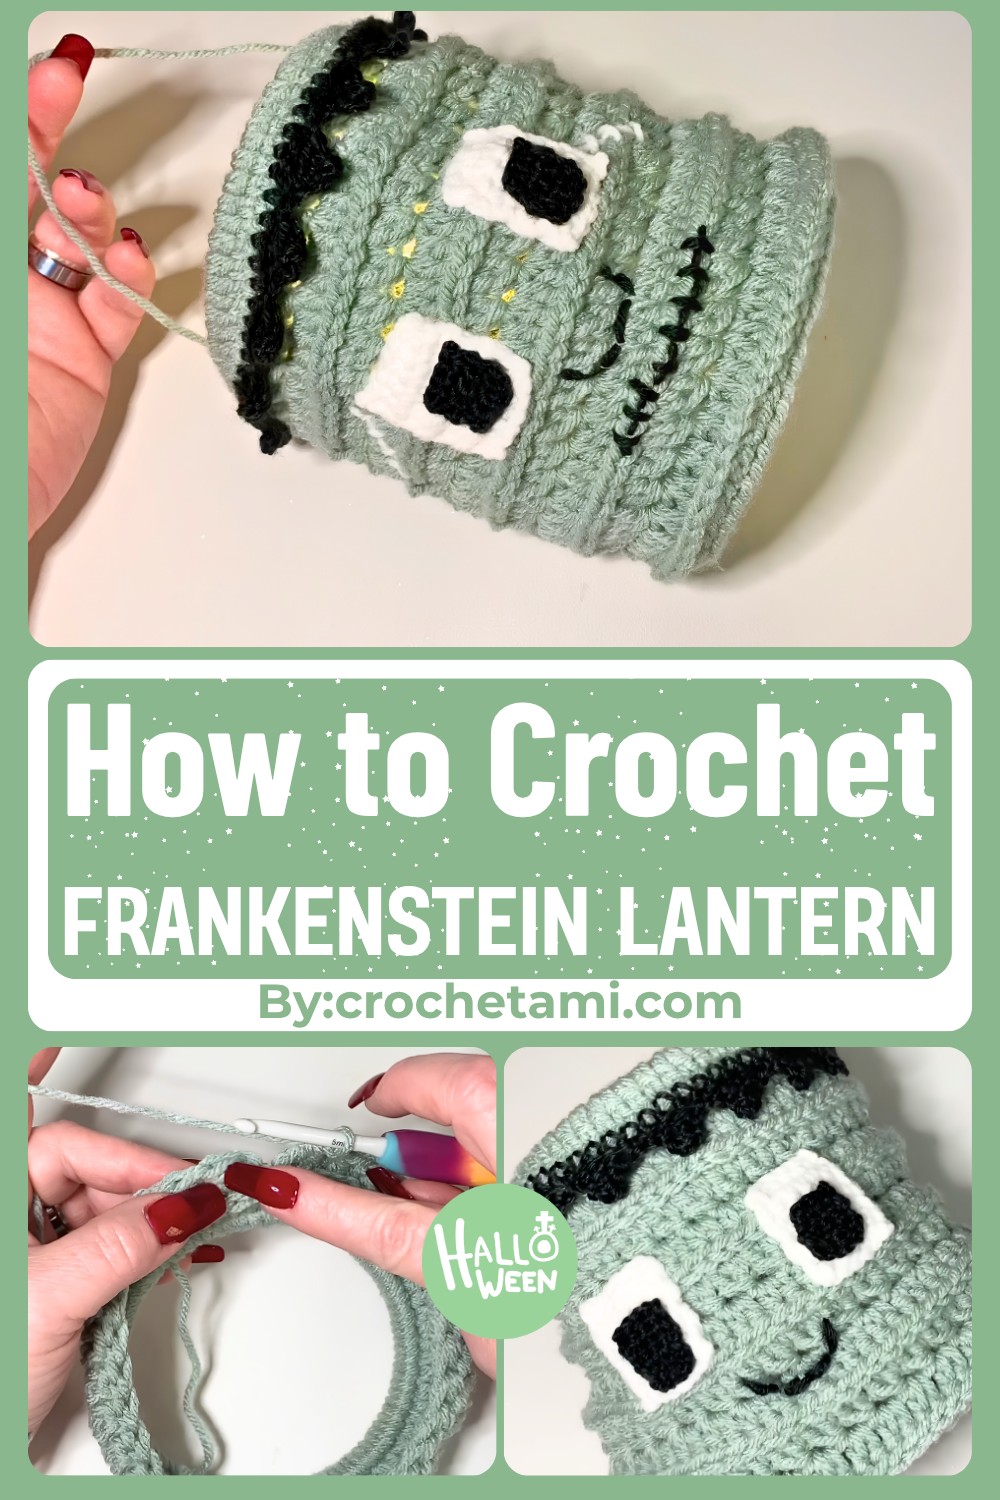
Spooky Crochet Halloween Lantern
This crochet Halloween lantern is more than just decorations—it’s a little spooky, completely adorable, and filled with fun details! Shaped like a friendly Frankenstein monster, it’s the perfect way to bring Halloween spirit into your home. You can light it up with tiny LED string lights, making it extra special and ready to shine in the dark.
The lantern’s clever design, with its sturdy ridges and built-in basket for lights, ensures it stays upright while looking amazing. Hang it on a porch, place it on a shelf, or display it as a centerpiece at your Halloween party. It’s an easy yet rewarding crochet item that adds a homemade touch to your seasonal décor.
Credit Custom Comfy Crochet By Dawn Marie
Why You’ll Love It
- Creative and Unique: The Frankenstein-inspired design makes this lantern stand out and gives it plenty of personality.
- Practical Use: The built-in holder keeps LED lights or tea candles secure and ensures the glow shines beautifully through the crochet stitches.
- Seasonal Fun: Perfect for Halloween decorating, whether indoors or outdoors.
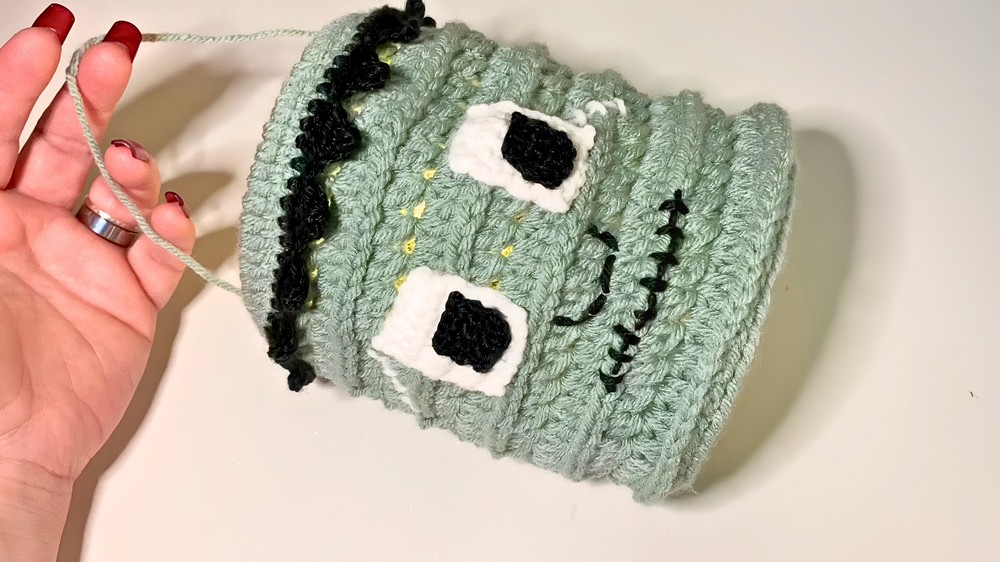
Materials & Tools Needed
- Embroidery Hoop: Used to form the sturdy framework.
- Darning Needle: For weaving ends, assembling details like the face and straps.
- Scissors: Standard for trimming ends.
- Hooks:
- 5 mm hook: For the main structure and larger stitches.
- 3-3.25 mm hook (optional): Works well for detailed embellishments, especially the monster’s features.
- Yarn:
- Main body color (e.g., green): Soft and durable yarn in your chosen spooky hue.
- Black yarn: Thin, ideal for details like facial features.
- String lights: Battery-operated LED string lights (better if slightly bulkier to illuminate colored yarn effectively).
- Optional: Marker (for drawing facial features to sew over) and bobby pins to hold parts in place during assembly.
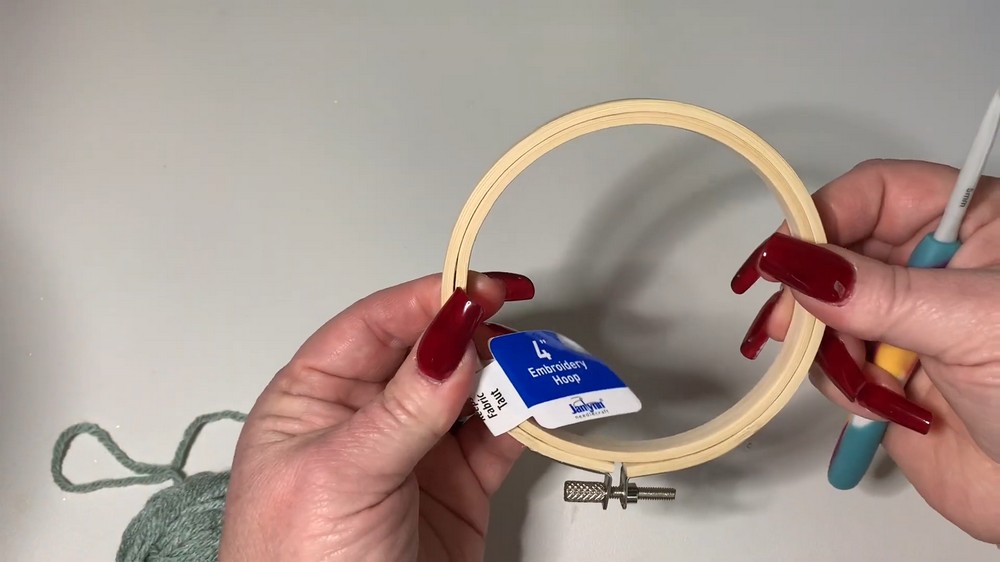
Pattern Highlights
- Framework start: Use an embroidery hoop as a base and work single crochet stitches around it for a solid structure.
- Ridge detailing: Clever use of back-loop-only double crochets and decreases create ridges for a realistic “lantern” shape.
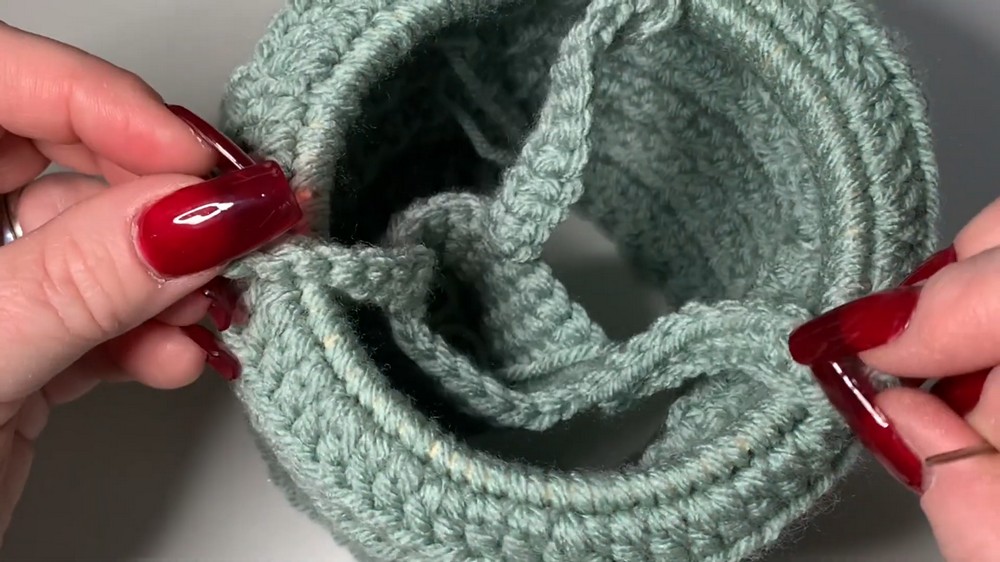
- Interior basket: A custom crochet basket inside holds a battery or candle securely.
- Hair and facial features: Includes techniques like back-post stitches, single crochets, and chains to add expressive facial details and fun texture designs for hair.
- Final assembly: Add a hanging loop to display your creation anywhere you like, and insert string lights or candles for a festive glow!
How to Make It (Simplified Overview)
First, crochet the lantern’s body by starting with single crochet stitches over an embroidery hoop to establish the base. This brilliant use of an embroidery hoop ensures your piece is sturdy and holds its shape. Transition into working double crochets in a specific sequence, alternating increases and decreases while crocheting into the back loops to create stylish ridges. These ridges not only give the lantern a spooky design but also reinforce its structure.
Once the main body is maked, move on to create the interior basket—perfect for securely holding a tea light candle or a battery pack for string lights. Add fun embellishments like spikey black “hair” created using chain trestle techniques, and sew on a pair of square eyes, complete with eerie black pupils. Finish with a whimsically stitched mouth and a sturdy chain loop at the top to hang your glowing monster masterpiece!
Step-by-Step Pattern: Crochet Halloween Lantern
Pattern Instructions
Step 1: Starting the Base
- Prepare the Embroidery Hoop: Place the inner ring of the hoop within reach.
- Round 1 – Secure Yarn:
- Tie your yarn around the hoop and begin with a slip knot.
- Single crochet (SC) around the entire hoop evenly; aim for approximately 48 stitches (adjust if hoop size is smaller/larger).
- Slip stitch to the first SC to join and complete the round.
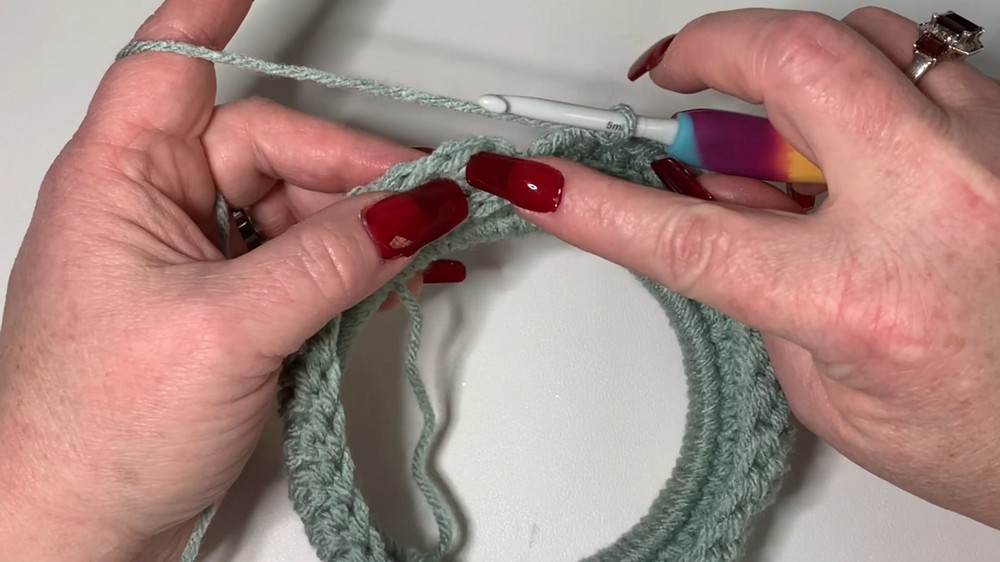
Step 2: Building the Lantern Body
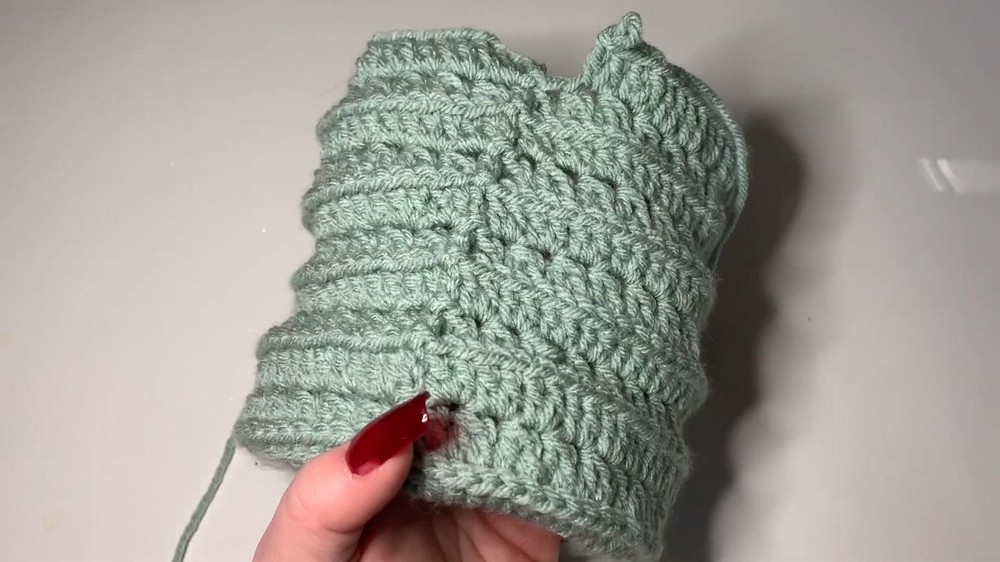
- Round 2: Create ridges for the body’s texture.
- Chain 2 (does not count as a stitch).
- Crochet 1 double crochet (DC) in the next stitch, then alternate 2 DC into one stitch and 1 DC into the next stitch until the end of the round.
- Slip stitch to join.
- Rounds 3-10: Alternate pattern rounds for shaping:
- Increase Rounds (e.g., 4, 6, 8): Chain 2, make 2 DC in every stitch around.
- Decrease Rounds (e.g., 3, 5, 7, 9): Chain 2, crochet together 2 DC at a time using back-loop-only stitches.
- This alternation creates the rippling ridge texture and builds the lantern’s strong shape.
Step 3: Closing and Shaping the Top
- Round 11 – Final Round:
- Chain 2. Crochet 1 DC in each stitch around, alternating occasional increases (2 DC in one stitch) to smooth the top edge.
- Slip stitch to secure and finish off the body.
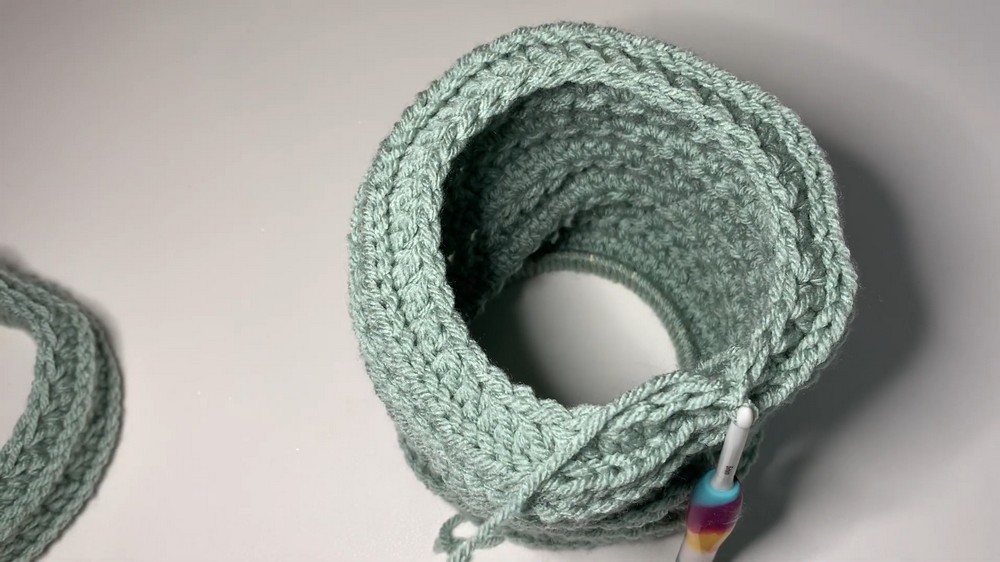
Step 4: Creating the Lid
- Lid Base (Magic Circle):
- Make a magic ring with your yarn and crochet 6 SC into the circle. Pull tightly to close the ring.
- Work in the round, increasing evenly (e.g., 2 SC in each stitch) until your lid covers the top of the lantern snugly.
- Ridges on the Lid: Attach detail by adding a round of back-post crochet stitches to match the lantern’s ridged theme. Fasten off and weave in ends.
Step 5: Adding Hair
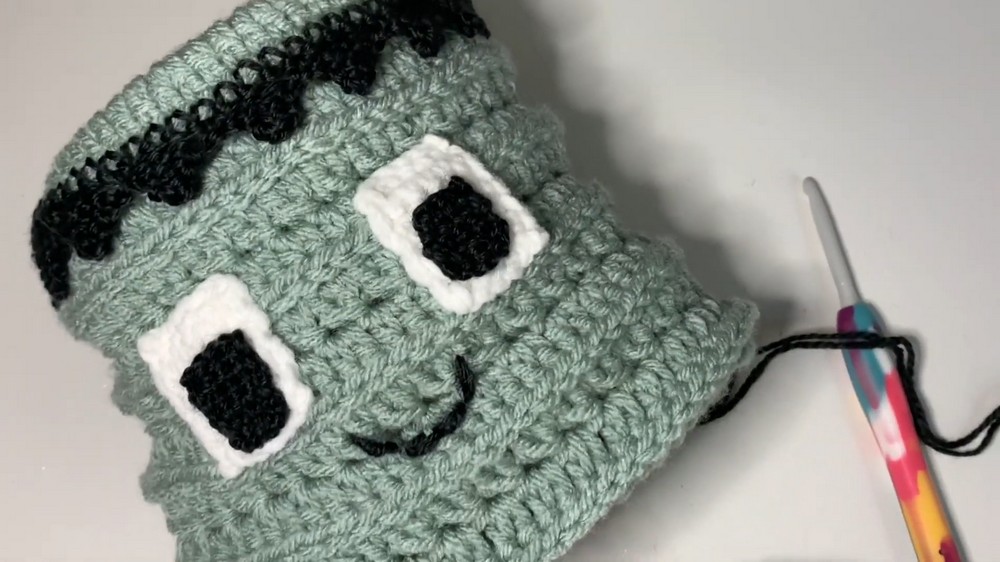
- Attach black yarn to the top edge of the lantern. Continue with hair triangles:
- Chain 5 and crochet into the chain as follows: SC, half-double crochet (HDC), double crochet (DC), and treble crochet (TR).
- Skip 3 stitches and attach the triangle with a slip stitch. Repeat around to create spiky hair!
Step 6: Crafting Facial Features
- Eyes:
- Crochet small green squares (start with a magic circle, build SC rounds).
- Make smaller black squares/pupils or embroider pupils with black yarn. Attach symmetrically.
- Mouth:
- Stitch a smiling mouth using yarn and needle. Use vertical dashes to mimic “stitches.”
Assembly & Finishing
- Insert string lights or a battery-operated candle inside the lantern.
- Crochet a sturdy hanging loop at the top using chains (e.g., Chain 20, slip stitch back over to reinforce).
Additional Options
- For a multi-color effect, alternate yarn colors while crocheting the body rounds.
- Attach fun embellishments, like small crocheted pumpkins or ghosts, to hang from the lantern loop.
Troubleshooting and Suggestions
- Rippling on the body: Don’t worry if the lantern’s body seems uneven—it’s intentional for creating texture and shape.
- Loose ridges or gaps: Tighten tension slightly, especially when working back-post stitches for the ridges.
- Lighting options: Use thin fairy lights for gentle light, or place colorful battery tea lights inside for a bold look.
Creative Modifications:
- Try experimenting with different colors—how about purple or grey for your Frankenstein lantern?
- Change the facial expression, adding wacky eyebrows or even ears!
- The design doubles as a container for candies or as a playful Halloween centerpiece.
Conclusion & Final Action Step
You’ve made it! Your Crochet Halloween Lantern is not only a fun and festive holiday decoration but also a testament to your creative skills. Try pairing it with other Halloween-themed crochet design(like ghosts or pumpkins) to make a spooky set. Display it where it can light up your home or yard and share your uniquely crafted monster with friends and family!