Learn how to craft a charming crochet star that’s not only visually stunning but also versatile in its applications.
This creative project is perfect for adding flair to festive decorations, handmade goods, or personal gifts. Its timeless design and enduring appeal make it a cherished item for any crafting enthusiast.
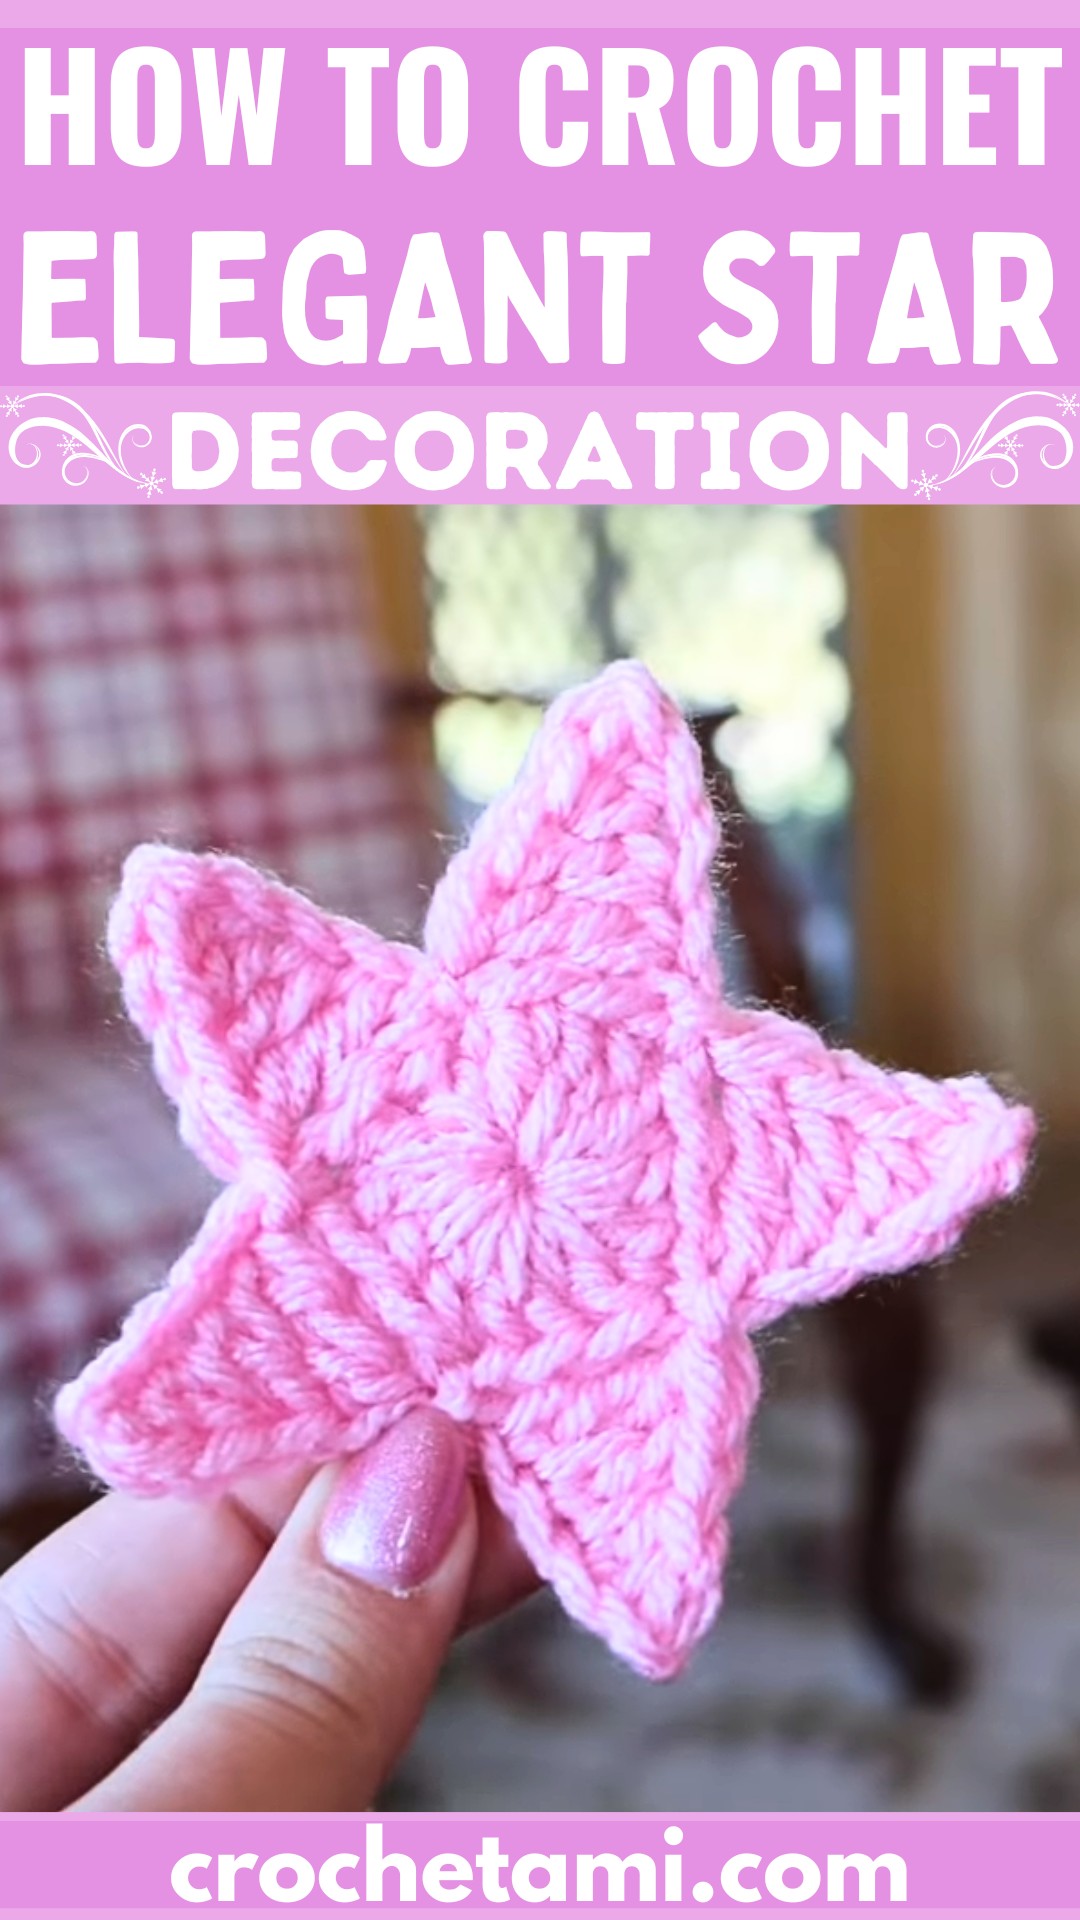
The crochet star is an elegant creation that stands out with its durability and unique texture.
Perfect as ornaments for holiday trees, wall hangings, or gift embellishments, it combines functionality with style. Its sturdy structure ensures lasting beauty, while its intricate design elevates any space.
Credit Maddy Marie
In this post, you will find a step-by-step Crochet Stars pattern along with detailed instructions. However, if you encounter any difficulties or mistakes while creating your desired design, feel free to watch the video tutorial provided at the end of the blog post.
Materials and Preparation
To crochet a tiny crochet star, you’ll need:
- Yarn: Medium-weight acrylic yarn (or any yarn you prefer; just use the recommended hook size for the yarn).
- Crochet Hook: 5 mm (H-8) crochet hook.
- Additional Tools: Yarn needle for weaving in ends and scissors for trimming excess yarn.
Abbreviations and Notes
Here are the common abbreviations used in this pattern:
- CH: Chain
- SC: Single Crochet
- HDC: Half Double Crochet
- DC: Double Crochet
- TR: Triple Crochet
- SL ST: Slip Stitch
- YO: Yarn Over

Notes:
- This project is beginner-friendly and takes approximately 5 to 10 minutes to finish.
- If you’re unfamiliar with the magic ring technique, check out a detailed tutorial linked in the video description.
- The finished star can be used for various projects, such as decorating bags or turning them into keychains.
Gauge, Approximate Size, and Pattern Notes
Gauge:
Gauge is not critical for this project since the finished star does not need precise sizing.
Approximate Size:
The finished star is small and compact, ideal for decorative purposes.
Special Techniques:
The magic ring technique is used to start the project, allowing for a tight and adjustable center. If you’re new to the magic ring, practice beforehand or follow the linked video tutorial.
No gauge swatch is needed for this pattern.
Step-by-Step Pattern
Round 1: Magic Ring and Foundation Double Crochets
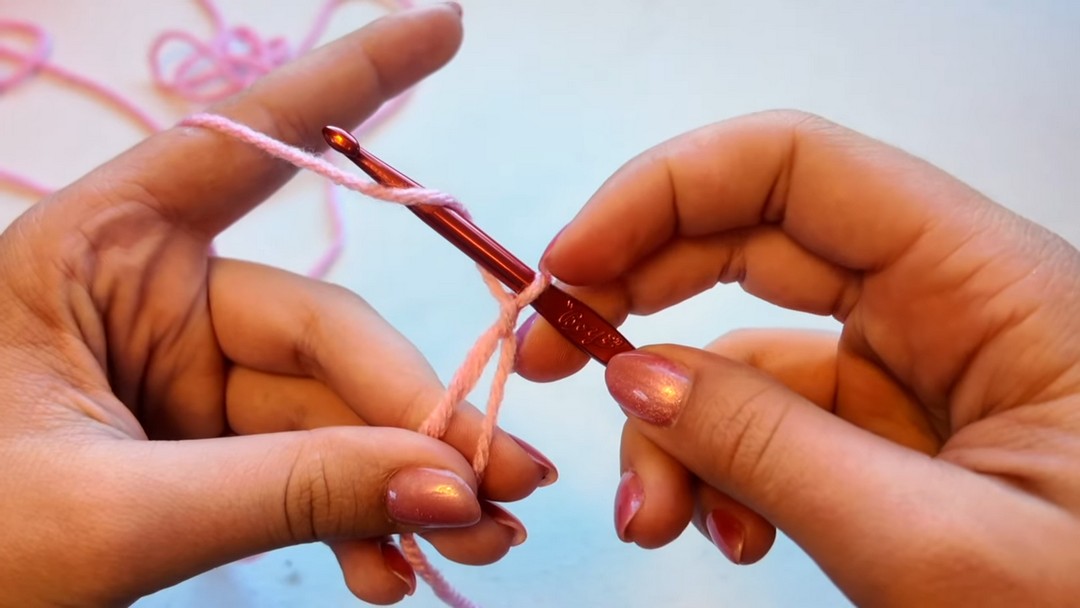
- Start with a Magic Ring:
- Wrap the yarn around two fingers to create an X shape.
- Insert your hook under the first strand and pull up the second strand of yarn.
- Twist your hook and yarn over, pulling it through the loop. Remove the ring from your fingers, creating a magic ring.
- Chain 2:
- CH 1 to secure the magic ring.
- CH an additional 1 for height.
- Create 14 Double Crochets:
- Yarn over (YO), insert the hook into the ring, YO and pull up a loop (3 loops on hook).
- YO and pull through 2 loops. YO again and pull through the remaining 2 loops.
- Repeat this process until you have 14 DC inside the magic ring.
- Tighten the Magic Ring:
- Pull the tail end of the yarn until the ring closes tightly.
- Finish the Round:
- SL ST into the top of the CH 2 made at the start.
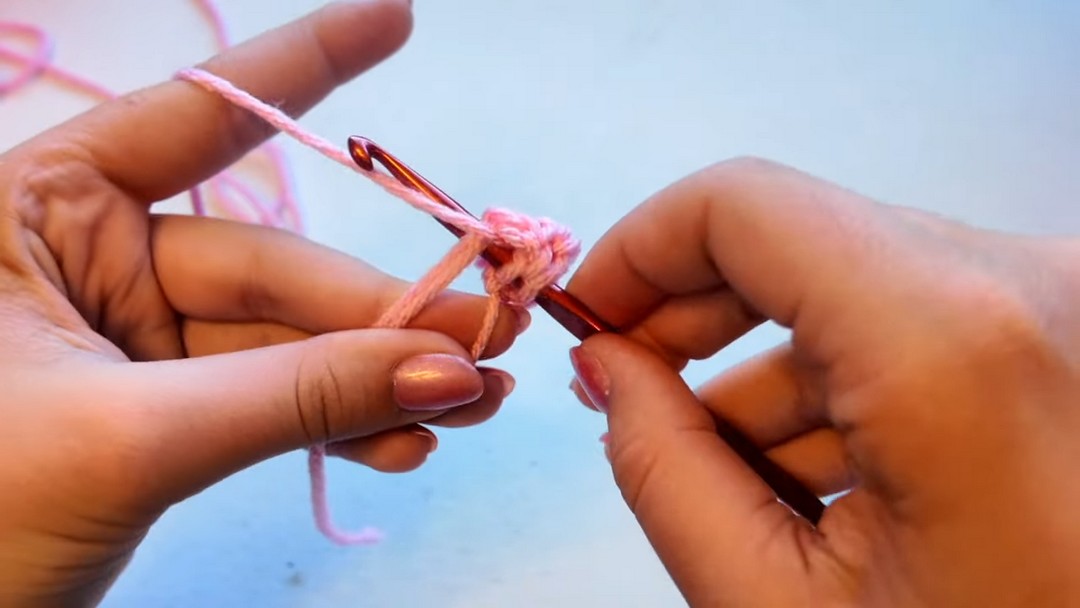
Round 2: Creating Star Points
- Chain 5:
- YO and pull through to make 5 CHs.
- Single Crochet:
- SC into the second chain from the hook.
- Half Double Crochet:
- HDC into the next chain. YO, insert the hook, YO, pull up a loop (3 loops on hook), YO and pull through all loops.
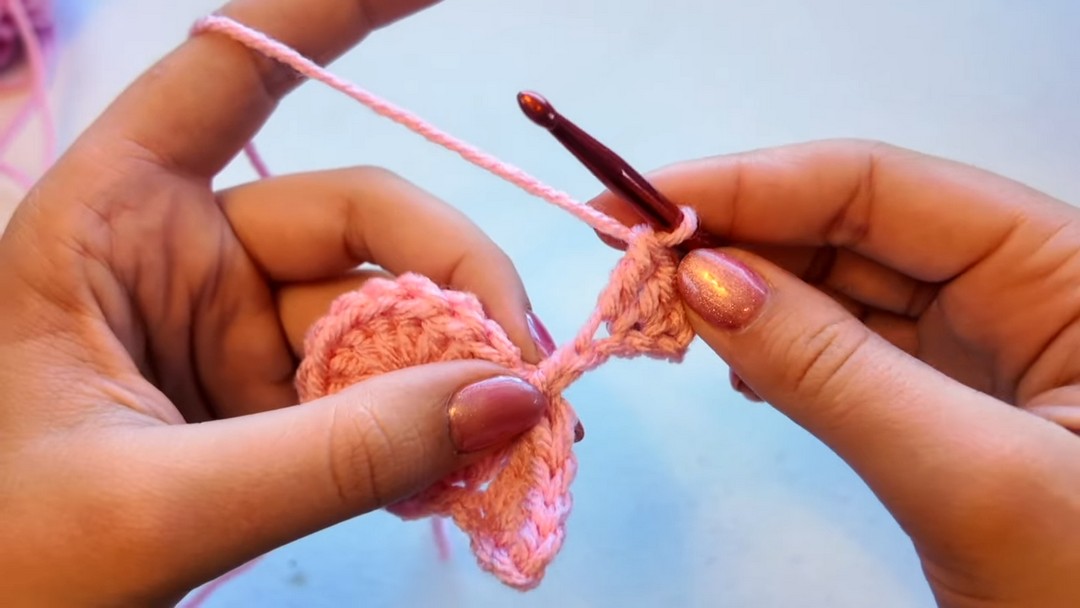
- Double Crochet:
- DC into the next chain following the steps listed above for DC.
- Triple Crochet:
- YO twice, insert the hook into the last chain, YO, pull up a loop (4 loops on hook).
- YO, pull through 2 loops. Repeat until all loops are worked off.
- Attach the Point:
- Skip the next 2 DCs in the circle at the base and SL ST into the third DC to secure the point.
- Repeat:
- Repeat Steps 1–6 for a total of 5 points around the star.
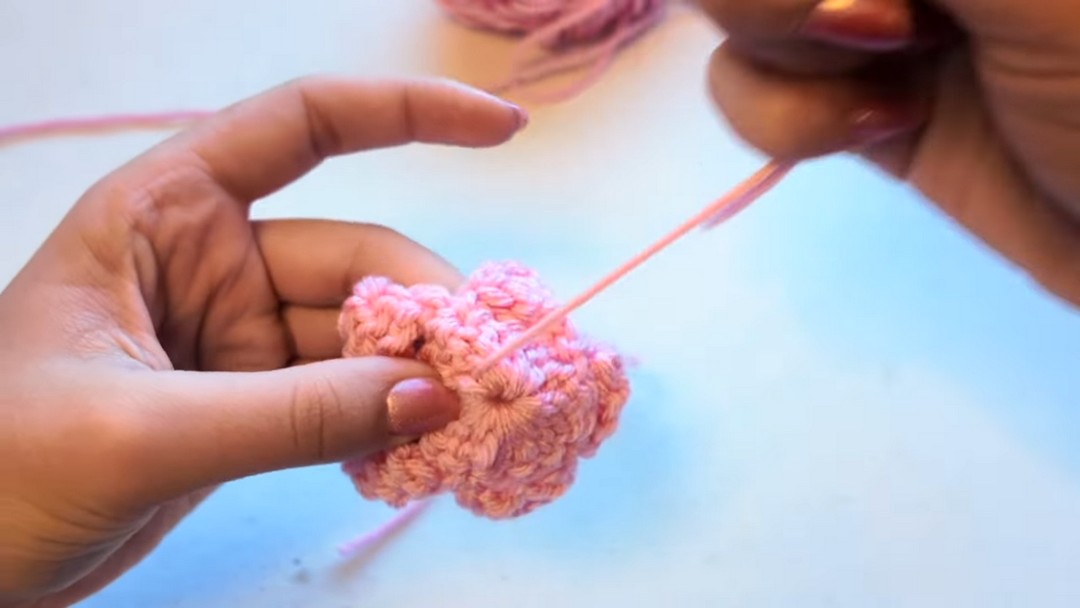
Final Steps
- Fasten Off:
- Trim your yarn, leaving a tail for weaving in ends.
- Pull the tail through the loop on the hook to secure.
- Weave in Ends:
- Use a yarn needle to weave the tails into the stitches on the back of the star.
- Shape and Flatten:
- If the points curl inward, flatten them out gently with your fingers.
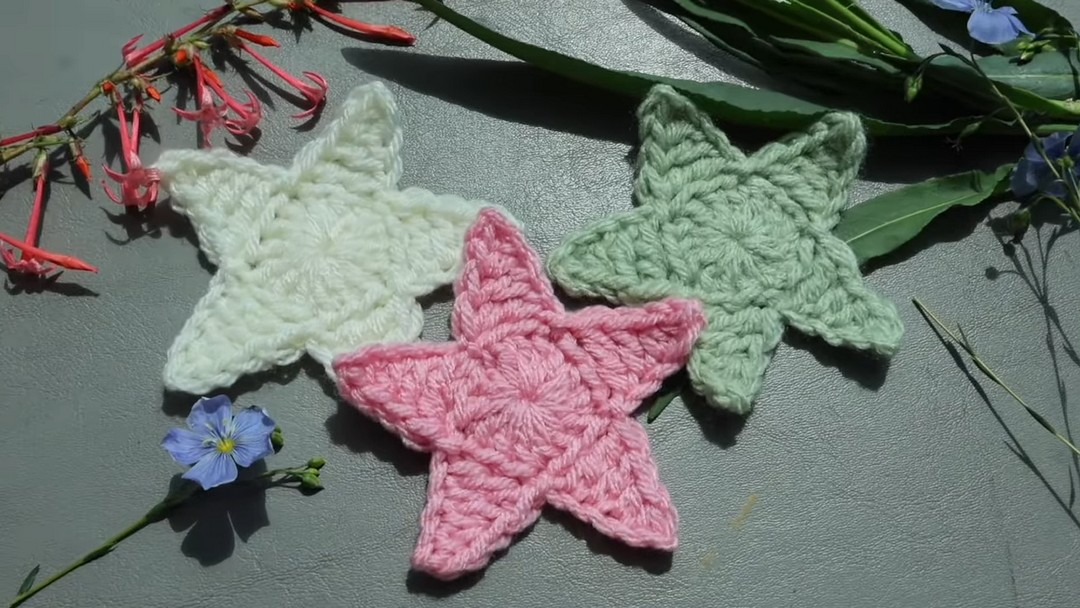
Key to Success:
- Choose high-quality yarn that accentuates texture.
- Follow the pattern instructions closely for precise results.
- Use the appropriate crochet hook for even stitches.
- Practice patience when crafting intricate details.
- Block finished stars for a polished, professional look.
Conclusion
This crochet star project is a delightful way to blend creativity and functionality. Its usability across decorations and gifts, combined with its timeless beauty, make it a must-try craft. Experience the joy of creating something meaningful with your own hands.