Sweeten your keys or bag with a tiny crochet strawberry, leafy green top, and cheerful flower that combine into a playful handmade charm.

Juicy red stitches shape this crochet strawberry into a plump little charm, while green leaves and a tiny flower add a cheerful finishing touch. Crochet lovers can use it on keys, bags, or as a cute handmade gift.
Simple shaping keeps this pattern beginner-friendly, with basic increases, decreases, stuffing, and small floral details. You’ll follow the full crochet pattern from the strawberry body to the hanging loop, leaves, flower, seeds, and keychain assembly.
Materials & Tools Needed
- Yarn:
- Red Yarn: For the strawberry body.
- Green Yarn: For the strawberry leaves and hanging chain loop.
- White Yarn: For the flower petals. If your white yarn is thinner than the rest, hold two strands together to match the weight.
- Yellow Yarn: For the flower center, or alternatively, small yellow seed beads can be used for the strawberry seeds and flower center.
- Crochet Hook: Appropriate size for your yarn weight.
- Notions & Hardware:
- Fiberfill stuffing
- Tapestry needle
- Stitch marker, or a spare piece of yarn, to mark the end/beginning of rounds
- Jump rings and keychain ring
- Instant glue, optional, for securing the flower center
Finished Size & Customization Ideas
This strawberry and flower combination is designed in a miniature size that works well as a keychain or bag charm.
For an even tinier version, use embroidery floss or size 10 crochet thread with a suitably small hook. You can also replace the embroidered yellow seeds with small yellow seed beads for a different finish.
Pattern Abbreviations & Terminology
- MR: Magic Ring
- ch: Chain
- sl st: Slip Stitch
- sc: Single Crochet
- hdc: Half Double Crochet
- dc: Double Crochet
- tr: Treble Crochet
- inc: Increase – work 2 sc in the same stitch
- dec: Decrease – work sc 2 stitches together
- st(s): Stitch(es)
- [ ]: Stitch count at the end of a round
- ( … ) x N: Repeat the instructions inside the parentheses the specified number of times

Strawberry Body
Work the strawberry in continuous spiral rounds without joining. Keep your stitch marker in place so you can easily identify the beginning or end of each round as the shape develops.
Round 1: Start with 6 sc in a MR. Pull the yarn tail tight to close the ring completely. [6 sts]
Round 2: Work 6 inc (2 sc in each of the 6 sts around). [12 sts]
Round 3: Work (1 sc, 1 inc), repeat 6 times around. [18 sts]
Round 4: Work (2 sc, 1 inc), repeat 6 times around. [24 sts]
Round 5: Work (3 sc, 1 inc), repeat 6 times around. [30 sts]
Round 6: Work (4 sc, 1 inc), repeat 6 times around. [36 sts]
Rounds 7–8: Sc in all 36 sts across 2 rounds. [36 sts per round]
Round 9 (Decrease Round): Work (4 sc, skip 1 st, 1 sc) repeat 6 times around. [30 sts]
Rounds 10–12: Sc in all 30 sts across 3 rounds. [30 sts per round]
Round 13: Work (3 sc, 1 dec), repeat 6 times around. [24 sts]
Rounds 14–15: Sc in all 24 sts across 2 rounds. [24 sts per round]

Add the Hanging Loop
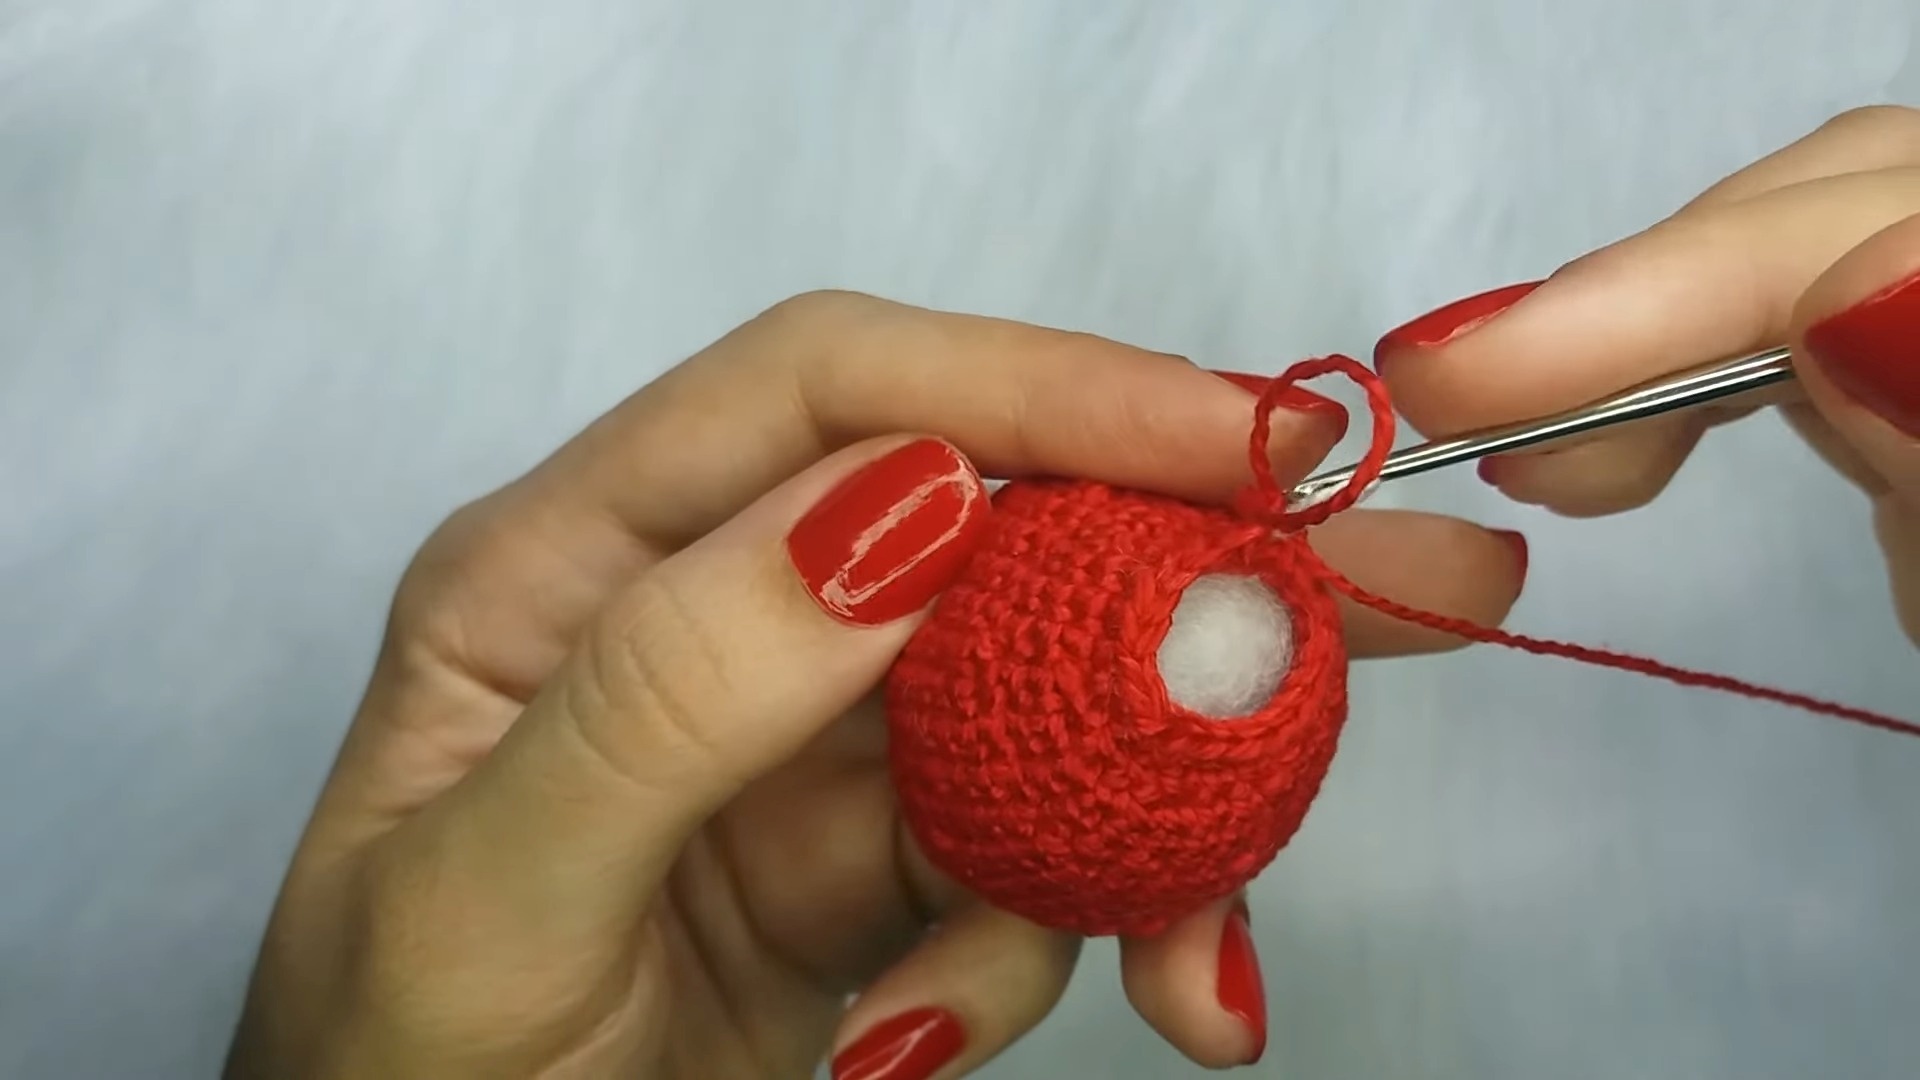
Switch to or cut the red yarn and use green yarn for the hanging loop. This loop needs to be secured before the strawberry is fully closed so it stays firmly anchored inside the top.
Step 12: Chain 10 with green yarn.
Step 13: Insert both ends of the chain securely into the top center hole of the strawberry. Tie multiple secure knots on the inside/top so the loop is firmly locked in place.
Round 16: Work (2 sc, 1 dec) repeat 6 times around. [18 sts] Begin filling the strawberry firmly with fiberfill stuffing.
Round 17: Sc in all 18 sts around. [18 sts]
Round 18: Work (1 sc, 1 dec) repeat 6 times around. [12 sts]
Rounds 19–20: Sc in all 12 sts across 2 rounds. [12 sts per round] Add a small amount of extra stuffing to fill out the shape properly without losing its neat form.
Round 21: Work 6 dec around. [6 sts]
Keep the remaining yarn tail for closing the strawberry.
Strawberry Leaves
Use green yarn to create five leaves radiating from one center ring. Their pointed shapes give the strawberry its leafy crown.
Step 1: Make a MR and chain 8.
Step 2: Working down the chain from the hook, skip the 1st chain, work 1 sl st in the 2nd chain, 1 sc in the next chain, 1 hdc in the next chain, 1 dc in the next chain, 1 tr in the next chain, another 1 tr in the next chain, and 1 dc in the final chain.
Step 3: Finish the leaf by working 1 sl st back into the MR.
Step 4: Repeat Steps 1–3 four more times so you have a total of 5 identical leaves radiating from the center ring.
Step 5: Leave a long yarn tail for sewing. Pull the MR closed tightly and secure it with a knot.
Step 6: Pass the green hanging chain loop created above through the center opening of the leaf piece. Use the long yarn tail to sew the base of the leaves securely onto the top surface of the strawberry.

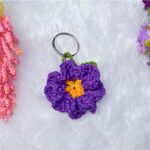
Crochet Flower
The flower adds a small white-and-yellow accent beside the strawberry. Keep the petals light and even so the flower remains proportional to the miniature charm.
White Petals
Step 1: Make a MR and chain 3.
Step 2: Work 1 tr into the MR.
Step 3: Chain 3, then work 1 sl st into the MR. This completes 1 petal.
Step 4: Repeat Steps 1–3 four more times to form a total of 5 petals.
Step 5: Pull the MR tight to close and fasten off, weaving in the ends.
Yellow Flower Center
Step 1: Make a MR with 6 sc, then pull tight to close. Fasten off.
Step 2: Attach the yellow center to the middle of the white flower petals using a small dab of instant glue or by stitching it down.
Add the Strawberry Seeds and Shape
Before attaching the hardware, give the strawberry its recognizable finishing details.
Seed Details: Embroider small seed stitches across the red body using yellow yarn, or glue small yellow seed beads onto the strawberry surface to represent the seeds.
Shaping: Gently squeeze and model the strawberry body with your fingers until you achieve a plump, even conical shape. Adjust the fiberfill from the outside as needed so the surface looks evenly filled.
Close the Strawberry
Thread your tapestry needle with the remaining tail from Round 21. Catch the front loops only of the remaining 6 stitches in an alternating pattern, then pull tightly to cinch the tip completely closed. Pass the needle through the body and trim the excess yarn.

Attach the Keychain Hardware
Once both decorative pieces are finished, connect them so the strawberry and flower hang together as one charm.
- Open a jump ring and attach it securely through the green hanging loop at the top of the strawberry.
- Open a second jump ring and attach it to one of the flower’s petals.
- Connect both jump rings onto the main metal keychain ring so the strawberry and flower hang together.
Your crochet strawberry and flower keychain is now ready to use on keys, a handbag, backpack, or as a small handmade gift.