Create your very own crochet bear, a charming and versatile project perfect for crafters of all levels.
With its adorable design and cuddly texture, this bear is a wonderful gift, keepsake, or home accessory. Customize it to suit any occasion while enjoying the relaxing art of crochet.
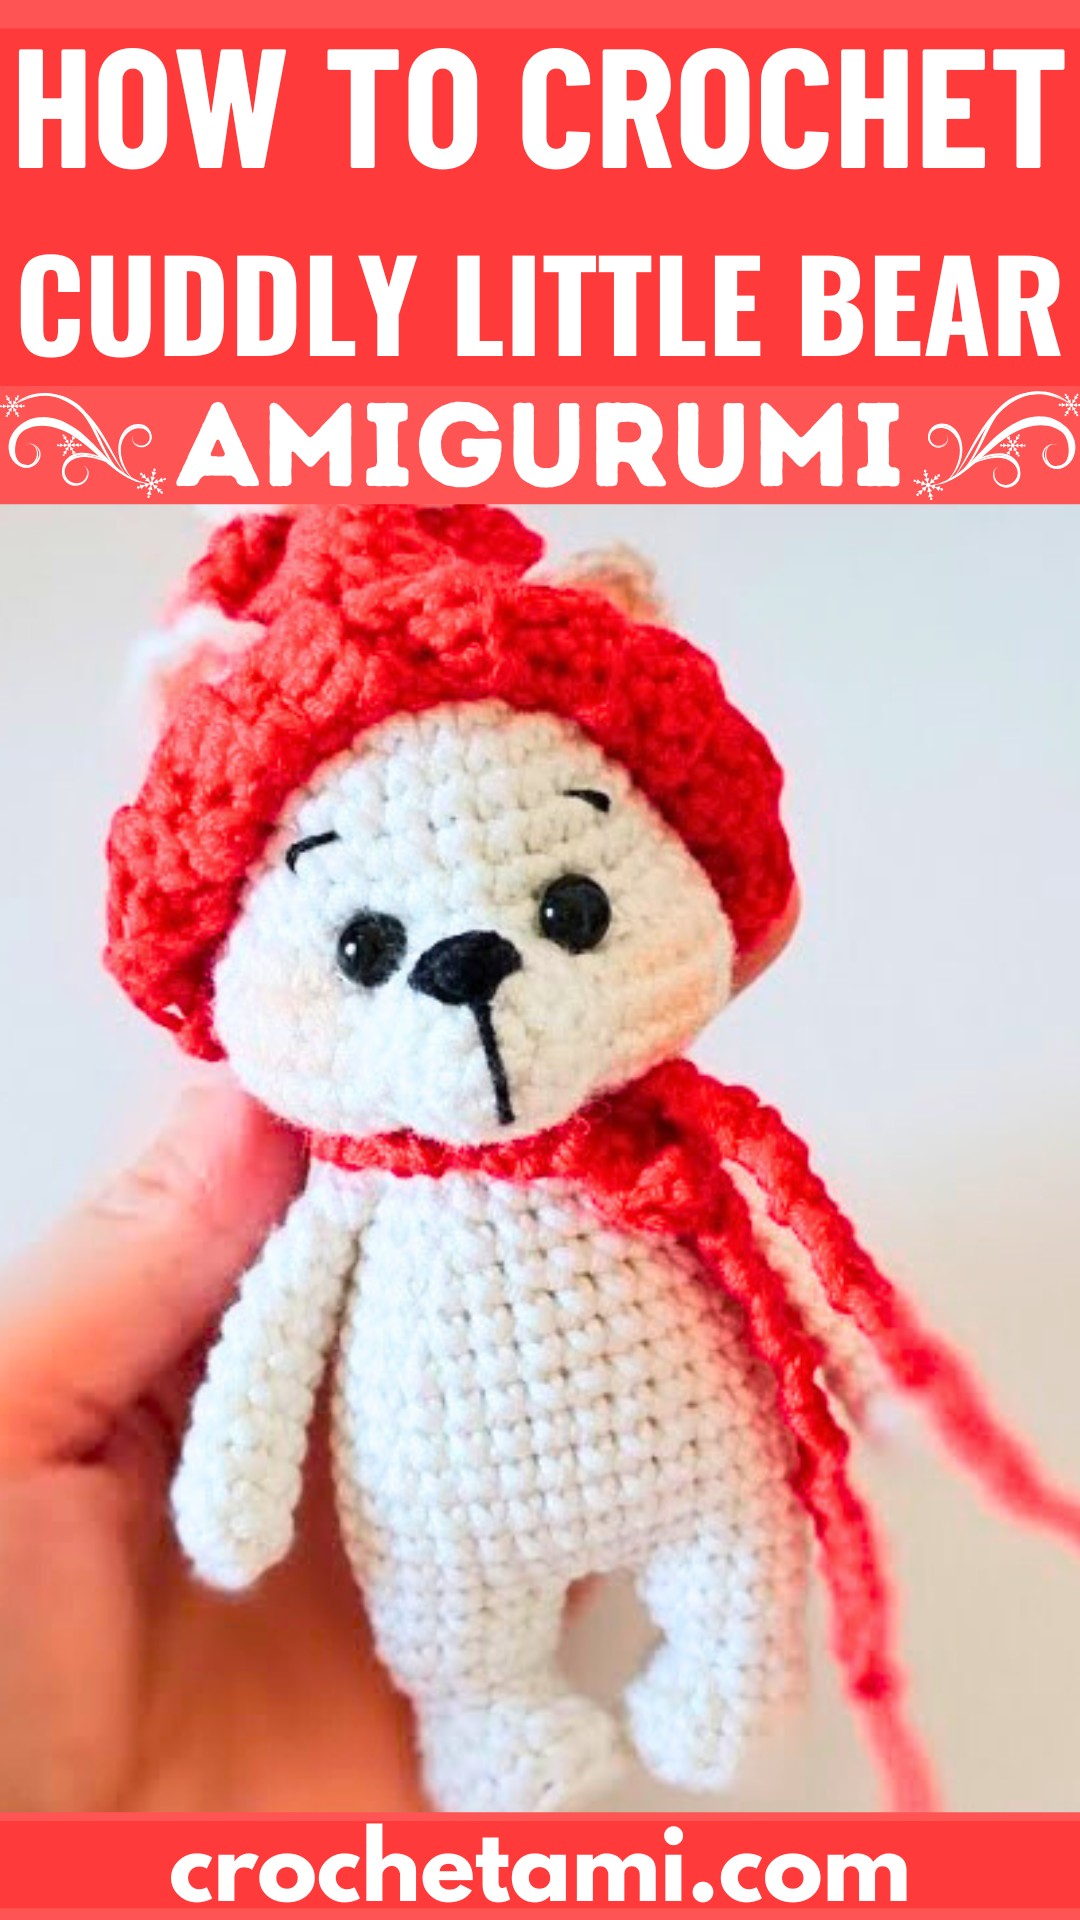
The crochet bear is not only cute but also practical! It makes a perfect gift for loved ones, a decorative piece for nurseries, or a collectible for crochet enthusiasts.
With its sturdy stitches and timeless appeal, this handmade creation is durable, customizable, and irresistibly lovable.
Credit The Kindness Company
In this post, you will find a step-by-step Crochet Bear pattern along with detailed instructions. However, if you encounter any difficulties or mistakes while creating your desired design, feel free to watch the video tutorial provided at the end of the blog post.
Materials and Preparation
Here’s what you will need to crochet Holly the Polar Bear:
Materials:
- Yarn: Worsted weight yarn (white for the body, red for accessories, black embroidery floss for details).
- Hook Size: 4 mm crochet hook.
- Stuffing: Polyester fiberfill for shaping.
- Safety Eyes: 10 mm size (optional, embroider the eyes for younger children).
- Needle: Yarn needle for sewing pieces together and weaving in ends.
- Scissors.
- Stitch Markers: To help track the beginning of rounds.
Yarn Notes:
Holly can also be crocheted with sport, DK, or plush weight yarn by adjusting the hook size. Adjusting yarn type may alter the finished size of your bear.
Abbreviations and Notes
Abbreviations:
- SC: Single Crochet
- INC: Increase (two SC in the same stitch)
- DEC: Decrease (work two stitches together)
- CH: Chain
- SL ST: Slip Stitch
- RND: Round

Pattern Notes:
- The pattern is worked in continuous (spiral) rounds unless noted otherwise. Use a stitch marker to mark the beginning of each round.
- Magic Ring Technique: The magic ring is the foundation for several pieces of this pattern. If you’re unfamiliar with it, pause to practice this technique.
- Stuff as you go: Add small amounts of stuffing at intervals (e.g., body, head, and limbs) to keep the bear’s shape even.
- Safety Eyes Alert: Safety eyes should not be used if making this toy for small children. Opt for embroidered eyes instead.
Gauge, Approximate Size, and Pattern Notes
Gauge:
Gauge is not critical for this project. Use the recommended hook for your yarn and adjust stuffing and tension for the desired firmness.
Approximate Size:
When worked with worsted weight yarn and a 4 mm hook, Holly the Polar Bear measures about 8 inches tall.
Techniques:
- The pattern includes back loop only (BLO) and embroidery for the nose and eyes.
- A gauge swatch is not necessary, as this is an amigurumi project.
Step-by-Step Pattern
Part 1: The Head
- Start with white yarn and a magic ring.
- RND 1: 8 SC into the magic ring. (8 sts)
- RND 2: INC in each stitch. (16 sts)
- RND 3: (1 SC, INC) around. (24 sts)
- RND 4-5: 1 SC in each stitch around. (24 sts per round)
- RND 6: (5 SC, INC) around. (28 sts)
- RND 7-8: 1 SC in each stitch around. (28 sts per round)
- RND 9: (9 SC, 4 INC, 4 SC, 4 INC, 7 SC). (36 sts)
- RND 10-13: 1 SC in each stitch around. (36 sts per round)
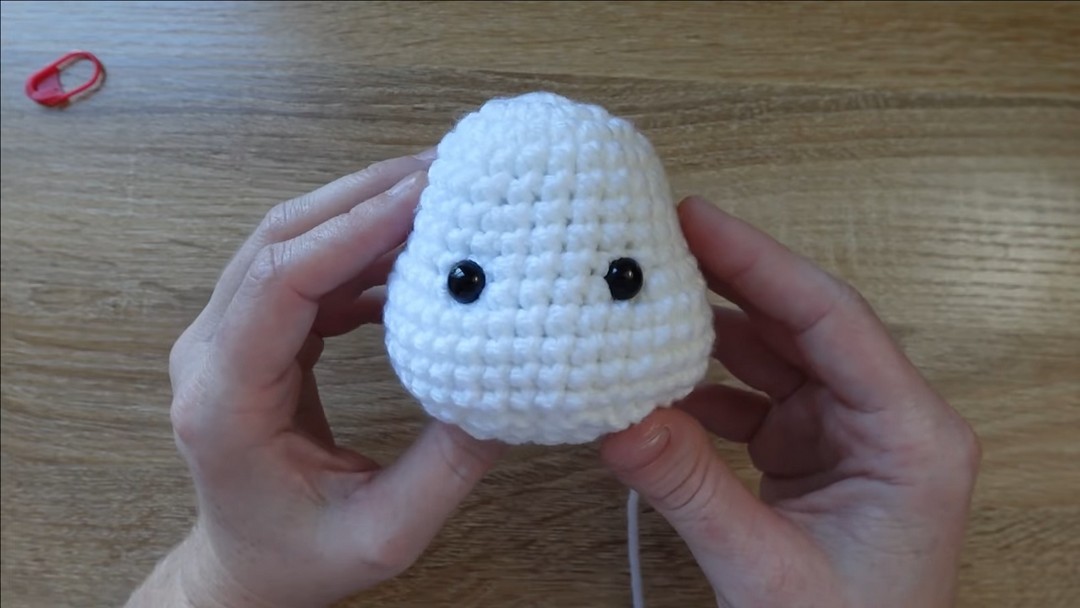
- Place Safety Eyes:
- Insert safety eyes between rows 8 and 9, spacing them about 3 stitches apart. Secure backs or embroider the eyes with black thread.
- Continue shaping the head:
- RND 14: (1 SC, DEC) around. (24 sts)
- RND 15: (2 SC, DEC) around. (18 sts)
- SL ST, cut yarn, and leave a long tail.
- Stuff the head firmly but evenly.
Part 2: Nose
- Using white yarn, create a magic ring:
- RND 1: 6 SC into the magic ring. (6 sts)
- RND 2: INC in each stitch. (12 sts)
- RND 3: 1 SC in each stitch around. (12 sts)
- Embroider the Nose:
- Use black embroidery floss to create a triangle on the nose, filling it in with long stitches.
- Add a vertical line from the triangle’s base downward for the mouth.
- Lightly stuff the nose and sew onto the head, centered below the eyes. Use pins to secure the position while sewing.
Part 3: Ears
- Using white yarn, create a magic ring:
- RND 1: 5 SC into the magic ring. (5 sts)
- RND 2: INC in each stitch. (10 sts)
- SL ST, cut yarn, leaving a tail.
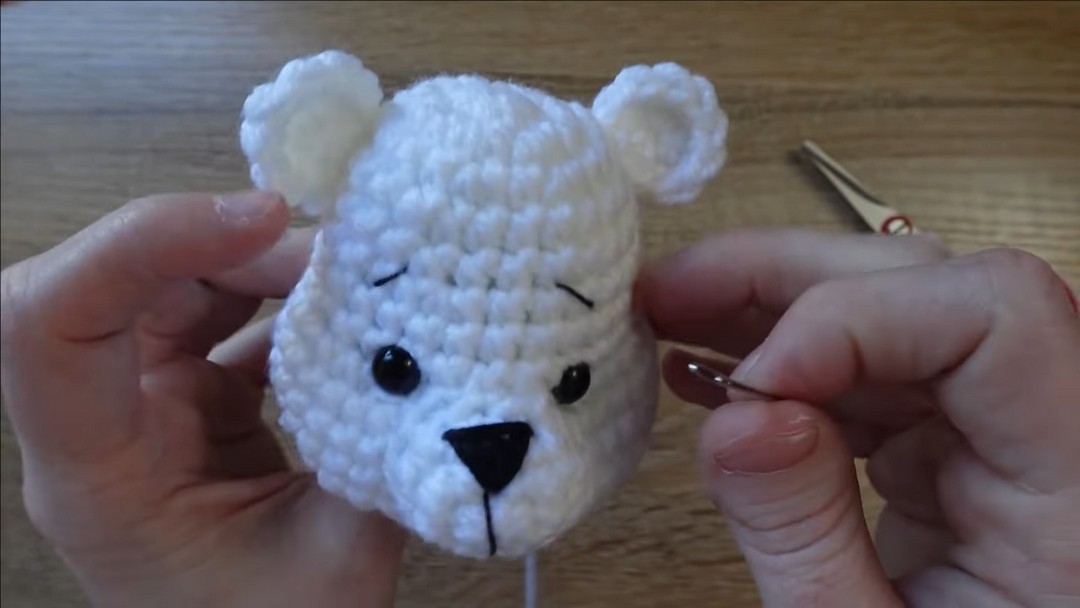
- Weave in the magic ring tail, sew onto the head between rows 3–6, spaced about 4 stitches apart.
Part 4: Body
- Using white yarn, create a magic ring:
- RND 1: 6 SC into the magic ring. (6 sts)
- RND 2: INC in each stitch. (12 sts)
- RND 3: (1 SC, INC) around. (18 sts)
- RND 4: (2 SC, INC) around. (24 sts)
- RND 5-8: 1 SC in each stitch around. (24 sts per round)
- RND 9: (4 SC, DEC) around. (20 sts)
- RND 10: 1 SC in each stitch around. (20 sts)
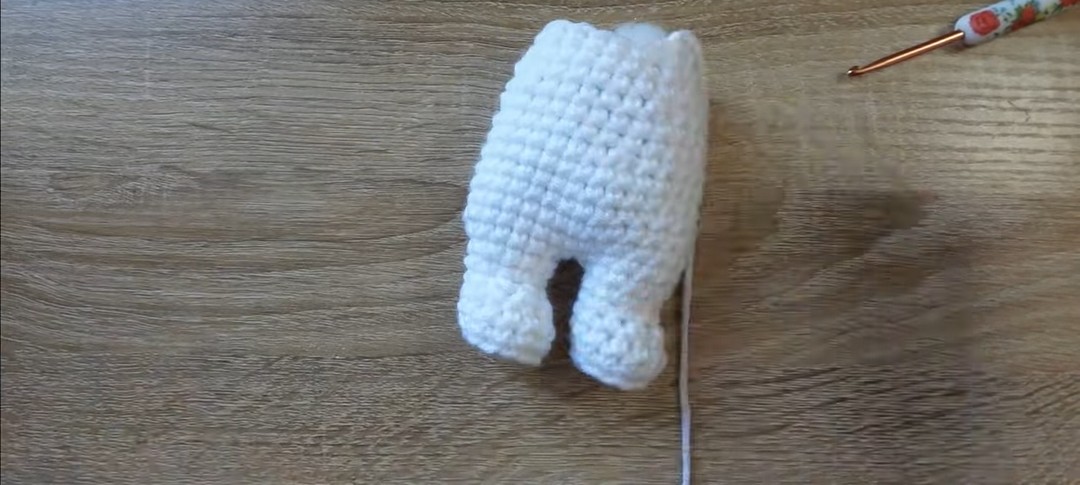
- Continue shaping and attach the legs:
- RND 11: Crochet through the legs and body stitches to join pieces.
- Stuff as you go to maintain shape.
- Fasten off and leave a long tail for sewing.
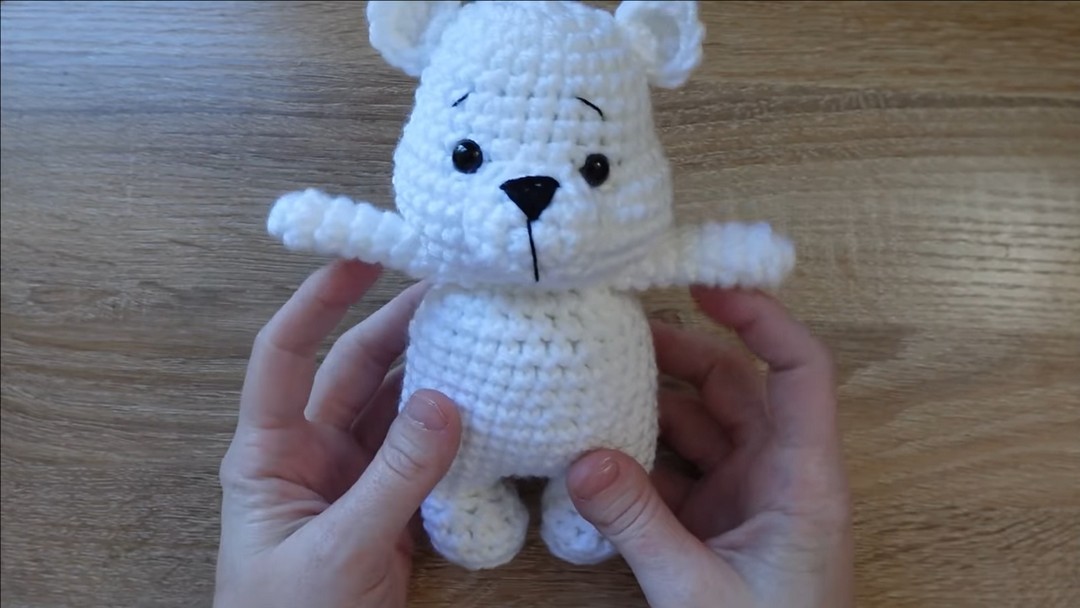
Part 5: Arms and Legs (Make 2 Each)
Arms:
- Create a magic ring:
- RND 1: 6 SC into the magic ring. (6 sts)
- RND 2-9: 1 SC in each stitch. (6 sts per round)
- SL ST, cut yarn, and leave a long tail.
- Sew arms to the body where the head and the body meet.
Legs:
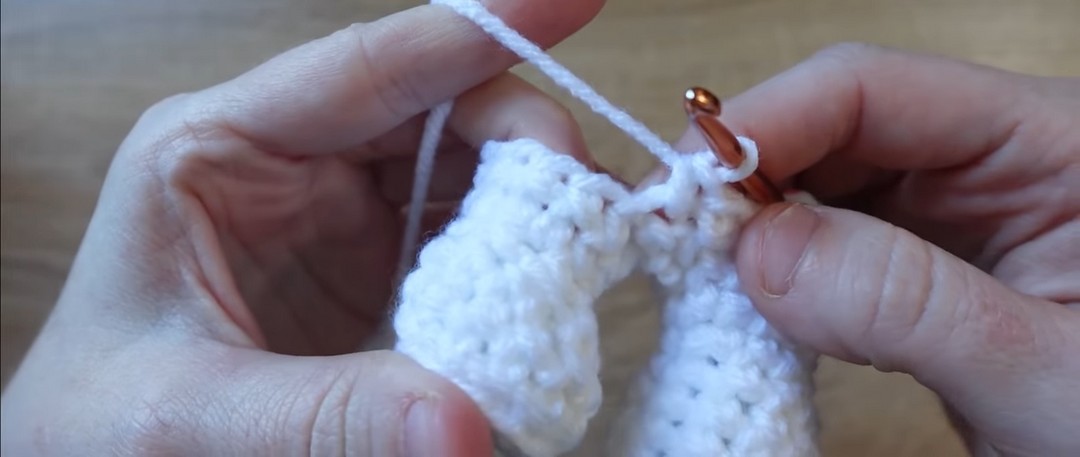
- Create a magic ring:
- RND 1: 6 SC into the magic ring. (6 sts)
- RND 2: INC in each stitch. (12 sts)
- RND 3: 1 SC in each back loop around. (12 sts)
- RND 4: (2 SC, DEC) around. (9 sts)
- RND 5-11: 1 SC in each stitch.
- Join legs to the body as described above.
Part 6: Accessories
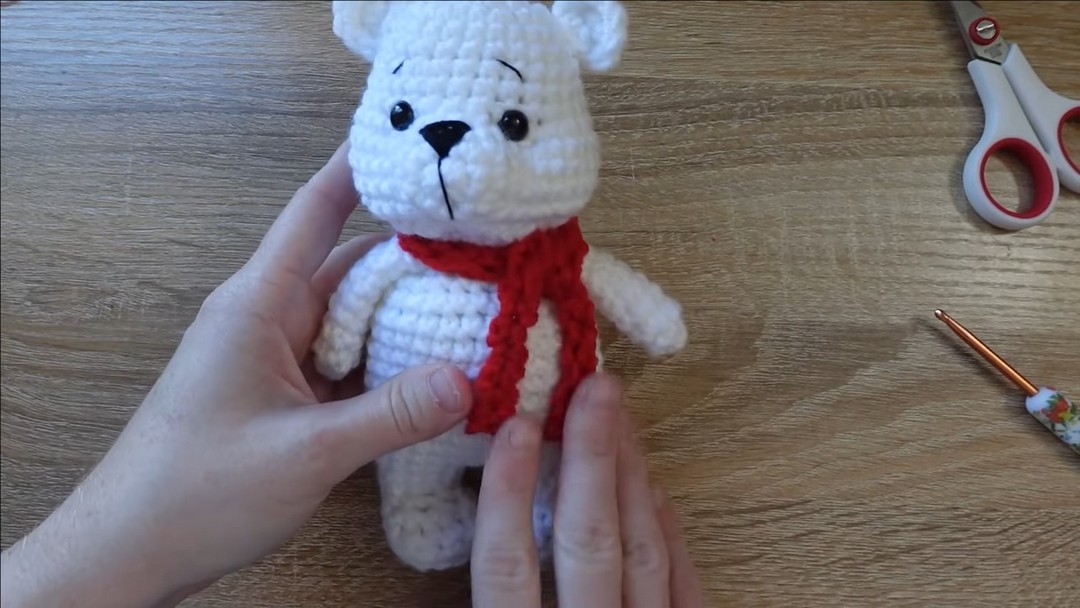
Scarf:
- Using red yarn, chain 60.
- Row 1: 1 SC in each stitch starting from the second chain from the hook.
- Row 2–5: 1 SC in each stitch, CH 1 to turn.
- Fasten off, weave in ends, and tie around the bear’s neck.
Hat:
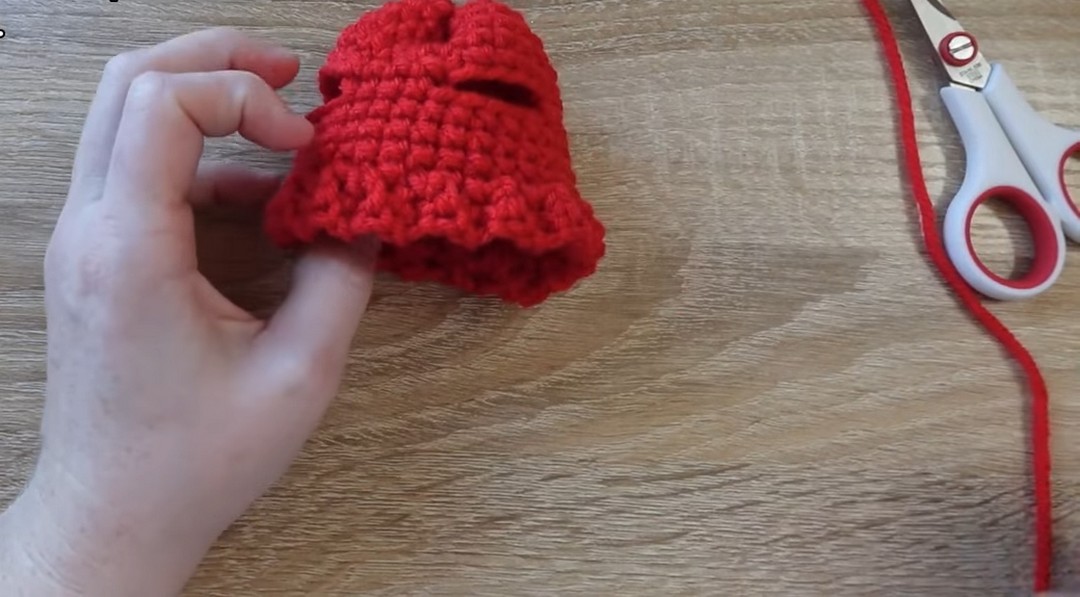
- Chain 4, and SC across for 30 rows.
- Slip stitch the edges together to form a tube.
- Add the top of the hat using circular SC rows.
- Chain 5 to create earholes in the hat and crochet additional rows as needed.
Key to Success:
- Use soft yet sturdy yarn to ensure your bear is both huggable and durable.
- Follow the pattern closely for evenly shaped limbs and body.
- Use a stitch marker to keep track of rounds.
- Stuff the bear with lightweight filling to maintain its cuddly feel.
- Add thoughtful details like embroidered eyes for added charm.
Conclusion:
Crocheting this bear brings both joy and satisfaction, making it a project worth trying. It’s not only fun to create but also a meaningful way to show someone you care. With minimal materials and infinite possibilities, this crochet bear is sure to become a favorite!