
Those tiny crochet apples make adorable keychain charms! Learn to create a stuffed apple with a shaped body, little stem, and green leaf.

Unlike a flat crochet applique, this mini apple has a softly stuffed body with a rounded shape and indented top and bottom. Its small size makes it easy to carry as a keychain charm, while the stem and leaf give it the familiar look of a freshly picked apple. Choose bright red, golden yellow, or green yarn to create your favorite variety.
Once the apple body is crocheted, you’ll close the opening, use the long yarn tail to shape its characteristic indentations, and attach the small brown stem and green leaf. The pattern uses continuous spiral rounds, basic single crochet increases and decreases, and a little embroidery-style shaping. A keychain ring completes the charm and makes it ready to attach to your keys or bag.
Credit Crochet dreamland
Materials & Tools Needed
- Yarn: 3-ply cotton or milk cotton yarn in:
- Main color for the apple, such as bright yellow or red
- Brown for the stem
- Green for the leaf
- Crochet Hook: 3 mm
- Notions & Tools:
- Fiberfill stuffing
- Stitch marker
- Tapestry needle
- Hot glue gun or sewing needle and thread
- Scissors
- Keychain ring and chain or jump ring

Pattern Abbreviations
- ch: Chain stitch
- mr: Magic ring
- sc: Single crochet
- hdc: Half double crochet
- inc: Increase – work 2 single crochets in the same stitch
- dec: Decrease – single crochet two stitches together using the invisible decrease or standard method
- sl st: Slip stitch
- st(s): Stitch(es)
- [#]: Total stitch count at the end of the round or row
Step-by-Step Crochet Apple Instructions
Part A: Crochet the Apple Body
Use your chosen main color for the apple. The body is worked in continuous spiral rounds without joining unless otherwise stated. Place a stitch marker in the first stitch of each round to help track your progress.
Round 1
- Make a magic ring.
- Work 6 single crochets (sc) into the ring.
- Pull the ring tight to close the center. [6 sts]
Round 2
Work 1 increase (inc) in each stitch around. [12 sts]
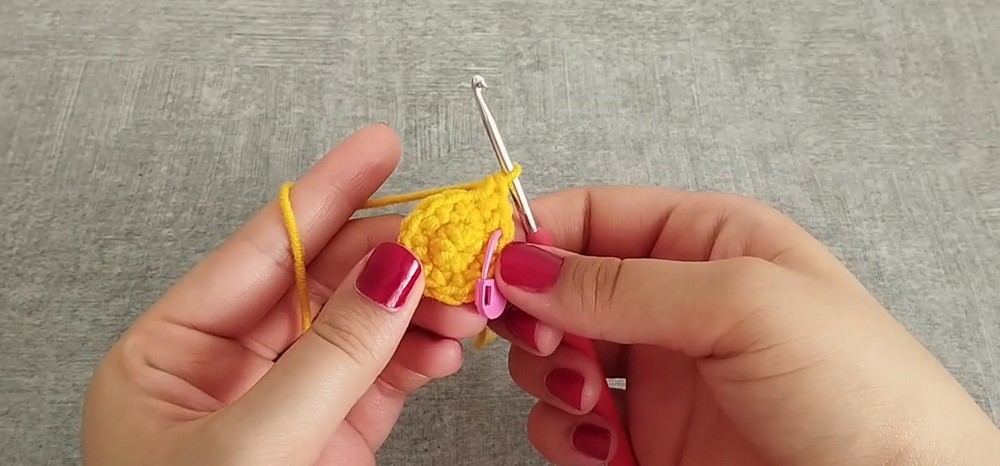
Round 3
Repeat (1 single crochet, 1 increase) 6 times around. [18 sts]
Round 4
Repeat (2 single crochets, 1 increase) 6 times around. [24 sts]
Rounds 5-10
Work 1 single crochet in each stitch around for 6 rounds. [24 sts per round]
These even rounds build the middle section of the apple and give it its rounded width.
Round 11
Repeat (2 single crochets, 1 decrease) 6 times around. [18 sts]
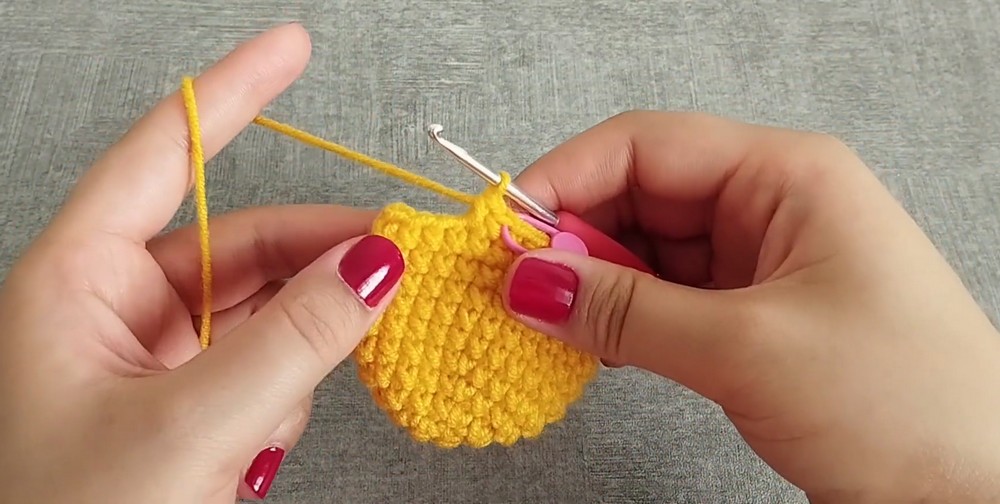
Round 12
Repeat (1 single crochet, 1 decrease) 6 times around. [12 sts]
Pause and Stuff
Before closing the apple, firmly fill the body with fiberfill stuffing through the remaining opening. Distribute the stuffing evenly so the apple holds its shape.
Round 13
Work 6 decreases in a row. [6 sts]
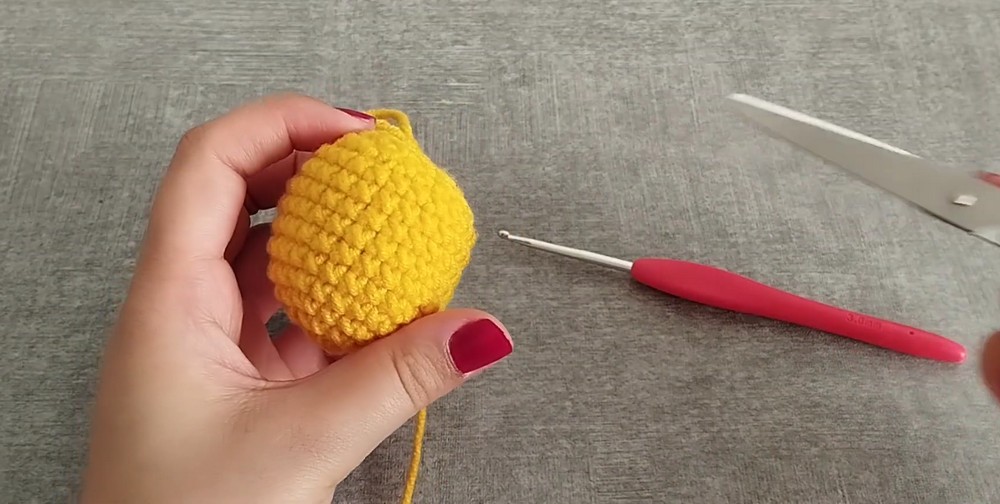
Fasten off the yarn, leaving a long tail of approximately 12-15 inches for shaping and closing.
Thread the tail onto a tapestry needle. Weave it through the front loops of the remaining 6 stitches and pull tight to close the opening completely.
Part B: Make the Brown Stem
Use brown yarn to create the small stem at the top of the apple.
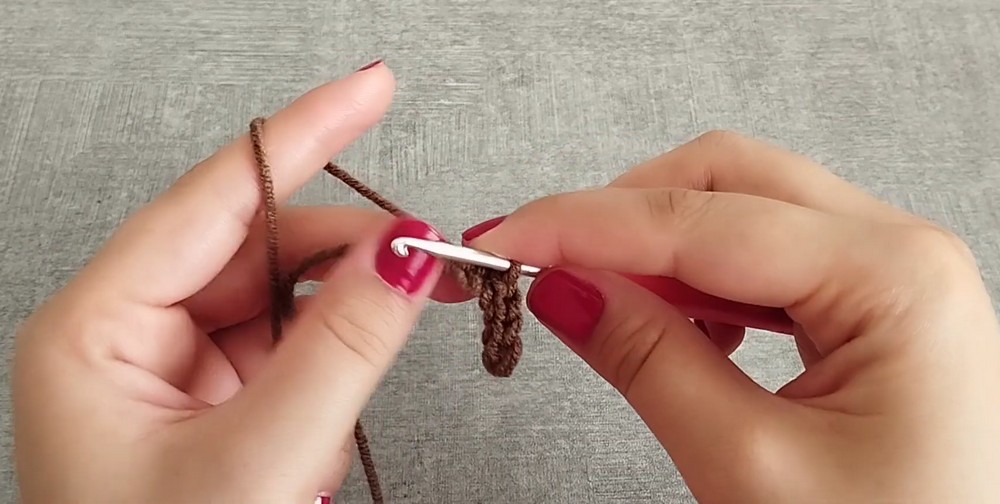
- Chain 6 stitches loosely.
- Starting in the 2nd chain from the hook, work 1 slip stitch in each of the remaining 5 chains.
- Chain 1.
- Fasten off, leaving a short tail for attaching the stem.
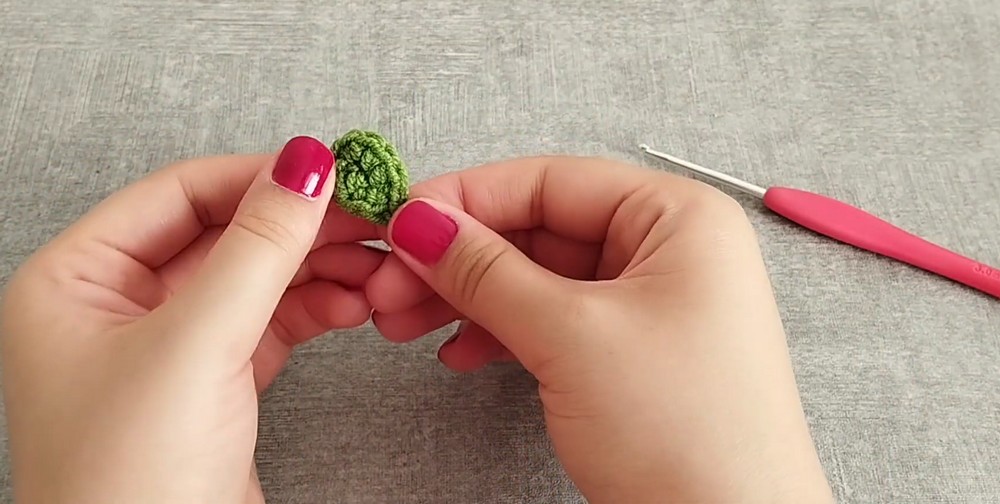
Part C: Crochet the Green Leaf
Use green yarn to make the small leaf that will sit beside the stem.
- Chain 4 stitches.
Work Along the Chain Foundation
- 1st chain from hook: Work 1 single crochet.
- Next chain: Work 1 half double crochet.
- Last chain: Work (2 single crochets, 1 chain, 1 picot, 1 single crochet) all into the same final chain.
Work Down the Opposite Side
- Work 1 half double crochet in the next space.
- Work 2 single crochets in the next space.
- Finish with 1 slip stitch into the base of the first stitch.
Fasten off, leaving a short tail for sewing.
Shape the Apple Indentations
Closing the opening gives the apple its basic rounded body, but the shaping stitches create the familiar indented top and bottom that make it look more like a real apple.
- Take the long yarn tail left from closing the apple body and thread it onto your tapestry needle.
- Insert the needle from the bottom center hole straight up through the top center hole.
- Pull the yarn firmly to compress the center and create the indented top and bottom apple shape.
- Bring the needle back down around the outside of the apple into the bottom center.
- Repeat this pull-through process across 2 to 3 different vertical segments around the body to carve out the classic chubby apple lobes.
- Secure with a tight knot and hide the remaining tail inside the body.
Pull the yarn firmly enough to create visible indentations while keeping the stuffed apple rounded.
Attach the Stem and Leaf
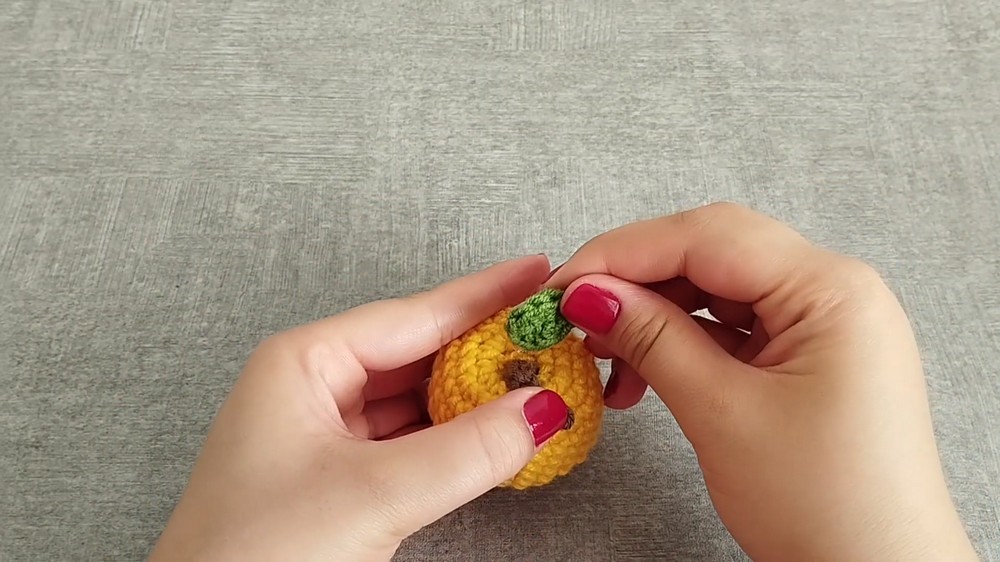
With the body shaped, you can add the two small details that complete the apple.
Attach the Stem
- Position the brown stem right in the top center depression of the apple body.
- Secure it using hot glue or stitch it down firmly with its yarn tail.
Attach the Leaf
- Position the green leaf so it overlaps the base of the stem.
- Glue or sew it securely in place.
Check that the stem and leaf sit neatly together before moving on to the keychain attachment.
Attach the Keychain Hardware
- Securely attach your keychain ring and chain to the top center of the apple.
- Anchor it around the base of the stem or stitch directly through the upper body loops.
- Make sure the attachment is secure before using the keychain.
- Ensure all glue is dry and yarn ends are fully woven in.




One Comment