Learn how to crochet a snowman amigurumi with this easy Christmas pattern, perfect for festive decor, gifts, and beginner crocheters.
Crochet a Snowman Amigurumi Pattern
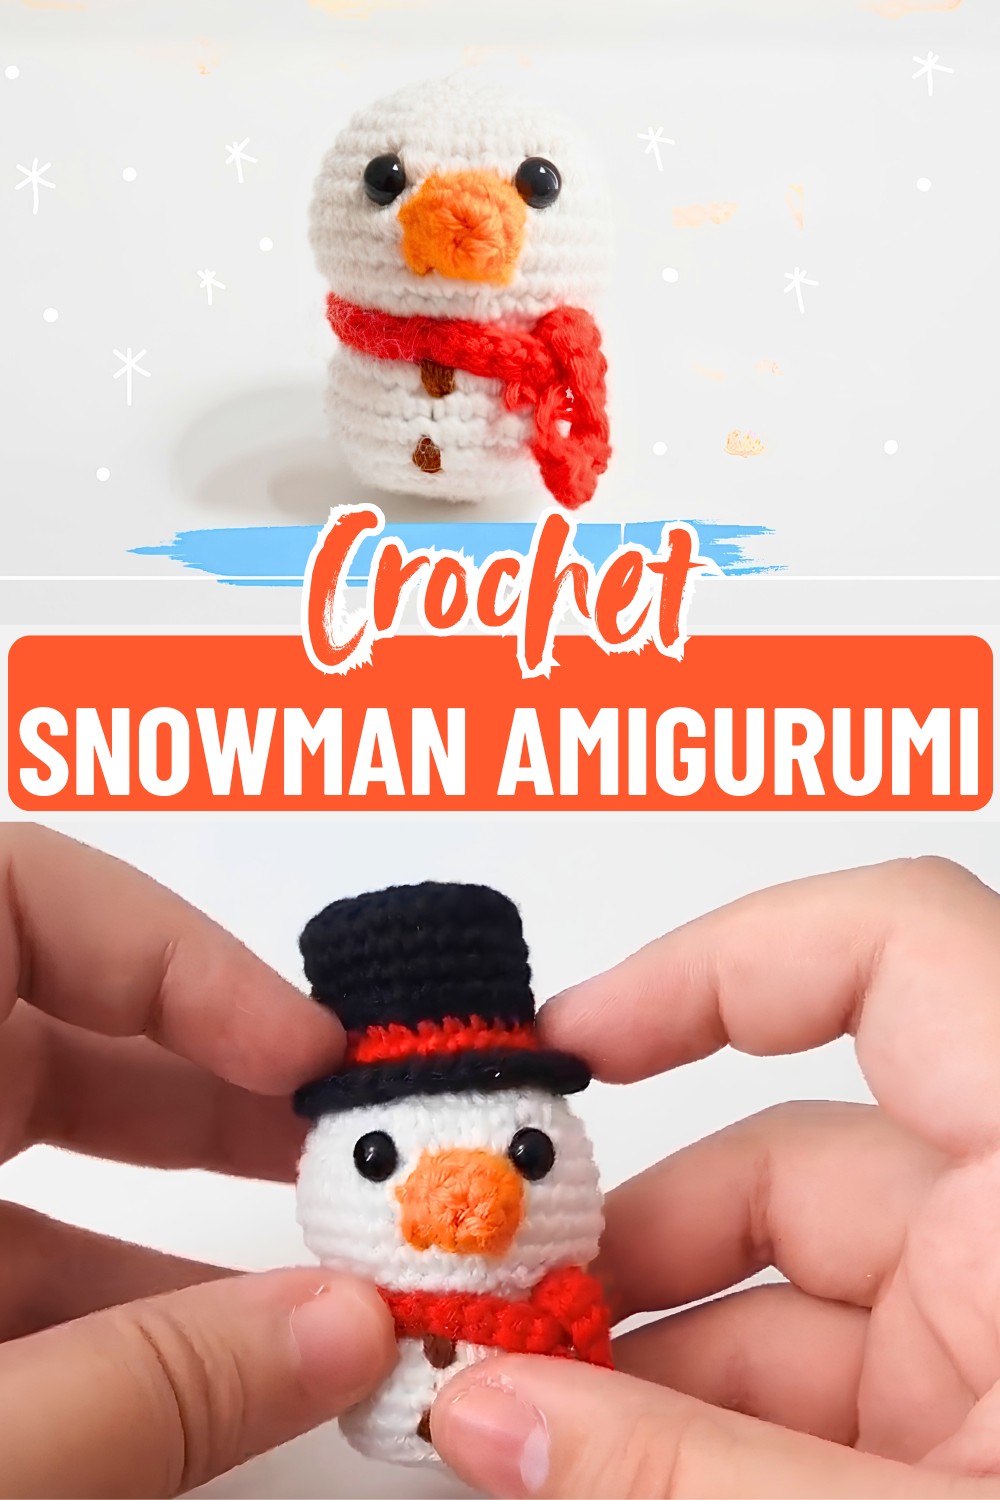
Christmas decorations become even more meaningful when they carry a handmade touch, and this crochet snowman amigurumi is a sweet example. The pattern creates a tiny snowman with a seamless head and body design, shaped through continuous rounds with simple increases and decreases. From the rounded form to the small festive details, every step brings this little crochet winter character closer to life.
This snowman amigurumi pattern is a lovely choice for creating seasonal decorations, handmade gifts, or a cheerful Christmas collection. The beginner-friendly construction allows you to enjoy making the crochet snowman. While adding details like the carrot nose, embroidered buttons, and tiny red scarf that complete its festive look.
Credit Lyn Crochet Journal
Materials & Tools Needed
- Yarn: Sport weight yarn in White, Brown, Orange, and Red
- Crochet Hook: Size 3 (2.25 mm) or another size to achieve tight amigurumi stitches
- Safety Eyes: One pair of 6mm safety eyes with matching washers
- Filling: Polyester fiberfill stuffing
- Tools: Scissors, yarn needle, and straight pins (for marking placements)
- Gauge: Gauge is not crucial for this pattern, but make sure your stitches are tight enough so that the filling does not show through.

Pattern Construction & Key Features
- Seamless Head and Body:
The head transitions seamlessly into the body for a smooth, professional look. The design is worked in continuous rounds. - Loop Techniques:
Back Loop Only (BLO) and Front Loop Only (FLO) are utilized for clean edges and natural dividing lines when adding parts. - Detailed Accents:
Features include a simple carrot-shaped nose, embroidered buttons, and a customizable tiny red winter scarf.
Abbreviations (US Terms)
- mr: Magic ring
- sc: Single crochet
- inc: Increase (2 sc in the same stitch)
- dec: Decrease (Invisible decrease is recommended)
- blo: Back loop only
- flo: Front loop only
- ch: Chain
- sk: Skip

Pattern Overview & Making Process
This crochet snowman amigurumi is worked in continuous rounds, creating a seamless head and body shape with white yarn. The rounded structure is formed through increases and decreases, while BLO and FLO stitches help create the neckline and body transition. These shaping details reveal how a simple stitch pattern transforms into a recognizable snowman character.
The pattern adds the finishing details that give this snowman its festive personality, including 6mm safety eyes, a small carrot-shaped nose, embroidered brown buttons, and a red winter scarf made with basic chain and single crochet rows. Each small addition helps bring the completed decoration together.
With its compact size and clear construction, this snowman can be used for Christmas decor, handmade gifts, or seasonal displays. The following steps guide you through building the seamless

Step-by-Step Crochet Pattern
Head & Body
This snowman is worked as one seamless piece in continuous rounds. Keep your stitches tight to maintain the amigurumi shape.
Using white yarn:
- Round 1: 6 sc in mr (6)
- Round 2: inc x 6 (12)
- Round 3: [sc, inc] x 6 (18)
- Round 4: sc, inc, [2 sc, inc] x 5, sc (24)
- Round 5: [3 sc, inc] x 6 (30)
- Round 6: 30 sc (30)
- Round 7: 2 sc, inc, [4 sc, inc] x 5, 2 sc (36)
- Rounds 8–11: 36 sc in each round (36)
Note:
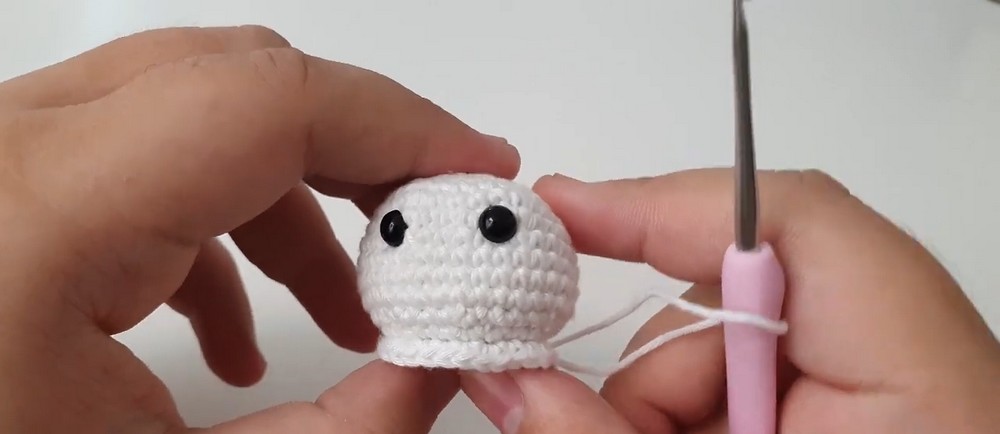
At the end of Round 7, place the safety eyes with 6 stitches of space between them and secure firmly using washers.
- Round 12: 2 sc, dec, [4 sc, dec] x 5, 2 sc (30)
- Round 13: [3 sc, dec] x 6 (24)
- Round 14 (Neck Line): Working in blo: sc, dec, [2 sc, dec] x 5, sc (18)
Stuff the head firmly with polyester filling.
- Round 15: [sc, dec] x 6 (12)
- Round 16: dec x 6 (6)
Transition to the Body
- Round 17: Attach white yarn to the flo of Round 14: [3 flo sc, flo inc] x 6 (30)
- Rounds 18–21: 30 sc in each round (30)
- Round 22: [3 sc, dec] x 6 (24)
- Round 23: Work in blo: sc, dec, [2 sc, dec] x 5, sc (18)
Explaination
Round 17 begins the body section by working into the front loops left from Round 14.
Stuff the body firmly with fiberfill.
- Round 24: [sc, dec] x 6 (12)
- Round 25: dec x 6 (6)
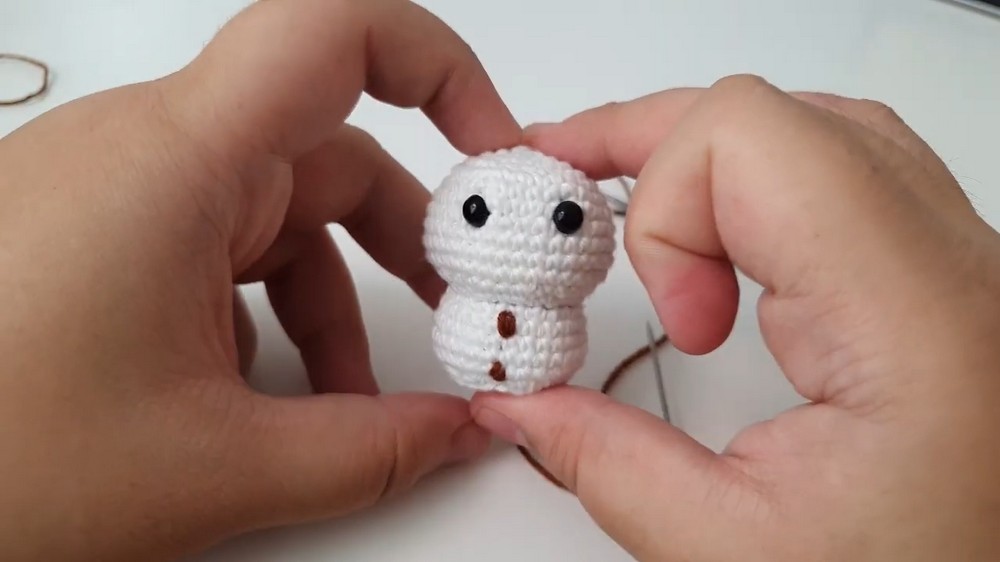
Fasten off and weave in ends securely. Using brown yarn and a yarn needle, embroider two small buttons (dots) vertically down the center of the body.
Carrot Nose
Using orange yarn:
- Round 1: 6 sc in mr (6)
- Round 2: [2 sc, inc] x 2 (8)
Fasten off, leaving a tail for sewing. Sew the carrot nose between and slightly below the eyes (specifically, around Round 7).

Winter Scarf
Using red yarn:
- Row 1: Create a slip knot. Ch 41 (41)
- Row 2: Skip the first chain, sc in the next 40 stitches (40)
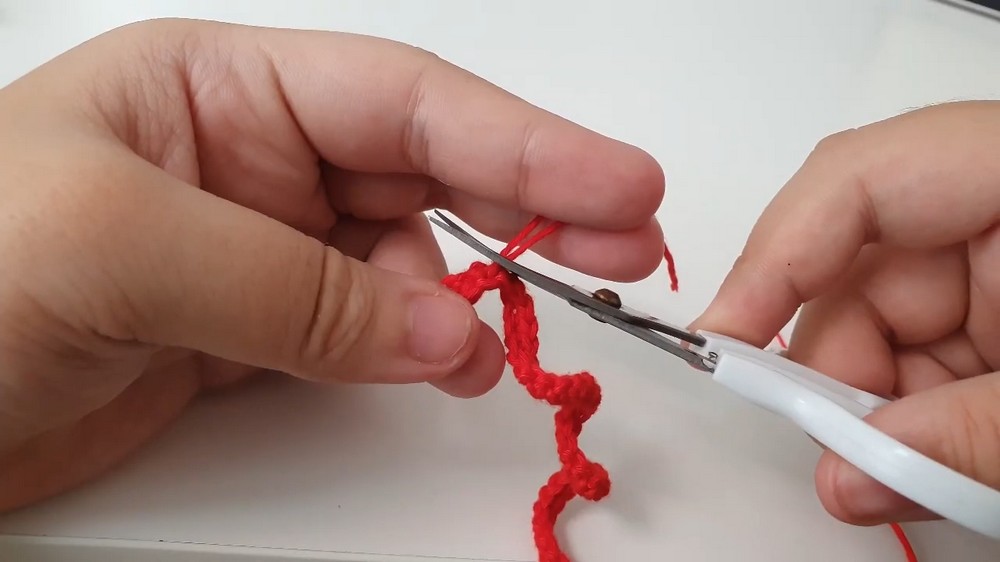
Fasten off and weave in ends. Wrap the scarf snugly around the neck portion of your snowman, tying it securely.
Closing Touches and Tips
Troubleshooting & Suggestions:
- Securing Yarn for Embroidery:
When embroidering buttons, anchor the yarn from the underside or back of the snowman. Be sure not to pull too tightly to avoid distorting the shaping. - BLO/FLO Stitches:
Use stitch markers to keep track of your placement. If you’re struggling to hook into the back loop, briefly loosen the stitch with a smaller crochet hook.

Creative Modifications:
- Add Accessories: Use black yarn to create a small top hat or swap the red scarf for a candy-cane striped version.
- Ornament Variation: Stitch a metallic loop at the top of the head to turn your snowman into a tree ornament.