Turn simple ribbed crochet into a sweet Christmas tree angel ornament with a gathered tree shape, a small bow, and an optional decorative bead for the top.
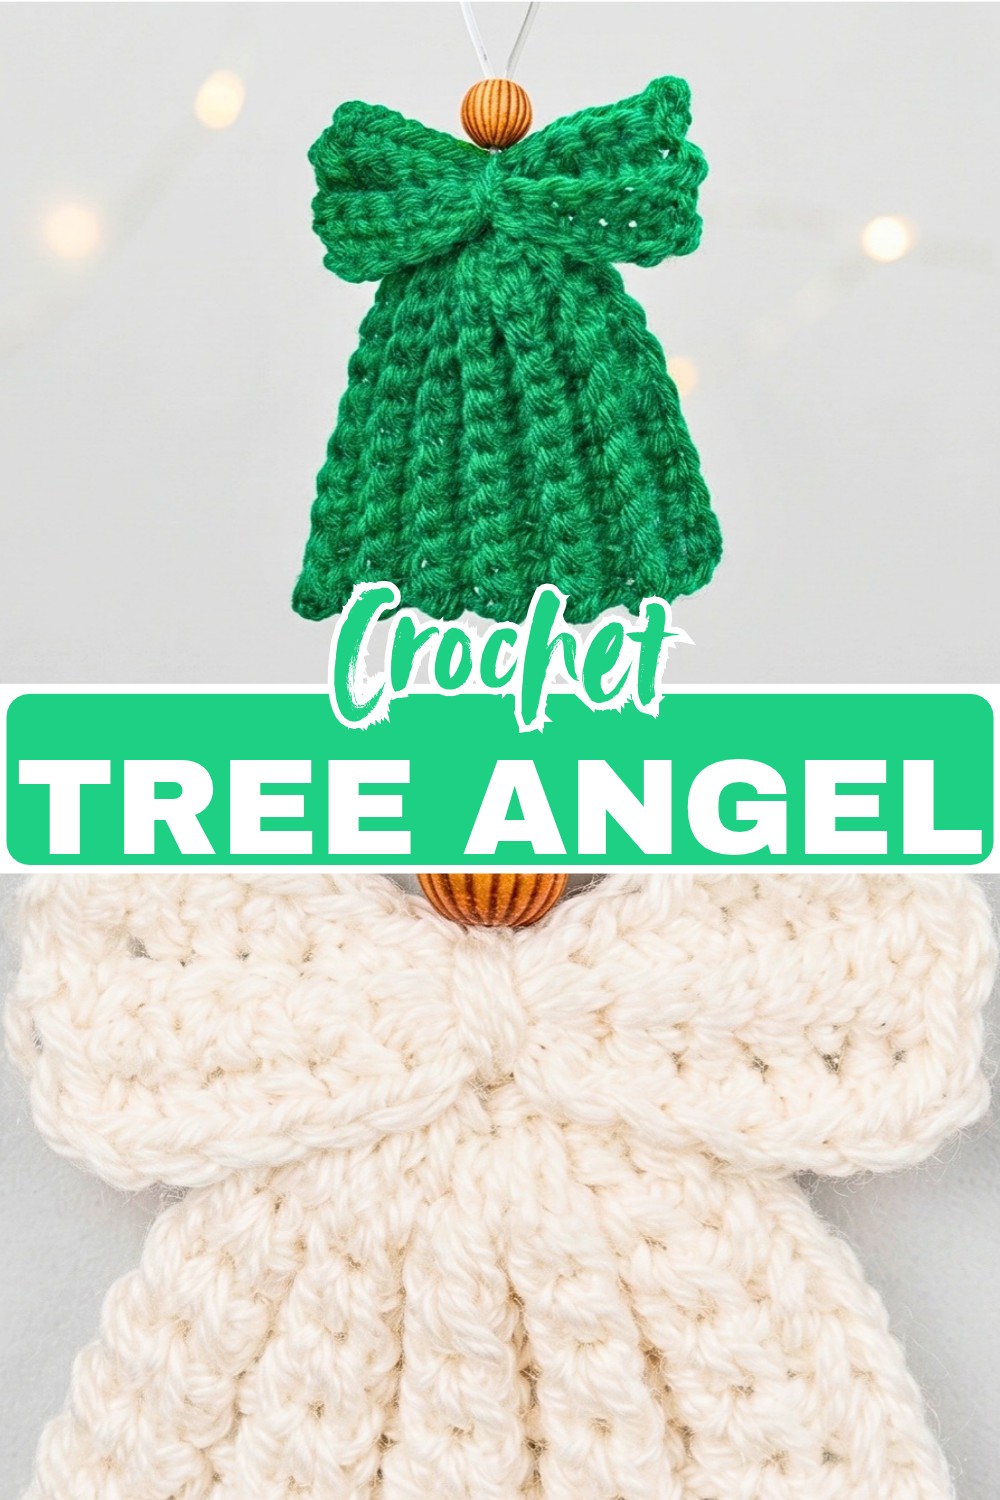
A few rows of single crochet worked through the back loop give this ornament its softly ribbed texture without requiring complicated stitches. The body starts as a simple rectangle, but gathering the top edge changes its shape into the pointed crochet tree form.
The bow is made separately from another small ribbed rectangle, then pinched and secured with the hanging loop before it is attached to the crochet tree. Keeping these pieces separate until the end makes the shaping easier to see and handle.
Credit Crochet Patterns Free
Materials & Tools Needed
- Yarn: Green yarn, 3-ply
- Crochet Hook: 2.75 mm (C)
- Yarn Needle: For weaving in ends and shaping
- Scissors
- Glue
- Small Decorative Bead: Optional, for the top loop
Pattern Abbreviations & Terminology
- ch: Chain
- sc: Single Crochet
- sk: Skip
- st(s): Stitch(es)
- BLO: Back Loop Only – insert the hook only under the back loop of the V-shape on top of the stitch
Step-by-Step Crochet Instructions
Crochet the Tree Body
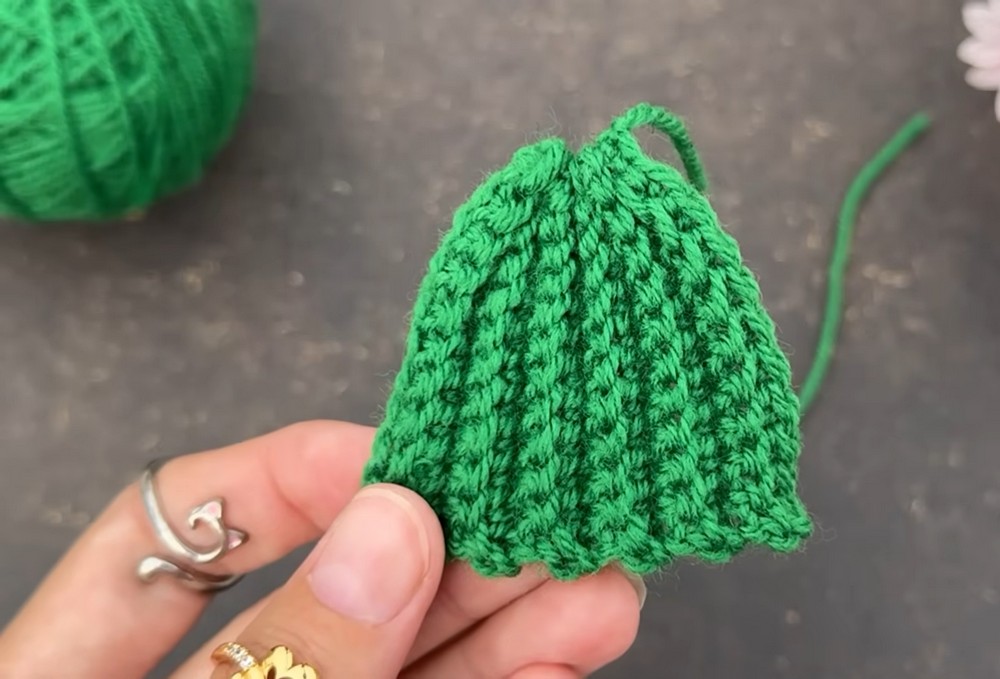
The tree begins as a flat ribbed rectangle. Although it may not look like a tree at first, the gathered top edge will create the pointed shape later.
Foundation: Start with a slip knot.
Row 1: Ch 12, sk the first ch from the hook, and work 1 sc in each of the remaining 11 chains across. (11 sc)
Row 2: Ch 1, turn your work. Working BLO, make 1 sc in each of the 11 stitches across. (11 sc)
Rows 3–12: Repeat Row 2. You will have a total of 12 rows of ribbed crochet.
Shape Check
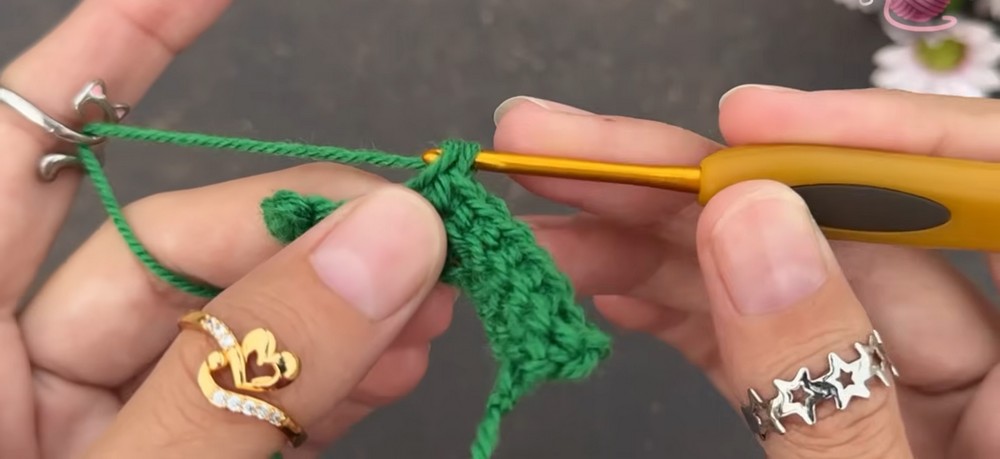
At this point, you should have a small rectangular piece with visible horizontal ribbing created by working through the back loops. The rectangle is intentional—the tree shape comes from the gathering step, so there is no need to try to taper the rows yourself.
Gather the Tree Body
Fasten off, leaving a long tail. Thread the long tail onto your yarn needle.
Weave the needle in and out along the top edge of the rows. Once the needle has passed along the edge, pull the yarn firmly to gather the top.
What to Watch For: Pull gradually rather than tightening everything at once. As the stitches gather, the flat rectangle will begin to close into a bell or triangle shape.
Secure the gathered top with a knot and weave in the end.
Make the Wings
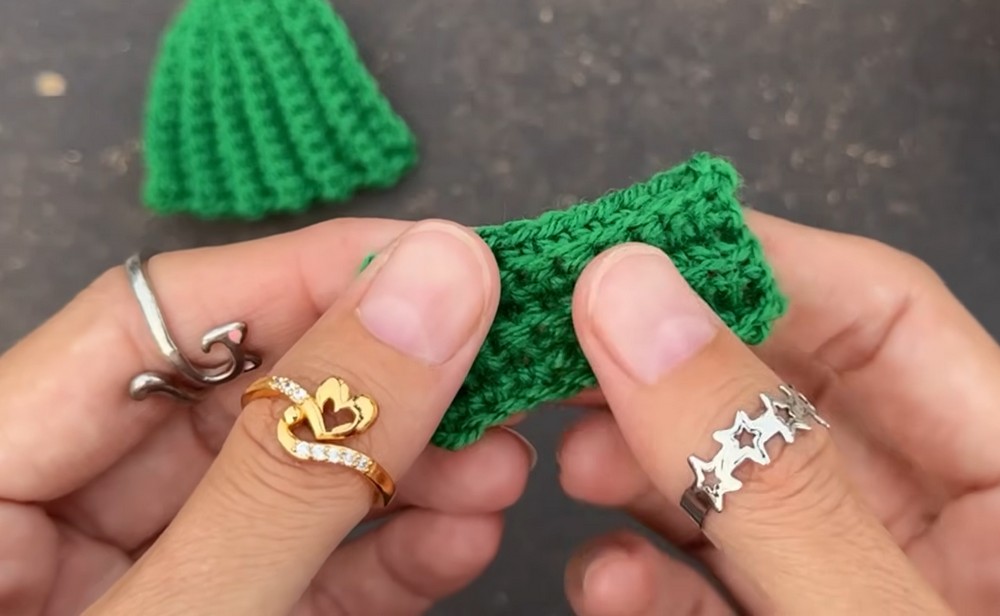
The wings are created from another small ribbed rectangle. This piece is shorter than the tree body so that, once pinched in the center, it forms a compact bow shape.
Foundation: Start with a slip knot.
Row 1: Ch 12, sk the first ch from the hook, and work 1 sc in each of the remaining 11 chains across. (11 sc)
Row 2: Ch 1, turn your work. Working BLO, make 1 sc in each of the 11 stitches across. (11 sc)
Rows 3–6: Repeat Row 2. You will have a total of 6 rows of ribbed crochet for the wings.
Finishing: Fasten off and weave in the ends.
Create the Hanging Loop and Center Tie
The hanging loop is added before the bow is attached to the tree, making it easier to secure the center neatly.
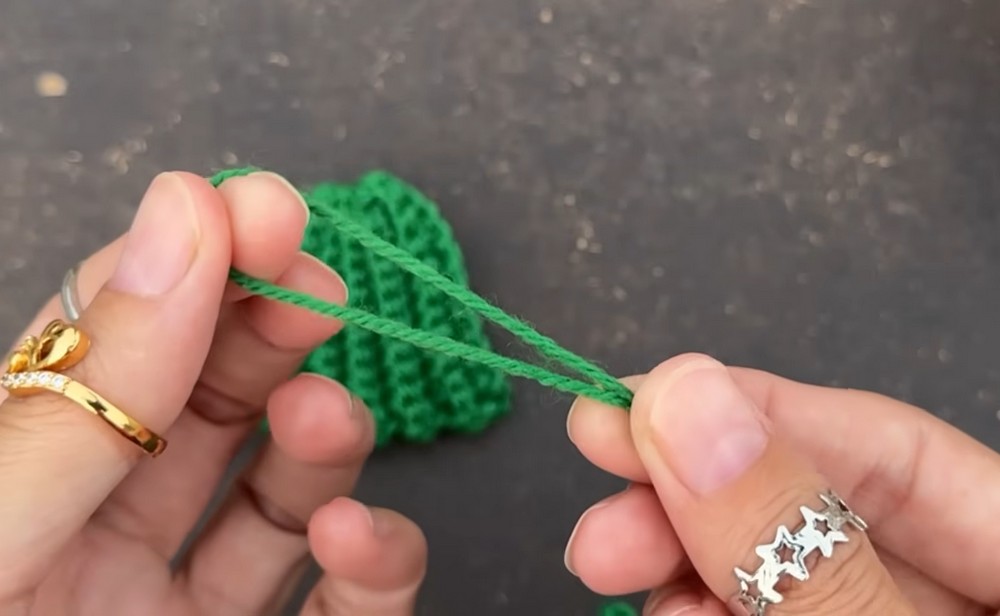
Make the Loop: Cut a length of yarn and tie it into a small loop, knotting it securely.
Shape the Bow: Pinch the center of the 6-row wings piece to form the bow shape.
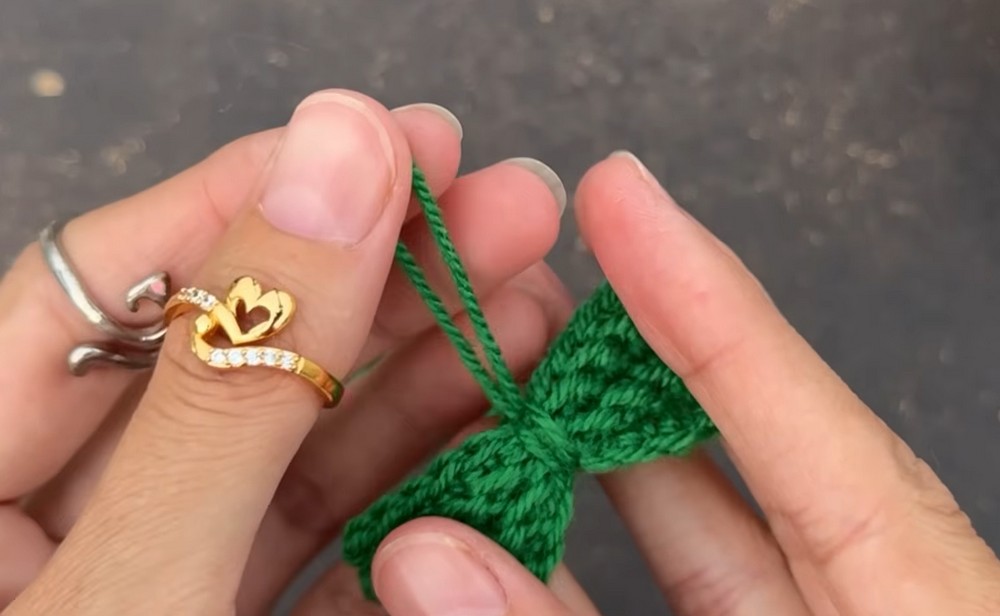
Secure the Center: Take the tied loop and wrap the knot and tails around the pinched center of the bow. Tie the tails securely around the center so the bow keeps its shape.
Optional Decorative Bead
If you are using a decorative bead, thread the top loop through the bead and push it down so it sits on top of the bow.
The bead is optional, so the ornament can also be left with the simple yarn loop if you prefer a cleaner finish.
Attach the Bow to the Tree
Now that both crocheted pieces have their final shapes, they can be joined.
Apply Glue: Put glue on the gathered top point of the tree body.
Attach the Bow: Press the bottom center of the bow—the section you just tied—onto the glued top of the tree body.
Hold in Place: Keep the bow firmly pressed against the gathered point until the glue sets.
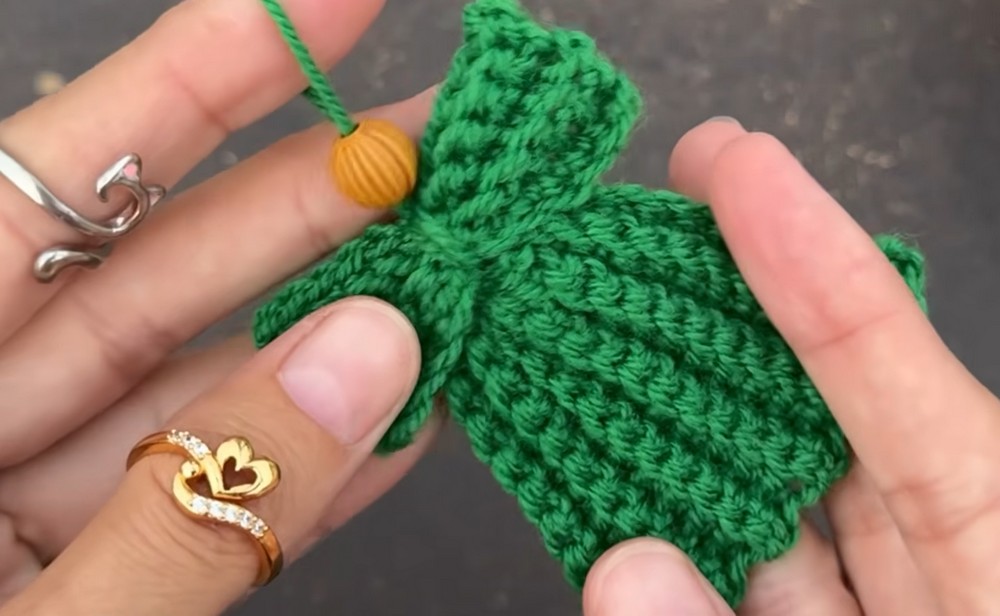
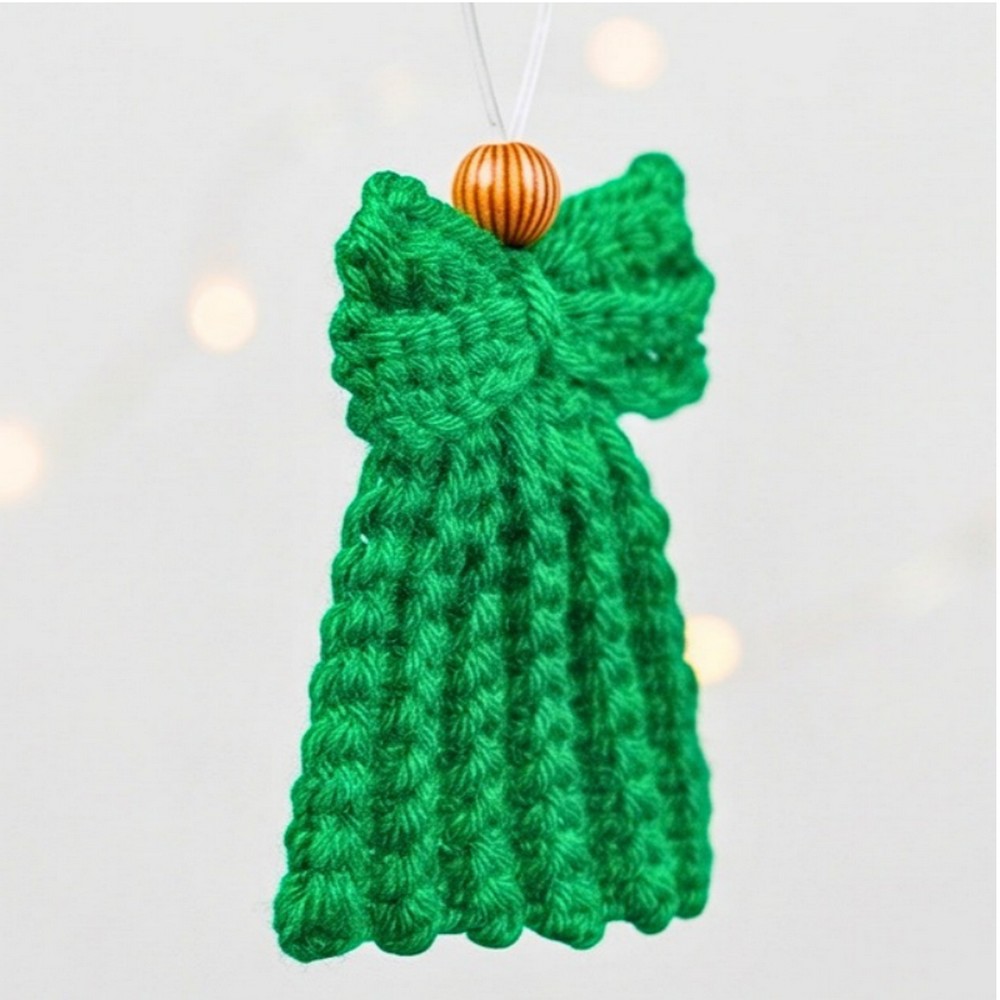
Once the glue has set, the gathered green body and centered bow come together to create the finished tree-and-angel shape, ready for its hanging loop to go onto the Christmas tree.