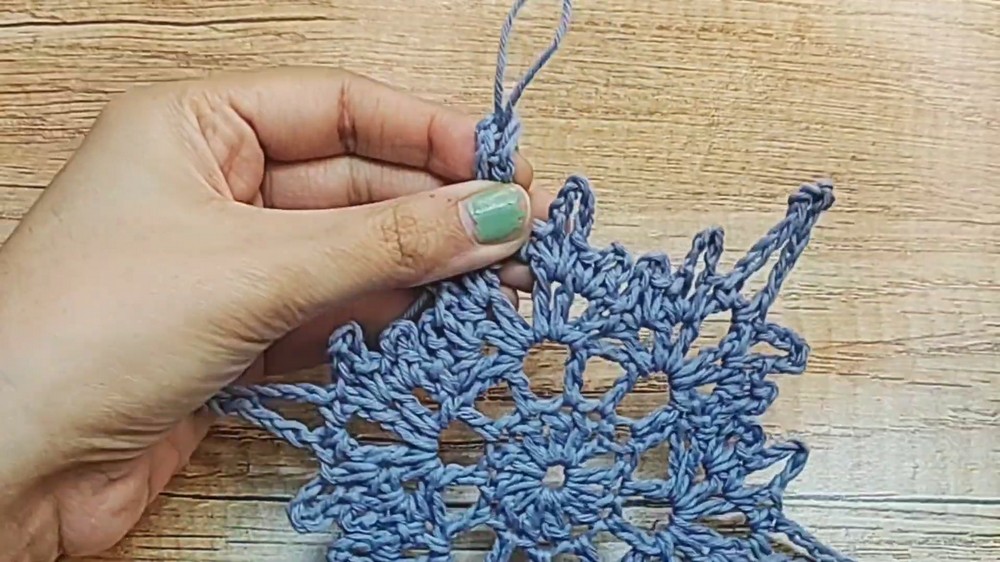
Here’s a simple crochet stitches into a crisp six-point snowflake with delicate picot peaks, textured edging, and sharp blocked points for winter decorating.
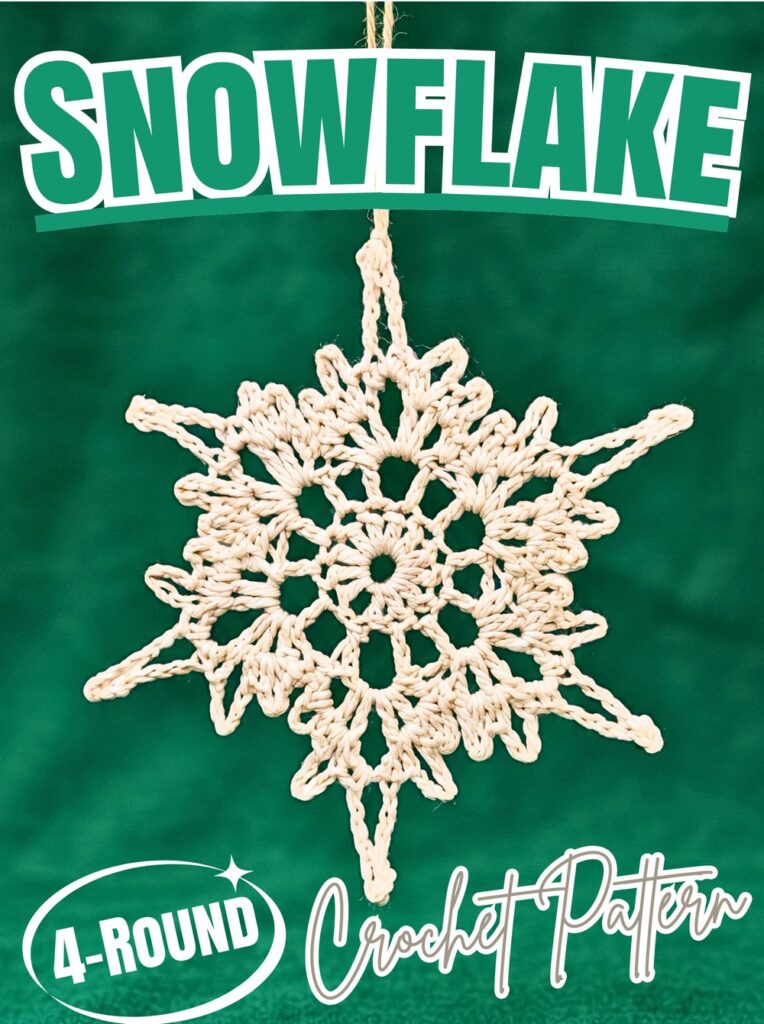
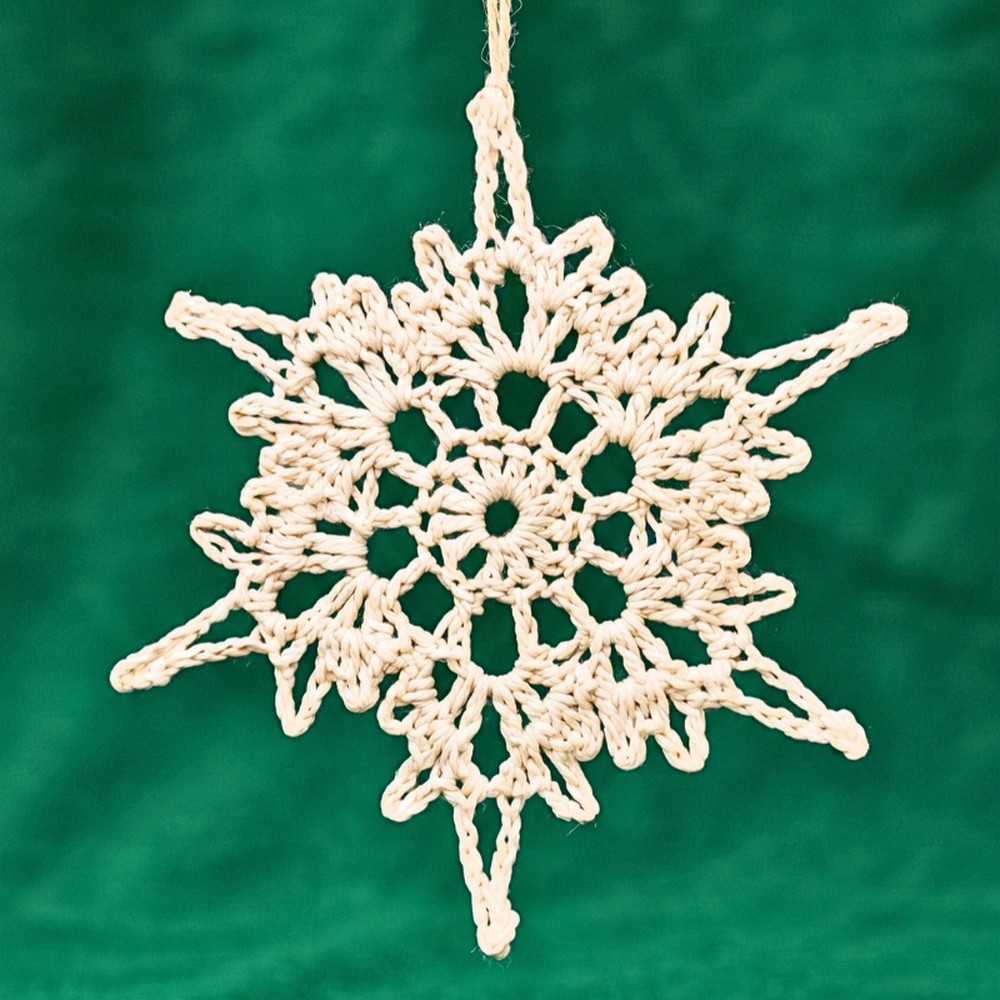
Six pointed arms give this crochet snowflake its classic winter shape, while tiny chain loops and picot details make each point look delicate and intricate. Once blocked, the flat crochet motif becomes much sharper, making it especially pretty against a Christmas tree, window, or seasonal garland.
This four-round pattern starts with simple double crochet circles before alternating chain spaces are used to form six points. The final round is where the snowflake gets its detailed edge: stitches are worked between dc posts rather than into top V-stitches, with different chain lengths shaping each side and a picot loop marking each peak.
Credit YarnIt Crochet
Materials & Tools
- Crochet thread or lightweight yarn in White or any preferred color
- Crochet hook suitable for chosen yarn weight
- Scissors
- Yarn needle
- Optional stiffening agent made with water and starch or glue and water
Finished Size & Customization
Finished size depends on yarn weight and hook size. Crochet thread creates a delicate, smaller snowflake, while worsted weight yarn can produce a much larger coaster-sized motif.
For festive variations, try metallic yarn for extra sparkle or add beads around center points. Hanging-string length can also be adjusted depending on whether snowflake will decorate a Christmas tree, window, or garland.
Pattern Abbreviations
ch – Chain
ch-sp – Chain Space
sc – Single Crochet
dc – Double Crochet
sl st – Slip Stitch
st(s) – Stitch(es)
Crochet Snowflake Pattern
Round 1: Create magic circle, ch 3 (counts as first dc), make 11 dc into magic circle, pull tail to close circle tightly, then sl st into top (3rd ch) of beginning ch-3 to join. (12 dc)
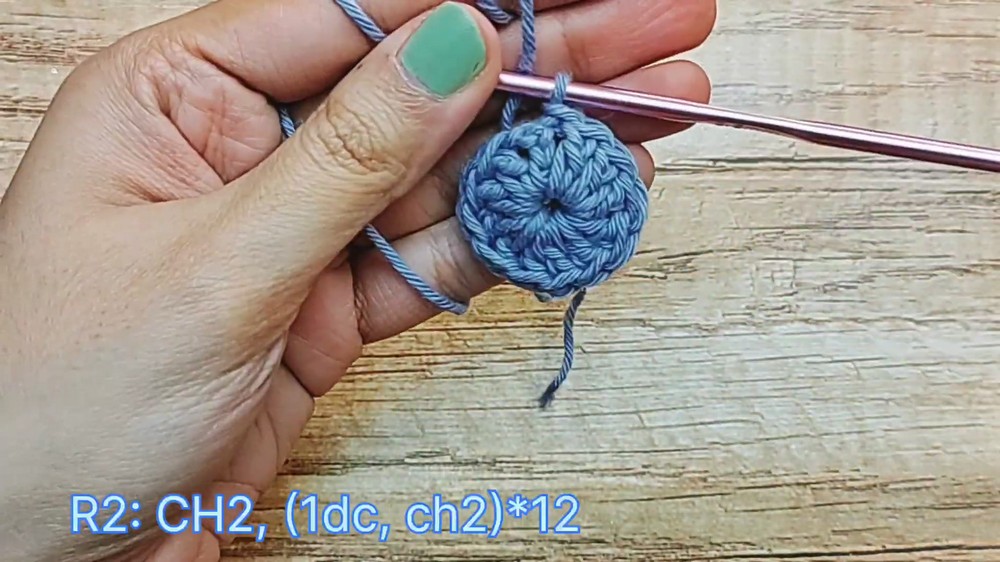
Round 2: Ch 2 (does not count as dc), yarn over and make 1 dc into same space at base of ch-2, ch 2, make 1 dc in next st, ch 2, repeat 1 dc in each stitch followed by ch 2 around, then sl st into first dc made in round, ignoring initial ch 2. (12 dc, 12 ch-2 spaces)
Round 3: Sl st directly into first ch-2 space, ch 3 (counts as first dc), make 2 dc in same ch-2 space, ch 4, make 3 dc in same space, skip next ch-2 space, then in following ch-2 space sl st, ch 3, make 2 dc, ch 4, make 3 dc in same space; continue skipping 1 ch-2 space between each point until 6 points are formed, then sl st into first sl st to close.
Round 3 creates six separate points by using every other ch-2 space. Keep count of skipped spaces as you work around so six evenly spaced points are formed rather than accidentally adding an extra point or leaving one out.
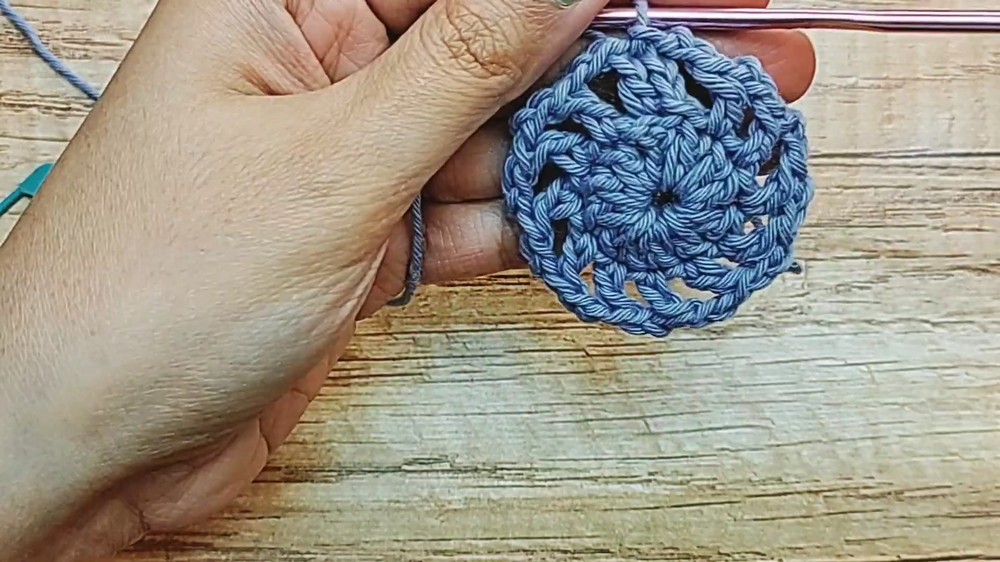
Detailed Final Snowflake Edge
Final round changes slightly from earlier rounds because stitches are worked between dc posts, not through top V-shaped stitches. This placement is important for creating textured edging around each point.
Round 4: Sl st into first dc of first point; working between posts of 1st and 2nd dc, make 1 sc, ch 3, and 1 sc in same space; working between posts of 2nd and 3rd dc, make 1 sc, ch 5, and 1 sc in same space; working into top ch-4 space, make 1 sc, ch 7, sl st into 4th ch from hook to form picot loop, ch 3, then 1 sc back into ch-4 space; working down left side between posts of 1st and 2nd dc, make 1 sc, ch 5, and 1 sc in same space; working between posts of 2nd and 3rd dc, make 1 sc, ch 3, and 1 sc in same space; sl st into sl st from previous round at dip between points, then sl st into first dc of next point; repeat edging around all 6 points, then after sixth point sl st into space right before first point, ch 1, cut yarn leaving tail, and pull through to fasten off.
When reaching each point peak, count picot chains carefully: ch 7 is made first, then sl st into 4th chain from hook. This creates a small loop at the top before the remaining chains return to the ch-4 space.
Also take care when moving between points. Slip stitch first into dip between points, then into first dc of next point. This keeps edging connected without adding unwanted stitches between snowflake arms.
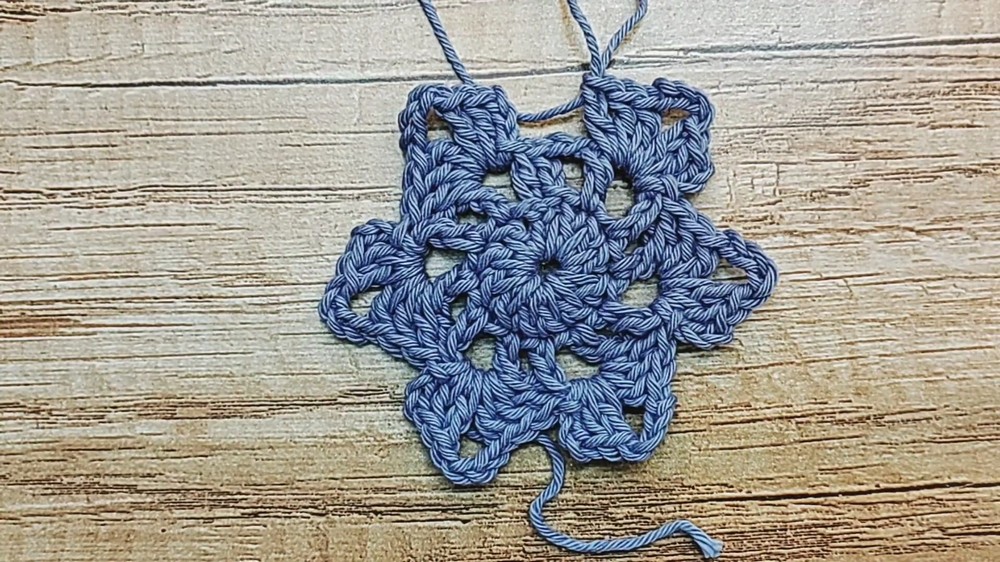
Weave Ends & Shape Snowflake
Use a yarn needle to weave starting and finishing ends securely along the back of the snowflake.
Freshly crocheted motif may look rounded rather than sharply pointed. Blocking is important for bringing out six-point shape.
Prepare stiffening mixture using water and starch or water and glue. Soak the snowflake, gently squeeze out excess solution, then place it flat on a blocking board. Stretch each point outward and pin it firmly into shape. Allow snowflake to dry completely before removing pins.
Do not skip this shaping step if you want crisp, defined points. Stiffening helps hold stretched chain sections and picot peaks in place once the snowflake is dry.
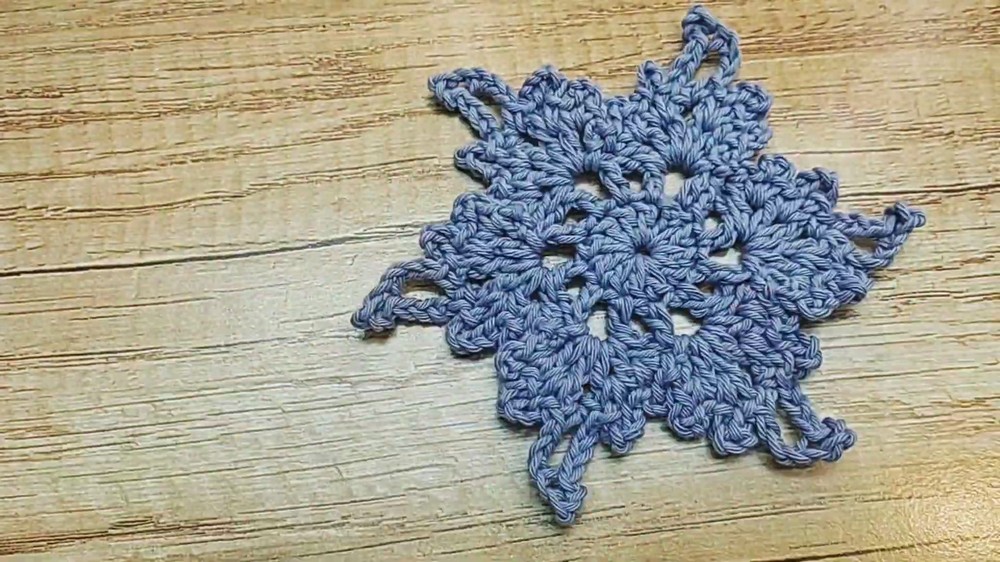
Add Hanging Loop
Cut a separate length of thread or yarn for hanging. Fold strand in half, leaving loop at top and two loose ends below. Tie two loose ends together securely.
Push folded loop through ch-4/picot peak of one snowflake point. Pull knotted end through loop to secure hanging strand in place like a slipknot tag.
For tree decorating, keep hanging loop short enough to let snowflake sit naturally. A longer strand works better when the snowflake will hang in a window or from a garland.
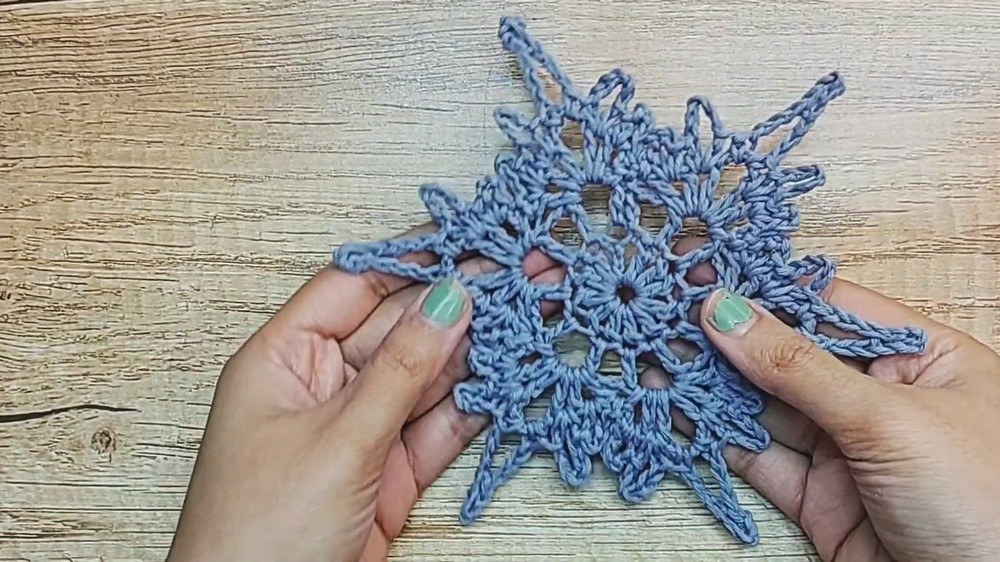
Quick Shape Check
Before putting the snowflake away or hanging it, check that all six points are stretched evenly, picot loops remain visible, and final edging lies flat. If one point looks shorter or more curved than others, reshape and repin it while the stiffening mixture is still workable.