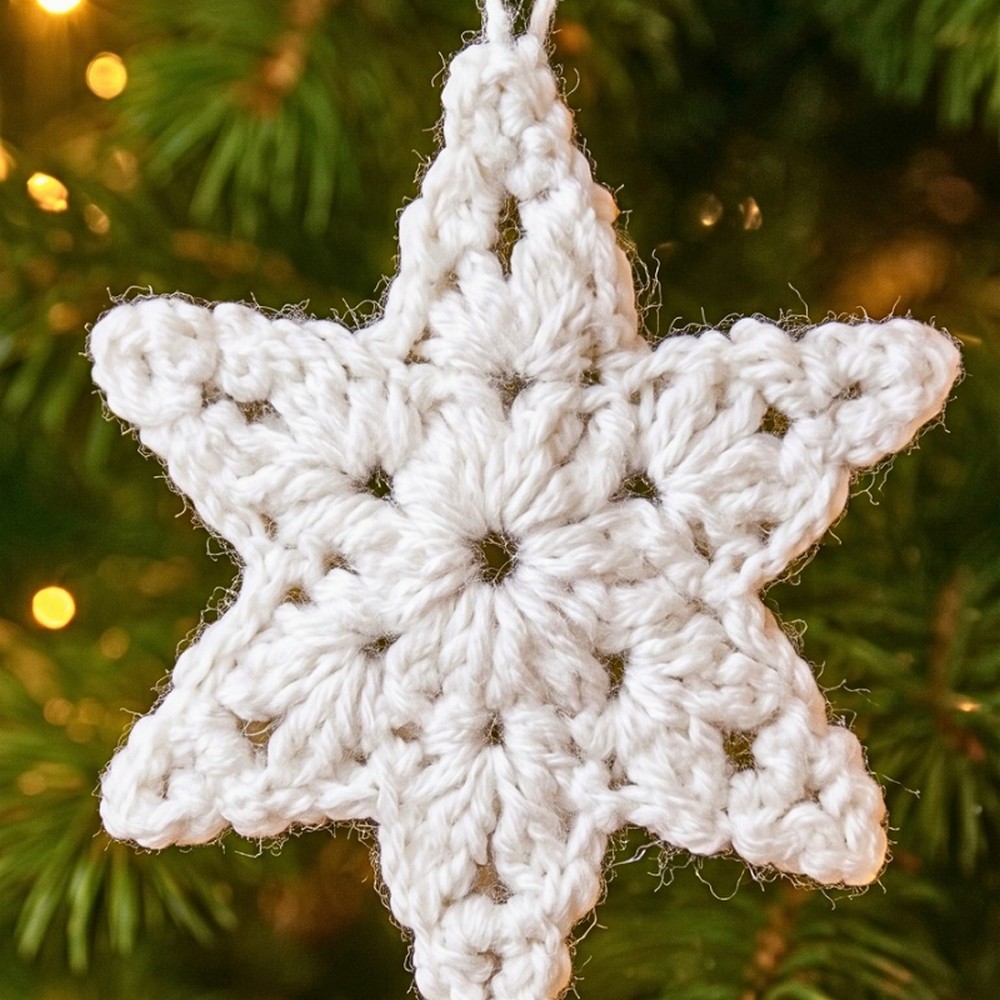
Keep this crochet star snowflake handy for gift wrapping or tree décor, with five soft puff petals turning into delicate pointed tips.
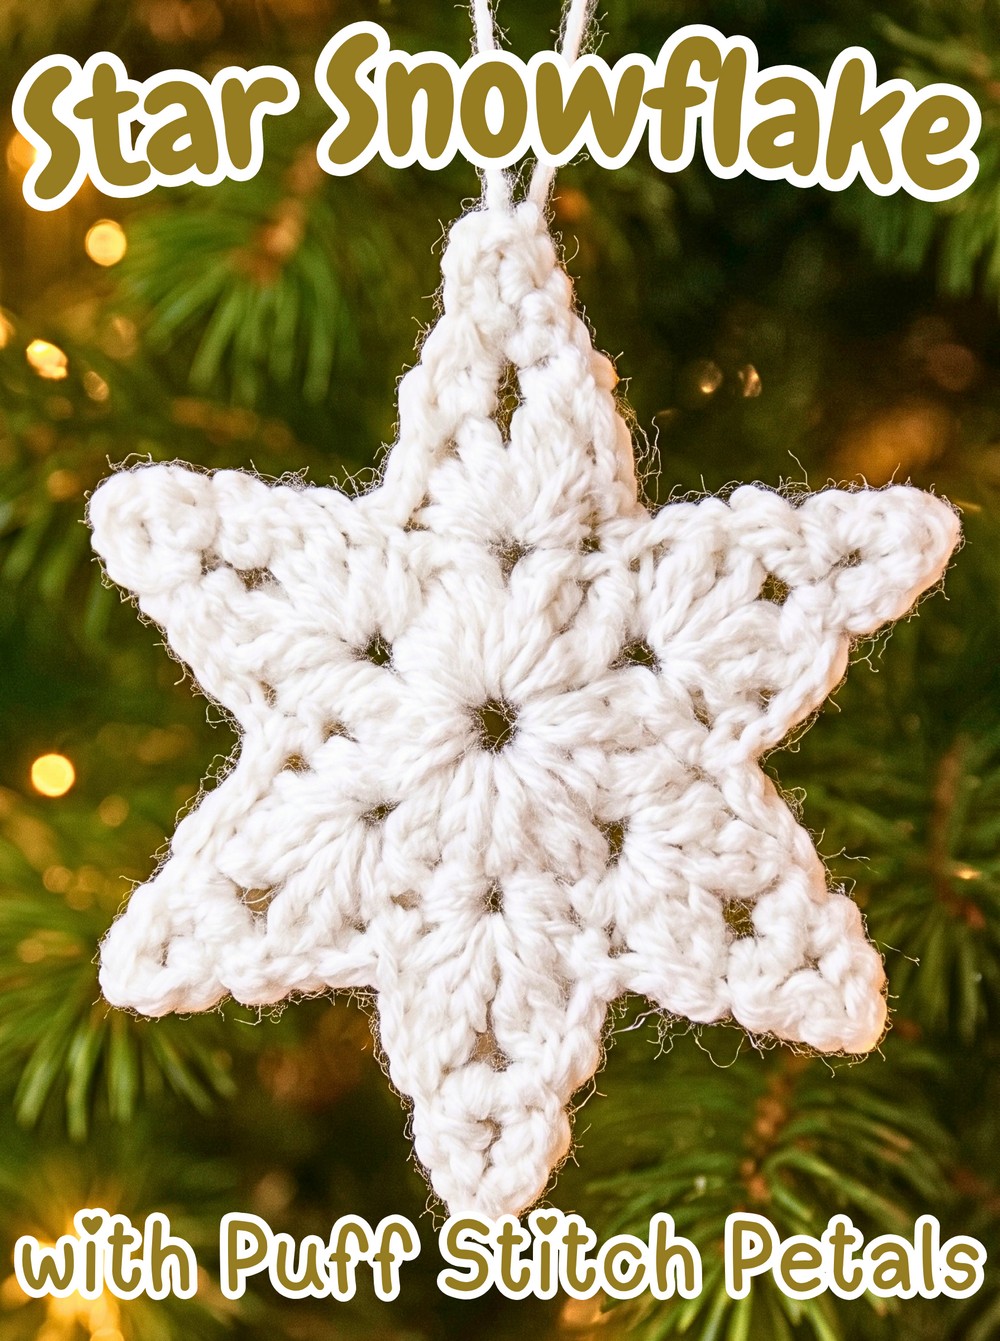
Winter decorating gets a handmade touch with this small crochet snowflake, worked from the center outward into five soft puff petals and delicate pointed tips.
A little sparkle in the yarn can make the finished motif especially pretty, while a solid shade gives it a clean look that works beyond Christmas, too.
From the first four-chain ring to the final slip stitch, you’ll work this motif as one continuous crochet piece, so there are no separate parts to join. The tutorial walks through the 10 hdc center, five puff petals, three-loop crochet star points, and neat yarn finishing, with placement details to help you recognize each stage as the shape develops.
Credit CrochetMagic Channel
Materials & Tools Needed
- Yarn: Double knit (DK) weight yarn in your preferred color. White yarn with a little sparkle gives the motif a festive winter appearance.
- Crochet Hook: 3.5 mm crochet hook
- Scissors
- Darning Needle: For weaving in the finished yarn ends
Finished Size & Ways to Use It
The exact finished dimensions are not specified, but this pattern creates a quick, small star or snowflake embellishment.
You can use the finished motif to:
- Decorate wrapped presents
- Add handmade detail to Christmas packaging
- Attach a loop and hang it directly on the Christmas tree
- Experiment with different yarn colors for different seasonal looks
- Try another yarn weight for a different finished appearance
If you change yarn weight, remember that the motif’s final size and overall look will also change.
Pattern Abbreviations
- ch – Chain
- sl st – Slip Stitch
- hdc – Half Double Crochet
- sp – Space
- st – Stitch
- Puff Stitch – Yarn over, insert the hook into the space, pull up a loop, and stretch it to the height of the surrounding stitches. Repeat this 4 times total, then yarn over and pull through all loops on the hook. Finish with ch 1 to lock the puff.
Crochet Star Snowflake Pattern
Start the Center Ring
Begin with a slip knot, then ch 4. Bring the chain into a small circle and work 1 sl st into the first chain to close it into a ring.
This small ring becomes the working space for Round 1, so keep the center open enough to comfortably insert your hook into it. All of the first round will be worked through the middle of this ring rather than into individual chain stitches.
Round 1 – Build the Center
Round 1: Ch 3 (the first 2 chains count as the first hdc), work 1 hdc into the center of the ring, ch 1, then repeat (1 hdc into the center of the ring, ch 1) until you have 10 hdc total including the starting chain; after the 10th hdc, ch 1 and sl st into the 2nd chain of the starting ch-3 to close the round. Stitch count: 10 hdc and 10 ch-1 spaces.
The important feature here is the repeated hdc, ch 1 rhythm. Each ch-1 creates a small gap that will later hold a puff petal, so make sure you do not accidentally skip the chain between hdc stitches.
Before moving on, look around the center: you should have 10 hdc stitches separated by 10 ch-1 spaces. Those spaces are what you will use for the next round.
Round 2 – Form the Puff Petals
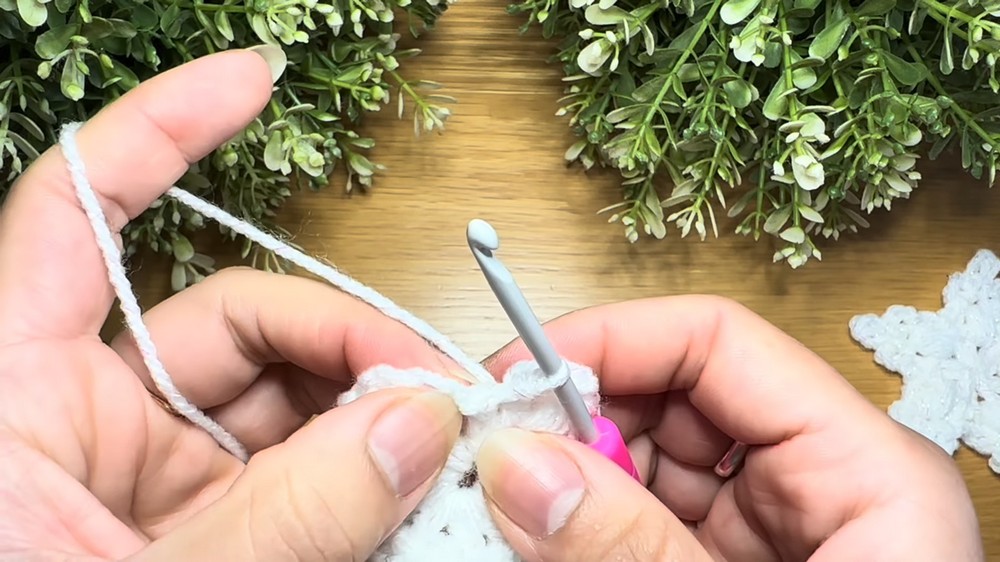
Start by shifting your working position into the first ch-1 space with a sl st. This puts the hook in the open gap rather than directly over an hdc.
Round 2: Sl st into the first ch-1 sp, ch 3, work a 4-pull-up Puff Stitch in the same sp, ch 1 to lock it, ch 3, sl st into the next ch-1 sp to anchor; sl st into the following ch-1 sp, ch 3, work another 4-pull-up Puff Stitch in the same sp, ch 1, ch 3, sl st into the next ch-1 sp; continue this sequence around until 5 puff stitch petals are formed evenly around the center. Stitch count: 5 puff stitch petals.
For each puff, the loops need to be pulled up to roughly the height of your surrounding stitches. If the loops are kept too short, the puff can look compressed instead of rounded and full.
The ch 3 before and after each puff helps create the open spaces that separate the petals. As you work around, check that the five puffs are spreading evenly rather than bunching together on one side.
Once the fifth puff is anchored, you are ready to turn those soft rounded petals into pointed star tips.
Round 3 – Shape the Star Points
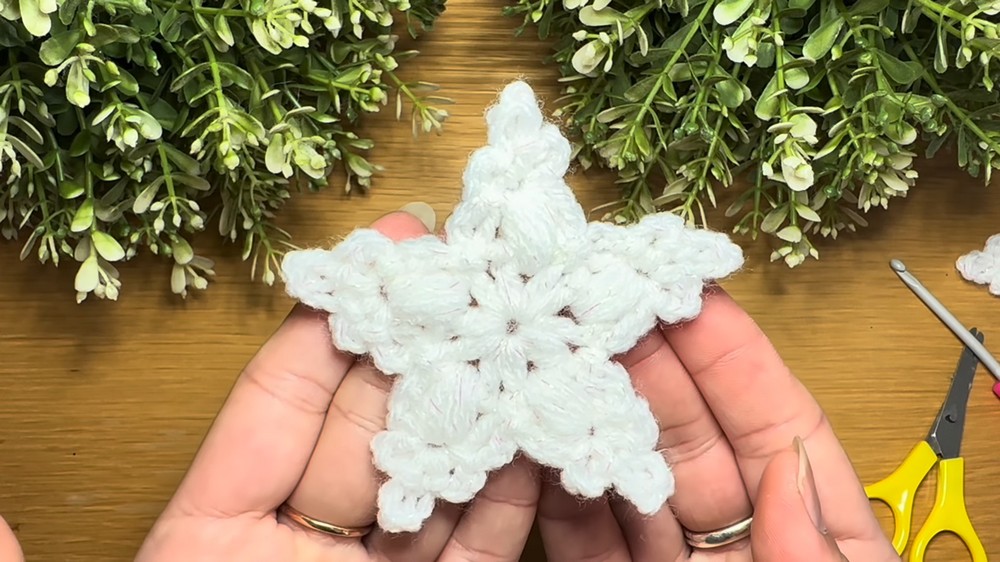
After anchoring the fifth petal, ch 3 and locate the very top of the first puff from Round 2. Work a sl st into that top space. This is the point where the first star tip will begin.
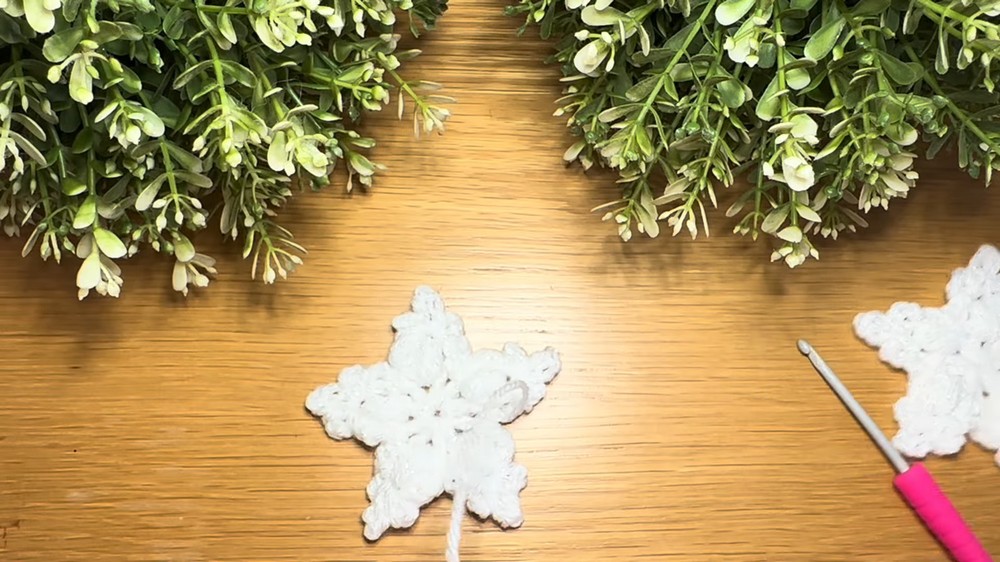
Round 3: After anchoring the 5th petal, ch 3 and sl st into the top of the first puff; in the same top space work (ch 3, sl st into the base, ch 5, sl st into the base, ch 3, sl st into the base) to form the first three-loop point; ch 3, sl st into the ch-1 sp between petals, ch 3, sl st into the top of the next puff, then repeat the three-loop point (ch 3, sl st, ch 5, sl st, ch 3, sl st) in that puff top; continue around all 5 puffs with ch 3 down to the between-petal space, sl st to anchor, ch 3 up to the next puff, sl st into its top, and form the three-loop point; after the final point, ch 3 and sl st into the starting ch-1 space to finish the round.
Each star tip is made from three chain loops: ch 3, ch 5, and ch 3, with a slip stitch returning to the same base after each one. The longer ch 5 creates the center peak of the point, while the shorter chains sit on either side.
As you repeat the sequence, keep checking your orientation: the chain section should travel down to the space between petals, back up to the top of the next puff, and then form the next point. This movement is what keeps all five points evenly distributed around the motif.
After the fifth point, the final ch 3 and slip stitch into the starting ch-1 space closes the shape. At this stage, gently spread the five tips with your fingers so you can see the star/snowflake outline clearly.
Finish and Weave in the Ends
There are no separate pieces to sew together because the entire star snowflake is crocheted as one continuous motif.
Finishing: Ch 1 to secure the work, snip the yarn and pull the tail completely through the stitch; pull the tail downward to tighten and lock it; if the starting tail was naturally crocheted over during Round 1, trim it; thread the finishing tail onto a darning needle and weave it through the back of the stitches in three directions—back, forth, and back again—then trim the excess yarn.
Take a moment to spread the points after weaving in the end. The five puff petals should remain visible beneath the pointed tips, giving the small motif its star-snowflake appearance.
Simple Display Idea
For gift wrapping, you can leave the motif as a flat embellishment and attach it directly to the package. To turn it into tree décor, add a small hanging loop through a suitable point before displaying it.
Sparkly white DK yarn gives the snowflake a wintry appearance, while experimenting with other colors can turn the same five-point motif into a more general star decoration.