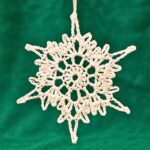
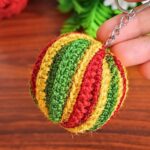
Shape an airy crochet Christmas bell with a dimensional body, wavy ruffle edge, and adjustable hanging loop for tree displays, gifts, or festive garlands.
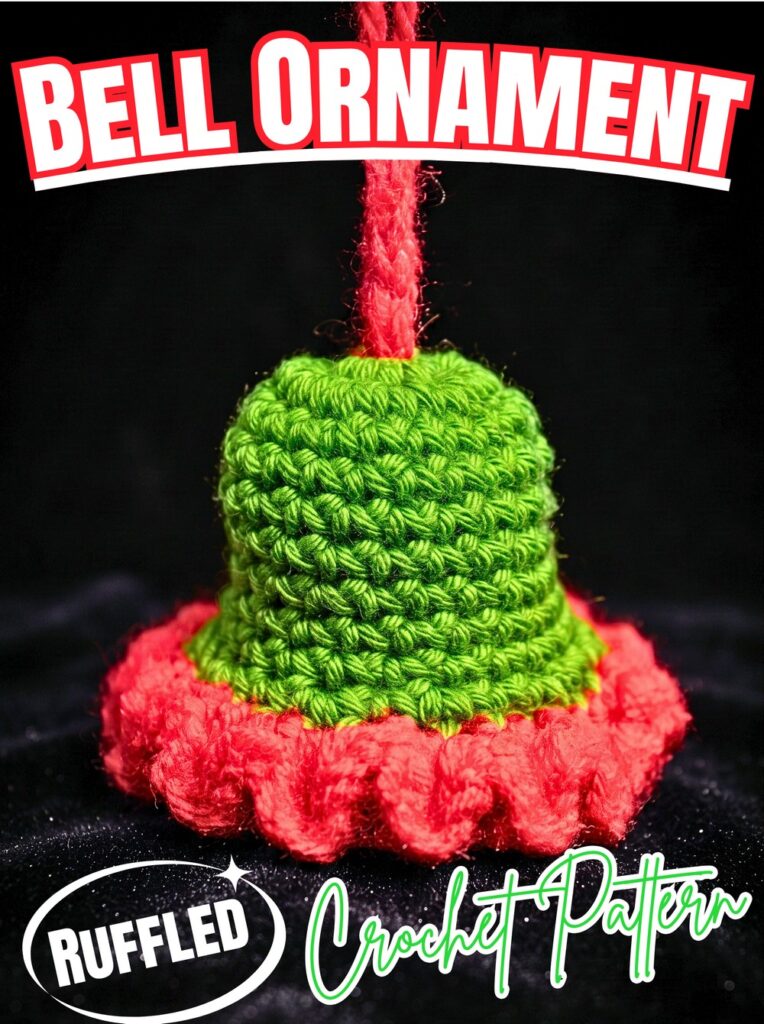
A classic bell silhouette gets extra character from its wavy ruffle border, giving lower edge of finished crochet ornament movement and texture. Multiple color combinations can create anything from simple tree decorations to bright, playful holiday displays.
Bell body grows through continuous single-crochet rounds before one increase round widens its lower edge. After that, half double crochet creates foundation for unusual ruffle work, which is made around stitch posts rather than through top loops. Keep stitch marker in place through main body so round count stays easy to follow.
Credit YarnIt Crochet
Materials & Tools Needed
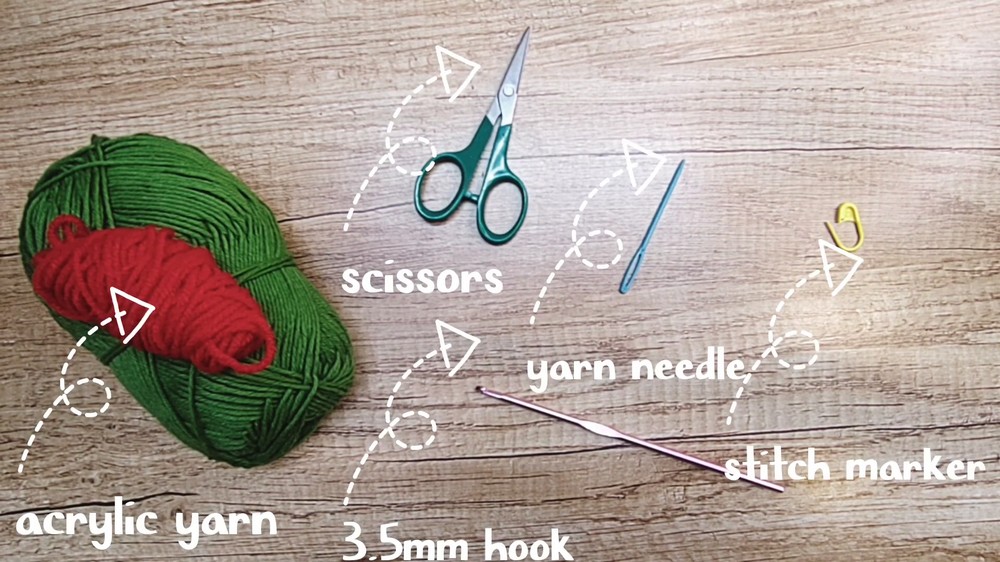
- Yarn: Medium-weight yarn in main bell color and contrasting color such as Red for ruffle border
- Crochet Hook: Size appropriate for chosen yarn
- Stitch Marker: Standard marker, bobby pin, or scrap yarn
- Scissors
- Craft Glue: Optional, for securing inner knot of hanging string
Finished Size & Customization Ideas
Finished size depends on yarn weight and hook size, creating classic dimensional bell ornament.
For minimalist version, stop after Round 11 and skip ruffle border.
For hanging string, chain 35–40 stitches depending on desired loop length. Use 35 chains for slightly shorter hanging loop or 40 chains for longer version.
Multiple bell colors can be combined for Christmas tree displays, festive gifts, or garlands.
Pattern Abbreviations & Terminology
- MR: Magic Ring
- ch: Chain
- sc: Single Crochet
- hdc: Half Double Crochet
- inc: Increase – 2 sc in same stitch
- sl st: Slip Stitch
- st(s): Stitch(es)
- rnd(s): Round(s)
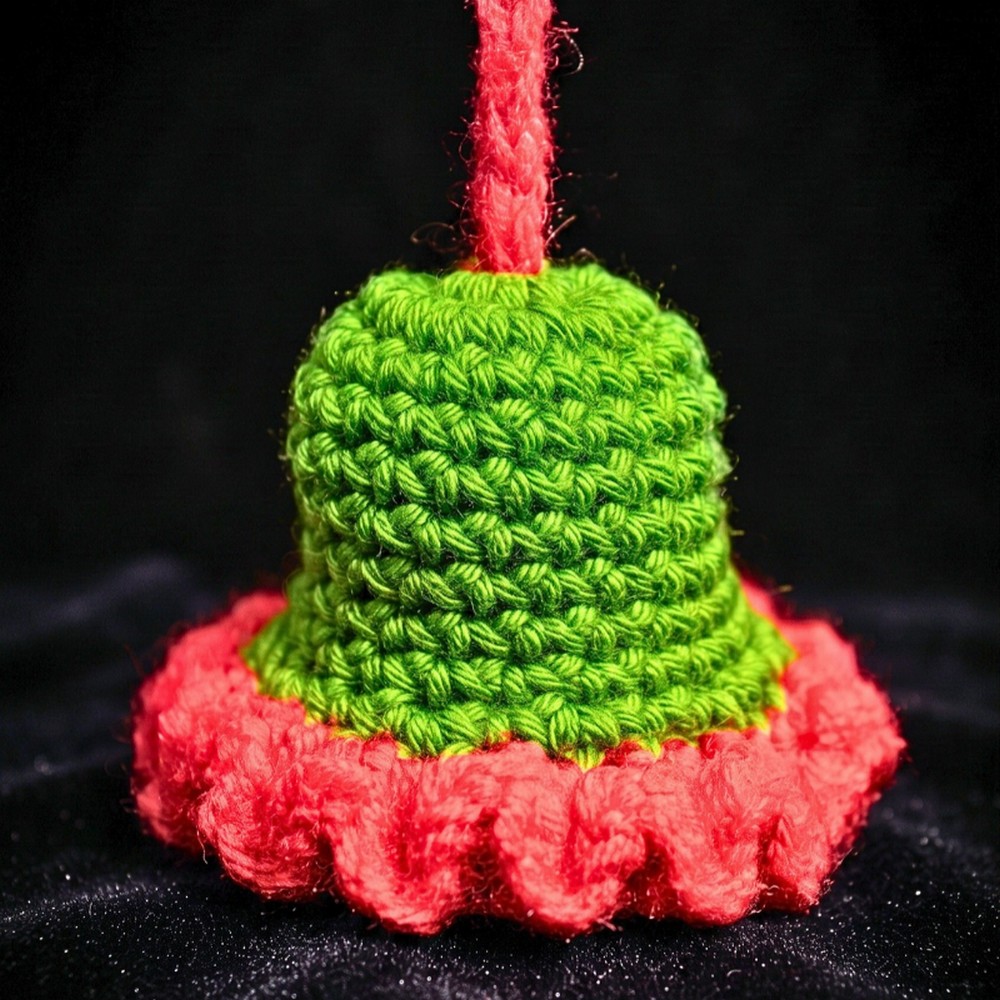
Main Bell Body
Start with Main Color.
Note: Main bell body is worked in continuous rounds. Do not join with sl st at end of Rounds 1–9. Mark first stitch of every round to keep place.
Rnd 1 Start with MR, work 10 sc inside MR, pull tail to close ring tightly. (10 sts)
Rnd 2 Work 1 inc in every st around. (20 sts)
Rnds 3-9 Work 1 sc in each st around for 7 rounds. (20 sts per round)
Keep stitch marker in first stitch as you move through each continuous round. Maintaining 20 stitches through this section keeps bell walls even.
Rnd 10 – Widen Lower Edge
Repeat 1 sc in next st, 1 inc in following st around. (30 sts)
Remove stitch marker, then make sl st into first st of Rnd 10. Fasten off and remove hook if changing colors.
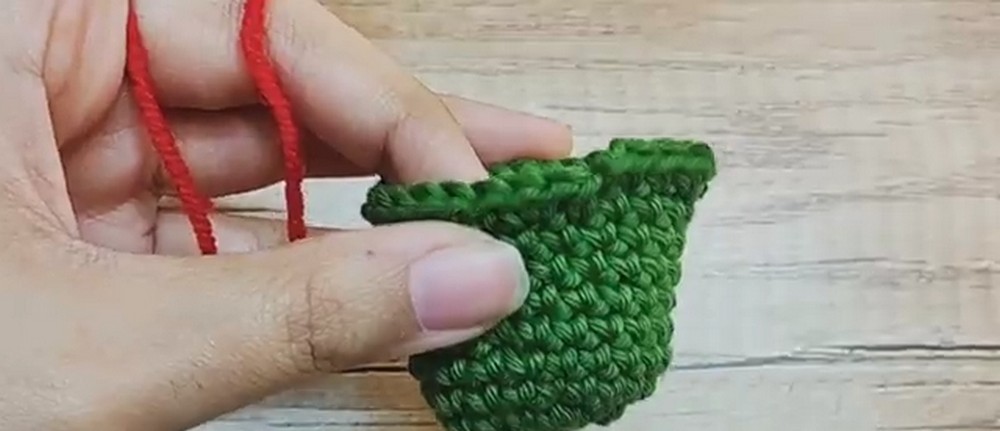
Base for Ruffle Border
Switch to Contrasting Color.
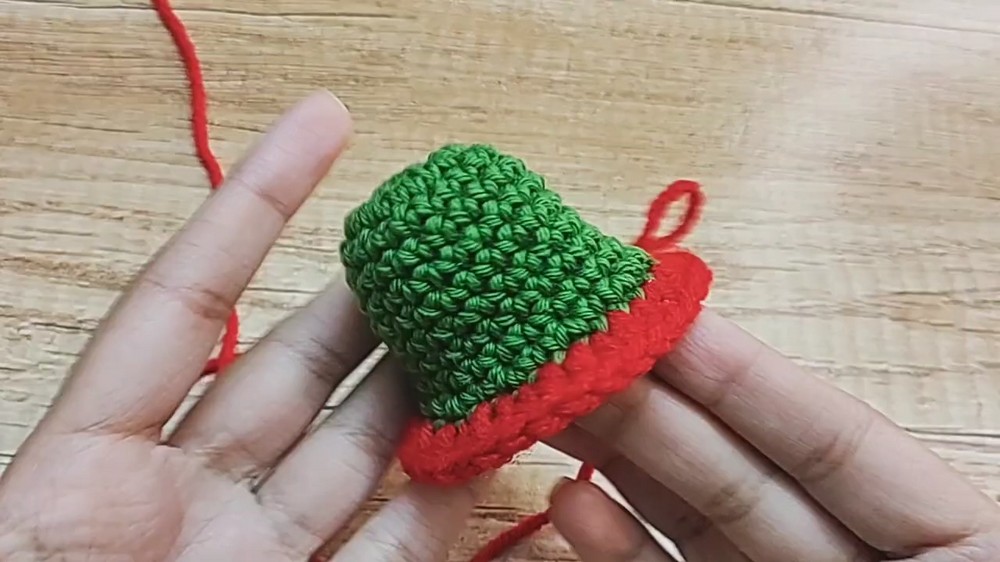
Rnd 11 Attach new yarn to stitch where previous round finished, ch 1, work 1 hdc in each st around while weaving tail into stitches, then sl st into first hdc to join. (30 sts)
Round 11 creates foundation for textured lower edge. If choosing minimalist bell, this is final round; fasten off after joining.
Ruffled Border
Rnd 12 uses an unusual placement method. Instead of working into top V of hdc stitches, work around vertical hdc posts and spaces between them.
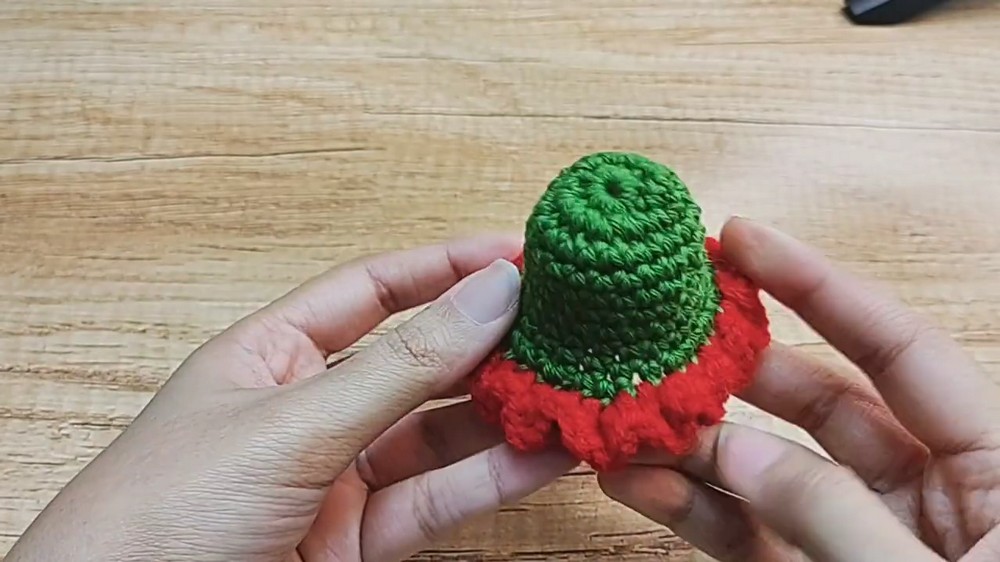
Rnd 12 Ch 1; repeat across pairs of hdc posts: turn bell edge toward right, insert hook underneath post of first hdc and work 3 sc around post; turn edge upward, insert hook into space between first and second hdc and work 1 sc; turn edge toward left, insert hook underneath post of second hdc and work 3 sc around post; continue same sequence around bell.
Think of each repeat as: 3 sc around first hdc post → 1 sc in space → 3 sc around next hdc post.
Turning bell while working is simply used to make each post easier to reach. Keep placement consistent around entire edge so ruffle develops evenly.
Finish Ruffle
After final 3 sc around final hdc post, make sl st into first sc of Rnd 12.
Pull bell through loop to create knot, cut yarn, and fasten off.
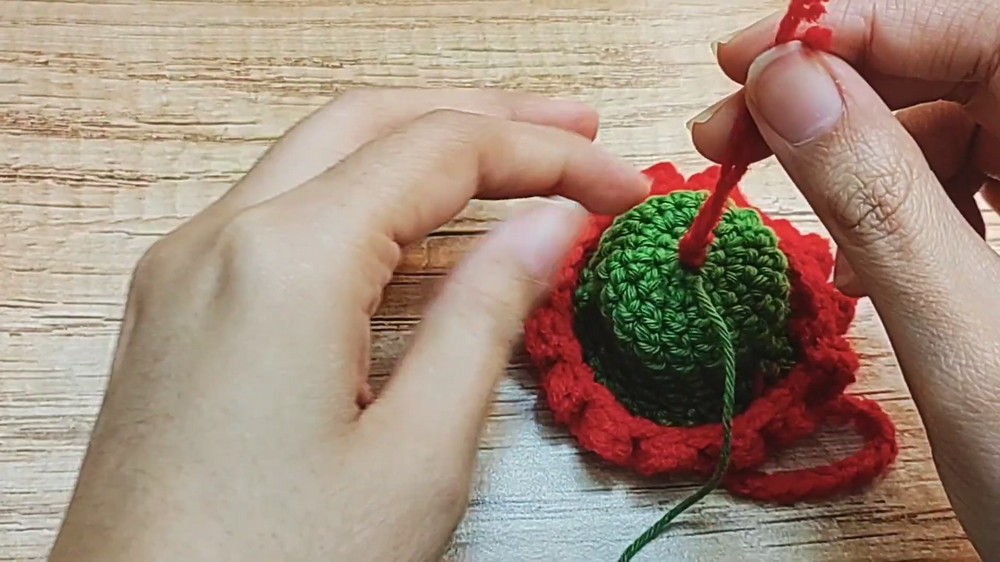
Make Hanging String
Step 1: Leave short starting tail, then make slip knot.
Step 2: Ch 40, or ch 35 for slightly shorter hanging loop.
Step 3: Fasten off, leaving second tail. Tie tight knot at chain end to secure it.
Step 4: Fold chain evenly in half so both tail ends meet.
Step 5: Insert crochet hook through top center hole of bell, passing through center of MR from inside toward outside.
Step 6: Grab both loose tails with hook and pull them completely through to inside of bell.
Step 7: Turn bell inside out so tails are visible. Tie both tails together using 3–4 tight knots, creating secure anchor that cannot slip back through MR opening.
Step 8: Optional: Apply small dab of craft glue to knot for extra security.
Step 9: Trim excess tails or weave them into inside of bell.
Ruffle & Hanging Check
Before placing bell on display, gently spread ruffle around lower edge so each wave is visible. Check hanging loop by lifting bell from loop and making sure knot remains firmly inside.
For multiple bells, vary main and border colors while keeping same stitch sequence. Matching hanging-loop lengths will help when several bells are grouped together as tree decor or garland.