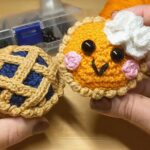
Want a Thanksgiving crochet treat that looks good enough to eat? Make this pumpkin pie plushie with a ruffled crust, whipped-cream topping, and a sweet embroidered face.
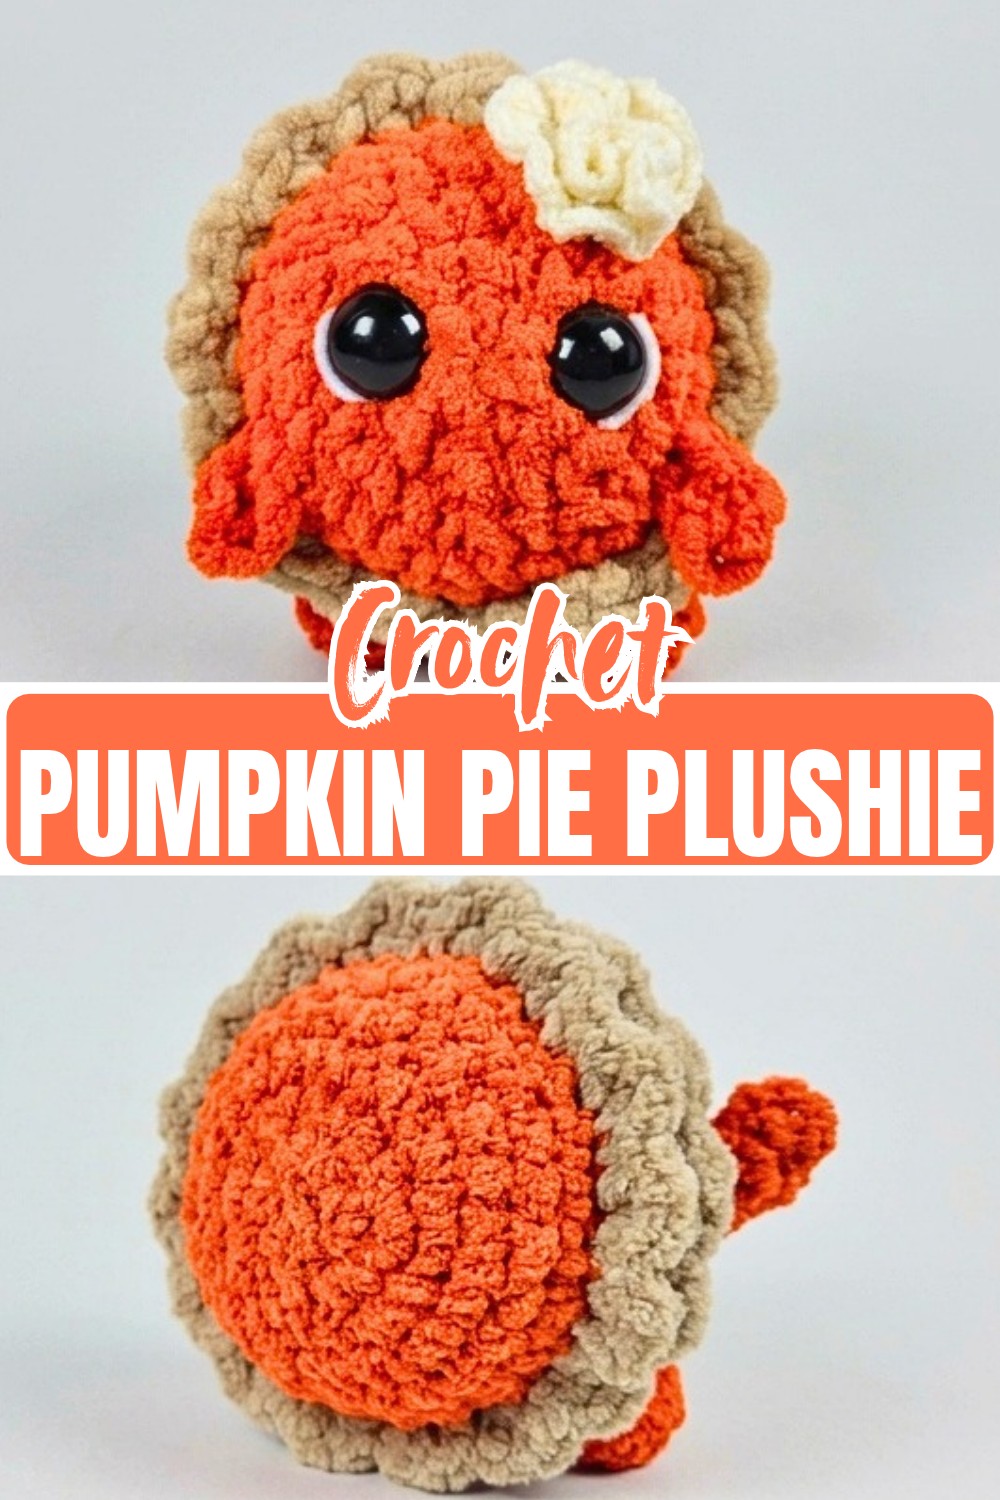
A slice of pumpkin pie may be a Thanksgiving classic, but this crochet version turns those familiar dessert details into a soft, cheerful plushie. The crochet Pumpkin Spice-colored base becomes the pie face, while a separate crust edge and fluffy whipped-cream topping give it plenty of texture.
The pattern is worked in several small pieces, but each one has a clear place in the finished crochet pie. You’ll make the round pie body first, add its face before closing it, then create the crust, little arms and legs, and the oversized whipped-cream topping. Along the way, the instructions explain where to place the safety eyes, when to stuff the pie, and how to shape the cream so it keeps its ruffled appearance.
Credit Storybook Crochet
Materials and Tools
- Bernat Blanket Yarn in Pumpkin Spice for the main pie
- Bernat Blanket Yarn or Chenille Home Slim in Sand for the crust
- Worsted weight Size 4 yarn in White for the whipped cream
- US K (6.5 mm) crochet hook for the pie, crust, arms, and legs
- US D (3.25 mm) crochet hook for the whipped cream
- Two 20 mm safety eyes
- Fiberfill stuffing
- Yarn needle
- Stitch marker
- Scissors
Finished Size and Color Ideas
Using the recommended blanket yarn and K hook, the finished plushie will be approximately 5-6 inches across. Exact size can vary with yarn choice and tension.
Although Pumpkin Spice gives the pie its classic seasonal appearance, you can easily change the main color:
- Use deep red for a cherry-pie character.
- Try blue for a blueberry-pie variation.
- Add pink blush beneath the eyes for a rosy expression.
- Keep the Sand crust neutral for a traditional baked-pie look.
Pattern Abbreviations
US crochet terms are used throughout.
- MR: Magic ring
- sc: Single crochet
- hdc: Half double crochet
- inc: Increase – 2 sc in the same stitch
- hdc inc: Half double crochet increase – 2 hdc in the same stitch
- dec: Decrease – sc 2 together
- sl st: Slip stitch
- ch: Chain
- BLO: Back loop only
- FLO: Front loop only
- st(s): Stitch(es)

Crochet the Pumpkin Pie Face
The main pie begins as a small circle worked in Pumpkin Spice yarn. This is also the best time to add the safety eyes, while the front of the pie is still open and easy to reach.
Use Pumpkin Spice yarn and the K hook.
Round 1: Make a MR and work 8 sc into the ring. Pull the tail to close. (8 sts)
Round 2: Inc in each st around. (16 sts)
Round 3: (Sc in next st, inc in next st) repeat around. (24 sts)
Round 4: (Sc in next 2 sts, inc in next st) repeat around. (32 sts)
Round 5: Sc in each st around. (32 sts)
Add the Safety Eyes Before the Crust
Insert the two 20 mm safety eyes between Rounds 2 and 3.
Place them directly across from one another, leaving approximately 3 stitches between them. Push the backs onto the eyes securely from the inside.
Adding them at this stage makes it easier to check the expression before the pie is closed.
Give the Eyes a Little Shine
For a cute character-style finish, use a small piece of white worsted yarn and your yarn needle to add a highlight to each eye.
Bring the needle up from the back at the bottom edge of the eye, travel upward along the side for roughly three-quarters of the eye’s height, then insert the needle back through.
Repeat on the second eye and tie the white yarn ends together inside the piece.

Change From Pumpkin Filling to Pie Crust
At the end of Round 5, fasten off the Pumpkin Spice yarn.
During the final pull-through of the last single crochet, pull through with the Sand yarn instead. This creates a clean transition into the crust without needing to attach a completely separate circular piece.
Shape the Back of the Pie
Continue with Sand yarn and the K hook.
Round 6: Working in BLO, sc in each st around. (32 sts)
Round 7: Working through the FLO for the decreases, (sc in next 2 sts, dec) repeat around. (24 sts)
Round 8: Working through the FLO for the decreases, (sc in next st, dec) repeat around. (16 sts)
Stuff Before the Opening Narrows
Pause after Round 8 and firmly stuff the pie with fiberfill.
Push the stuffing throughout the circle so the pie stays evenly rounded. This is the easiest point to fill it because the opening will become much smaller after the next decrease round.
Avoid forcing in so much stuffing that the stitches become stretched. You want a full, plush shape while keeping the surface smooth.
Round 9: Dec around 8 times. (8 sts)
Fasten off with a long tail. Thread the tail onto a yarn needle, weave it through the remaining stitches, and pull to cinch the opening closed.
Weave the tail securely through the back of the crust so it is hidden.

Add the Ruffled Pie Crust
The decorative crust edge is created from the unworked front loops left from Round 6. This placement is important because those loops are what allow the ruffle to sit around the outer edge of the pie.
Use Sand yarn and the K hook.
Crust Step 1: Attach the Sand yarn to any unworked front loop from Round 6 and ch 1.
Crust Step 2: Work 3 sc into the same front loop.
Crust Step 3: Sl st into the next front loop.
Crust Step 4: Repeat (3 sc in next front loop, sl st in next front loop) all the way around the pie.
Finishing: Sl st to the first sc, cut the yarn, pull through, and weave the tail securely into the back of the crust.
The repeated 3-sc groups create the wavy edge that makes the crust look more like a decorative pastry border than a flat round.
Make the Tiny Legs
Make 2 legs with matching bulky yarn and the K hook.
Round 1: Make a MR and work 6 sc into the ring. (6 sts)
Rounds 2–3: Sc in each st around. (6 sts each round)
Sl st into the next stitch and fasten off, leaving a long sewing tail.
Push the short starting tail inside the leg. Add only a small pinch of fiberfill rather than fully stuffing the tiny piece.

Make the Arms
Make 2 arms with matching bulky yarn and the K hook.
Row 1: Ch 3.
Row 2: Sc in the 2nd ch from the hook, then sc in the final ch. (2 sts)
Fasten off, leaving a long sewing tail. Weave the short starting tail into the arm.
Because these arms are intentionally tiny and flat, they do not need stuffing.
Crochet the Whipped-Cream Topping
The whipped cream uses white worsted-weight yarn and the D hook.
The smaller hook and lighter yarn help create a more delicate topping that contrasts with the bulky pie body.
Round 1: Make a MR and work 6 sc into the ring. (6 sts)
Round 2: Inc in each st around. (12 sts)
Round 3: Working in BLO, (hdc in next st, hdc inc in next st) repeat around. (18 sts)
Round 4: Working through both loops, work 4 hdc in every stitch around. (72 sts)
Sl st to the first hdc and cut a very long tail. Keep this tail for sewing the whipped cream onto the pie.
Create the Second Layer of Ruffles
Now locate the unworked front loops from Round 2.
Round 5: Attach White yarn to any unworked front loop from Round 2 and ch 1. Work 4 hdc in each of the 12 front loops. (48 sts)
Fasten off and weave in the Round 5 ends.
Do not cut or hide the long tail from Round 4. It will be used to attach the entire whipped-cream piece to the pie.

Assemble the Pumpkin Pie Character
With all the individual pieces ready, the final assembly is mainly about placement.
Attach the Legs
Turn the pie so you can work along the bottom edge.
Position the two legs directly behind the ruffled crust. Leave approximately 3 stitches between them horizontally.
Using the yarn needle, pick up a stitch from the crust and then pass through the leg. Continue sewing around the base of each leg until it is firmly attached.
Weave in the remaining tail.
Attach the Arms
Place the arms on opposite sides of the pie body.
They should sit slightly higher than the legs and just underneath the eye line.
Sew across the top of each arm to secure it to the pie, then weave in the ends.
Shape and Attach the Whipped Cream
Before sewing the cream down, gently scrunch the piece with your fingers.
The groups of 4 hdc should spread into soft waves rather than lying completely flat. This small adjustment gives the topping more height and makes it resemble a fluffy swirl of whipped cream.
Take the long tail from Round 4 and weave it through the center until the yarn comes out at the flat bottom base of the cream.
Place the topping in the center of the pumpkin pie.
Using the same long tail, sew through a stitch on the pie and then through the base of the whipped cream. Continue all the way around the base until the topping is securely attached.
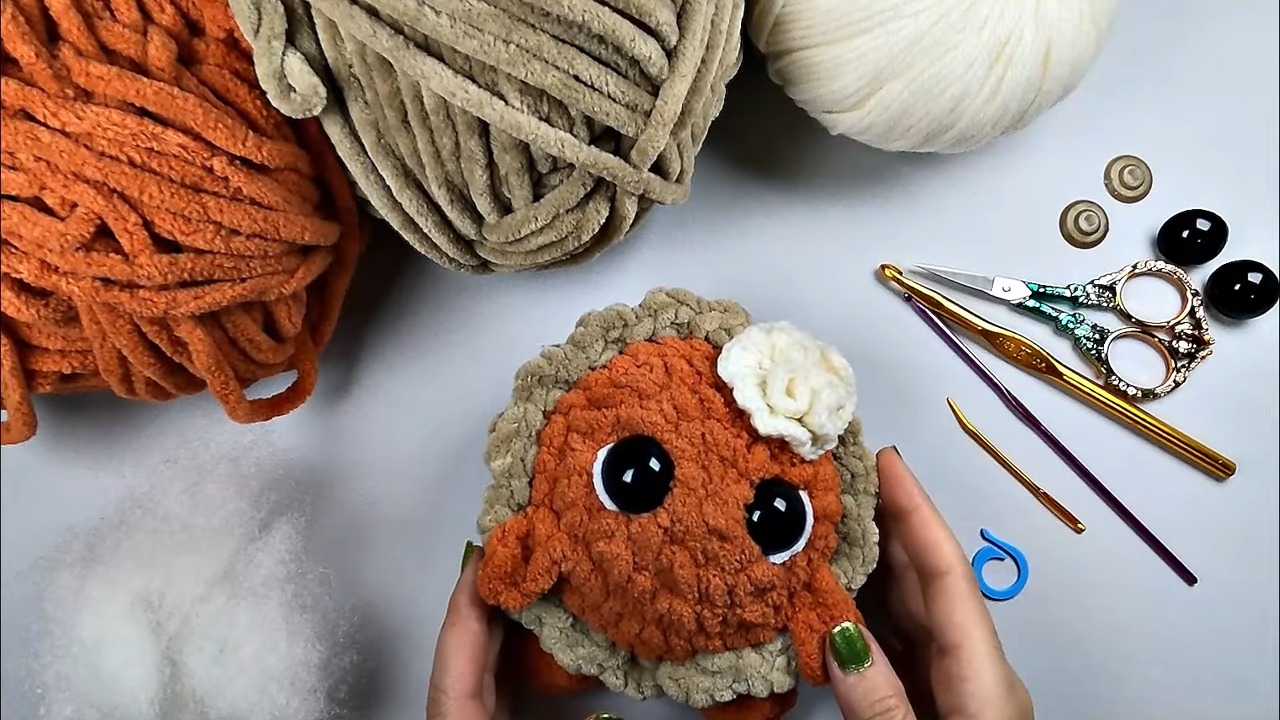
Final Shape Check
Look at the pie straight from the front before hiding the last yarn tail.
The eyes should sit evenly, the arms should be at similar heights, and the whipped cream should be centered above the face. If the cream has flattened while you were sewing, gently lift and scrunch the outer hdc clusters again to restore the ruffled shape.
Once everything looks balanced, weave the remaining tail securely into the pie.
Give Your Pie Its Own Personality
The basic pumpkin-pie color combination gives you a classic Thanksgiving character, but the same design can become several different desserts.
Try a deep red face with a Sand crust for cherry pie or a blue face with the same crust for blueberry pie. A tiny amount of pink blush beneath the eyes can make either version look even more expression.