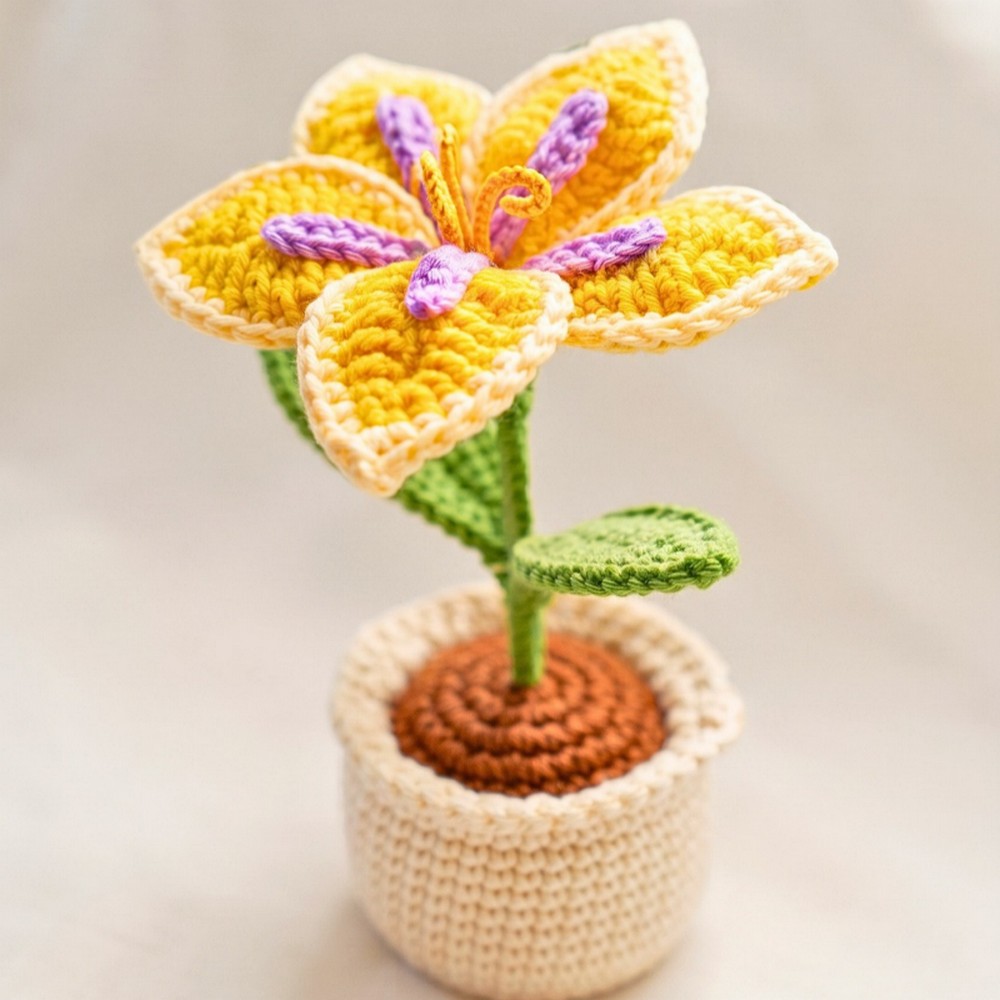
Add cheerful color to your desk with this Sundrop Flower crochet pattern, featuring wired petals, sculpted leaves, and a miniature pot for lasting floral charm.
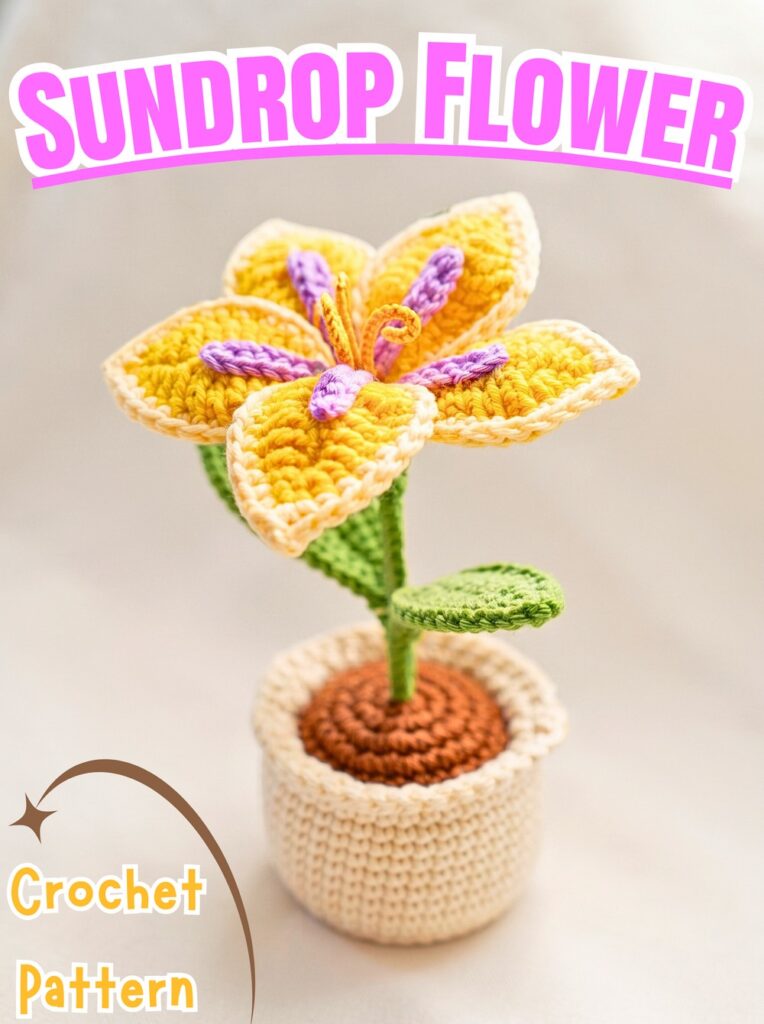
Bright petals and delicate green leaves give this crochet Sundrop Flower its cheerful personality, while its compact pot makes it suitable for desks, shelves, and handmade gifts. Working with wire and several crochet stitches may feel unfamiliar at first, but each component serves a clear purpose.
This crochet tutorial guides you through shaping the pot, preparing soil, forming wired leaves and colorful petals, and assembling crochet flower details into one decorative piece. You’ll also learn how to wrap the stem and position each component for a balanced finish.
Credit Riyal Crochet
Materials & Tools
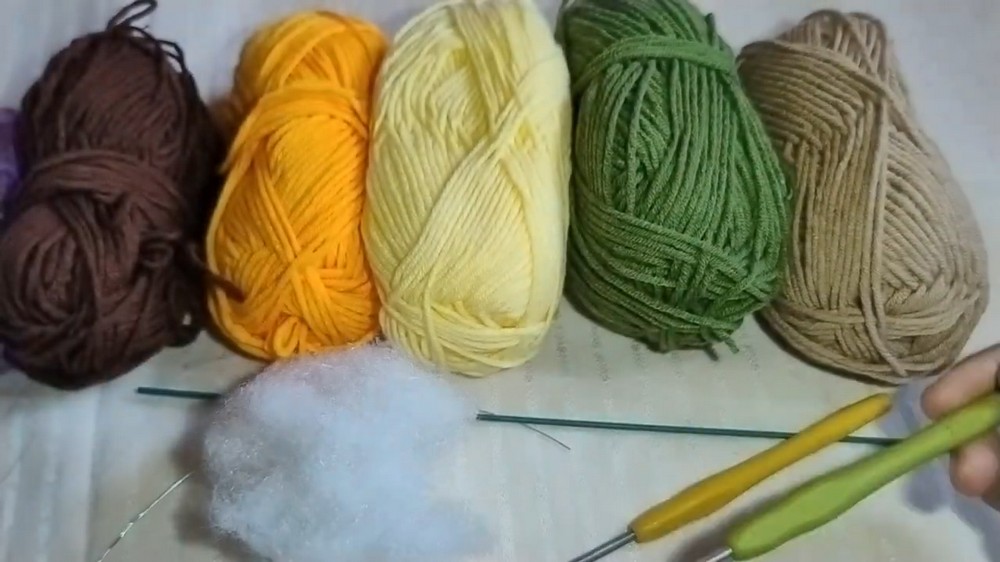
- Light brown or tan yarn: For the flowerpot.
- Dark brown yarn: For the soil insert.
- Orange and yellow yarn: For flower petals and center details.
- Purple yarn: For decorative stamen accents.
- Green yarn: For leaves and stem wrapping.
- 3.5 mm crochet hook: For the pot and soil.
- 2.0 mm crochet hook: For leaves, petals, and smaller flower details.
- Floral or craft wire: Approximately 20 cm for the petals and main stem, as specified in the tutorial.
- Fiberfill stuffing: To support the pot’s shape.
- Yarn needle: For sewing and weaving in ends.
- Scissors: For trimming yarn.
- Hot glue gun: For securing wired components and flower assembly.
Finished Size & Customization
The completed Sundrop Flower stands approximately 14–15 cm tall, making it a compact decoration for a desk, shelf, or craft display.
For a different look, substitute pink and white yarn for orange and yellow. Adjust the main stem wire length to create a taller or shorter arrangement, while keeping enough support for the flower head.
Pattern Abbreviations & Terminology
- ch: Chain
- sc: Single crochet
- hdc: Half double crochet
- dc: Double crochet
- tr: Treble crochet
- inc: Increase; work 2 sc in the same stitch
- dec: Decrease; crochet 2 stitches together
- sl st: Slip stitch
- BLO: Back loop only
- FLO: Front loop only
- sts: Stitches
Step-by-Step Crochet Instructions
Step 1: Shape the Flowerpot Base
Yarn: Light brown or tan
Hook: 3.5 mm
Start with the flat base and gradually increase its circumference before building the pot walls.
- R1: Make a magic ring and work 8 sc into it. (8 sts)
- R2: Work 1 inc in each stitch around. (16 sts)
- R3: Repeat [1 sc, 1 inc] around. (24 sts)
- R4: Repeat [2 sc, 1 inc] around. (32 sts)
Keep increases evenly distributed so the base remains flat instead of curling upward.
Teaching tip: If the circle begins to cup before the pot walls are established, check your stitch count and tension. Consistent increases help produce a stable base.
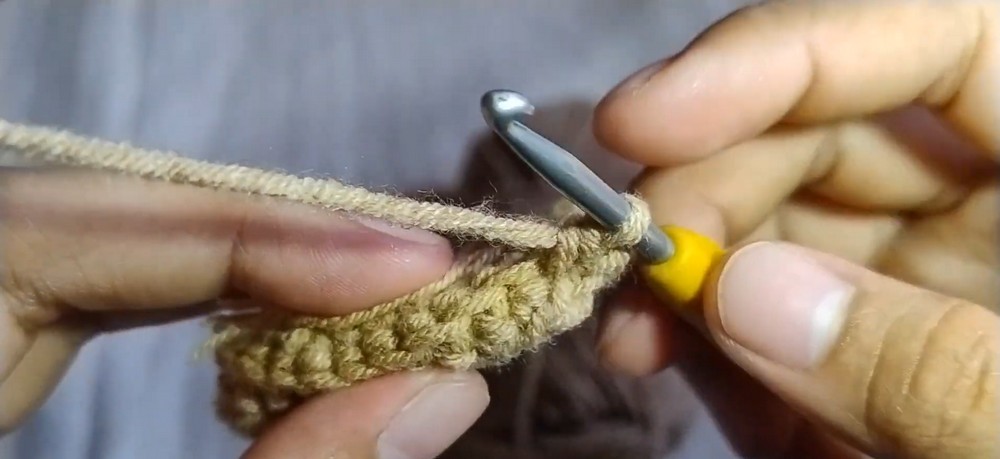
Step 2: Build the Pot Walls
The next rounds establish the pot’s height and create the loops needed for its decorative rim.
- R5: Turn your work and crochet 1 sc in each stitch around through BLO. (32 sts)
- R6: Turn again and repeat [3 sc, 1 inc] around through FLO. (40 sts)
- R7–R12: Work 1 sc in each stitch around for 6 rounds. (40 sts per round)
- R13: Repeat [3 sc, 1 dec] around. (32 sts)
- R14: Work 1 sc in each stitch around. (32 sts)
The pot should now have a wider upper section and a slightly narrowed opening.
Check your shape: Set the pot upright and inspect its sides. Even tension helps it maintain a cylindrical shape without leaning or flaring unevenly.
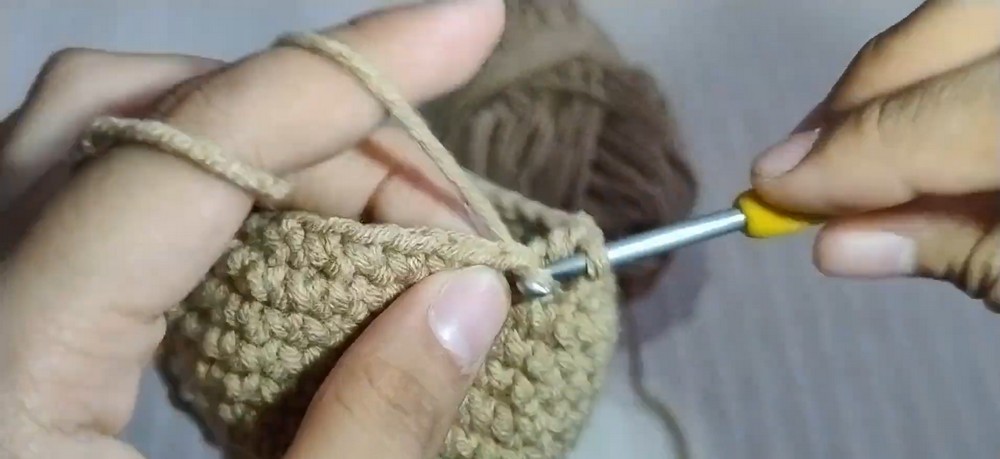
Step 3: Add the Scalloped Pot Rim
Use the remaining front-loop edge at the top to create a decorative finish.
For R15, repeat the supplied scallop sequence around the rim: [Skip 1 st, 5 dc in next st, sl st]
Fasten off when the rim is complete.
The clusters of double crochet create rounded scallops that soften the pot’s appearance and distinguish its edge from the plain body.
Helpful note: Keep each scallop arranged consistently around the rim. If your stitch placement leaves an awkward gap at the join, check the repeat against your stitch layout before securing the yarn.
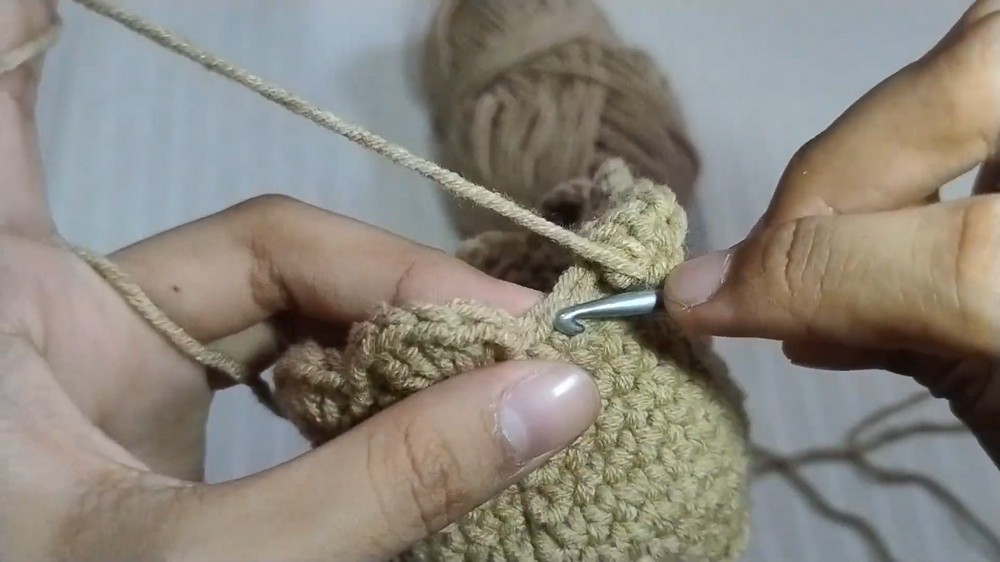
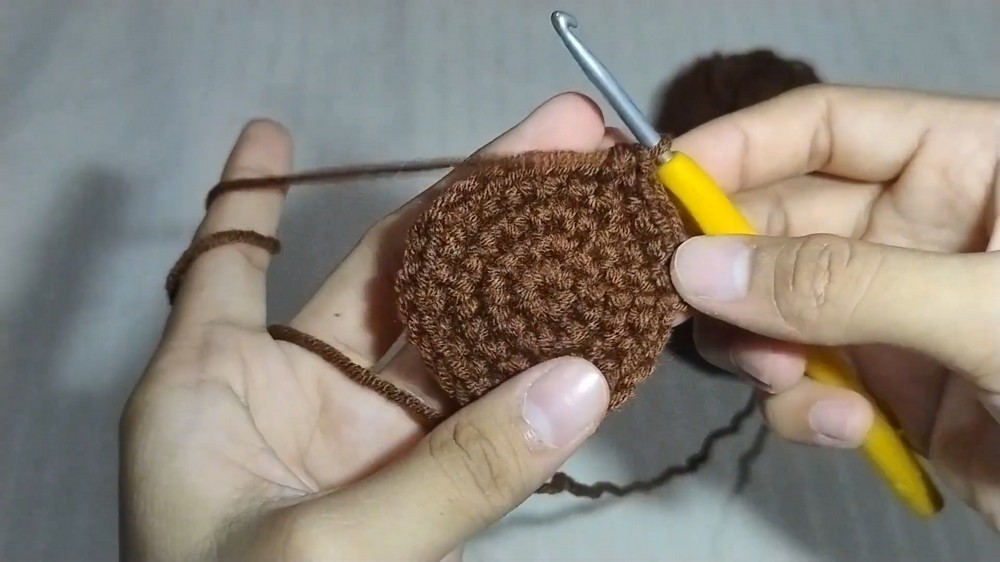
Step 4: Crochet the Dark Brown Soil Insert
Yarn: Dark brown
Hook: 3.5 mm
The soil insert forms a separate circular piece that sits inside the pot and provides an attachment point for the stem.
- R1: Work 8 sc into a magic ring. (8 sts)
- R2: Work 1 inc in each stitch around. (16 sts)
- R3: Repeat [1 sc, 1 inc] around. (24 sts)
- R4: Repeat [2 sc, 1 inc] around. (32 sts)
- R5: Work 1 sc in each stitch around. (32 sts)
Fasten off, leaving a long tail for sewing.
Fit check: Place the circle over the pot opening before stitching. Its edge should align with the inner rim, allowing it to sit neatly without excessive stretching.
Step 5: Crochet Two Wired Green Leaves
Yarn: Green
Hook: 2.0 mm
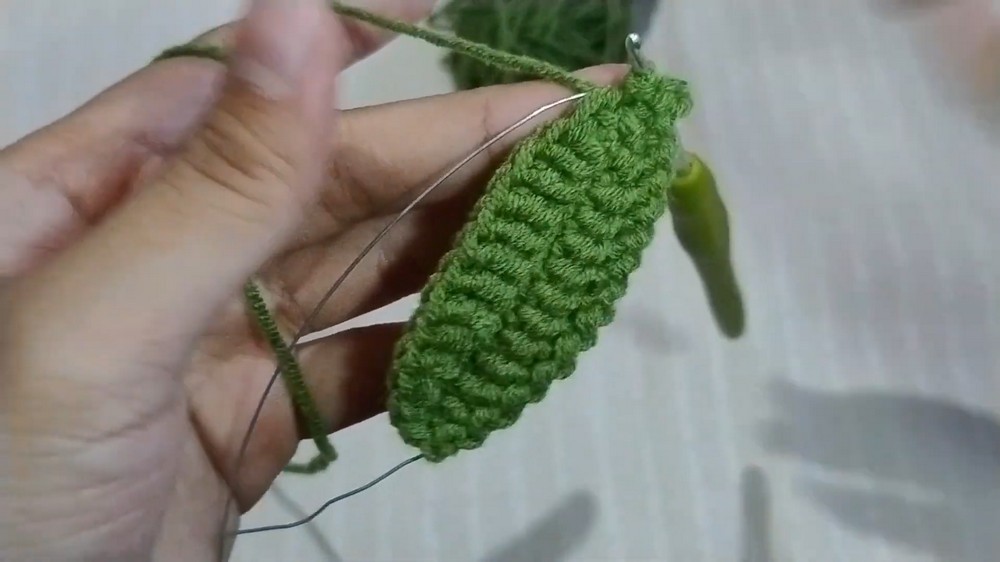
Cut a suitable length of floral wire and work 14 chains over the wire to create the leaf foundation.
Working down one side of the chain, crochet: 1 sc, 1 hdc, 9 dc, 1 hdc, 1 sc
Work 3 sc into the tip stitch, then mirror the same sequence along the opposite side: 1 sc, 1 hdc, 9 dc, 1 hdc, 1 sc
At the base, work sl st, ch 1. At the tip, work ch 2, sl st to help secure the wire. Fasten off.
Make 2 leaves.
Shaping tip: The taller double crochet stitches create the wider middle of each leaf, while shorter stitches narrow both ends. Adjust the wire gently to give each leaf a natural curve.
Step 6: Form Five Orange Flower Petals
Yarn: Orange for the petal body, yellow for the edging
Hook: 2.0 mm
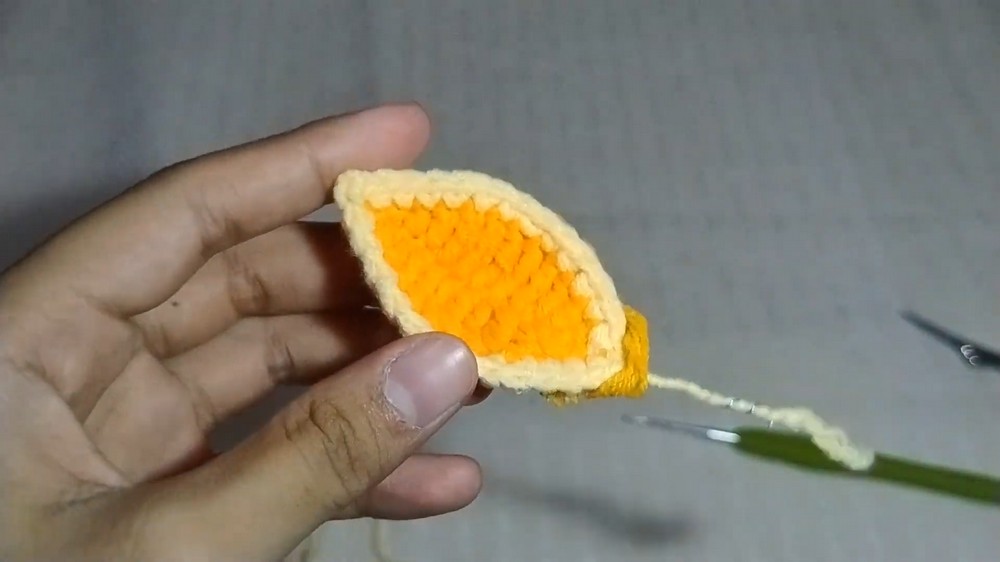
Use a piece of floral wire as the foundation and work 12 chains over it.
Along one side of the chain, crochet: 1 sc, 1 hdc, 1 dc, 5 tr, 1 dc, 1 hdc, 1 sc
Work 3 sc into the tip stitch, then repeat the same stitch sequence along the opposite side of the chain.
This creates a long, pointed oval shape with a fuller center.
Add the Yellow Edge
Join yellow yarn and work 1 sc all around the petal edge. At the tip, finish with ch 2, sl st to secure the wire.
Fasten off and weave in the ends. Repeat until you have 5 petals.
Result check: Each petal should have a defined outline, a wider middle, and a pointed tip. Try to keep the five pieces similar in size so they can be arranged evenly around the center.
Step 7: Prepare the Purple Stamen Accents
Yarn: Purple
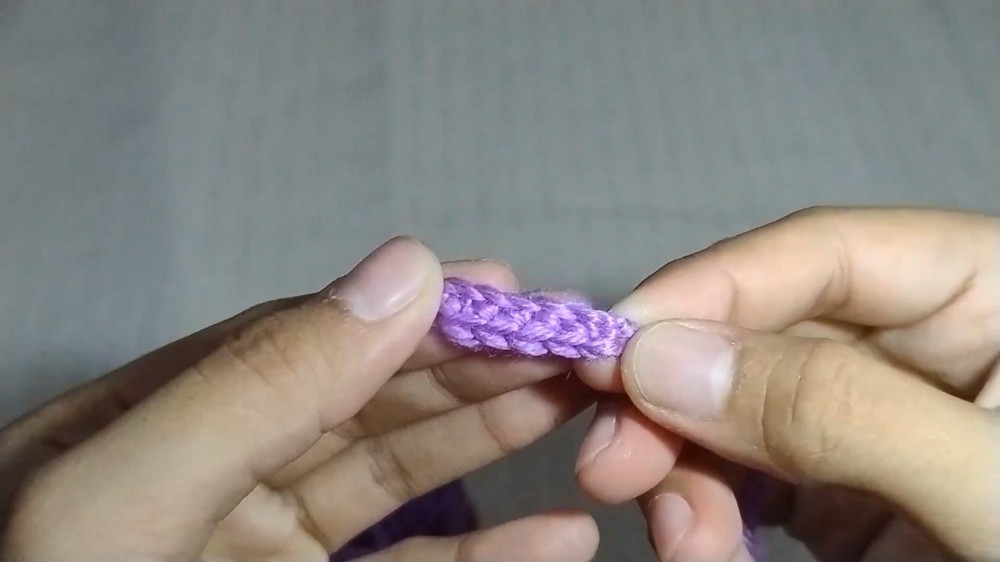
Make 3 short decorative pieces by chaining 7 and working 1 sc along each chain.
Fasten off each piece, keeping enough yarn available for attachment.
These purple accents add contrast around the flower center and help separate the central details from the orange-and-yellow petals.
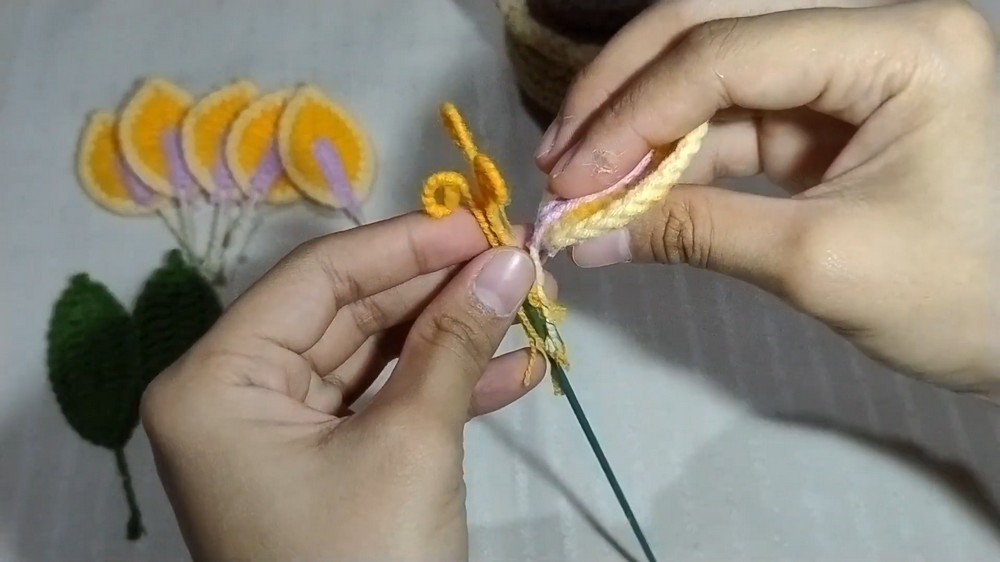
Step 8: Prepare the Yellow Center Details
Yarn: Yellow
Prepare short yellow yarn lengths for the central tendrils, following the tutorial’s wire-based wrapping method.
Arrange these details around the central wire area so they sit between the purple accents and the surrounding petals.
The supplied instructions do not specify an exact stitch count or length for these yellow pieces, so keep their size consistent rather than adding an unprovided stitch sequence.
Step 9: Attach the Soil Insert to the Pot
Before building the flower head, finish the pot assembly.
Stuff the light brown pot firmly with fiberfill, distributing it around the interior so the walls hold their shape.
Place the dark brown soil circle over the opening and use its long yarn tail to whipstitch it securely to the inner rim.
Important check: Leave the soil insert positioned so the central stem can pass through the middle. Avoid pushing stuffing into the opening where the stem needs to sit.
Step 10: Assemble the Flower Head
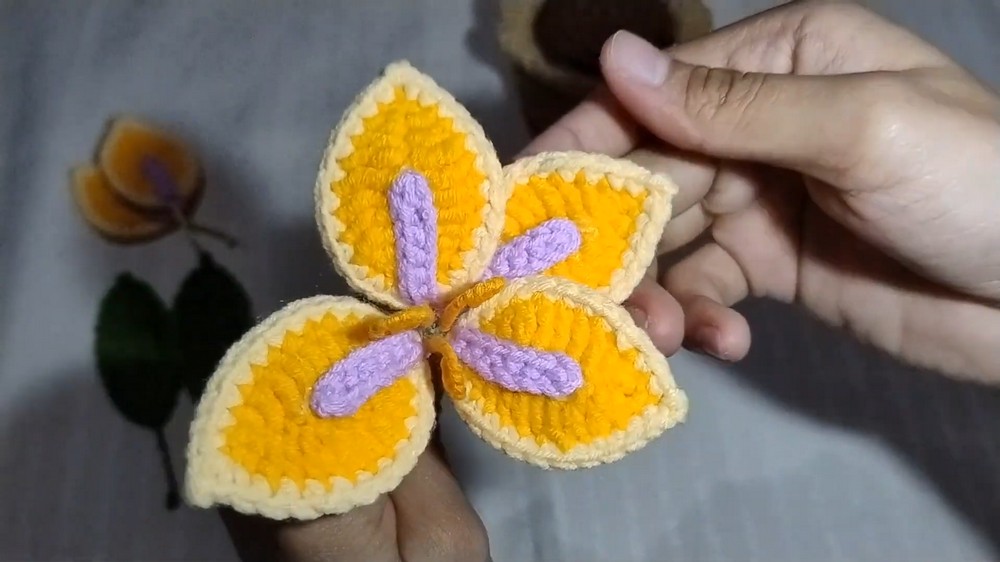
Arrange the three purple stamen accents and yellow center tendrils around the base of the floral wire.
Use the hot glue gun to secure the central details in place.
Next, position the 5 orange-and-yellow petals evenly around the center and attach them with hot glue.
Arrangement tip: Before applying glue, check the flower from the front and adjust the spacing. Even distribution helps the bloom look balanced rather than crowded on one side.
Step 11: Wrap the Main Stem
Cover the main central stem wire with green yarn, securing the yarn with hot glue as you wrap downward.
Keep the wrapping close together so the wire is concealed and the stem has a consistent green finish.
Safety note: Hot glue and exposed wire can cause injuries. Handle them carefully, allow glued sections to cool before repositioning, and keep sharp wire ends covered.
Step 12: Attach the Leaves and Position the Flower
Attach the two crocheted green leaves to the lower portion of the wrapped stem.
Bend the wired leaves gently outward so both remain visible and complement the flower head.
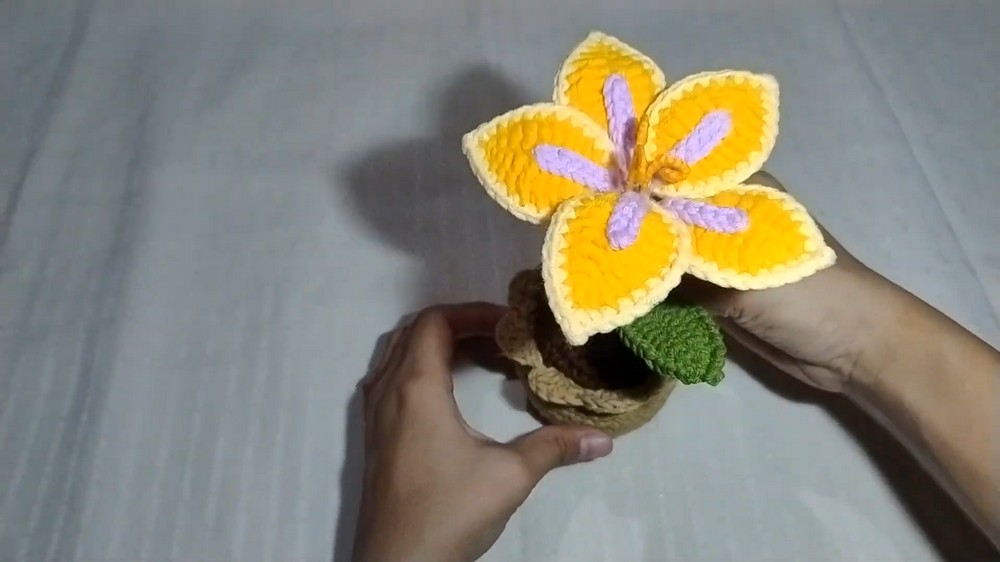
Finally, push the completed stem firmly through the center of the crocheted soil insert and into the stuffed pot.
Check that the stem stands upright and the flower head faces forward. Adjust the leaves and bloom before making any final glue corrections.
Final Finishing Check
- Pot holds its shape and sits upright.
- Scalloped rim is evenly arranged.
- Dark brown soil insert is securely attached.
- Two green leaves are positioned along the stem.
- Five petals surround the center evenly.
- Purple and yellow details are secured.
- Green yarn fully covers the main stem wire.
- Flower sits firmly in the center of the pot.
Your Sundrop Flower is ready to brighten a desk, shelf, or handmade gift display. Experiment with different petal colors and stem heights to create your own miniature floral arrangement.