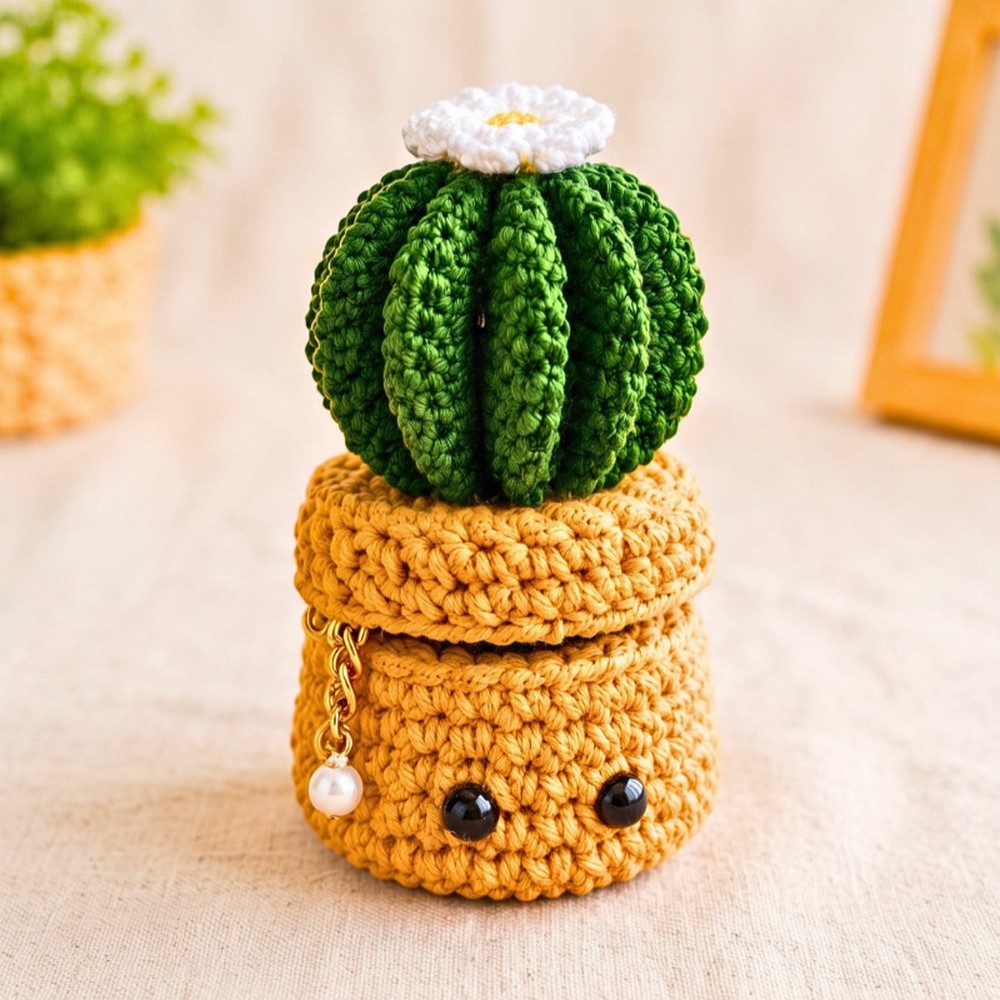
This crochet storage box combines a rounded shape, textured yarn surface, and fitted lid to create a charming little container for desk supplies, craft notions, or miniature plants.
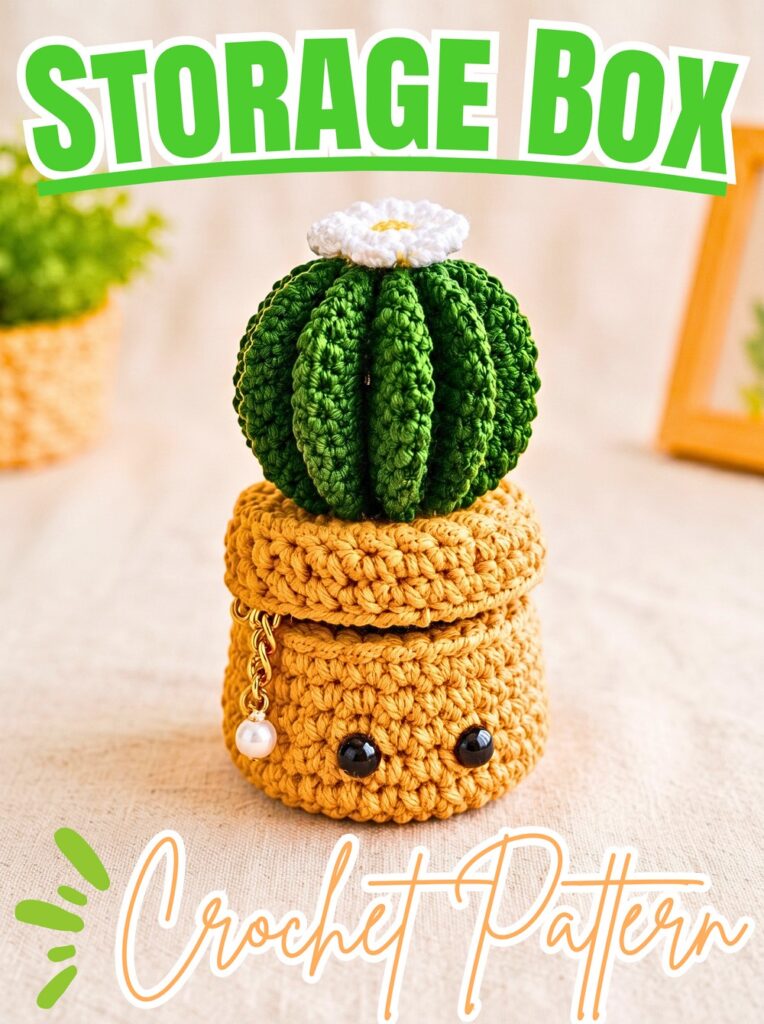
Unlike ordinary storage containers, this handmade crochet box has a soft, woven texture and a matching lid that gives its compact shape a finished look. Contrasting brown and light-brown yarn adds subtle detail around the lid, while optional safety eyes can transform the simple crochet container into a playful character or decorative plant pot.
In this crochet tutorial, you’ll learn how to shape the circular base, build straight sides, and create a separate lid that fits over the box. The pattern also covers finishing the yarn ends and adding optional facial details, with ideas for adjusting the height or styling your finished container for small everyday items.
Credit TheHappyHues🍁
Materials & Tools Needed
- Yarn: 3-ply acrylic yarn in a main color, such as light brown, plus dark brown or another contrasting color for the lid accent
- Crochet hook: 3 mm
- Safety eyes: 3 mm eyes with locking backings, optional
- Yarn needle: For weaving in yarn ends
- Scissors: For trimming yarn
- Optional craft glue: For securing a faux succulent or miniature artificial plant
Yarn tip: Work with two strands drawn from the same yarn ball to give the box extra thickness and help it hold its shape.
Finished size: A compact container suitable for small desk items, craft notions, or miniature artificial plants. Exact dimensions depend on yarn tension and the materials used.
Pattern Abbreviations & Terminology
- Ch: Chain
- St / Sts: Stitch / Stitches
- Sl st: Slip stitch
- Sc: Single crochet
- Inc: Increase; work 2 single crochet stitches into the same stitch
Step-by-Step Crochet Storage Box Tutorial
Part 1: Crochet the Box Base
Round 1: Start with a magic ring
Hold two strands of 3-ply acrylic yarn together. Form a magic ring, insert your 3 mm hook, pull up a loop, and secure your working yarn. Chain 1, then work 10 single crochet stitches directly into the ring.
Join with a slip stitch into the first single crochet and chain 1 to prepare for the next round. Pull the starting tail firmly to close the center.
Total: 10 stitches.
Keep both yarn strands together as you work. The doubled yarn creates a denser fabric than a single strand, which helps the storage box retain its shape.
Round 2: Increase around the center
Work 2 single crochet stitches into each stitch around. Join with a slip stitch into the first single crochet, then chain 1.
Total: 20 stitches.
The circle should expand evenly. If you notice a loose opening in the center, tighten the starting tail before continuing.
Round 3: Widen the base
Work 1 single crochet into the next stitch, then increase in the next stitch. Repeat this sequence of 1 single crochet and 1 increase around the circle. Join with a slip stitch and chain 1.
Total: 30 stitches.
Keep the increases in their intended sequence so the base stays round. This expanding circle forms the foundation for the box walls.
Round 4: Complete the circular base
Work 1 single crochet into each of the next 2 stitches, then make an increase in the following stitch. Repeat this sequence around. Join with a slip stitch and chain 1.
Total: 40 stitches.
The base is now wider and ready for the transition into the sides. Check that the circle lies reasonably flat before beginning the next round.
Part 2: Build the Box Walls
Round 5: Create the base-to-wall edge
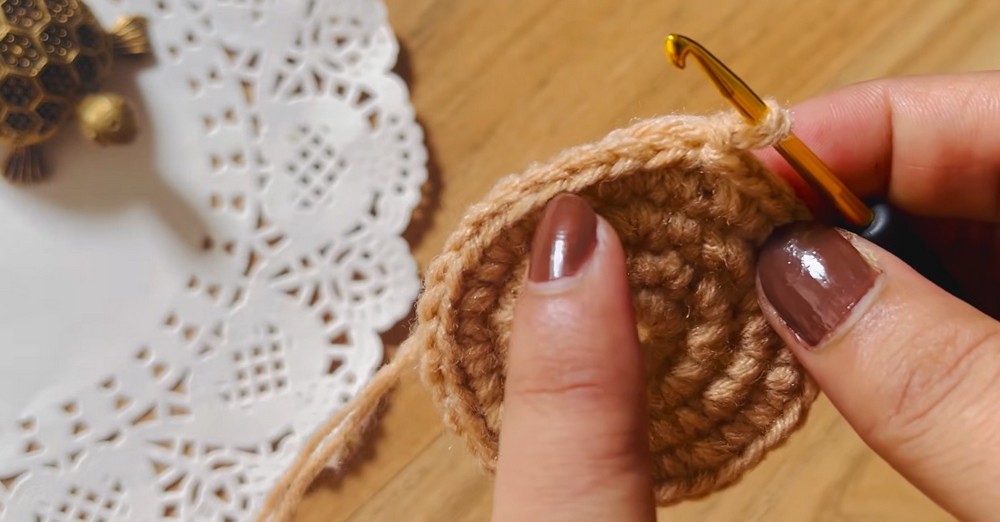
Insert your hook under the loops, as shown in the source tutorial, to create a clear corner between the flat base and the rising sides. Work 1 single crochet in every stitch around, then join with a slip stitch and chain 1.
Total: 40 stitches.
This transition round helps define where the bottom ends and the vertical walls begin. Follow the demonstrated hook placement carefully, since this round gives the box its more structured shape.
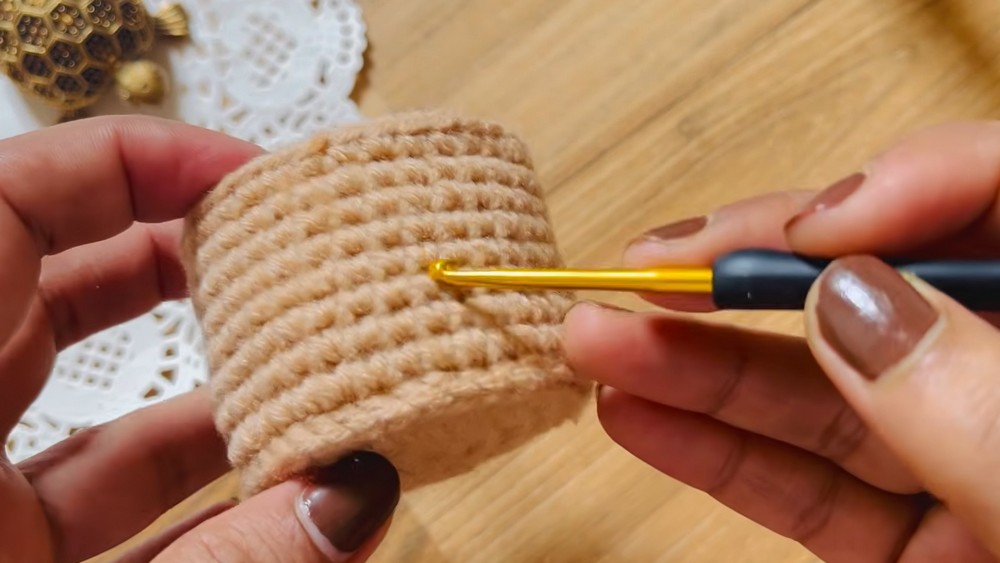
Rounds 6–12: Work the straight sides
For each round, work 1 single crochet into every stitch around. Join with a slip stitch and chain 1 before starting the next round.
Total: 40 stitches per round.
Continue for seven straight rounds after Round 5. Keep your stitch tension consistent so the walls rise evenly instead of flaring outward or narrowing at the top.
Once you complete Round 12, fasten off the yarn and weave in the loose ends with a yarn needle. The box body should have a circular base and straight sides.
Part 3: Crochet the Lid
The lid uses a similar circular start but expands to 50 stitches before forming the rim. A contrasting yarn color creates a decorative accent near its center, while the wider final rounds allow the lid to sit over the box opening.
Round 1: Begin the lid
Using your accent color, make a magic ring. Chain 1 and work 10 single crochet stitches into the ring. Join with a slip stitch into the first single crochet, chain 1, and tighten the ring.
Total: 10 stitches.
Starting the lid in a contrasting shade creates a simple color detail without requiring a complicated stitch pattern.
Round 2: Increase the lid circle
Work 2 single crochet stitches into every stitch around. Join with a slip stitch and chain 1.
Total: 20 stitches.
Keep the circle flat and the increases evenly worked. This round establishes the lid’s expanding shape.
Round 3: Continue increasing
Work 1 single crochet into the next stitch and an increase into the following stitch. Repeat around, then join with a slip stitch and chain 1.
Total: 30 stitches.
The lid should now resemble the early rounds of the box base. Next, switch to the main color to continue widening it.
 Round 4: Change to the main color
Switch to the main yarn color, securing the new yarn with a slip knot as described in the source pattern. Work 1 single crochet into each of the next 2 stitches, followed by an increase. Repeat around, join with a slip stitch, and chain 1.
Total: 40 stitches.
Work the leftover yarn tail into your stitches where possible to help secure the color change. Keep the join neat so it does not create a bulky spot beneath the lid.
Round 5: Expand to the lid’s full width
Work 1 single crochet into each of the next 3 stitches, followed by an increase. Repeat this sequence around. Join with a slip stitch and chain 1.
Total: 50 stitches.
This final increase round widens the lid beyond the box walls’ 40-stitch circumference. Check the proportions against the box body before shaping the rim.
Round 6: Form the lid rim
Insert your hook under the loops as you did for the box’s transition round. Work 1 single crochet into each stitch around, then join with a slip stitch and chain 1.
Total: 50 stitches.
The special hook placement creates a defined transition into the lid’s vertical lip. Maintain even tension so the rim stays consistent.
Round 7: Finish the lid edge
Work 1 single crochet into every stitch around. Join with a slip stitch into the first single crochet, chain 1, and cut the yarn, leaving a tail for finishing.
Total: 50 stitches.
The final round completes the lid rim. Weave the remaining tail securely into the stitches with your yarn needle.

Part 4: Finish and Customize Your Box
Step 1: Secure loose yarn ends
Thread each remaining yarn tail through a tapestry needle and weave it through the interior stitches. Trim any excess yarn after securing it.
Keep the ends tucked inside the box so they don’t show on the exterior or interfere with the lid.
Step 2: Check the lid fit
Place the lid over the finished box body and check how the two pieces sit together. Adjust their position so the lid rests evenly and doesn’t lean to one side.
The pattern creates the lid and body separately, so checking the fit before adding optional details helps you choose the best placement for decoration.
Step 3: Add optional safety eyes
If you want to give the box a character-like face, position the lid on the box first to judge the proportions. Place the 3 mm safety eyes approximately four rows down from the top edge of the box body, keeping them level and evenly spaced.
Insert each eye through a suitable stitch, then secure its locking washer from the inside. Safety eyes contain small parts, so this decoration is not suitable for items intended for young children who may put objects in their mouths.
Step 4: Turn it into a decorative plant pot cover
For a miniature plant display, place a small faux succulent or artificial plant inside the finished box. If needed, use a small amount of craft glue to secure the plant base.
Keep glue away from areas where it could be visible on the crochet surface. This is an optional styling idea, not a required part of the storage-box pattern.

Customization Ideas
Adjust the box height
To make a taller or shorter container, change the number of straight body rounds worked after the base-to-wall transition. More rounds create taller sides, while fewer rounds produce a shallower box.
Remember that changing the height affects the available interior space but doesn’t automatically change the lid diameter.
Try different color combinations
The demonstrated dark-brown accent gives the lid a contrasting center. Use another shade for the first lid rounds, or alternate colors along the body for a striped effect.
For a minimalist look, choose one main color and leave off the facial details.
Use the box for small items
The finished container can hold lightweight desk supplies, craft notions, hair accessories, or small pieces of jewelry. Its compact size also makes it suitable for organizing little items beside a workspace.
For frequently handled items, keep the lid easy to lift and avoid overfilling the box.

Tips for a Neat, Structured Storage Box
- Use doubled yarn consistently: Keep both strands together throughout the pattern to maintain a similar thickness.
- Count every increase round: The box base should reach 40 stitches, while the lid expands to 50 stitches.
- Keep the transition rounds distinct: Follow the demonstrated hook placement to create the defined corners between the base and walls and around the lid rim.
- Maintain even tension: Consistent single crochet stitches help the sides look straight and the lid edge remain uniform.
- Check the proportions before decorating: Fit the lid first, especially if you plan to add safety eyes or other facial features.
- Secure yarn ends carefully: Weave loose ends into the interior stitches to keep the outside neat.
Enjoy Your Handmade Crochet Storage Box
Your crochet storage box is ready to organize small essentials or add handmade texture to a desk. Keep its two-tone lid for a subtle decorative finish, add optional eyes for a playful character, or style it as a miniature faux-plant cover to suit your space.