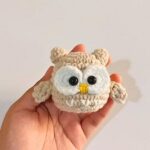
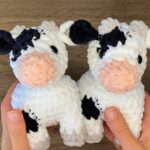
Create your very own adorable crochet cow using simple techniques and creative stitching. This project creates a charming stuffed accessory that’s perfect for gifting or decorating your space.
With its vibrant colors and soft texture, this cow is both visually appealing and versatile.
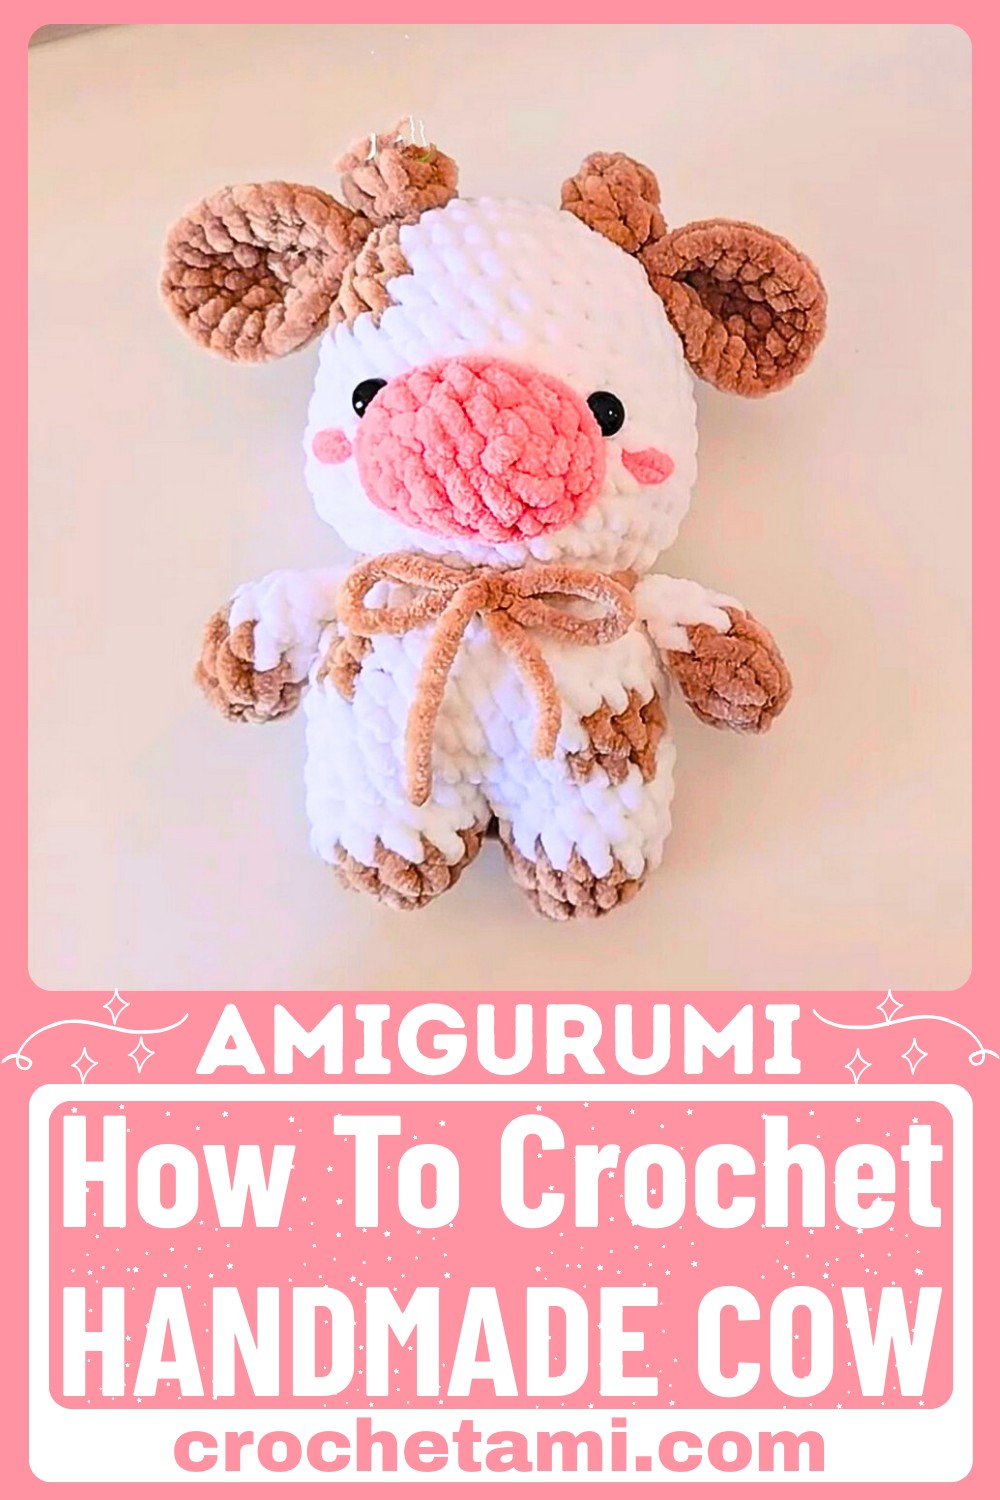
This crochet cow is an elegant handmade plushie, celebrated for its durability and warmth. Crafted with Himalaya Dolphin Baby yarn, its sturdy design makes it ideal for kids, collectors, or adding a playful touch to your home.
The eye-catching colors and unique detailing offer unmatched charm and usability.
Materials and Preparation
To crochet this adorable cow, you will need the following materials:
- Yarn: Himalaya Dolphin Baby Solid yarn (bulky, plush yarn ideal for stuffed animals).
- Crochet Hook: 6 mm size hook.
- Additional Tools:
- Stitch markers (to keep track of rounds and stitches).
- Safety eyes (for the face, placed between rounds 10–11, 6–7 stitches apart).
- Yarn needle (for sewing and weaving in ends).
- Scissors.
- Stuffing material (e.g., polyester fiberfill).
- Glue (optional, to secure horns).
- Yarn Colors: White, brown, and other colors for accents (optional).
Abbreviations and Notes
Abbreviations:
- SC: Single crochet
- INC: Increase (2 SC in the same stitch)
- DEC: Decrease (crochet 2 stitches together)
- SL ST: Slip stitch

Notes:
- This pattern involves color changes throughout the cow’s body, legs, and head. Ensure you manage your yarn comfortably and secure ends when changing colors.
- For beginners, the video demonstrates techniques for assembling pieces effectively. Take breaks if needed and follow the video closely for detailed visuals.
- Mark the start of each round using stitch markers to avoid losing track.
Gauge, Approximate Size, and Pattern Notes
- Gauge: Not specifically mentioned, as this is a stuffed plushie. Gauge isn’t crucial, but consistency in stitches is important.
- Finished Dimensions: Approximately medium-sized plushie (dimensions will depend on your specific yarn and stuffing).
- Special Techniques:
- Stuffing and shaping are key to creating a clean and plump cow.
- Sewing or gluing horns, ears, and other parts requires careful alignment for symmetry.
- Gauge Swatch: Not required.
Step-by-Step Pattern
Legs
- Round 1: Make a slip knot and chain 2. SC 6 into the first chain.
- Round 2: INC in each stitch (6 INCs) → Total 12 SC.
- Round 3–4: Change yarn color to white. SC in each stitch (2 rounds of 12 SC).
- Make 2 legs. Cut yarn for the first leg. Do not cut yarn for the second leg.

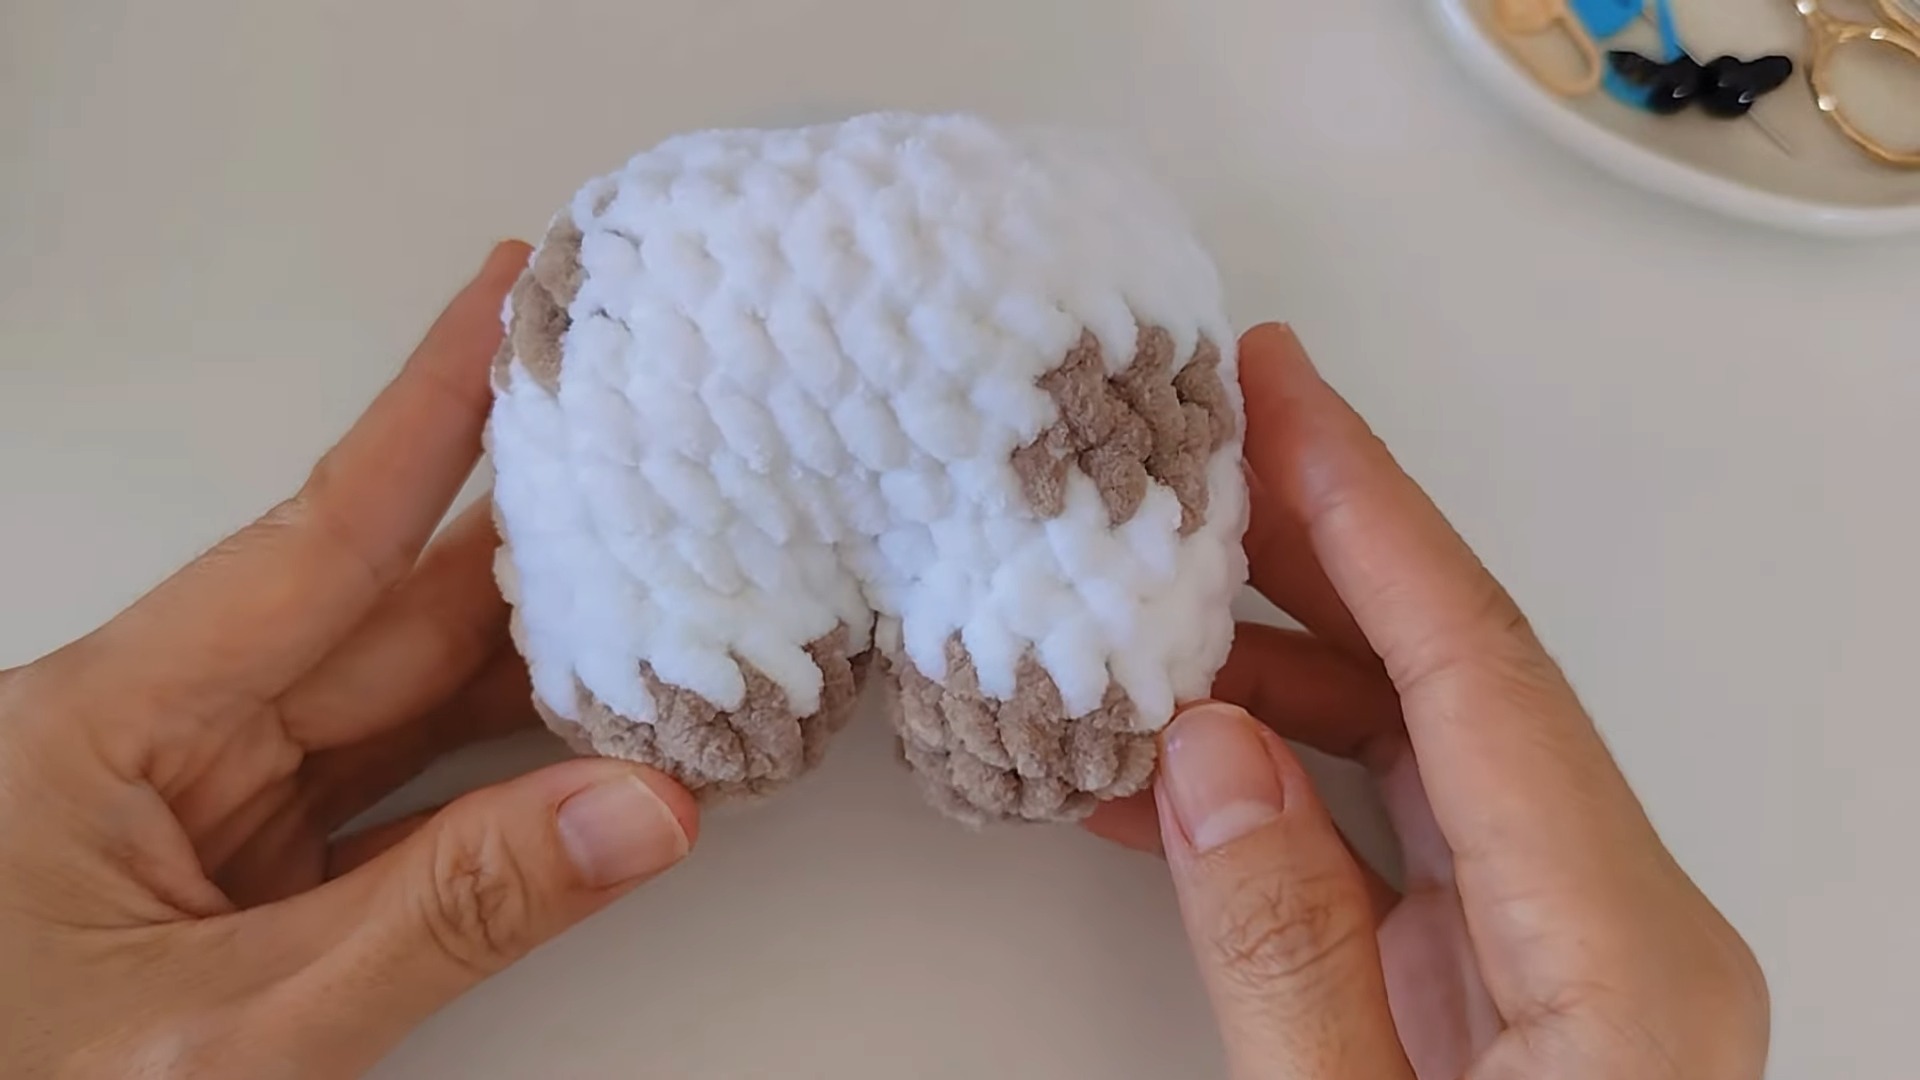
Body
- Round 5: Join two legs with white yarn. Make 9 SC, then 2 INC, then 10 SC → Total 28 SC. Secure the gap between legs with white yarn.
- Rounds 6–7: Begin color changes: White → 8 SC, Brown → 3 SC, White → 17 SC. Repeat for each round.
- Rounds 8–9: Crochet as follows: White → 18 SC, Brown → 2 SC, White → 8 SC. Repeat for each round.
- Round 10: SC clusters followed by decreases → Repeat 5 SC, then DEC to the end of the round.
- Round 11: SC clusters followed by further decreases → Repeat 2 SC, then DEC to the end of the round.
- Cut yarn and secure.
Arms
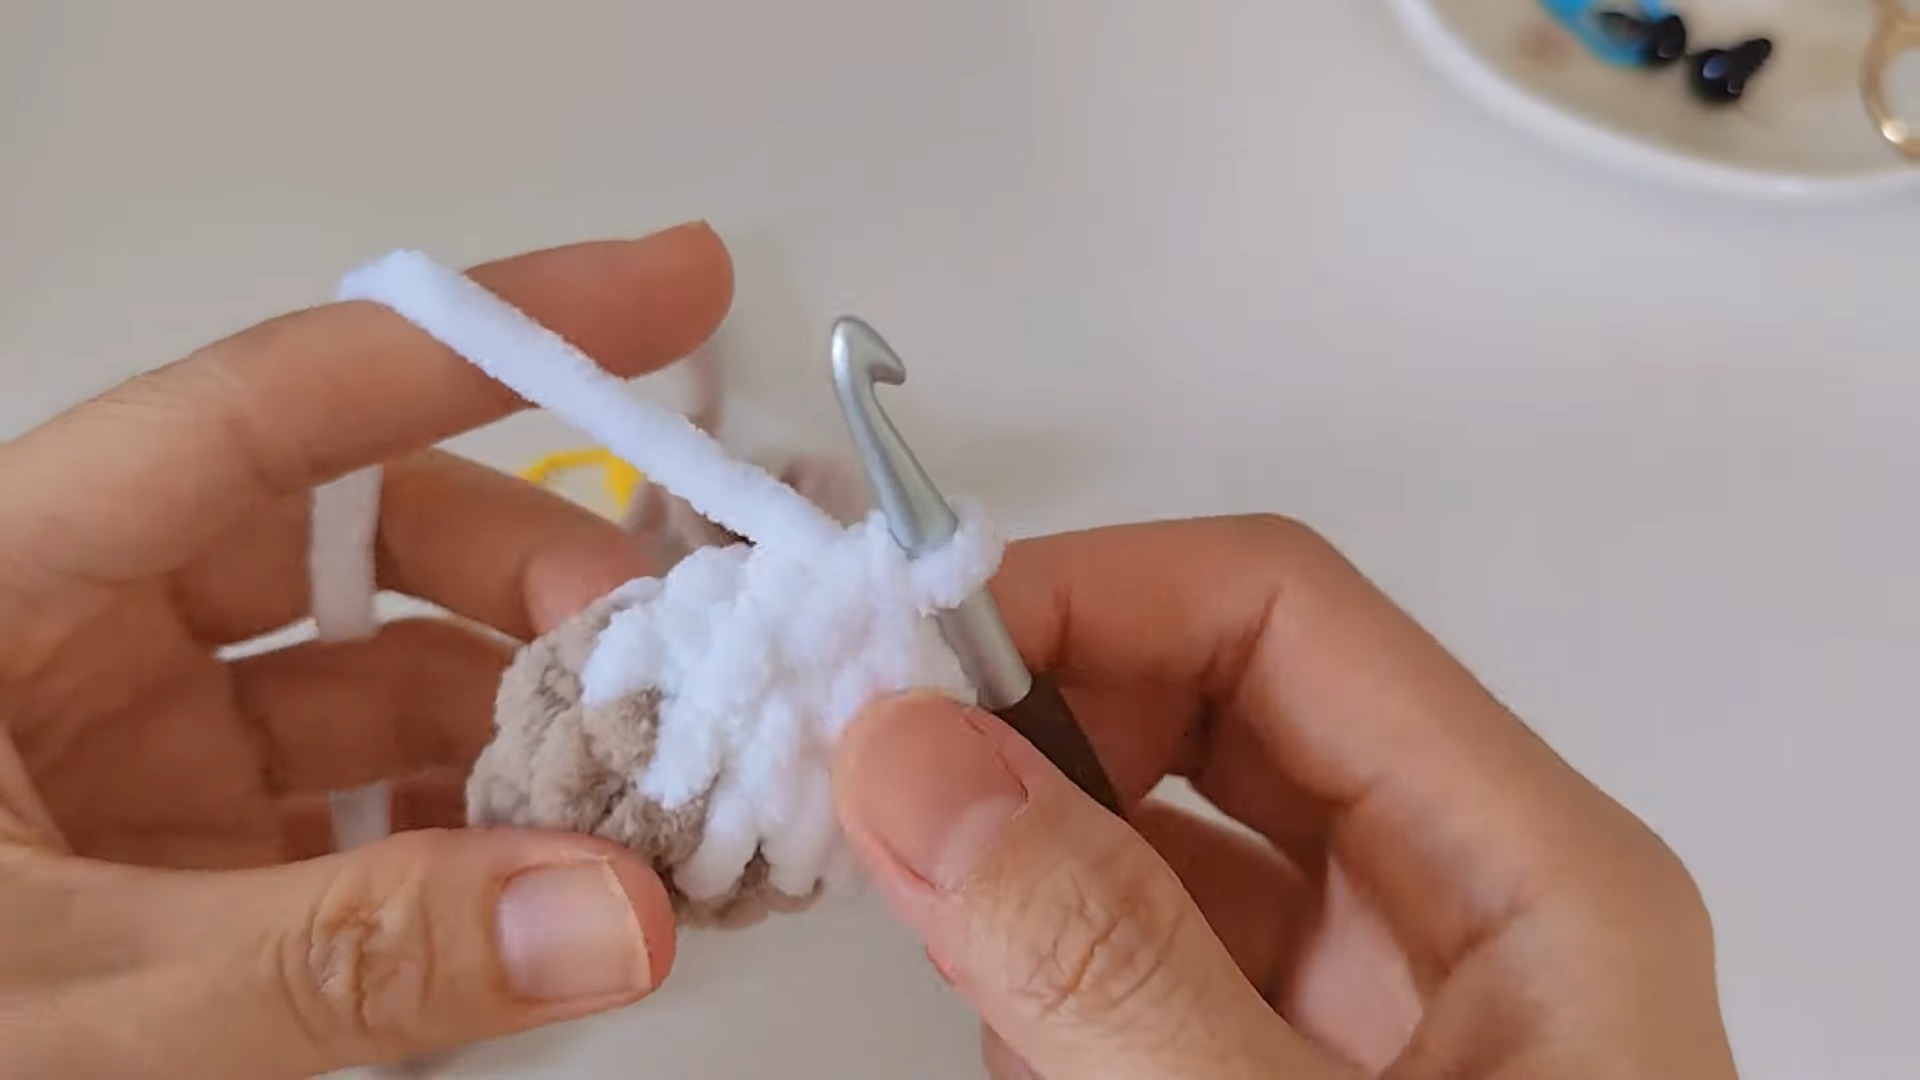
- Round 1: Make a slip knot and chain 2. SC 8 into the first chain.
- Round 2: SC in each stitch (8 SC).
- Rounds 3–4: Change color to white and SC in each stitch.
- Cut yarn and secure. Sew edges of arms together.
Head
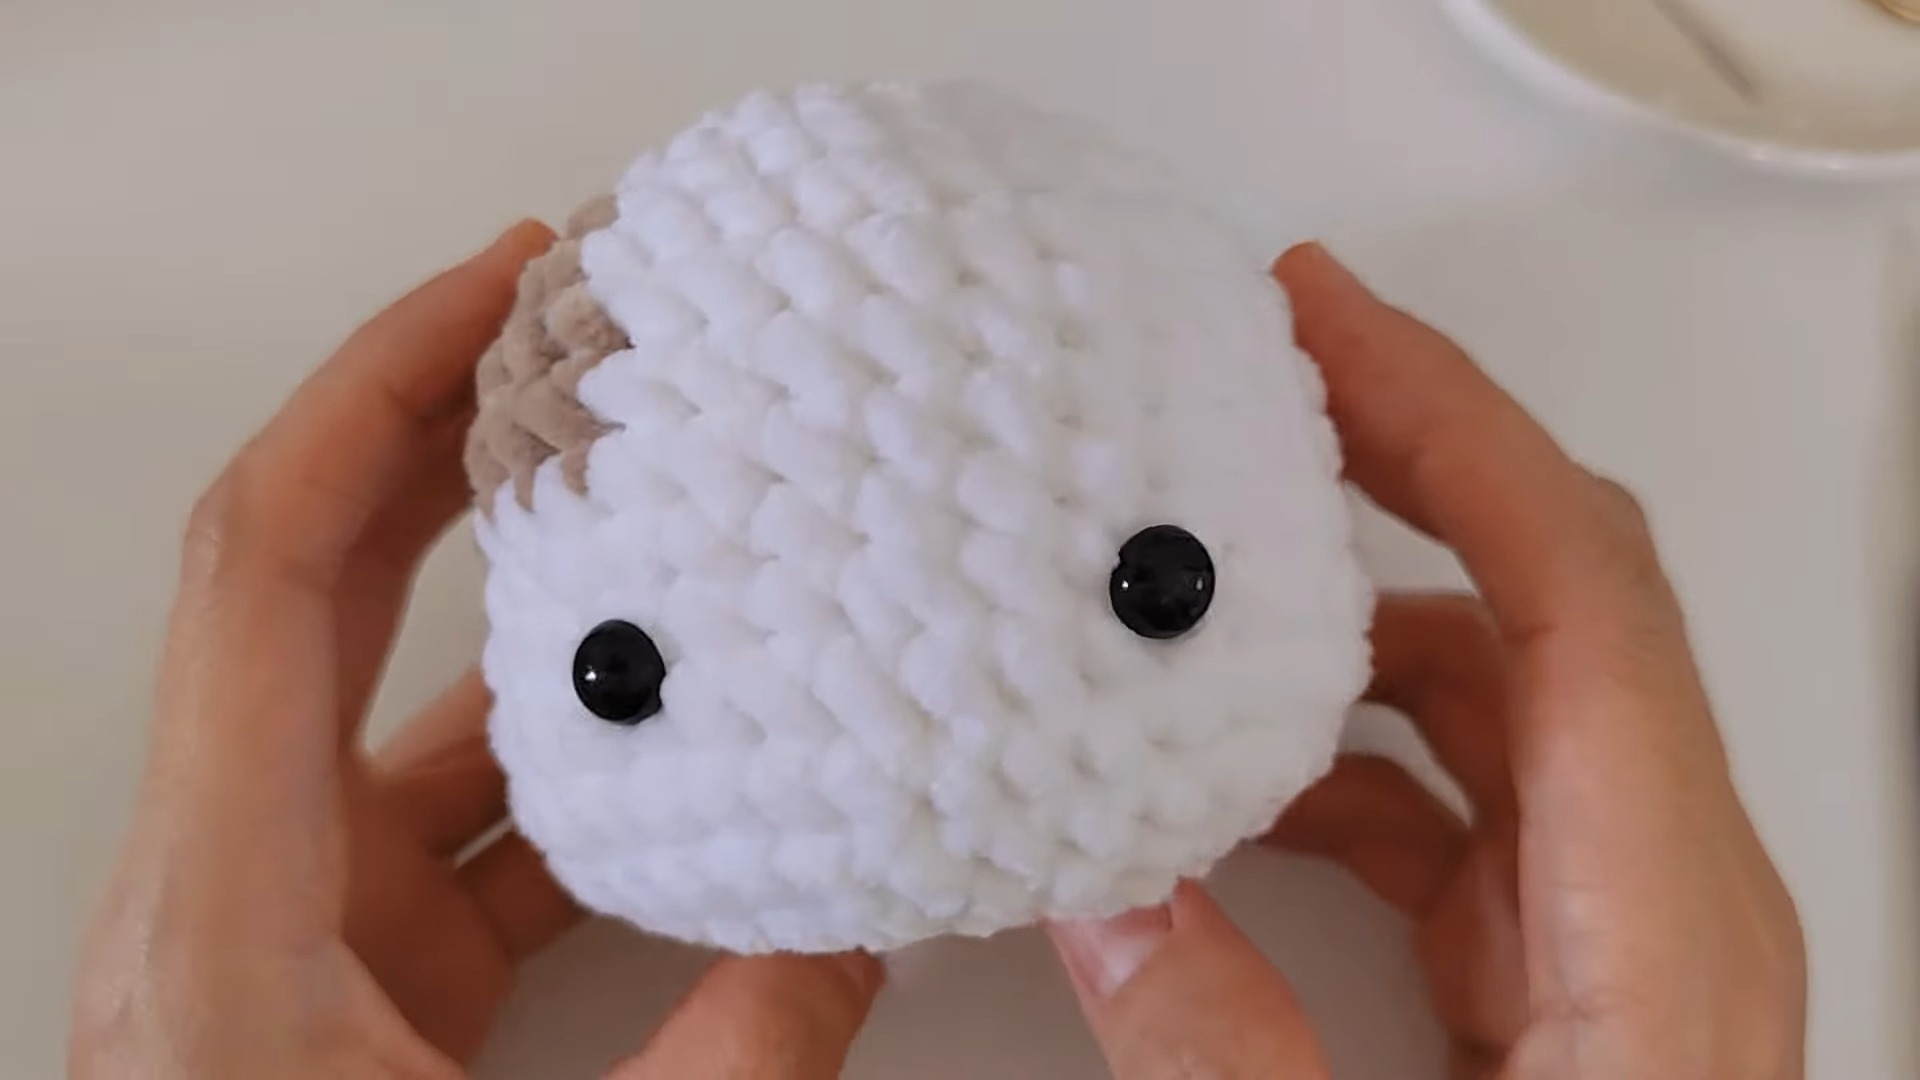
- Round 1: Make a slip knot and chain 2. SC 6 into the first chain.
- Round 2: INC in each stitch (6 INCs) → Total 12 SC.
- Round 3: Crochet clusters (SC followed by INC).
- Rounds 4–6: Begin color changes for white and brown yarn clusters. Adjust SC counts for proper shaping based on video.
- Insert safety eyes between rounds 10–11, approximately 6–7 stitches apart.
- Continue decreasing through SC clusters (e.g., 4 SC → DEC, 3 SC → DEC) till the head is rounded.
- Stuff head before closing and shaping.
Snout
- Chain 5 and work SC across. Add INCs at ends to shape the snout. Follow video for exact shaping.
- Sew snout to the front of the head.

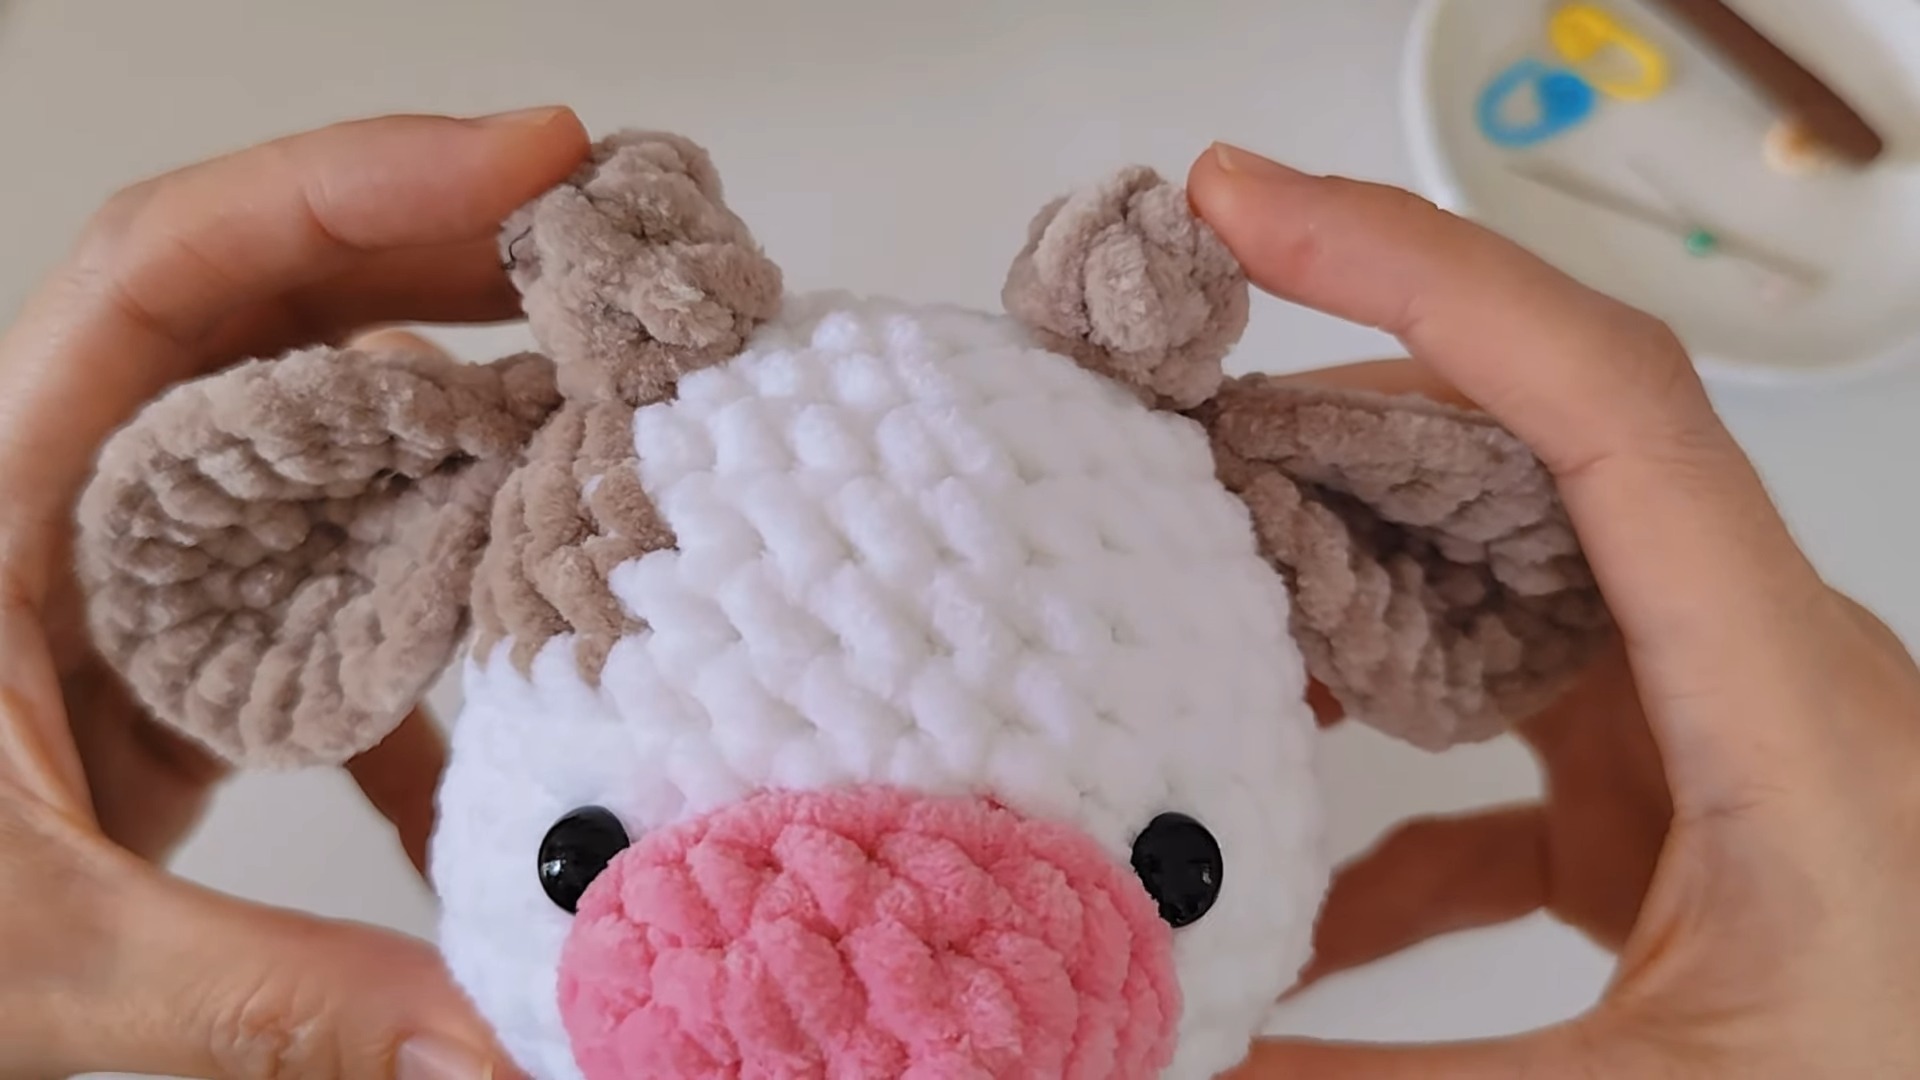
Ears & Horns
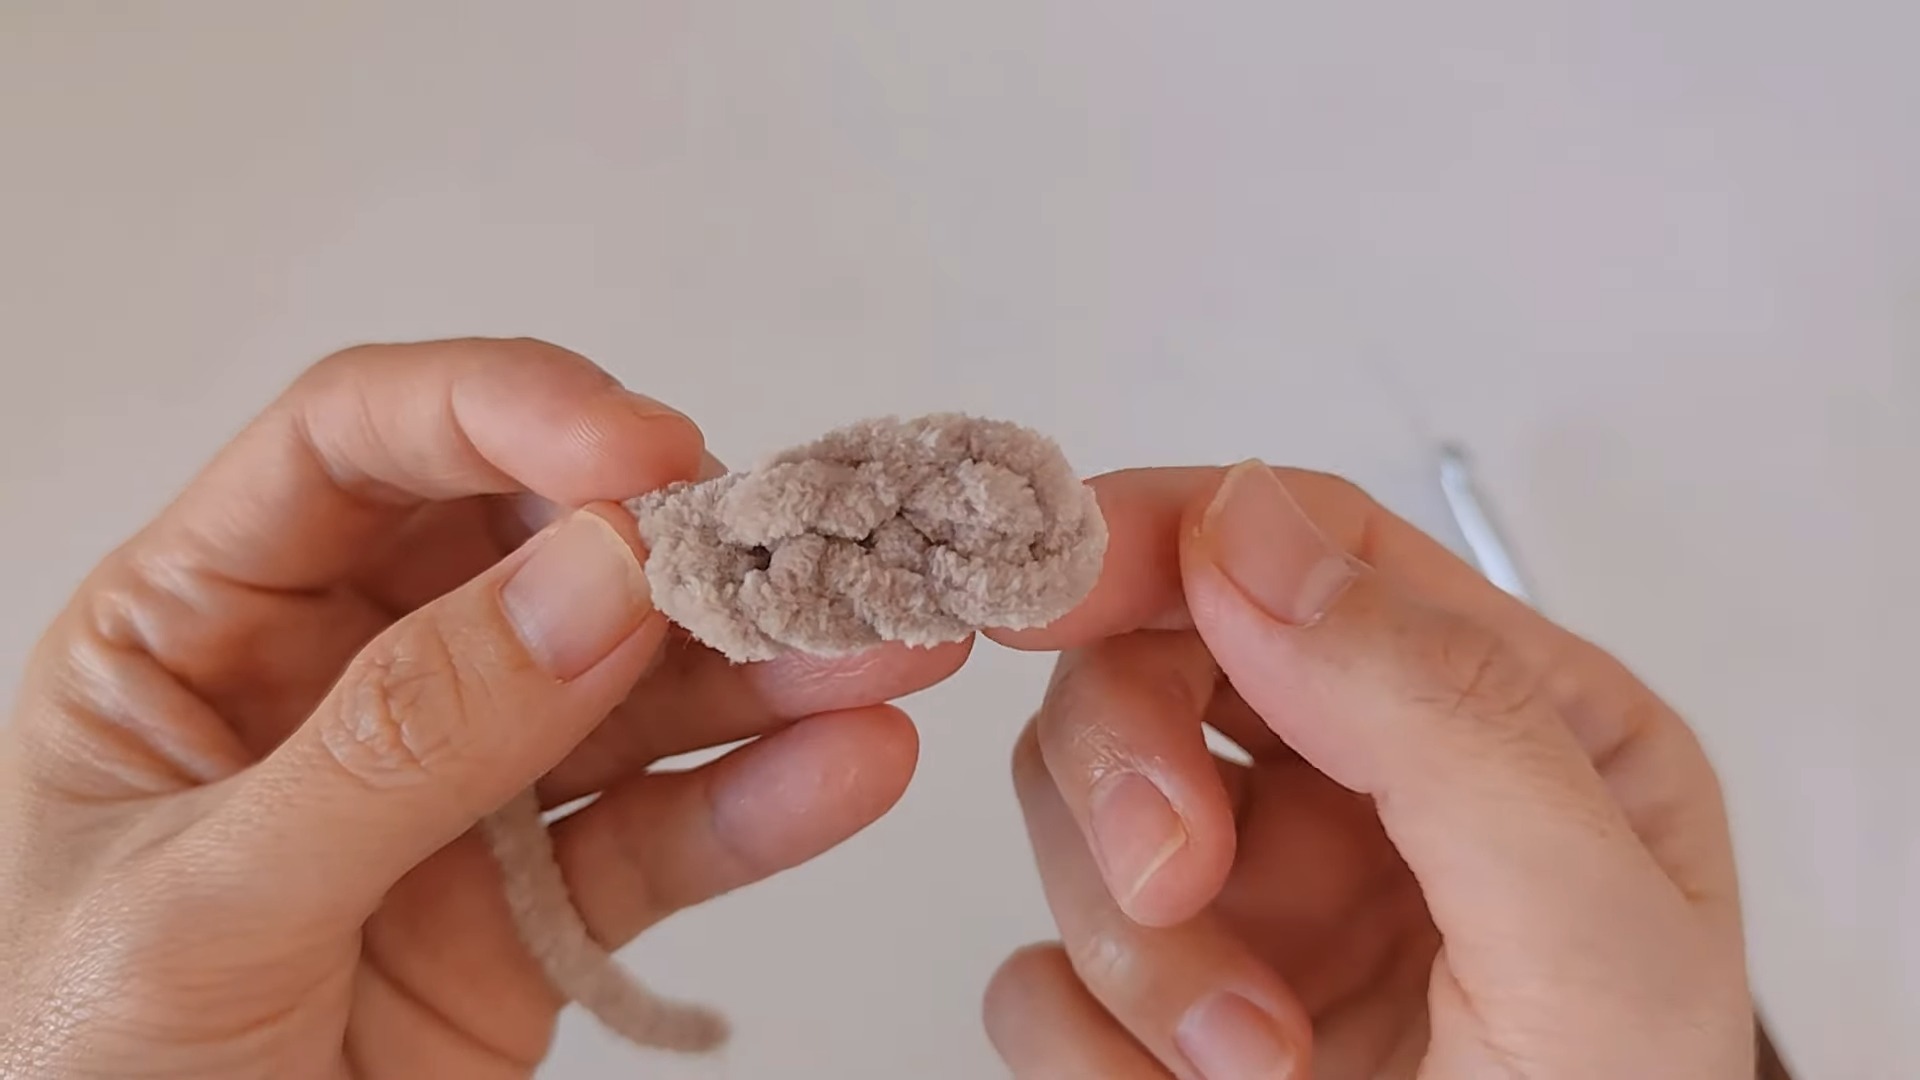
- Crochet ears and horns as described in the video. Follow color changes if desired.
- Position and sew ears onto the head. Use glue to secure horns.
Tail
- Chain 4. SC and SL ST across the chains. Cut and secure yarn. Attach tail to body.
Final Assembly
- Align head and body carefully. Sew them together stitch by stitch.
- Sew arms to the sides of the body.
- Attach tail to the back.
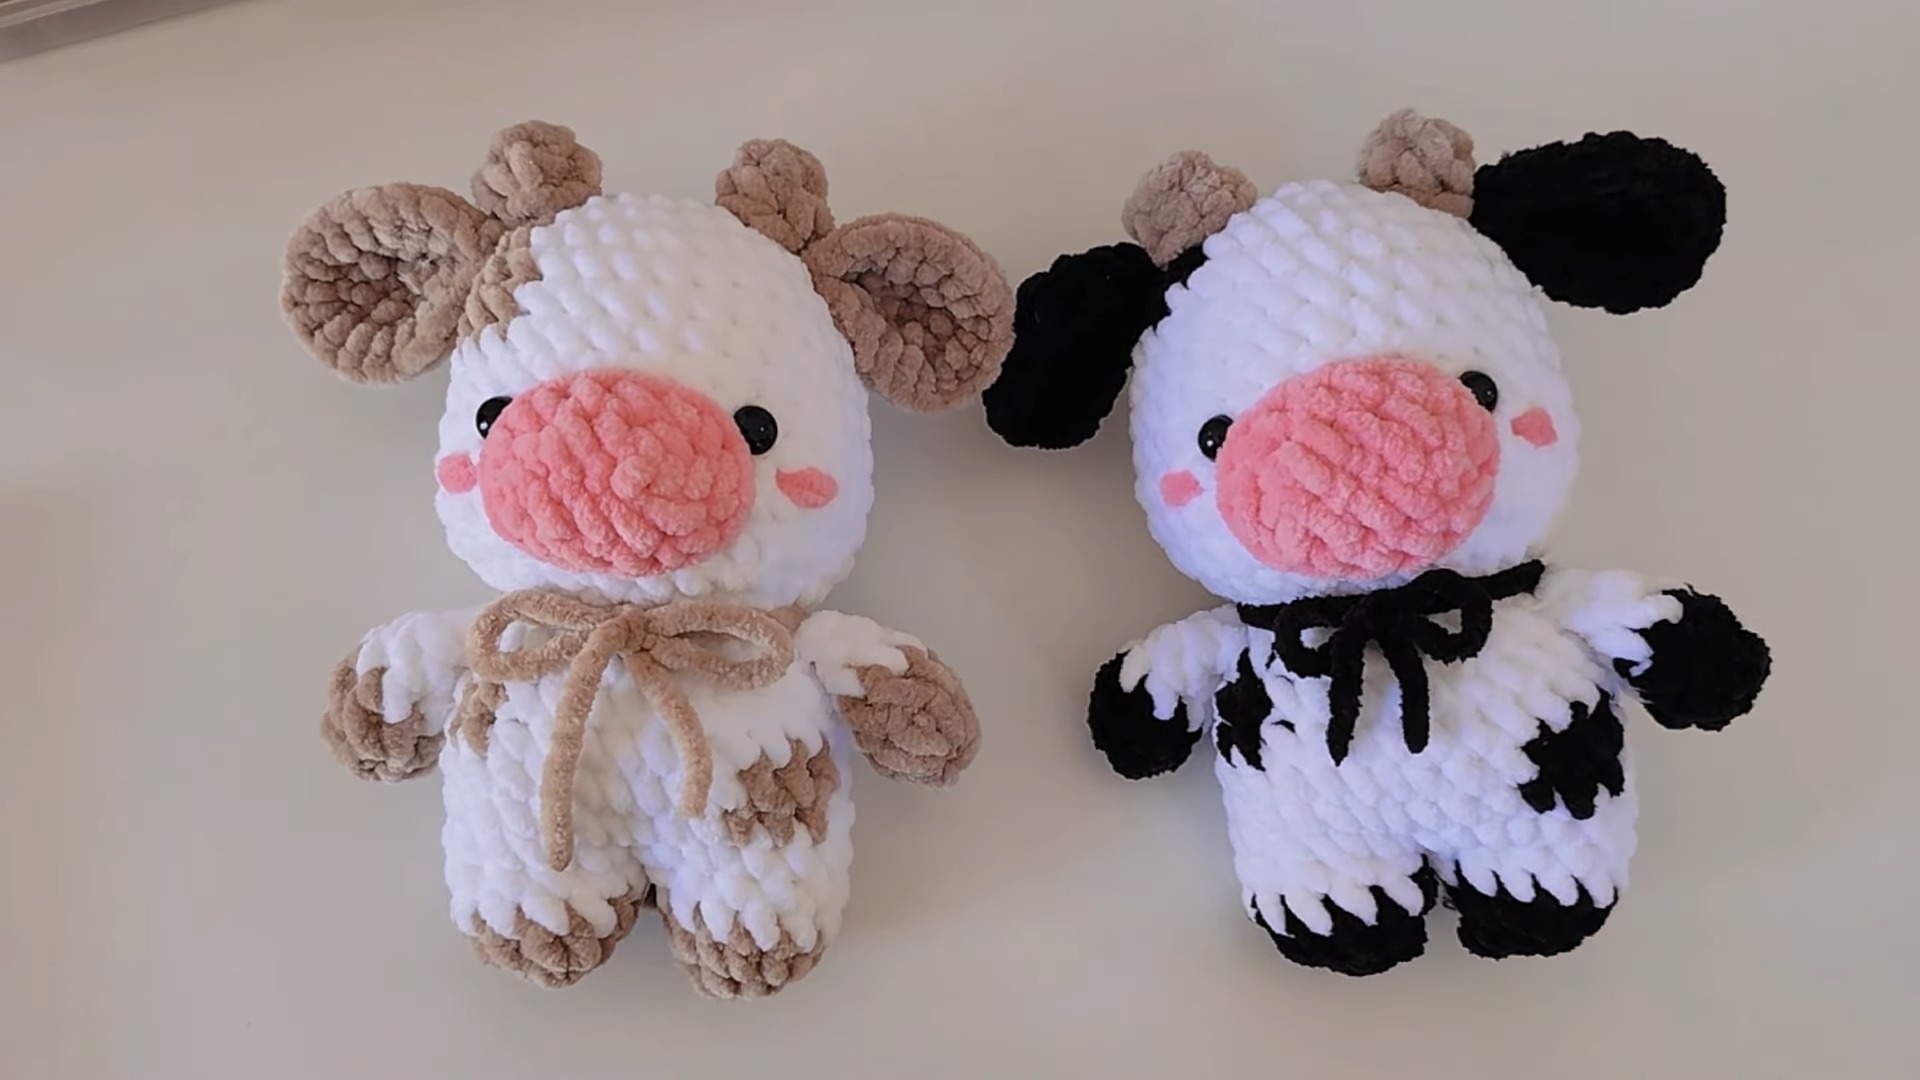
- Optionally, add a decorative bow for extra charm.
Key to Success:
- Use soft and durable yarn, like Himalaya Dolphin Baby for plush texture.
- Stick to accurate stitching patterns, especially for arms, legs, and colors.
- Avoid skipping details in assembly to maintain structural integrity.
- Follow tutorial steps for smooth transitions between yarn colors and shapes.
Conclusion:
Crocheting this cow is a fun and satisfying way to show off your crafting skills while creating a lovable accessory. Its soft texture, durability, and playful design make it a worthwhile project to enjoy and share. Whether for yourself or others, this project brings creativity and joy!