Follow this fun tutorial to make a low-sew crochet cow with easy bobble-stitch horns and customizable spots for a playful handmade toy or gift.
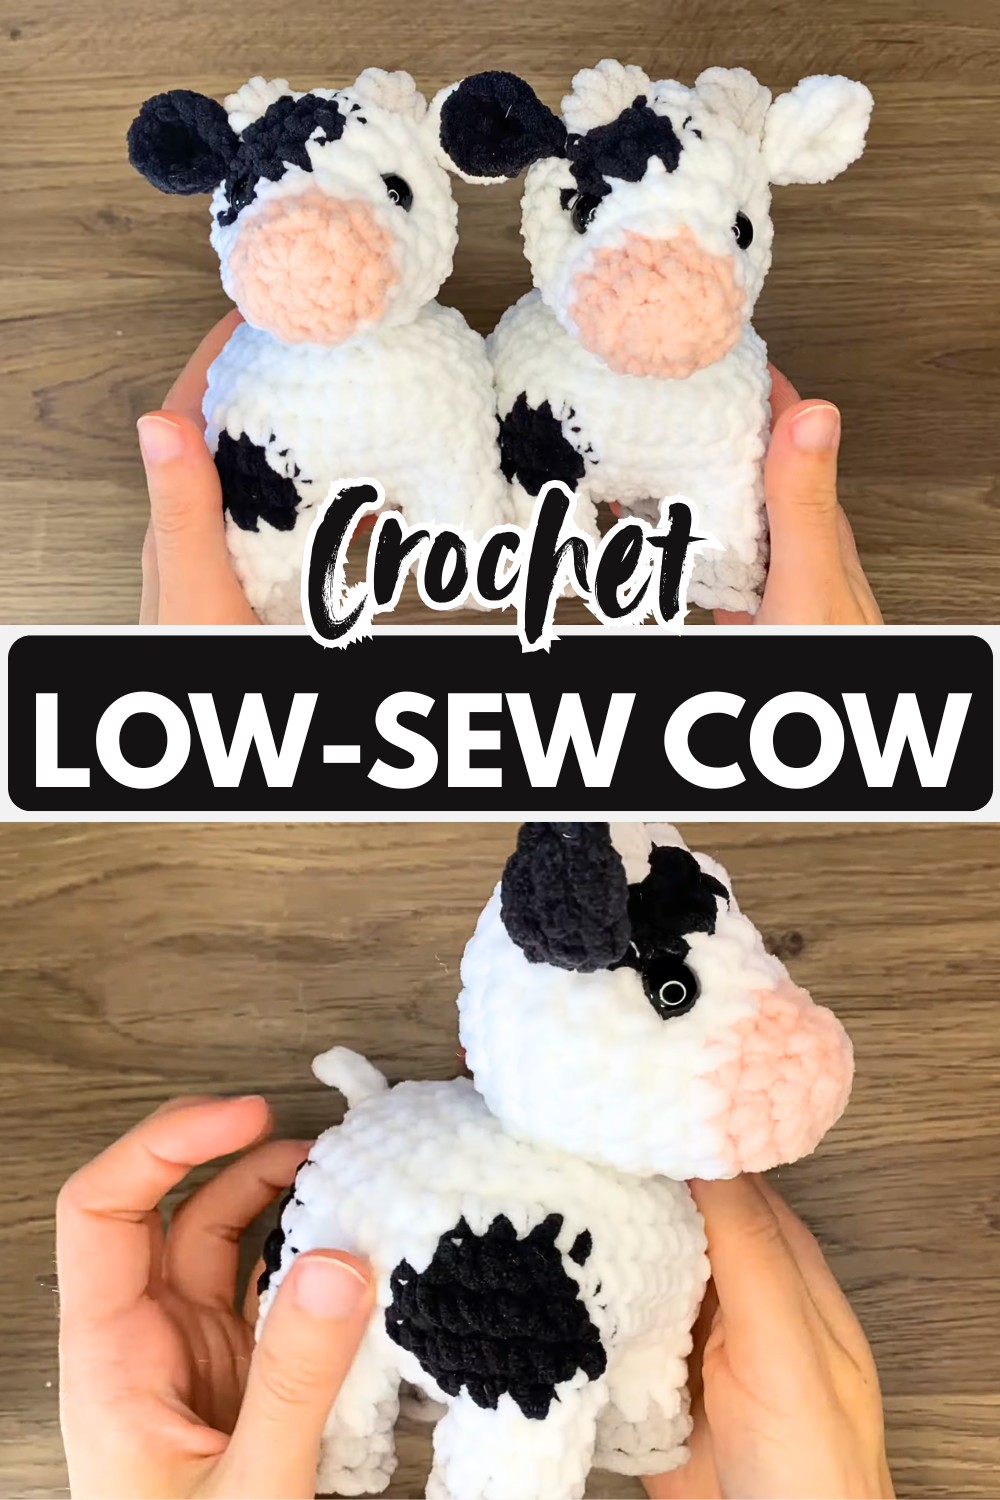
This adorable crochet cow turns a few simple supplies into a charming plush with plenty of personality. The low-sew construction keeps the process neat, while the bobble-stitch horns and custom patches give every little cow its own unique look. The clever shaping details make the finished crochet design especially satisfying.
The body comes together by joining the legs directly to the belly before the head, ears, and tail complete the crochet design. Face shaping adds a sweet expression, and the customizable colors let every crochet cow look a little different. Each step builds naturally toward a polished handmade plush that’s full of character.
Credit Crochet Crafts By Janna
Techniques & Key Stitches Used:
- Magic ring: Starting technique for rounds.
- Half double crochet (hdc):
- Single crochet (sc): [01:52].
- Crocheting into the third loop: Adds texture
- Seamless color changes: Switch yarn colors cleanly
- 4-loop gap-hiding decreases: Join multi-layer pieces without gaps
- Invisible decrease: For smooth shaping
- Bobble stitches: Used for horns
- Face sculpting/shaping: Adds expression
- Chain (ch) & slip stitch (sl st): Finishing and detailing
Materials:
- Yarn:
- Big Twist Posh yarn:
- Gray (hooves)
- White (body)
- Black (patches)
- Pink (muzzle)
- White acrylic yarn (for face shaping/assembly)
- Big Twist Posh yarn:
- Polyfill stuffing.
- Eyes: 12 mm safety eyes.
- Tools:
- 5.5 mm crochet hook
- Scissors.
- Sewing needle
- Stitch marker
- Optional: Amigurumi stick or skinny metal hook for alignment during assembly
Gauge:
Gauge is not specified. Results may vary depending on personal tension.
Finished Size/Measurements:
Final size not specified in the tutorial. Likely determined by yarn, tension, and hook size.
Abbreviations & Terminologies:
- hdc: Half double crochet
- sc: Single crochet
- ch: Chain
- sl st: Slip stitch
- third loop: Stitch behind the top two loops
- bobble: Multiple half-finished stitches completed together
- increase: 2 stitches worked into 1
- invisible decrease: Seamless decrease stitch.
Helpful Tips Before You Start:
- Pull your magic rings tight to avoid open holes
- Use the 4-loop decrease stitch to hide gaps between belly and leg attachments
Pattern Overview:
This adorable cow is created in sections and assembled with minimal sewing:
- Legs and belly are directly crocheted together for strength and seamless construction.
- Horns are built directly into the head with bobble stitches to avoid adding extra pieces.
- Face Sculpting creates expressive depth by pulling yarn tightly around the safety eyes.
- Customization allows you to freehand multi-colored patches and color schemes.

Pattern Overview & Making Process
The pattern begins by making four legs with gray hooves and white tops. A small belly is crocheted separately, then each leg is joined directly to it, creating the body with minimal sewing. Gap-hiding decreases help keep the connections smooth, while stuffing is added as the body is shaped.
The head is worked separately, starting with the pink muzzle before changing to white. Safety eyes are inserted during the shaping process, and the bobble-stitch horns are crocheted directly into the head instead of being sewn on. Face sculpting is then used to create a more expressive look.
To finish, one white ear and one black ear are crocheted, folded, and attached beside the horns. An optional tail is added to the body, and the head is aligned and secured using the finishing yarn. Black patches can be placed wherever you like, making every finished cow slightly different while following the same construction method.
Step-by-Step Instructions
Legs (Make 4):
- Round 1: Gray yarn. Magic ring, 8 hdc. Pull tight. (8 sts)
- Round 2: Sc in the third loop of each stitch around. (8 sts)
- Round 3: Switch to white yarn on the first stitch. Sc in each stitch around. (8 sts)
- Round 4: Sc in each stitch around. Fasten off and cut yarn
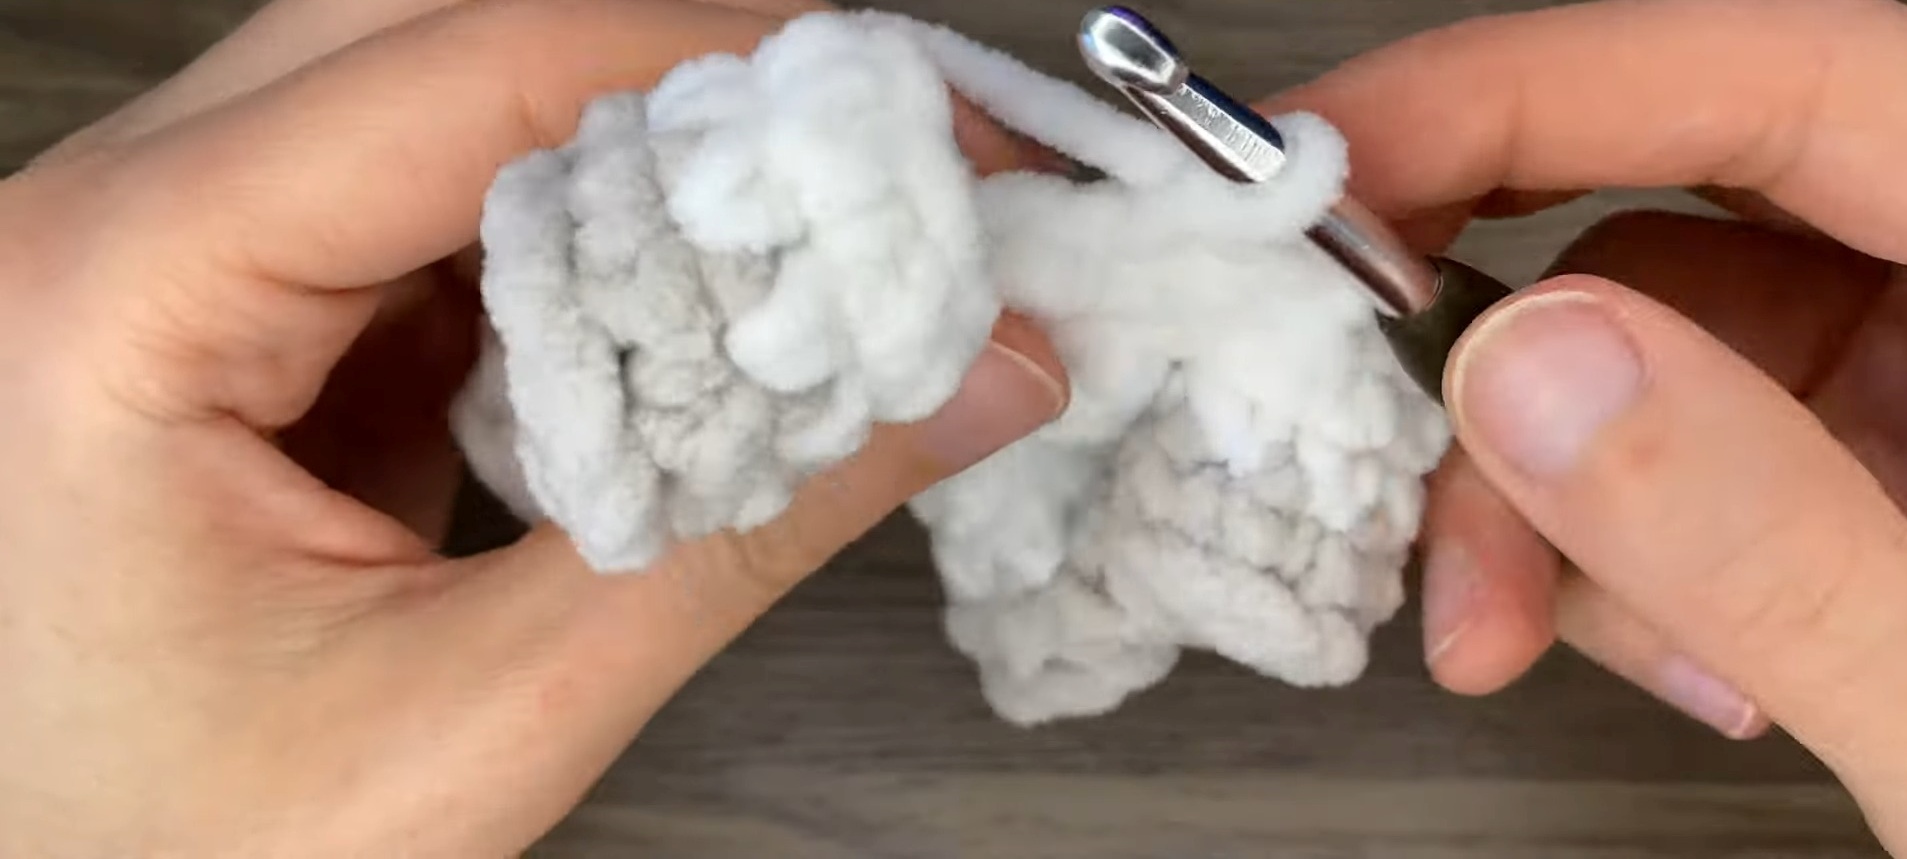
Belly & Body Assembly:
- Round 1: White yarn. Magic ring, 6 sc. (6 sts)
- Round 2: 2 sc in each stitch around (increase). (12 sts)
- Round 3: Begin leg attachment.
- Insert hook into one stitch from the first leg and one stitch from the belly. Sc through both layers.
- Sc 2 more onto the belly.
- Repeat for second, third, and fourth legs, with 2 sc between each leg.
- Round 4: Bridge gaps between legs using 4-loop decreases, then sc around legs and belly.
- Rounds 5–8: Continue adding black yarn “patches” randomly as desired. Stuff as you go.
- Rounds 9–13: Gradually decrease and shape the body using invisible decreases. (Details in body section above.)

Head:
- Start with pink yarn and switch to white at the muzzle top. Add safety eyes between rounds 5 & 6, ~8 sts apart.
- Proceed with shaping, color changes, and adding bobble horns (gray yarn). Detailed steps from.
- Sculpt “sunken” eyes by threading yarn through eye sockets and securing.

Ears and Tail:
- Ears: Make 1 white, 1 black. Crochet small rounds, fold in half, and stitch next to horns on the head. Full ear steps are detailed.

- Tail (Optional): Add to body, chain 4, and finish with sl st/sc.
Customization Options:
- Add unique black patches free-form to make your cow one of a kind
- Use alternative colors (e.g., brown for a Highland cow theme)
Assembly:
- Align head and body using an amigurumi stick or crochet hook
- Secure head and body using sewing or weaving the face-sculpting yarn tails

Common Troubleshooting:
- Gaps between belly and legs: Ensure 4-loop and 3-loop gap-hiding techniques are correctly executed
- Uneven shape: Firm polyfill stuffing ensures smooth rounding
Final Notes:
Congratulations! You’ve completed your plushie. Make it your own with unique colors and finishing touches.