Looking for a cheerful handmade car charm? This crochet bee-and-daisy tutorial guides you through striped body shaping, delicate wings, floral petals, and a secure hanging assembly.
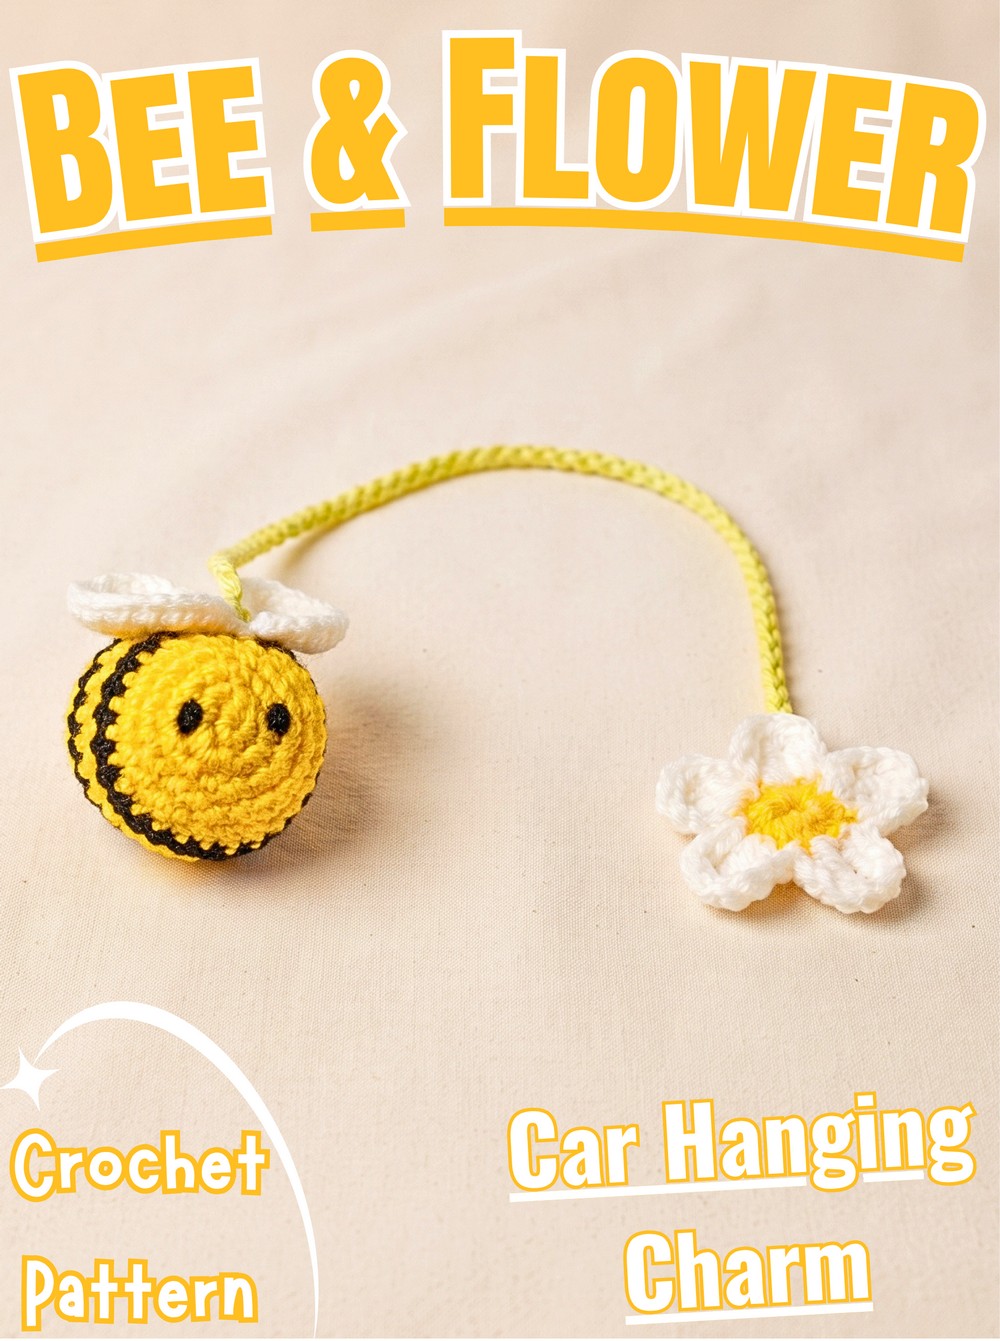
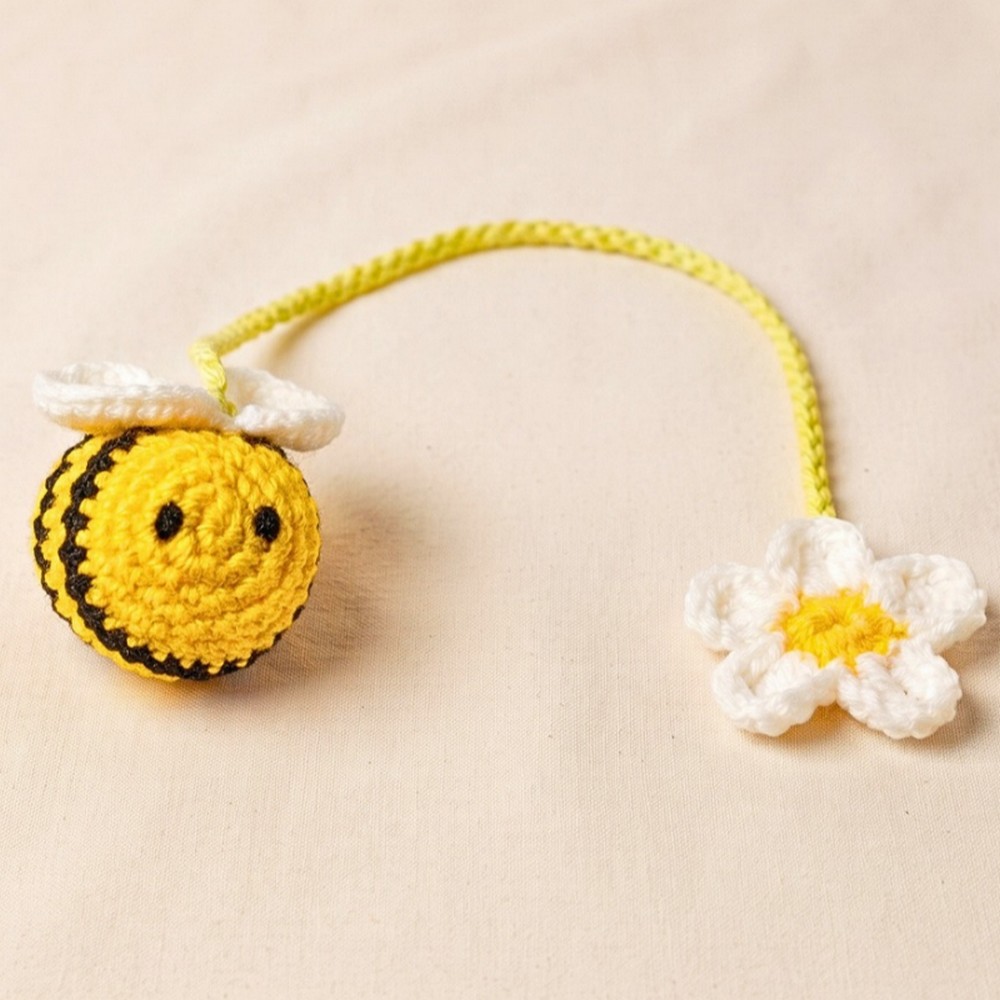
Bright yellow stripes and tiny embroidered eyes give this crochet bee its friendly personality, while a white daisy adds a fresh floral touch. Creating neat color changes and shaping stuffed pieces can feel tricky at first, but clear stitch counts help keep each part manageable.
This crochet pattern explains how to shape the bee body, embroider facial details, crochet matching wings and daisy petals, and connect everything with sage-green hanging chain. Helpful finishing guidance will help you create a balanced accessory for your car mirror or a thoughtful handmade gift.
Credit Crocheting Rizz
Materials & Tools
Yarn: Medium-weight DK acrylic or cotton yarn in four colors.
Color A: Bright yellow for bee body and flower center.
Color B: Jet black for body stripes and facial embroidery.
Color C: Crisp white for wings and daisy petals.
Color D: Light green or sage for hanging chain.
Crochet hook: 3.0 mm, adjusted as needed to create firm stitches without visible gaps.
Stuffing: Polyester fiberfill or clean craft cotton.
Tapestry needle: For embroidery, sewing wings, and weaving in yarn ends.
Sharp scissors: For trimming yarn.
Stitch marker: Or locking safety pin or scrap yarn to track rounds.
Finished Size & Customization
Bee: Approximately 2.5-3 inches (6.5-7.5 cm) long and 1.75 inches (4.5 cm) wide.
Daisy: Approximately 2.5 inches (6.5 cm) across petal tips.
Hanging chain: Approximately 10-12 inches (25-30 cm) long, using about 95 chain stitches.
You can change petal colors to blush pink, lavender, or sunflower orange. Adjust chain length to suit your intended display position, ensuring any car accessory does not obstruct your view of the road. For a scented decorative version, apply only a small amount of suitable fragrance to yarn or stuffing, following product safety guidance and avoiding contact with vehicle surfaces.
Pattern Abbreviations & Terminology
This pattern uses standard US crochet terminology.
MR: Magic Ring
ch: Chain stitch
sl st: Slip stitch
sc: Single crochet
inc: Increase; work 2 single crochet stitches into one stitch
dec: Decrease; crochet 2 stitches together
hdc: Half double crochet
tr: Treble crochet; yarn over twice before inserting hook
st(s): Stitch(es)
[ … ] × N: Repeat instructions inside brackets N times
(N sts): Total stitch count at end of round
Step-by-Step Crochet Tutorial
Follow component order below to create bee body, wings, daisy, and connecting chain before completing final assembly.
Step 1: Shape Bee Body Base
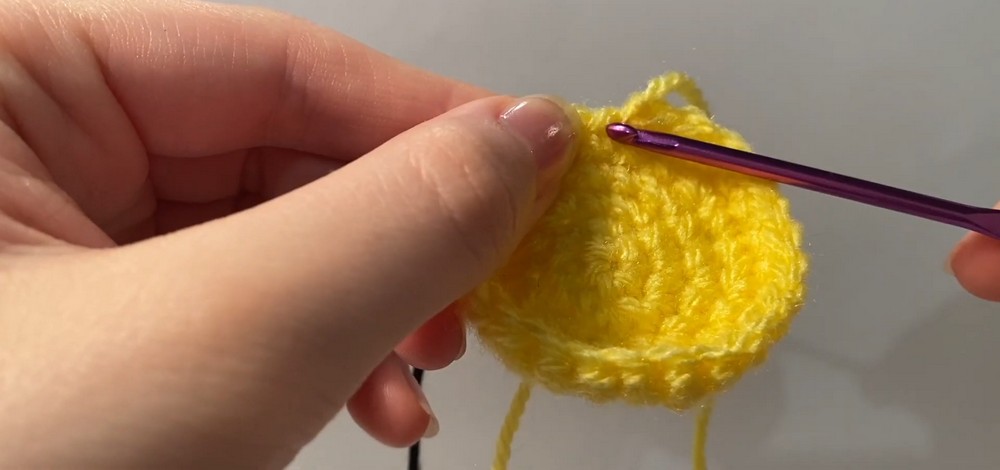
Use bright yellow yarn to form circular base. Joined rounds keep stitch counts easy to follow and create defined color stripes later.
Round 1 (Yellow): Make MR, ch 1 (does not count as stitch), work 6 sc into ring. Pull yarn tail firmly to close center. Sl st into first sc to join. (6 sts)
Round 2 (Yellow): Ch 1, work 2 sc into each stitch around. Sl st into first sc to join. (12 sts)
Round 3 (Yellow): Ch 1, repeat [1 sc in next st, inc in next st] 6 times. Sl st into first sc to join. (18 sts)
Round 4 (Yellow): Ch 1, repeat [1 sc in each of next 2 sts, inc in next st] 6 times. Sl st into first sc to join. (24 sts)
Round 5 (Yellow): Ch 1, work 1 sc into each of 24 stitches. Sl st into first sc to join. Fasten off yellow, leaving short tail for weaving in. (24 sts)
Teaching tip: Keep increases evenly spaced. By end of Round 4, flat circle should have 24 stitches and lie relatively flat instead of curling sharply.
Step 2: Add First Black Stripe
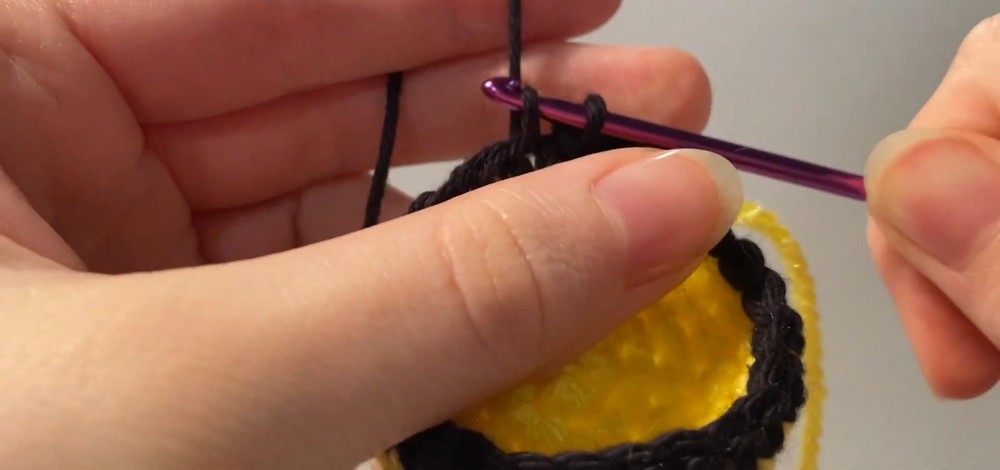
Switch to black yarn to create bee’s first dark band. Consistent tension helps keep stripe width even.
Round 6 (Black): Join black yarn using standing sc, or attach yarn and ch 1. Work 1 sc into each of 24 stitches. Sl st into first sc to join. (24 sts)
Round 7 (Black): Ch 1, work 1 sc into each stitch around. Sl st into first sc to join. Fasten off black. (24 sts)
Keep joining stitches snug but not tight enough to pull fabric inward. Two black rounds form first stripe.
Step 3: Embroider Bee Eyes
Add facial details before closing body, while inside remains accessible for securing yarn tails.
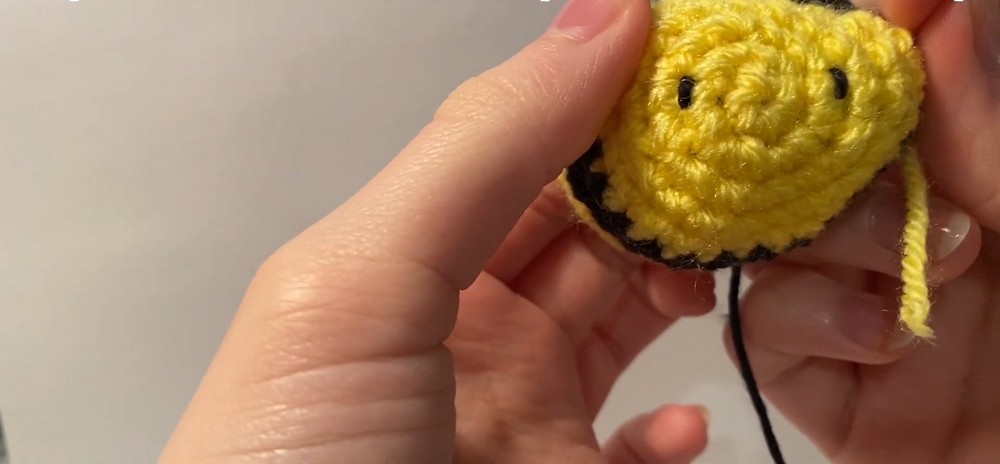
Thread tapestry needle with an 8-inch strand of black yarn. On front yellow section, between Rounds 2 and 4, embroider two small eye stitches spaced approximately 3–4 stitches apart.
Secure both yarn tails inside body cavity.
Result check: Eyes should sit evenly on front face rather than along side edges. Keep stitches small so embroidered features remain neat.
Step 4: Continue Yellow and Black Stripes
Continue body pattern using same 24-stitch count. Changing color at each designated round creates distinct bands.
Round 8 (Yellow): Join yellow yarn in any stitch, ch 1, work 1 sc into each of 24 stitches. Sl st into first sc to join. (24 sts)
Round 9 (Yellow): Ch 1, work 1 sc into each stitch around. Sl st into first sc to join. Fasten off yellow. (24 sts)
Round 10 (Black): Join black yarn, ch 1, work 1 sc into each of 24 stitches. Sl st into first sc to join. (24 sts)
Round 11 (Black): Ch 1, work 1 sc into each stitch around. Sl st into first sc to join. Fasten off black. (24 sts)
Check color changes before continuing. Yellow and black bands should remain even, without skipped stitches or accidental increases.
Step 5: Shape Bee Body Top
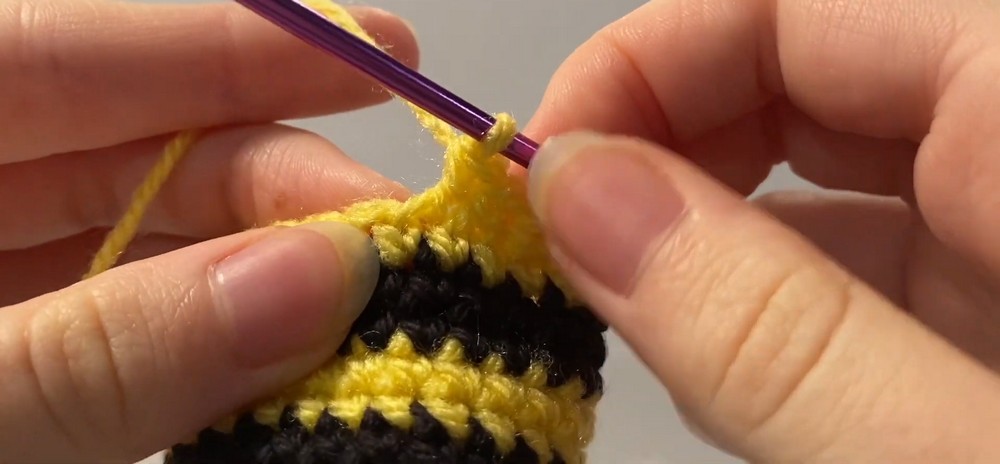
Decrease stitches gradually to narrow body opening. Work slowly here because uneven decreases can distort striped fabric.
Round 12 (Yellow): Join yellow yarn, ch 1, repeat [1 sc in each of next 2 sts, dec over next 2 sts] 6 times. Sl st to join. (18 sts)
Round 13 (Yellow): Ch 1, repeat [1 sc in next st, dec over next 2 sts] 6 times. Sl st to join. (12 sts)
Teaching tip: Keep decreases evenly distributed around body. If using invisible decreases, insert hook through front loops of two consecutive stitches before completing sc.

Step 6: Stuff and Close Bee Body
Fill body before opening becomes too small. Even stuffing helps bee retain rounded shape without stretching stitches.
Push small amounts of fiberfill into front and side areas using back of crochet hook or clean pencil. Distribute stuffing evenly, avoiding lumps and gaps.
Round 14 (Yellow): Ch 1, work dec in every stitch around, making 6 decreases. Sl st to join. Fasten off yellow, leaving 6-inch tail. (6 sts)
Thread tail onto tapestry needle and weave through front loops of remaining 6 stitches. Pull gently to close opening, knot securely, and hide tail inside body.
Result check: Body should feel firm but remain flexible. Stuffing should not show through stitch gaps.

Step 7: Crochet Two White Wings
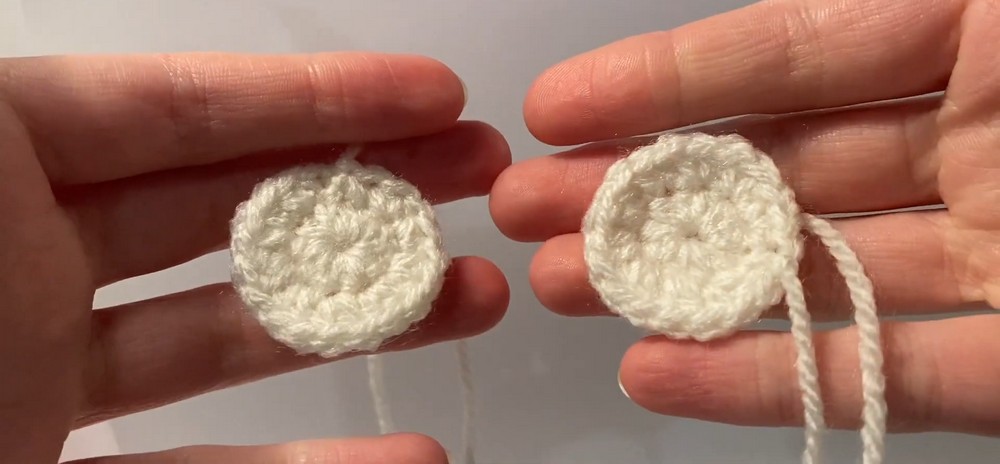
Create two matching circular wings using white yarn. These flat discs sit on bee’s back and provide recognizable flight shape.
Wing Round 1: Make MR, ch 1, work 10 hdc into ring. Pull ring tail tightly closed. Sl st into first hdc to join. (10 sts)
Wing Round 2: Ch 1, work 2 hdc into each stitch around. Sl st into first hdc to join. (20 sts)
Ch 1 and fasten off, leaving 8–10-inch tail for sewing. Repeat instructions to make second wing.
Teaching tip: Compare both wings before assembly. Matching stitch counts and similar tension help them sit evenly on body.
Step 8: Crochet Daisy Center
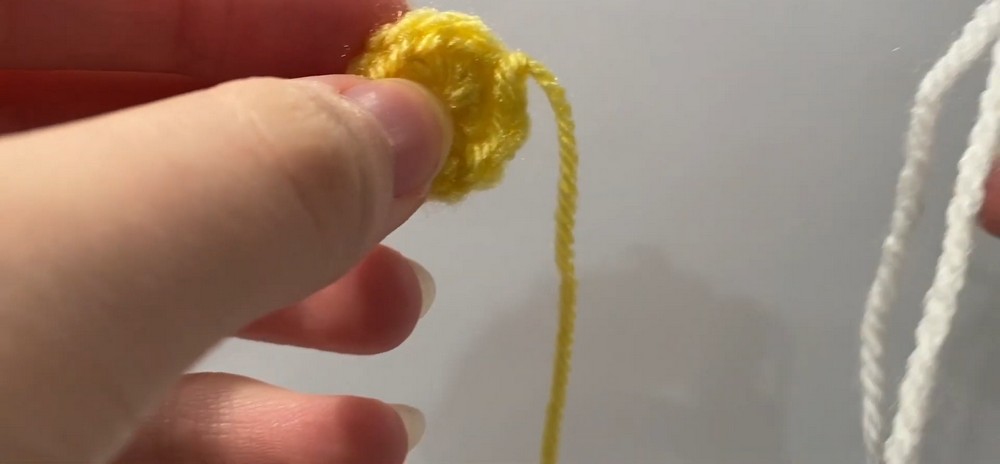
Yellow center provides base for five white petals. Keep center compact so petals remain clearly defined.
Make MR and ch 1. Work 12 sc into ring. Pull tail to close center, then sl st into first sc to join.
Ch 1, fasten off yellow, and pull yarn through. (12 sts)
Weave center tail into reverse side, keeping front surface smooth.
Step 9: Form Five White Daisy Petals
Attach white yarn to any stitch on yellow center using slip knot and ch 1. Each petal uses chain stitches, treble crochet, and slip stitch to create a tall rounded point.
Petal 1: Ch 3, work 3 tr into same stitch, ch 3, then sl st into following stitch.
Petals 2–5: Repeat [ch 3, work 3 tr into next stitch, ch 3, sl st into following stitch] until five full petals are complete.
Sl st into initial base join to finish. Ch 1, cut white yarn leaving short tail, and weave all ends into reverse side.
Result check: Spread petals gently with fingers. Each petal should stand out from the yellow center without pulling the center into a tight cup.

Step 10: Attach Wings to Bee
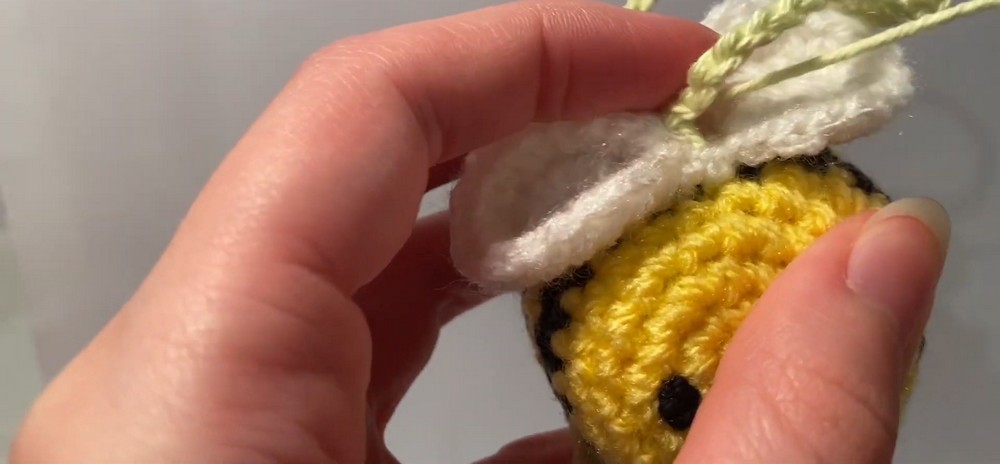
Position both white wings on top of bee’s back, centered over first black stripe formed in Rounds 6–7. Angle wings slightly outward toward rear to create flight-like silhouette.
Using long yarn tails and tapestry needle, whipstitch inner edge of each wing securely to body. Keep stitches close enough to prevent loose edges, then knot and hide tails inside body.
Teaching tip: Before securing final stitches, check bee from front and side. Wings should appear balanced rather than leaning heavily toward one side.
Step 11: Make Green Hanging Chain
Use light green or sage yarn to create hanging connection between flower and bee.
Insert hook into center of back side of finished daisy. Pull up green yarn loop and ch 1 to anchor.
Work 95 chains using even tension. Avoid twisting chain while working, since twists can affect how accessory hangs.
Length check: Chain length varies with yarn thickness and individual tension. Compare finished chain against intended hanging position before attaching bee, ensuring charm will not interfere with driving visibility.
Step 12: Connect Bee to Flower
Lay chain straight and locate center point between two wings on bee’s back. This central attachment helps distribute weight evenly.
Insert hook through suitable body stitch between wings, catch working green yarn, and work firm sl st to secure chain.
Ch 1, pull yarn through, cut leaving 4-inch tail, and knot securely. Weave green tail deep into bee body. Weave starting tail into reverse side of daisy.
Final assembly check: Hold flower at top and allow bee to hang freely. Check that chain remains untwisted, wings stay securely attached, and flower faces forward.
Finishing & Display
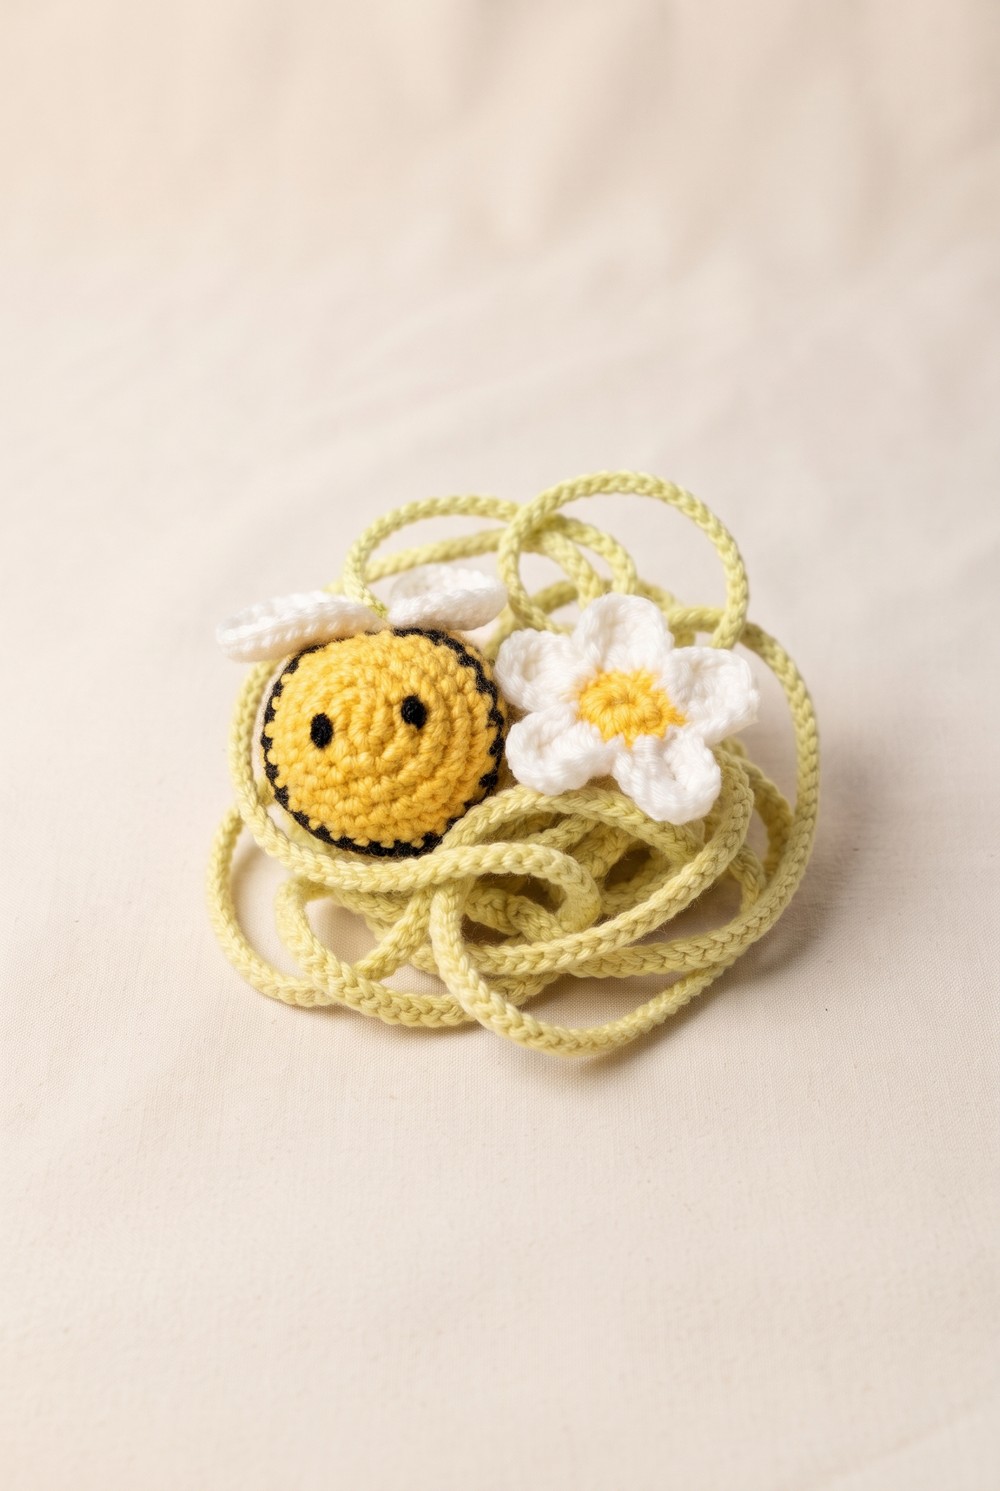
Your bee and daisy hanging charm is complete. Smooth loose yarn ends and inspect all joins before displaying it.
Use it as a decorative hanging accessory for a bedroom window latch, wall hook, craft display, or gift presentation. If hanging inside a vehicle, follow local safety rules and never position it where it obstructs road visibility or driver attention.