Looking for a Halloween accessory that’s stylish, fun, and easy to make? This crochet witch hat hairclip is just what you need!
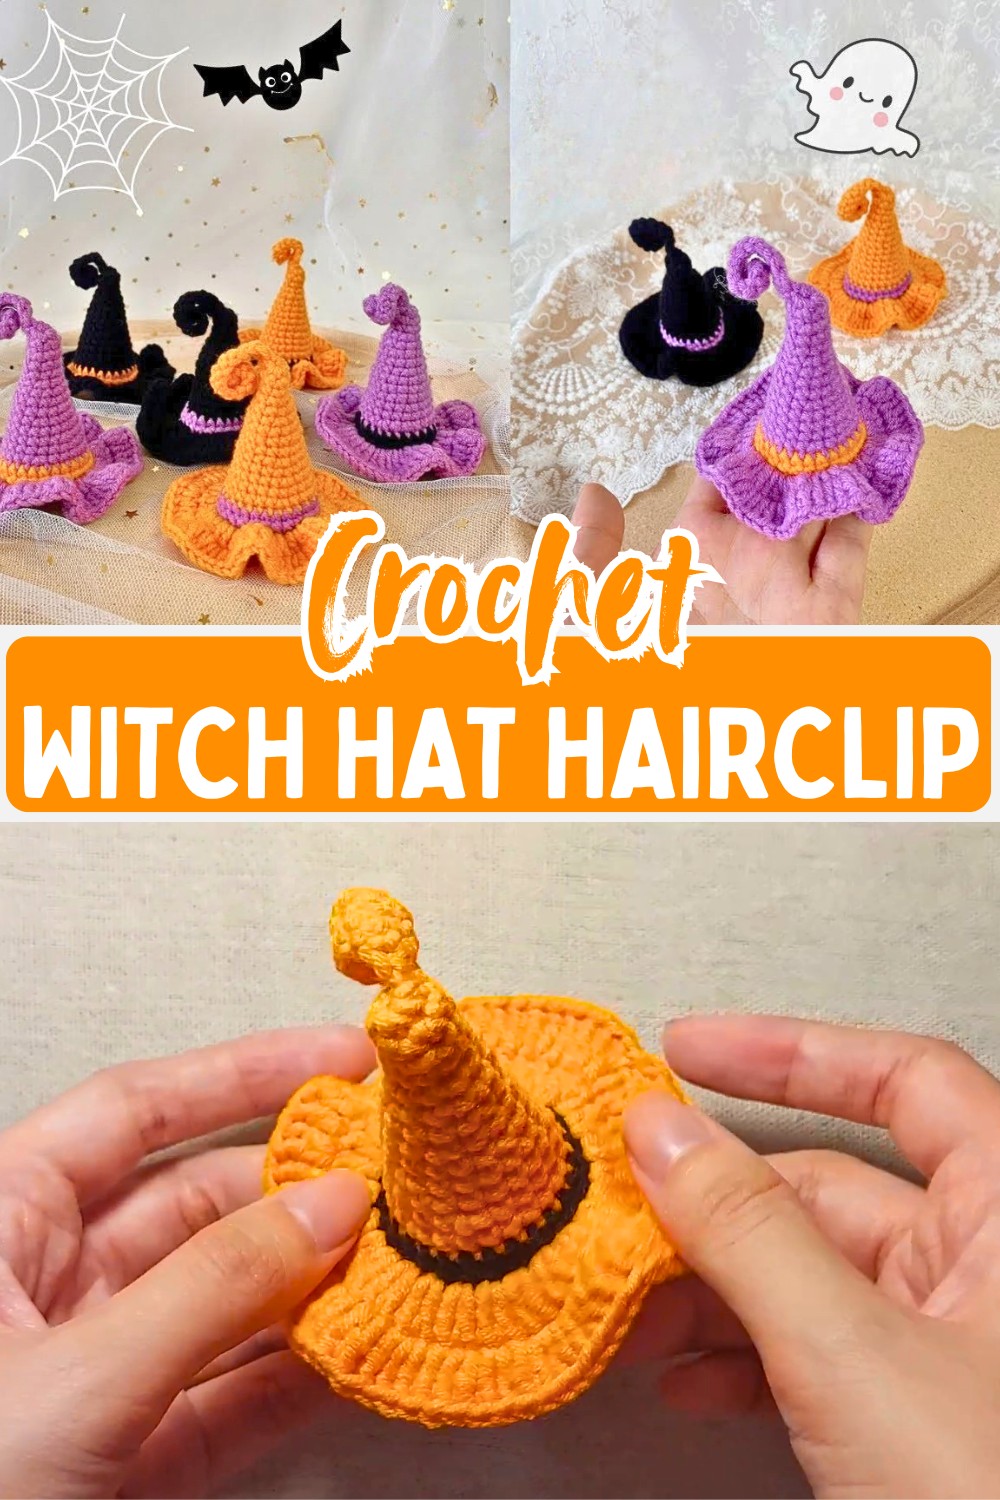
This crochet witch hat hairclip transforms a classic Halloween symbol into a fun accessory you can wear throughout the season. The pointed shape, bold black band, and flared brim give it a neat finish while keeping the design light and eye-catching. Each round gradually brings the tiny crochet hat to life in a way that’s satisfying to watch unfold.
The tutorial takes you from the curled tip to the finished hairclip with simple shaping and smooth color changes. A felt backing and metal clip complete the design, and the final details reveal how this small crochet piece becomes a festive accessory you’ll be excited to make.
Credit Hanabi Amigurumi
Construction Summary
- Begins at the top tip: Starts with a foundation chain (naturally curls as you crochet into it).
- Worked in the round: Shapes the body/cone of the hat.
- Decorative band: Switch to black yarn for an accent band.
- Flared brim: Uses double crochet and increases to create a wavy brim.
- Finishing touch: A felt backing and a metal hair clip are attached underneath.
Techniques & Stitches Used
- Chain Stitch (CH)
- Single Crochet (SC / X)
- Single Crochet Increase (INC / V)
- Double Crochet (DC / F)
- Double Crochet Increase (DC INC / FV)
- Slip Stitch (SL ST / SS)
- Working in the round
- Color changing
Materials Needed
- Yarn:
- Orange (main color).
- Black (decorative band).
- Others:
- Round black felt cutout.
- Metal hair clip.
Tools Required
- 2.50 mm crochet hook (Tulip 4/0).

How the Witch Hat Comes Together
The pattern starts at the pointed tip with a foundation chain that naturally curls before being joined into a ring. From there, the hat body is worked in continuous rounds of single crochet with evenly spaced increases, allowing the cone to grow wider while keeping its shape balanced.
After the cone is finished, the yarn changes from orange to black for two rounds of single crochet, creating the decorative hat band. The pattern then switches back to orange, where double crochet increases form the wide, gently flared brim around the base.
Once the brim is complete, the yarn is fastened off, and the loose ends are woven in. A round piece of black felt is attached underneath, and the metal hair clip is secured through the felt to turn the finished crochet hat into a wearable Halloween accessory.
Pattern Instructions
Tip and Hat Body (Orange Yarn)
- Initial Curl:
- CH 17.
- Turn, SC 15.
- 6 SC into the last CH.
- Join with SL ST to create a ring.
- Rounds:
- Round 2–3: CH 1, 6 SC.
- Round 4: CH 1, (1 SC, 1 INC) × 3 [9 stitches total].
- Round 5: CH 1, 9 SC [9].
- Round 6: CH 1, (1 SC, 1 INC, 1 SC) × 3 [12].
- Round 7: CH 1, 12 SC [12].
- Round 8: CH 1, (3 SC, 1 INC) × 3 [15].
- Round 9: CH 1, 15 SC [15].
- Round 10: CH 1, (2 SC, 1 INC, 2 SC) × 3 [18].
- Rounds 11–12: CH 1, 18 SC [18].
- Round 13: CH 1, (5 SC, 1 INC) × 3 [21].
- Round 14: CH 1, (3 SC, 1 INC, 3 SC) × 3 [24].

Hat Band (Black Yarn)
Rounds 15–16:
- CH 1
- 24 SC
(Single crochet 24 stitches in each round; this helps form the black band section.)
Brim (Orange Yarn)
Round 17: (Switch back to orange yarn)
- CH 2
- 24 DC INC (2 double crochets in each stitch of the previous round)
- Total stitches for the round: 48
Round 18:
- CH 2
- (1 DC, 1 DC INC) × 24 (Alternate 1 double crochet in one stitch, followed by 2 double crochets in the next stitch)
- Total stitches for the round: 72

Final Step:
Fasten off and weave in the ends.
Assembly Instructions
- Attach a small black felt circle to the underside of the hat.
- Securely insert the metal hair clip through the felt backing.
Helpful Tips
- Tension is key for the curled tip: Work comfortably into the chain ring in the beginning.
- Color changing tip: On your last orange stitch before switching to black, pull the black yarn through for a smooth color transition.

Customization
- Experiment with different yarn colors to match outfits or themes.
- Add embellishments like beads, glitter thread, or embroidered designs.