
Looking for a tiny handmade accessory with plenty of personality? This mini cactus keychain pattern guides you through shaping a green cactus, adding brown pot and sewing each piece together.
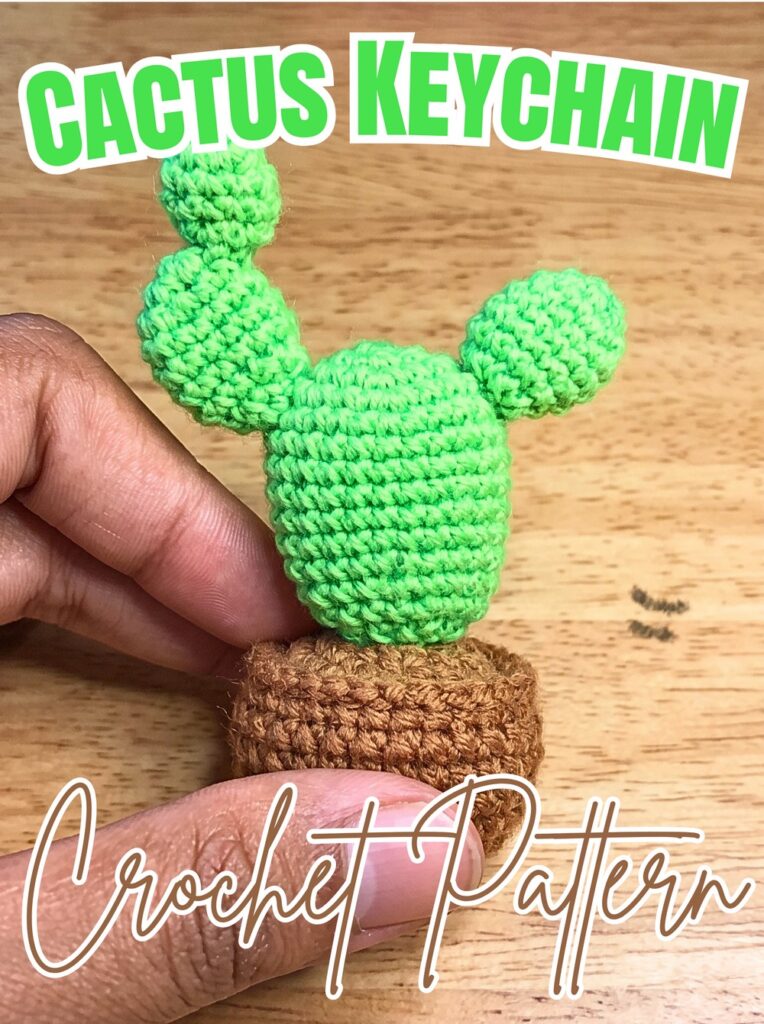
This mini crochet cactus brings cheerful greenery to keys, bags, and desk spaces without needing any plant care. Small amigurumi shapes can be tricky to join neatly, so careful shaping and balanced stuffing help keep each crochet piece looking tidy.
Here, this crochet pattern guides you through forming the cactus body, shaping its brown pot, and making three green offshoots before sewing everything together. You’ll also find finishing ideas for adding a colorful flower or keychain loop, so let’s get started.
Credit Mariahands
Materials & Tools Needed
- Yarn: Brown milk cotton yarn for the flower pot and green cotton yarn for the cactus body and arms.
- Crochet hook: No. 2 crochet hook, as specified in the original tutorial.
- Tapestry needle: For sewing the pieces together and weaving in yarn ends.
- Straight pins or stitch markers: For positioning pieces and marking rounds.
- Scissors: For cutting yarn.
- Fiberfill stuffing: To shape the cactus and pot.
- Optional keychain hardware: A metal ring or chain loop if you want to attach the finished cactus to keys or a bag.
- Optional embroidery yarn: Pink or red yarn for adding a small flower.
Finished Size and Customization
This pattern creates a miniature potted cactus suitable for a keychain, bag charm, or small desk decoration. Exact finished measurements are not provided in the original pattern, so the final size will depend on your yarn, hook, and tension.
You can personalize your cactus by embroidering a small pink or red flower near the top of its arms. For keychain use, add a secure metal ring or chain loop at the top of the cactus or around the pot rim, taking care to attach it firmly.
Crochet Abbreviations
- st: Stitch
- MR: Magic ring
- sc: Single crochet
- inc: Increase – work 2 single crochets into one stitch
- dec: Decrease – combine two stitches into one
- BLO: Back loop only
- FLO: Front loop only
- sl st: Slip stitch
- ch: Chain
- *: Repeat the indicated instructions as specified
Pattern note: The instructions use US crochet terminology. The cactus and pot are worked in rounds. Use a stitch marker to track the beginning of each round, especially when working increases and decreases.
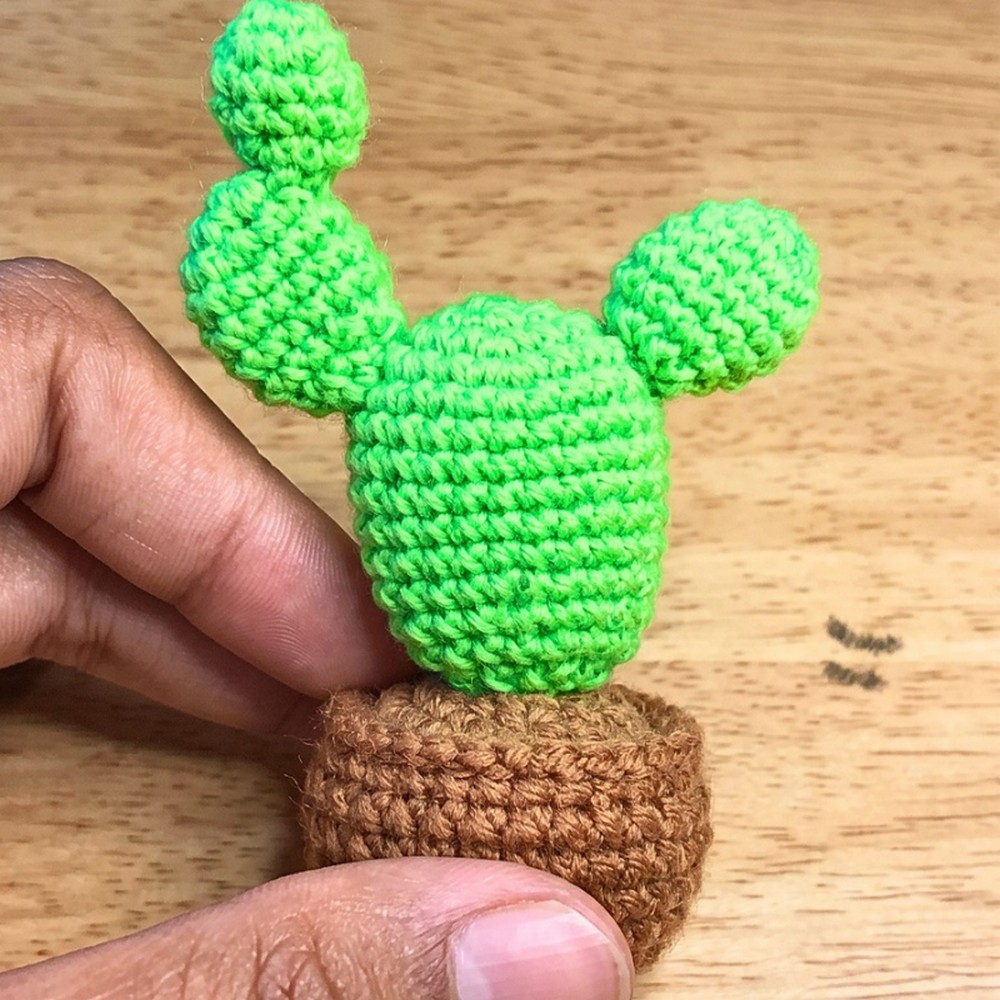
Step-by-Step Crochet Mini Cactus Pattern
Step 1: Crochet the Main Cactus Body in Green
The main body forms the tall central part of your cactus. Start at its base with a magic ring, then gradually increase the stitch count to create a rounded shape before working several even rounds for height.
Round 1: Make a magic ring and work 6 sc into the ring. (6 sts)
Round 2: Work 6 inc around. (12 sts)
Round 3: Repeat (1 sc, inc) 6 times. (18 sts)
Round 4: Repeat (2 sc, inc) 6 times. (24 sts)
Rounds 5-11: Work 24 sc around in each round. (24 sts per round)
Round 12: Repeat (2 sc, dec) 6 times. (18 sts)
Round 13: Work 18 sc around. (18 sts)
Round 14: Work 9 dec around. (9 sts)
Finish: Work a sl st, ch 1, and cut the yarn, leaving a long tail for sewing. Lightly stuff the cactus body with fiberfill.
Shaping tip: Add small amounts of stuffing rather than pushing in one large clump. Spread the filling evenly so the body remains rounded without becoming overly firm. Keep the long yarn tail available for attaching the body to the pot.
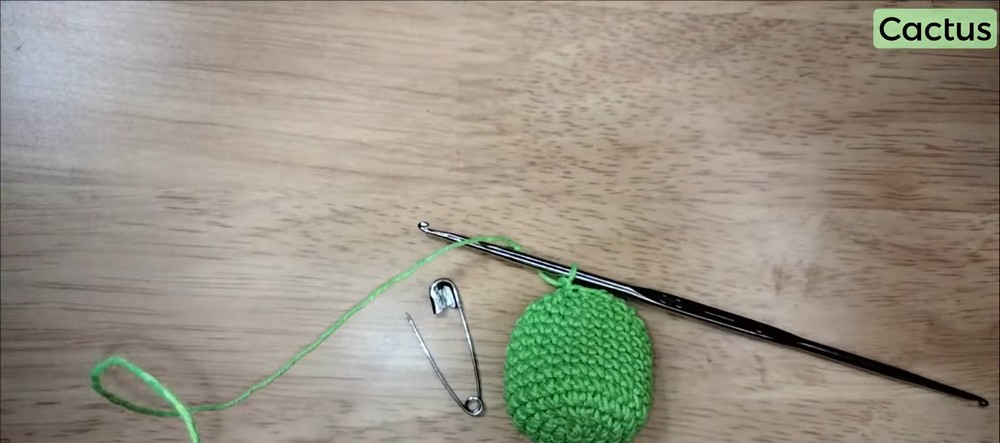
Step 2: Form the Brown Flower Pot
The pot begins with a flat circular base and expands to 30 stitches. Working in the back loop only in Round 6 creates a visible ridge that separates the bottom from the sides.
Round 1: With brown yarn, make a magic ring and work 6 sc into it. (6 sts)
Round 2: Work 6 inc around. (12 sts)
Round 3: Repeat (1 sc, inc) 6 times. (18 sts)
Round 4: Repeat (2 sc, inc) 6 times. (24 sts)
Round 5: Repeat (3 sc, inc) 6 times. (30 sts)
Round 6: Working in BLO, work 30 sc around. (30 sts)
Rounds 7-10: Work 30 sc around in each round. (30 sts per round)
Round 11: Working in BLO, repeat (3 sc, dec) 6 times. (24 sts)
Stuff the pot: Add fiberfill firmly after Round 11, before continuing with the final decreases. Distribute the filling around the sides and base to help the pot hold its shape.
Round 12: Repeat (1 sc, dec) 6 times. (12 sts)
Round 13: Work 6 dec around. (6 sts)
Finish the pot opening: Work a sl st, ch 1, and cut the yarn, leaving a tail. Thread the tail through the front loops of the remaining 6 stitches with your tapestry needle. Pull gently to close the opening, then secure the yarn.
Shape the base: Following the original tutorial, insert the needle through the center of the closed opening and bring it out through the bottom. Sew around the first round and pull the yarn inward to create a concave base. Adjust the tension gradually so the bottom draws inward without distorting the pot sides.
Result check: The pot should have a stable, rounded base, straight sides, and a closed bottom. Keep its upper opening neat, since the green cactus body will be sewn over this edge.

Step 3: Make Two Matching Cactus Arms
These two pieces form the side offshoots. Each begins with 6 stitches, expands to 12, and keeps that stitch count for four rounds to create a short, rounded arm.
Make 2 pieces in green yarn.
Round 1: Make a magic ring and work 6 sc into it. (6 sts)
Round 2: Work 6 inc around. (12 sts)
Rounds 3-6: Work 12 sc around in each round. (12 sts per round)
Round 7: Work 6 dec around. (6 sts)
Finish: Work a sl st, ch 1, and cut the yarn, leaving a tail for sewing.
Positioning tip: Before sewing, place both arms beside the main body to compare their height and orientation. Keep their rounded ends facing upward or slightly outward, depending on the look you prefer. Leave the yarn tails long enough for secure attachment.

Step 4: Crochet the Smaller Cactus Offshoot
The third piece is narrower than the two side arms. Its increase round creates 9 stitches, giving it a slimmer shape.
Make 1 piece in green yarn.
Round 1: Make a magic ring and work 6 sc into it. (6 sts)
Round 2: Repeat (1 sc, inc) 3 times. (9 sts)
Rounds 3-4: Work 9 sc around in each round. (9 sts per round)
Round 5: Repeat (1 sc, dec) 3 times. (6 sts)
Finish: Work a sl st, ch 1, and cut the yarn, leaving a tail for sewing.
Keep this offshoot separate until you arrange all three pieces against the main body. The original instructions identify this as one piece but do not specify its exact final position, so you can use the tutorial’s arrangement as your visual guide.
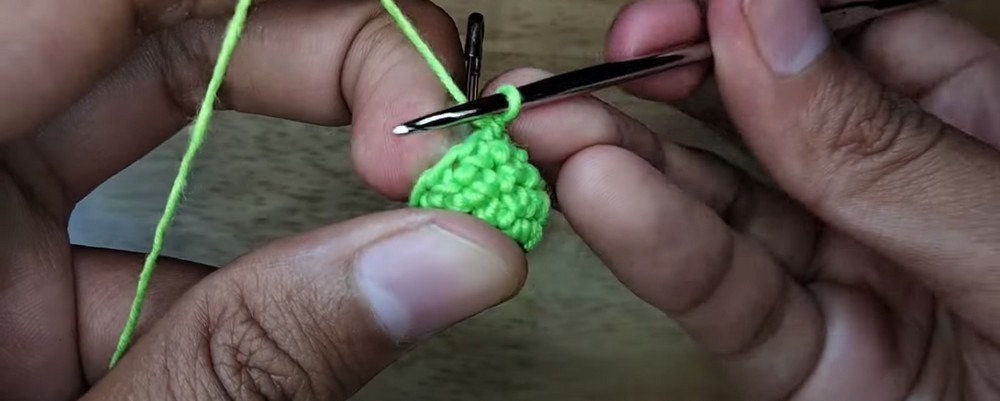
Step 5: Attach the Main Cactus Body to the Pot
Place the green body centrally over the brown pot opening. The lower edge of the cactus should sit on top of the rim rather than leaning heavily to one side.
- Use straight pins to hold the body in place temporarily.
- Check the cactus from the front and sides to make sure it sits upright.
- Thread the long green yarn tail through your tapestry needle.
- Sew around the joining edge, catching stitches from the cactus body and the pot rim.
- Work around the full circumference, keeping stitches close enough to hold both pieces securely.
- Remove the pins as you reach them, then secure and hide the yarn tail inside the finished piece.
Alignment tip: Before completing the seam, check that the brown pot remains visible beneath the cactus and that the body is centered. Correcting the angle now is easier than adjusting it after attaching the arms.
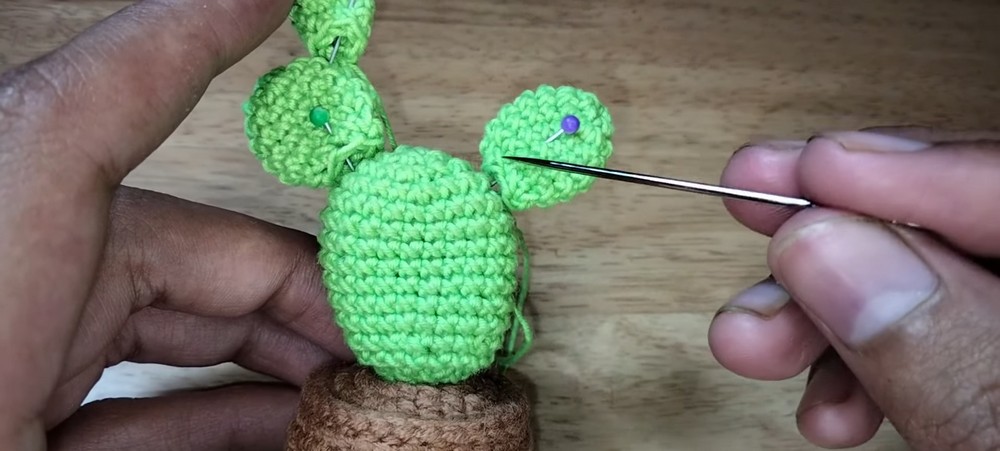
Step 6: Pin and Sew on the Cactus Arms
Arrange the two matching arms on opposite sides of the main body. Use straight pins to test their placement before sewing.
- Position each arm against the side of the main cactus.
- Check that both arms sit at a similar height and angle.
- Thread one arm’s yarn tail through the tapestry needle.
- Sew around the contact area, catching stitches from both pieces.
- Repeat with the second arm.
- Tug each arm gently to check that its seam is secure, then weave in the loose ends.
The smaller offshoot can be positioned alongside the main body according to the arrangement shown in the original tutorial. Since the supplied instructions do not give a precise placement for this third piece, pin it in place first and check the overall silhouette before sewing.
Step 7: Secure the Final Shape and Weave in Ends
Inspect the cactus from the front, back, and sides. Make sure the body sits securely in the pot, the arms are firmly attached, and the smaller offshoot is balanced with the rest of the design.
Use your tapestry needle to hide each remaining yarn end inside the crocheted pieces. Pull the yarn through the interior, change direction, and trim the excess without cutting into the stitches.
Avoid pulling the yarn so tightly that the fabric puckers. A neat finish should keep the cactus compact while allowing its rounded shape to remain visible.
Finishing Ideas for Your Mini Cactus Keychain
- Add a tiny flower: Use pink or red embroidery yarn to stitch a small flower near the top of an arm or the main body.
- Attach keychain hardware: Secure a metal ring or chain loop to the top of the cactus or pot rim. Reinforce the attachment with several tight stitches through sturdy crochet fabric.
- Use it as a desk decoration: Leave off the keychain hardware and display the potted cactus on a shelf, desk, or craft table.
- Make a small collection: Try different shades of green and brown to create several miniature cacti with slightly different looks.
If you plan to carry the cactus on keys or a bag, check every seam and the hardware attachment before using it. Keep small metal findings and loose embellishments away from young children.
Troubleshooting and Helpful Tips
The cactus body looks uneven. Check that each round has the stated stitch count, and use a marker to keep track of the round beginning. Uneven tension can also affect the shape.
The pot base bulges instead of curving inward. Recheck the gathering stitches at the bottom and adjust the yarn tension gradually. The goal is a shallow inward curve, not a hard knot that pulls the pot out of shape.
The cactus leans after sewing. Remove or loosen a few stitches near the joining edge, reposition the body over the center of the pot, and sew again while checking the angle from multiple sides.
The arms look mismatched. Compare their positions before sewing and adjust the pins until their heights and angles look balanced. Small differences in stuffing can also affect their appearance.
Your Mini Crochet Cactus Is Ready
Your tiny potted cactus is complete once all pieces are attached, the seams are secure, and loose yarn ends are hidden. Add a small embroidered flower for extra color or attach keychain hardware to turn your handmade cactus into a cheerful everyday accessory.






One Comment