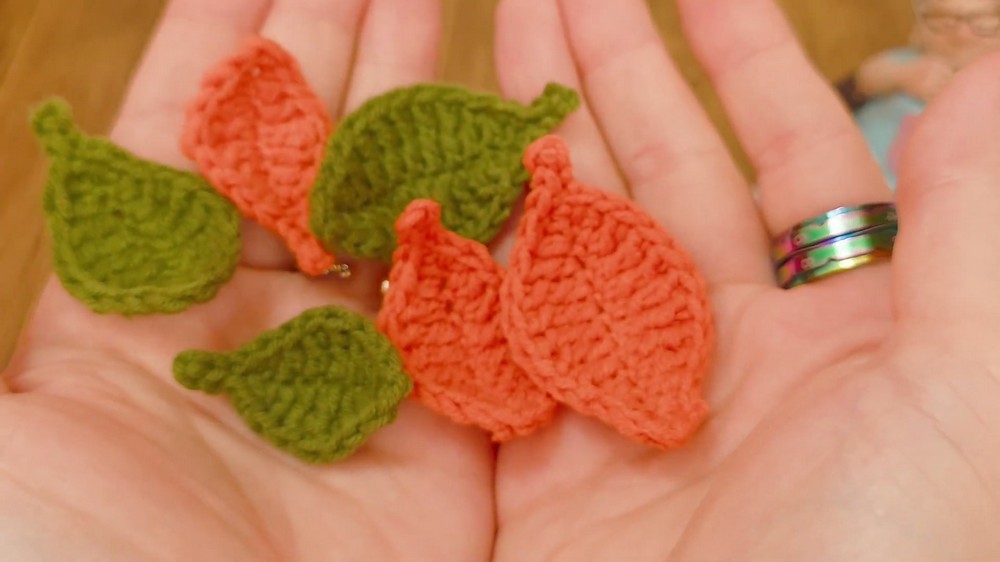
This crochet autumn leaf starts as a simple chain and quickly turns into a pointed appliqué, with three sizes for cardigans, cushions, and seasonal décor.

Warm autumn colors make these crochet leaves an easy way to bring a touch of fall to handmade pieces. The simple leaf shape has a pointed tip, a gently widening center, and a neat rounded base, so even a small scrap of cotton yarn can become a useful seasonal decoration.
Three sizes let you choose a delicate small leaf or a fuller medium or large version, while the optional crocheted stalk adds another finishing detail. You’ll work up one side of the foundation chain, turn around the tip, and return along the opposite side, with the treble stitches creating the characteristic center of each crochet leaf.
Credit Po Handmade
Materials & Tools
- Leftover or scrap cotton yarn
- 2.5 mm crochet hook
- Yarn needle
- Scissors
These leaves are especially useful when you have small amounts of autumn-colored yarn available. Brown, rust, mustard, orange, olive, cream, and similar shades can each give the same shape a different seasonal look.
Sizes & Uses
The pattern includes three leaf sizes:
- Small Leaf
- Medium Leaf
- Large Leaf (Father Leaf)
The finished size depends on your yarn, hook, and tension, so the starting chain is the main feature that changes between the three versions.
Use the leaves as seasonal appliqués on cardigans, jackets, shrugs, cushions, or other home-decor pieces. You can also mix all three sizes on the same item to create a more natural scattered-leaf arrangement.
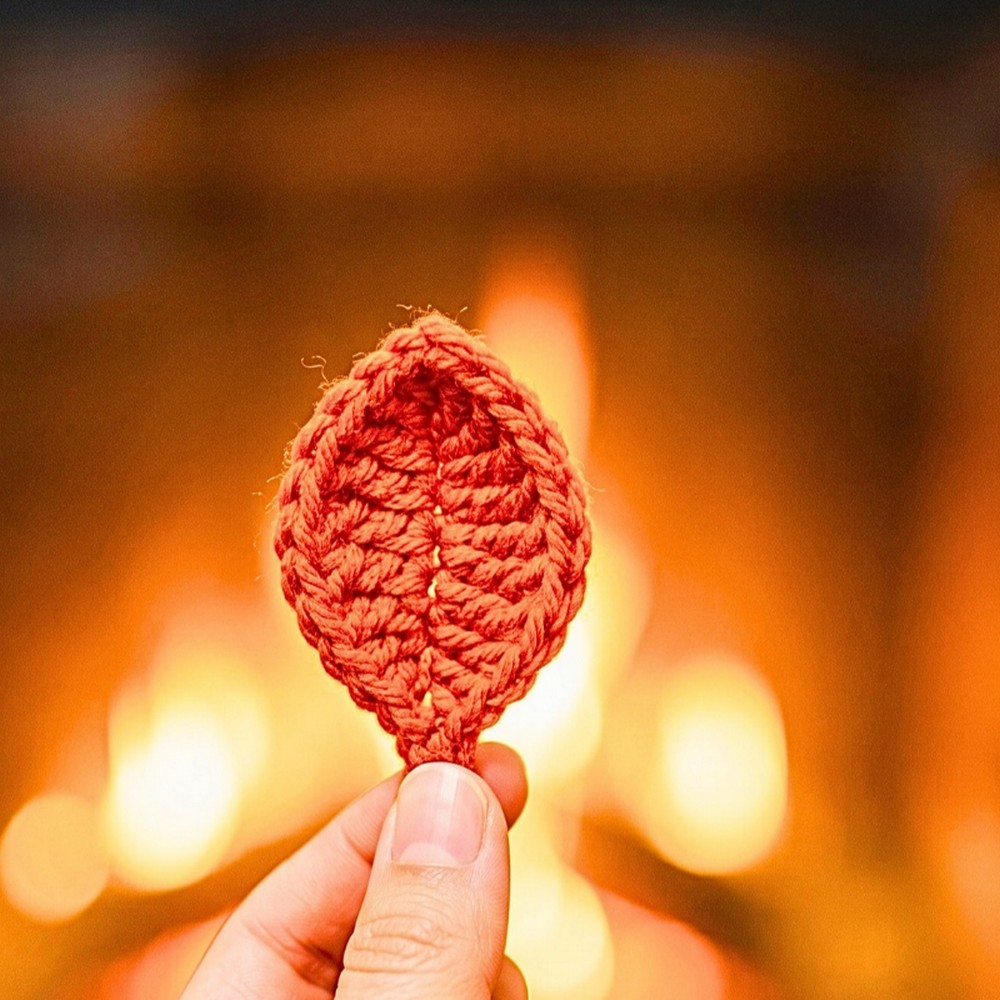
Abbreviations
- ch: Chain
- st(s): Stitch(es)
- sl st: Slip Stitch
- sc: Single Crochet
- hdc: Half Double Crochet
- dc: Double Crochet
- tr: Treble Crochet
Treble crochet: Wrap the yarn around the hook twice before inserting it into the stitch.
How the Leaf Takes Shape
Unlike a leaf worked in several separate rounds, this one develops from one foundation chain. You crochet along one side of the chain, use three sc at the final chain to turn around the tip, then continue back along the unused loops on the opposite side.
The stitch heights gradually rise toward the middle and then decrease again. This creates the pointed, leaf-like outline without needing separate shaping rounds.
Before you begin: Make sure you can identify the second chain from the hook and the final chain at the opposite end. Once you reach that final chain, the 3-sc turn is what brings the work around the tip and points your hook back toward the starting end.
Small Leaf
The small version begins with 8 chains and has a compact, gently pointed shape.
Step 1 – Foundation: Make a slip knot on the hook and ch 8.
Step 2 – First Side: Starting in the 2nd ch from the hook, work 1 sc, 1 hdc, 1 dc, 1 tr, 1 dc, 1 hdc across the chain.
Notice that the stitches are getting taller toward the middle and then shorter again. This gradual change creates the first half of the leaf rather than a straight-edged strip.
Step 3 – Turn the Tip: In the last ch, work 3 sc. These three stitches give the leaf enough room to turn smoothly around its pointed end.
Step 4 – Second Side: Turn your work and use the unworked loops on the opposite side of the foundation chain. Work 1 hdc, 1 dc, 1 tr, 1 dc, 1 hdc, 1 sc.
The second side mirrors the first side, so check that your stitch heights create a balanced outline as you work back toward the beginning.
Step 5 – Join: Make 1 sl st into the very first skipped chain at the base of the leaf.
At this point, the leaf should lie flat with a pointed top and a rounded lower joining point. If the two sides look uneven, check that you worked into the opposite side of the foundation chain rather than trying to turn the leaf with a separate row.
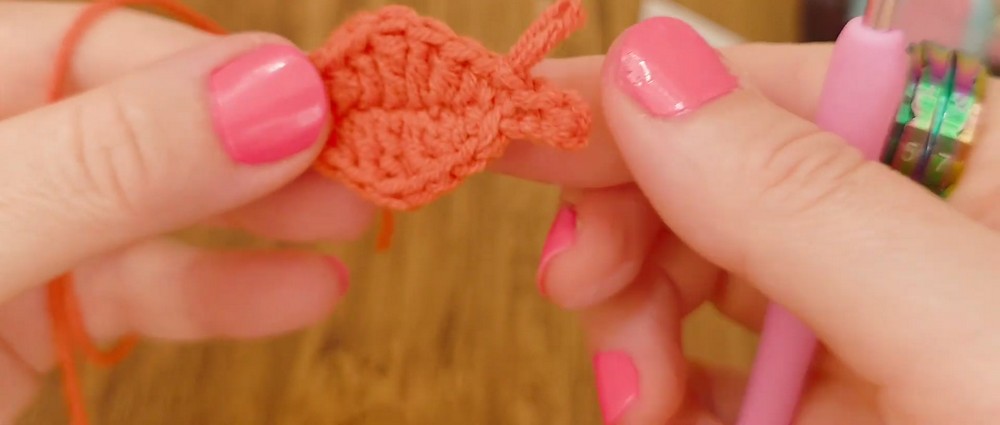
Medium Leaf
The medium leaf uses 10 chains, giving the center more length and room for additional treble stitches.
Step 1 – Foundation: Make a slip knot and ch 10.
Step 2 – First Side: Starting in the 2nd ch from the hook, work 1 sc, 1 hdc, 1 dc, 1 tr in each of the next 3 chs, 1 dc, 1 hdc.
The three consecutive trebles create a longer raised center than the small leaf, which is what gives this version its larger proportions.
Step 3 – Turn the Tip: In the last ch, work 3 sc. Keep these three stitches together in the same final chain so the work can curve around the top tip.
Step 4 – Second Side: Work back along the opposite side of the foundation chain with 1 hdc, 1 dc, 1 tr in each of the next 3 sts, 1 dc, 1 hdc, 1 sc.
As you return toward the base, the stitch heights decrease again. The result should resemble the first side in reverse, with the treble section forming the central body.
Step 5 – Join: Make 1 sl st into the first skipped chain.
Lay the leaf flat and check the tip before moving on. The 3-sc turn should create the top point, while the two sides should meet neatly at the base.
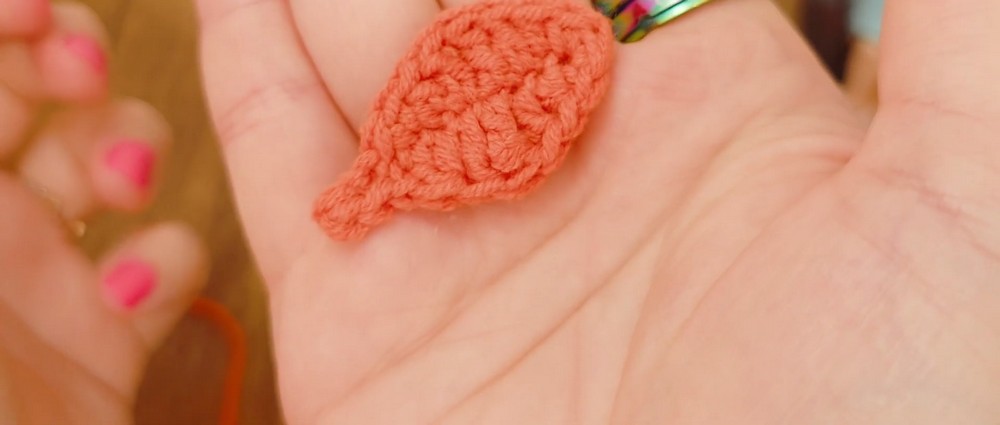
Large Leaf
The large or Father Leaf begins with 12 chains and extends the treble section even further.
Step 1 – Foundation: Make a slip knot and ch 12.
Step 2 – First Side: Starting in the 2nd ch from the hook, work 1 sc, 1 hdc, 1 dc, 1 tr in each of the next 5 chs, 1 dc, 1 hdc.
The five consecutive trebles form the longest central section of the three sizes, giving this leaf its fuller shape.
Step 3 – Turn the Tip: Work 3 sc into the last ch. Keep all three stitches in that same chain to form the turn around the upper tip.
Step 4 – Second Side: Work along the opposite side with 1 hdc, 1 dc, 1 tr in each of the next 5 sts, 1 dc, 1 hdc, 1 sc.
The second side follows the same height pattern as the first. If your leaf begins to twist, gently flatten the work and make sure each stitch is being placed into the corresponding unworked loop of the foundation chain.
Step 5 – Join: Make 1 sl st into the first skipped chain.
You should now have the broadest of the three leaves, with the long treble section running through its center and the pointed tip formed by the 3-sc turn.
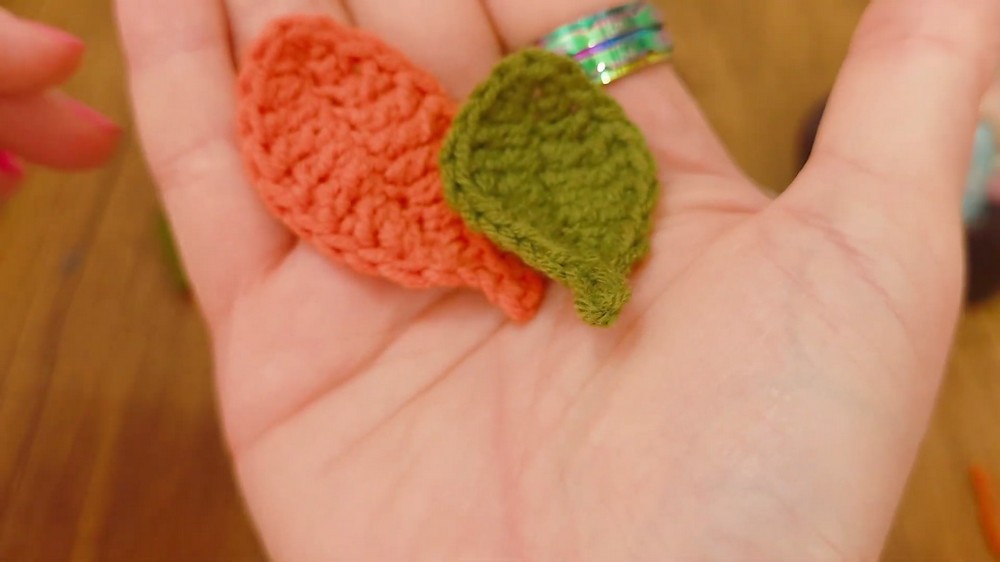
Add an Optional Leaf Stalk
The stalk can be added to any of the three sizes immediately after joining the leaf body.
Step 1: After the joining slip stitch, ch 3.
Step 2: Starting in the 2nd ch from the hook, make 1 sl st in each of the 2 chains.
Step 3: Make 1 sl st back into the first sc of the main leaf body.
The short chain creates a narrow little stem at the base. If you prefer a simpler applique, you can leave the stem off completely.
Finishing the Leaf
After completing the leaf and optional stem, cut the yarn leaving a moderate tail and pull it completely through the final loop.
For a cleaner base, use an invisible finish. Thread the yarn tail onto your needle, insert it under both loops of the third stitch along the edge, and pull the yarn through. Then insert the needle back down through the back loop only of the first stitch. Pull gently until the join blends into the edge.
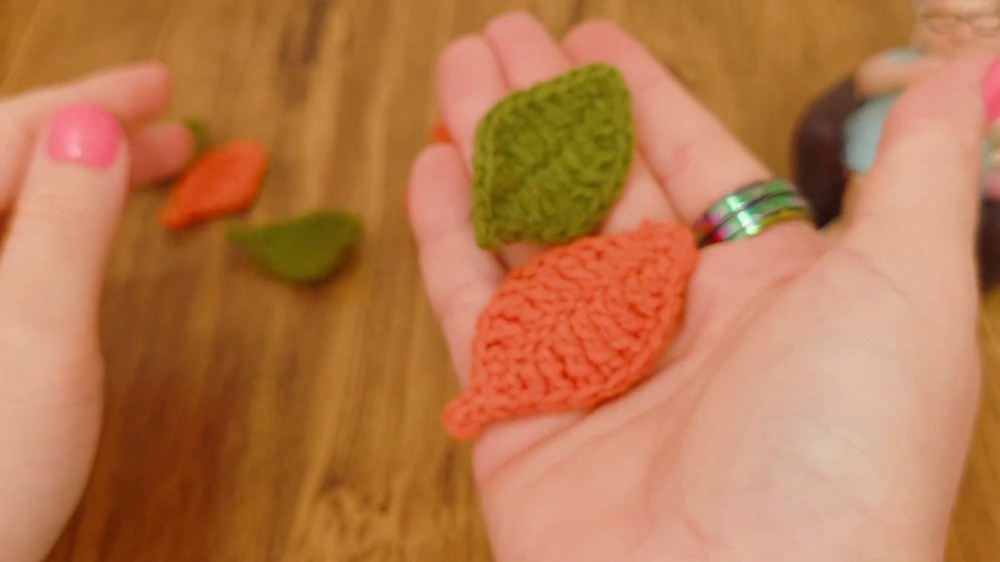
Finally, weave the remaining yarn tails back and forth through the back loops on the wrong side of the leaf. Once the ends are secure, trim away the excess.
Choosing the Right Size
The three versions are based mainly on the length of the foundation chain and the number of treble stitches through the center:
- 8 chains: Small Leaf
- 10 chains: Medium Leaf
- 12 chains: Large Leaf
For a single applique, choose the size that fits the space you are decorating. For a more natural fall arrangement, combine different sizes and colors rather than making every leaf identical.
Your crochet autumn leaves are now ready to sew onto cardigans, jackets, shrugs, cushions, or other seasonal decorations. The simple one-chain construction of the leaf also makes it easy to repeat in different autumn shades whenever you have a small amount of cotton yarn to use.